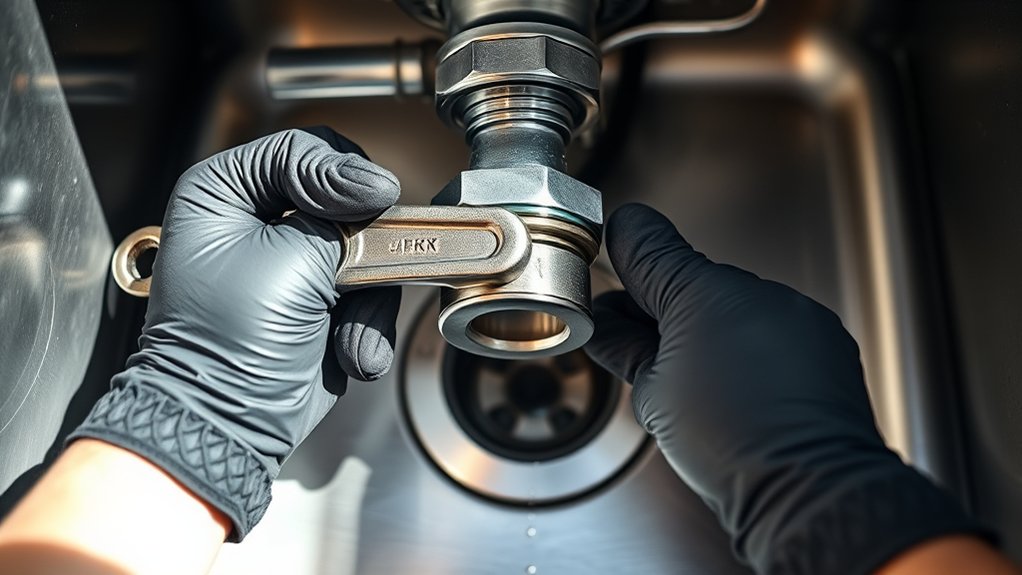
How to Remove Kitchen Sink Drain in 5 Easy Steps
A stubborn kitchen sink drain can make a simple repair feel like a big project, and you’re not alone—many people struggle with stuck fittings and unclear next steps. If you’re looking for how to remove a kitchen sink drain, this guide walks you through five easy steps and the basic tools you’ll need.
To remove your kitchen sink drain in five easy steps, first gather tools like a wrench, bucket, and screwdriver. Then, turn off the water supply and clear the area under the sink.
Next, remove the drain trap by loosening its connections, using penetrating oil if needed. After that, detach the drain flange by loosening the locknut and pushing the flange upward.
Finally, clean and inspect all parts for damage or buildup before reinstalling. Keep going to uncover helpful tips for each step.
Key Takeaways
- Turn off water supply valves and clear all items from under the sink for easy access.
- Place a bucket under the drain trap and carefully unscrew it using a wrench or by hand.
- Loosen and remove the locknut securing the drain flange from underneath the sink.
- Gently push the drain flange upward, using a putty knife to break any sealant if necessary.
- Clean all drain components, inspect for damage, and prepare for reinstallation or replacement.
Gather Tools to Remove Kitchen Sink Drain
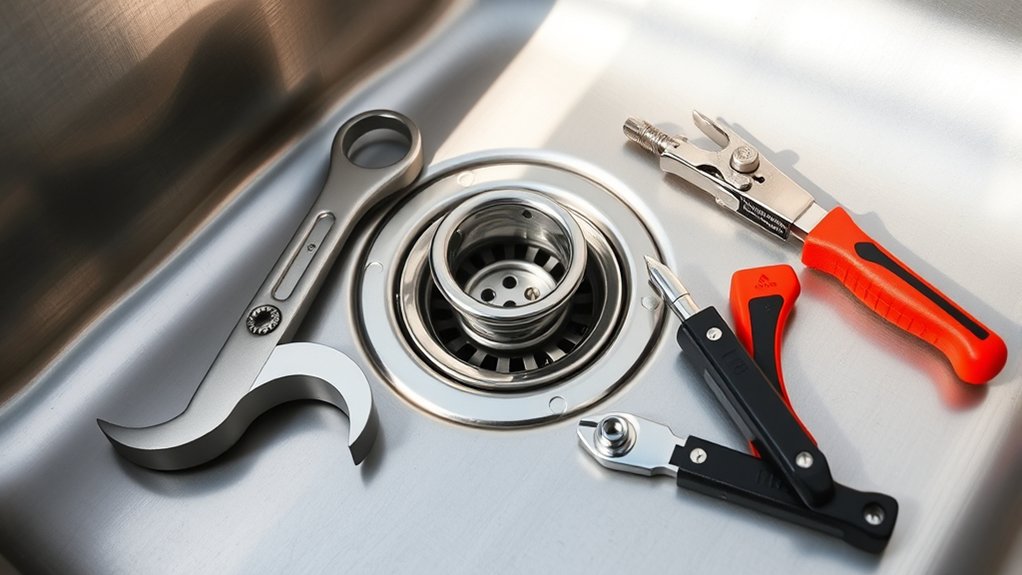
Before you begin removing your kitchen sink drain, make sure you have all the necessary tools on hand. You’ll need a wrench or adjustable pliers to loosen nuts and fittings, a bucket to catch any residual water, and a screwdriver if your drain assembly has screws. Having a flashlight can help you see under the sink more clearly. Keep some rags nearby to wipe up any spills or grime.
Since pipe corrosion can make parts stick together, consider using a penetrating oil to ease stubborn connections. Also, don’t forget drain sealant if you plan to reinstall or replace the drain later—it guarantees a tight, leak-free fit. Collecting everything beforehand saves you from unnecessary trips and frustration once you start. Being prepared with the right tools and materials helps you work efficiently and minimizes the chance of damaging components, especially those affected by corrosion. This careful preparation sets the stage for a smooth drain removal process.
Turn Off Water and Clear Under the Sink
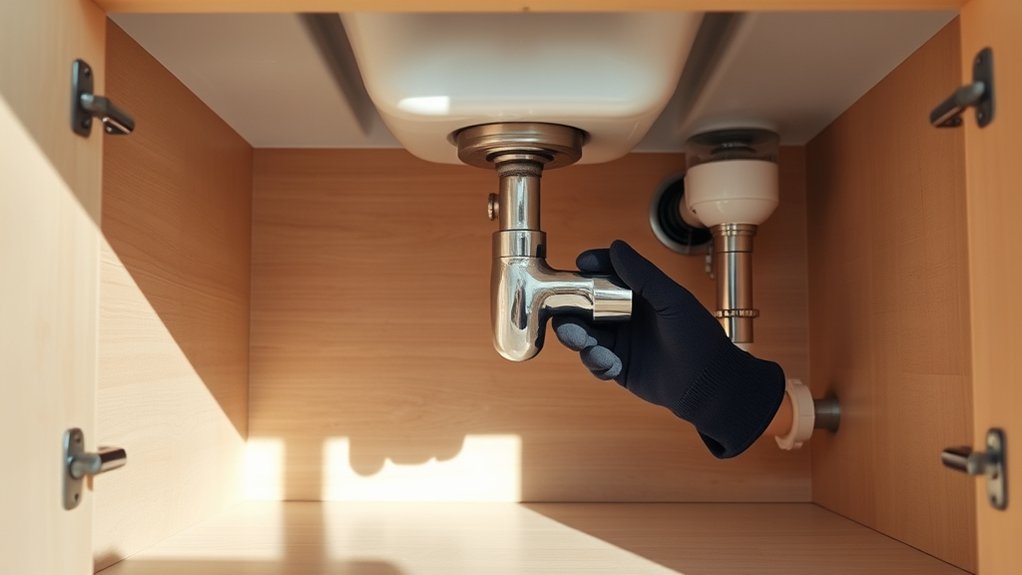
Once you’ve gathered your tools, make sure to turn off the water supply valves under the sink to prevent any leaks during removal. Turning off the valves reduces water pressure in the pipes, minimizing the risk of unexpected sprays or drips when you disconnect fittings. If you don’t see dedicated shut-off valves, you may need to turn off the main water supply for your home.
Always turn off under-sink valves to prevent leaks, or shut off your home’s main water supply if needed.
Next, clear out everything stored under the sink. Removing clutter gives you easy access and prevents damage to items like cleaning supplies or kitchen tools.
While you’re at it, inspect any pipe insulation around the water lines. If it’s worn or damp, remove or replace it to avoid mold or corrosion during your project. Clearing the area also helps you spot any leaks or damage before you start working.
A clean, accessible workspace ensures a smoother and safer drain removal process.
Remove the Drain Trap From Your Kitchen Sink Drain
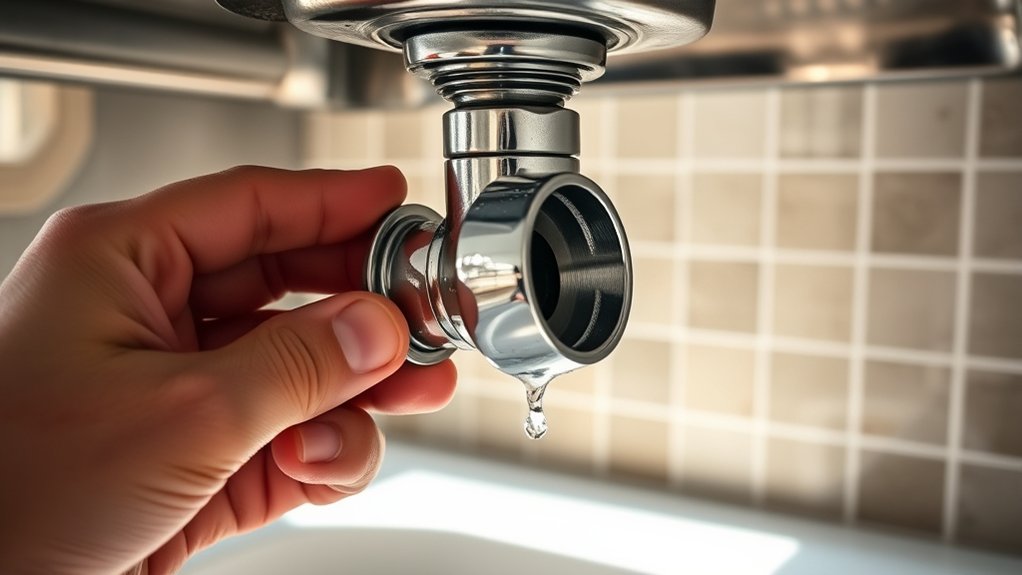
With the area under your sink cleared and the water supply turned off, you’re ready to tackle the drain trap removal. Start by placing a bucket underneath the trap to catch any residual water.
The drain trap, often a curved pipe, can be unscrewed by hand or with a wrench, but be cautious if you spot pipe corrosion, which may make loosening the connections tougher. If the trap feels stuck, apply penetrating oil and wait a few minutes before trying again.
Once loosened, carefully remove the trap, watching for trapped debris that can cause drain blockage. Inspect the trap for damage or buildup; pipe corrosion inside the trap can lead to leaks or blockages, so consider replacing it if it’s heavily corroded.
Removing the trap lets you clear out any clogs or debris inside, ensuring your kitchen sink drains smoothly. Keep your tools handy for reassembly after cleaning or replacement.
Detach the Drain Flange From Kitchen Sink Drain
Although removing the drain trap clears the piping below, you’ll still need to detach the drain flange to fully free the kitchen sink drain. Start by accessing the underside of your sink where the flange connects. Loosen and remove the locknut securing the flange in place. You might need a wrench or pliers for this step.
Once the locknut is off, gently push the flange upward from beneath the sink. If it’s stuck, carefully use a putty knife to break the sealant application around the flange’s edge. Be cautious not to damage the sink surface.
After you remove the flange, inspect it for wear or damage. If you’re doing a drain flange replacement, make sure to clean the area thoroughly before installing a new flange. Proper sealant application during reinstallation ensures a watertight fit and prevents leaks.
This step is essential for a secure, long-lasting kitchen sink drain assembly.
Clean and Inspect Kitchen Sink Drain Components
Before reassembling or replacing parts, you’ll want to thoroughly clean and inspect all kitchen sink drain components. This helps ensure they function properly and prevents future leaks. It also helps you spot any damage or buildup that could cause a drain clog or pipe corrosion.
Here’s what to focus on:
- Remove debris and buildup: Use a brush and mild cleaner to clear away grease, soap scum, and food particles that often cause drain clogs.
- Check for pipe corrosion: Examine metal pipes carefully for rust or corrosion. Corrosion weakens pipes, increasing the risk of leaks or breaks.
- Inspect seals and gaskets: Look for cracks or wear on rubber seals and gaskets. Damaged seals can cause water to leak once reassembled.
Frequently Asked Questions
Can I Use Chemical Drain Cleaners to Remove Sink Drain Clogs?
Yes, you can use chemical cleaners to tackle sink drain clogs, but you should do so cautiously. These products can help clear minor blockages but might damage your pipes if overused.
For regular drain maintenance, it’s better to combine chemical cleaners with physical methods like plunging or snaking. Always follow instructions carefully, and avoid mixing chemicals to prevent harmful reactions.
If clogs persist, consider calling a professional for safer, effective solutions.
How Do I Prevent Leaks After Reinstalling the Kitchen Sink Drain?
Leaks can ruin your day, but proper leak prevention after reinstalling your kitchen sink drain is simple. First, don’t rush—tighten connections snugly but avoid overtightening, which can crack seals. Use fresh plumber’s putty or a new gasket for a watertight fit.
Double-check alignment before securing everything. Finally, test by running water and watching closely. These reinstallation tips help you avoid drips and keep your sink leak-free.
What Types of Sinks Require Special Drain Removal Techniques?
You’ll find that sinks with a garbage disposal or a porcelain sink need special drain removal techniques. Garbage disposals are heavy and connected to electrical wiring, so you’ll have to disconnect power and mounting hardware carefully. Porcelain sinks are fragile, so you should avoid using excessive force to prevent cracking. Using the right tools and gentle techniques will help you remove drains from these sinks safely and efficiently.
How Often Should I Clean My Kitchen Sink Drain?
You should clean your kitchen sink drain at least once a month to keep drain maintenance on point and prevent odor. Regular cleaning helps remove food particles and buildup that cause clogs and bad smells.
If you notice slow drainage or unpleasant odors, clean it more often. Using natural cleaners like baking soda and vinegar can keep your drain fresh without harsh chemicals, making odor prevention easier and your sink more hygienic.
Can I Replace the Drain Myself or Should I Hire a Plumber?
You can replace the drain yourself if you have some DIY plumbing skills and the right tools. It’s a manageable task for many homeowners, especially if you follow step-by-step guides.
However, if you’re unsure or encounter stubborn parts, seeking professional assistance is a smart choice. A plumber can make sure everything fits correctly and help prevent leaks, saving you time and potential headaches down the line.
Trust your comfort level to decide.
Conclusion
Now that you’ve tackled removing your kitchen sink drain, you’re ready to handle future plumbing puzzles with confidence. Remember, each step is a piece of the puzzle that fits perfectly when done right.
By gathering your tools, turning off the water, and carefully detaching each part, you’ve made a potentially messy job as smooth as a well-oiled machine. Keep the components clean and inspected, and your sink will thank you!
With these tips, removing a kitchen sink drain can be a straightforward DIY project.