How Do You Paint Kitchen Cabinets in 3 Easy Steps
Worn, dated kitchen cabinets can make your whole kitchen feel tired, but a full renovation isn’t the only option. If you’re wondering how to paint kitchen cabinets in 3 easy steps, you’re not alone—many people want a fresh look without the cost and hassle of replacing them.
To paint your kitchen cabinets in three easy steps, start by removing hardware and thoroughly cleaning and sanding surfaces for a smooth base.
Next, pick a cabinet-specific paint with a semi-gloss or satin finish and gather brushes and rollers suited for detail and flat areas.
Finally, apply thin, even coats, letting each dry completely and sanding lightly between layers to guarantee durability.
Keep going to uncover tips that make your cabinets look professionally done.
Key Takeaways
- Remove hardware, clean cabinets thoroughly, and lightly sand surfaces for smooth paint adhesion.
- Choose a semi-gloss or satin paint designed for cabinets for durability and easy cleaning.
- Use synthetic brushes for details and foam rollers for flat surfaces to apply thin, even coats.
- Allow each coat to dry fully and lightly sand between coats for a smooth, durable finish.
- Reattach hardware only after the final coat is completely dry to avoid smudging or damage.
Clean and Sand Cabinets for a Smooth Paint Base

Before you begin painting, you need to clean and sand your kitchen cabinets thoroughly. Start by removing all cabinet hardware, like handles and hinges, to guarantee you can sand every surface evenly. Use a mild degreaser or a mixture of warm water and dish soap to wipe down the cabinets, removing grease, dirt, and grime. This step is vital for proper paint adhesion during paint preparation.
Once your cabinets are clean, lightly sand them with fine-grit sandpaper. Sanding creates a smooth, slightly rough surface that helps the primer and paint stick better. Pay close attention to edges and corners, where old paint might be chipped or uneven. After sanding, wipe away dust with a damp cloth. Skipping these steps can result in peeling or uneven paint. Proper cleaning and sanding set the foundation for a flawless finish and long-lasting results on your kitchen cabinets.
Choose the Best Paint and Tools for Kitchen Cabinets
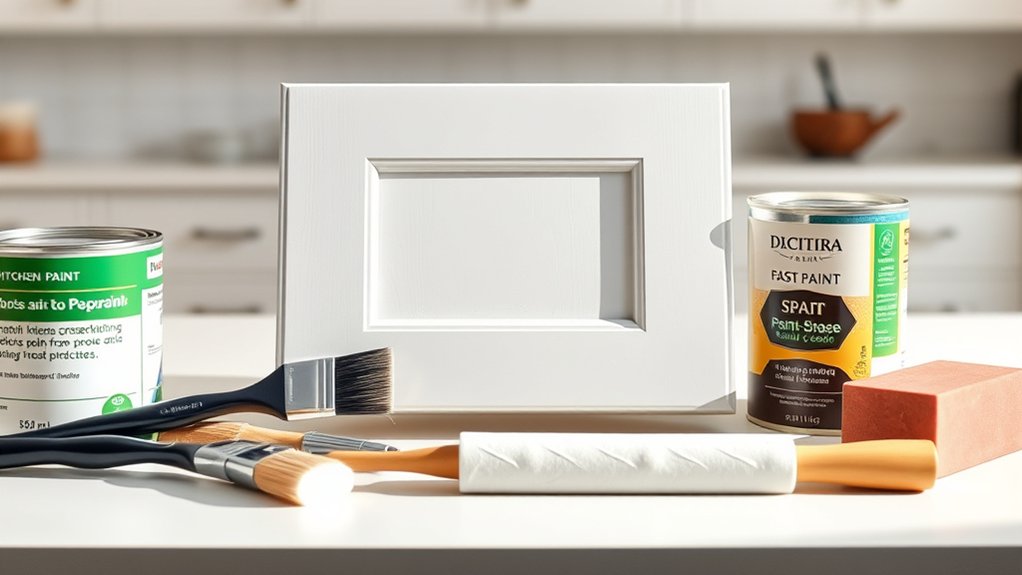
When you’re ready to paint, selecting the right paint and tools makes all the difference in achieving a smooth, durable finish on your kitchen cabinets. Start by choosing a paint specifically designed for cabinets or trim, as these formulas offer excellent adhesion and durability.
Choosing the right paint and tools is key to a smooth, long-lasting finish on your kitchen cabinets.
Consider a semi-gloss or satin paint finish, which resists moisture and is easy to clean, perfect for kitchen environments. Next, focus on color coordinating your paint choice with your kitchen’s overall palette to create a harmonious look.
Whether you want bold contrast or subtle blending, pick a shade that complements your walls, countertops, and hardware. For tools, use high-quality brushes with synthetic bristles for detail work and a foam roller for flat surfaces to avoid brush marks.
Having painter’s tape, a paint tray, and fine-grit sandpaper on hand will also help you achieve precision and a flawless paint finish. Choosing the right paint and tools sets you up for success before you even pick up the brush.
Apply Paint for a Smooth, Durable Kitchen Cabinet Finish
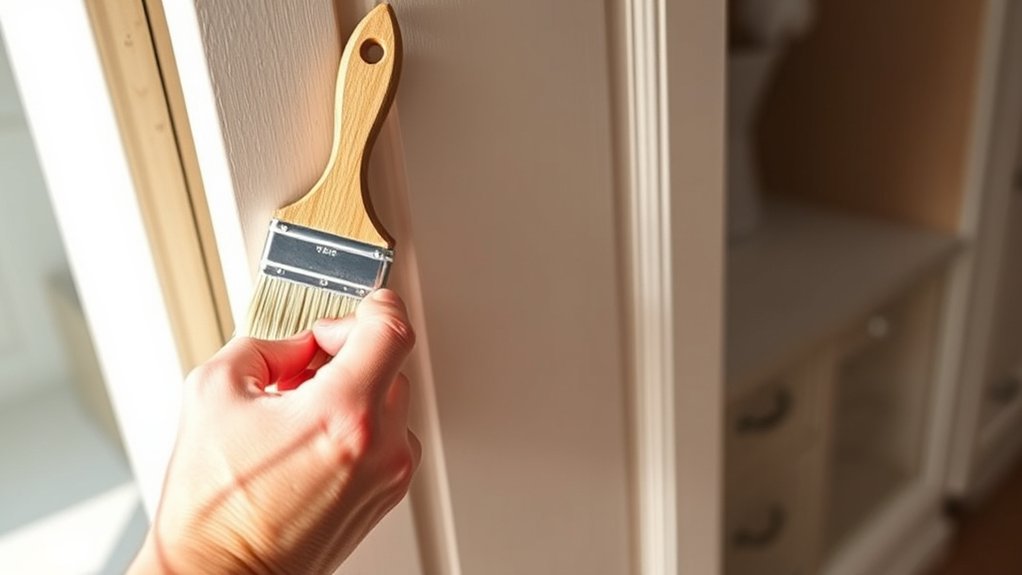
Since proper application determines the durability and appearance of your cabinets, you’ll want to apply paint carefully and methodically. Start by selecting the right paint finish options—matte, satin, or semi-gloss—each offers different durability and sheen levels to match your kitchen’s style. Remember, good color coordination improves the overall look, so choose hues that complement your walls and countertops.
Follow these steps for a smooth, durable finish:
- Use a high-quality brush for edges and a foam roller for flat surfaces to avoid streaks and bubbles.
- Apply thin, even coats, allowing each layer to dry fully before adding the next.
- Lightly sand between coats with fine-grit sandpaper to ensure adhesion and smoothness.
Frequently Asked Questions
How Long Does It Take for Painted Cabinets to Fully Cure?
It usually takes painted cabinets about 7 to 30 days to fully cure, depending on factors like humidity and paint type. During this paint curing process, you’ll notice the cabinet durability gradually improves, meaning they become more resistant to scratches and wear.
To guarantee the best results, avoid heavy use or cleaning for at least a week. Patience here pays off, as fully cured paint protects your cabinets longer and keeps them looking fresh.
Can I Paint Over Laminate Kitchen Cabinets?
Yes, you can paint over laminate kitchen cabinets, but laminate prep is essential for good paint adhesion. You’ll need to clean the surface thoroughly, sand it lightly to create texture, and apply a high-quality primer designed for slick surfaces. Skipping these steps can cause the paint to peel or chip quickly. Taking time with prep guarantees your paint job lasts and looks professional. Don’t rush laminate prep—it’s vital to success.
Should I Remove Cabinet Doors Before Painting?
Yes, you should remove cabinet doors before painting. Taking them off makes surface preparation easier, letting you sand and clean thoroughly for better paint adhesion. Removing cabinet hardware like knobs and hinges also helps avoid mess and guarantees an even coat. Plus, painting doors separately prevents drips and gives you a smoother finish. So, take the doors and hardware off first to get the best results with less hassle.
How Do I Prevent Paint From Peeling on Cabinets?
To prevent paint from peeling on cabinets, focus on excellent surface preparation. You’ll want to clean, sand, and prime your cabinets thoroughly to guarantee strong paint adhesion.
Make certain the surface is free of grease, dirt, and old paint flakes. Using a high-quality primer designed for your cabinet material will help the paint stick better.
Also, avoid rushing between coats. Let each layer dry completely for a durable, long-lasting finish.
What Is the Best Way to Clean Painted Cabinets?
Think of cleaning painted cabinets like giving your favorite book a gentle dusting—too rough, and you damage the pages. You should use a soft cloth with mild soap and warm water to preserve color schemes and avoid harsh chemicals that can eat away at your paint types.
Wipe gently and dry immediately to keep those cabinets looking fresh and vibrant, just like the day you painted them.
Conclusion
Now that you’ve cleaned, sanded, and picked the perfect paint, applying it will transform your kitchen cabinets faster than a rocket launch! With just these three simple steps, you’ll achieve a smooth, durable finish that looks professional without the hassle.
Don’t underestimate how a little effort can make your kitchen feel brand new. Get ready to impress everyone with your DIY skills and enjoy your refreshed space every day. Follow these steps to learn how to paint kitchen cabinets and give your kitchen a fresh look!