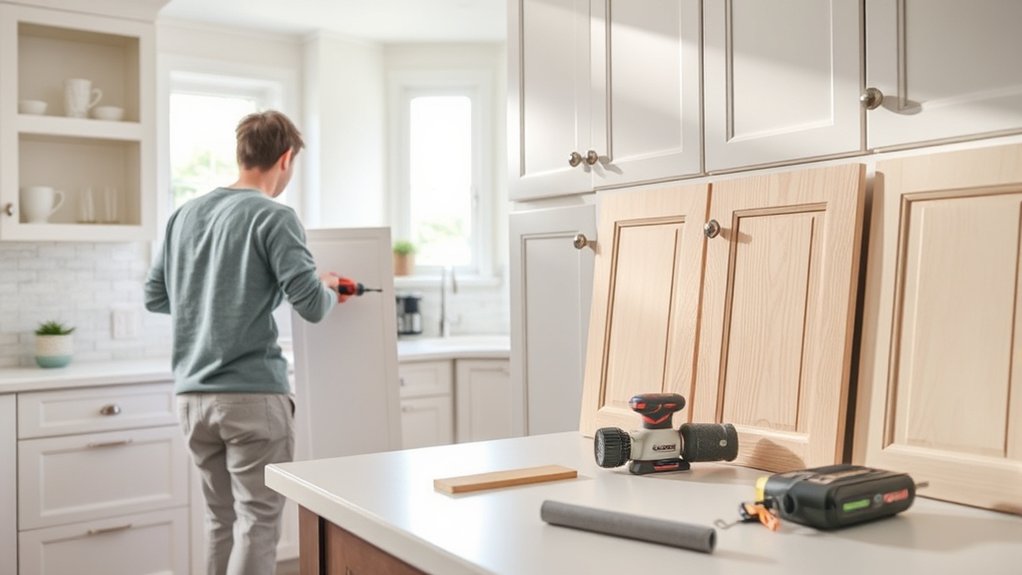
How Do You Reface Kitchen Cabinets in 7 Easy Steps?
Outdated kitchen cabinets can make the whole room feel tired, but a full remodel may be more than you want to take on. You’re not alone—many people want a fresh look without the cost and disruption of replacing their cabinets. Learning how to reface kitchen cabinets can be a practical way to update your space.
You can reface your kitchen cabinets in seven easy steps by first checking that the cabinet frames are in good shape. Then, gather quality paint, veneers, hardware, and tools. Carefully remove old doors and clean all surfaces, sanding them smooth.
Next, measure and cut the veneer or laminate to size, apply adhesive, and smooth it out. Finally, install your new doors and hardware for a fresh look. Keep going to uncover tips for a flawless finish and longer-lasting results.
Key Takeaways
- Assess cabinet frames for damage and decide to keep boxes while replacing doors, drawer fronts, and veneers if frames are solid.
- Remove old doors and hardware carefully, labeling parts and cleaning cabinets thoroughly.
- Clean, sand, and prepare cabinet surfaces to ensure proper adhesion of veneers or paint.
- Measure, cut, and apply adhesive veneer or laminate smoothly, trimming excess for a seamless finish.
- Install new doors and decorative hardware, align hinges, and verify smooth cabinet operation.
What Is Cabinet Refacing and When to Do It
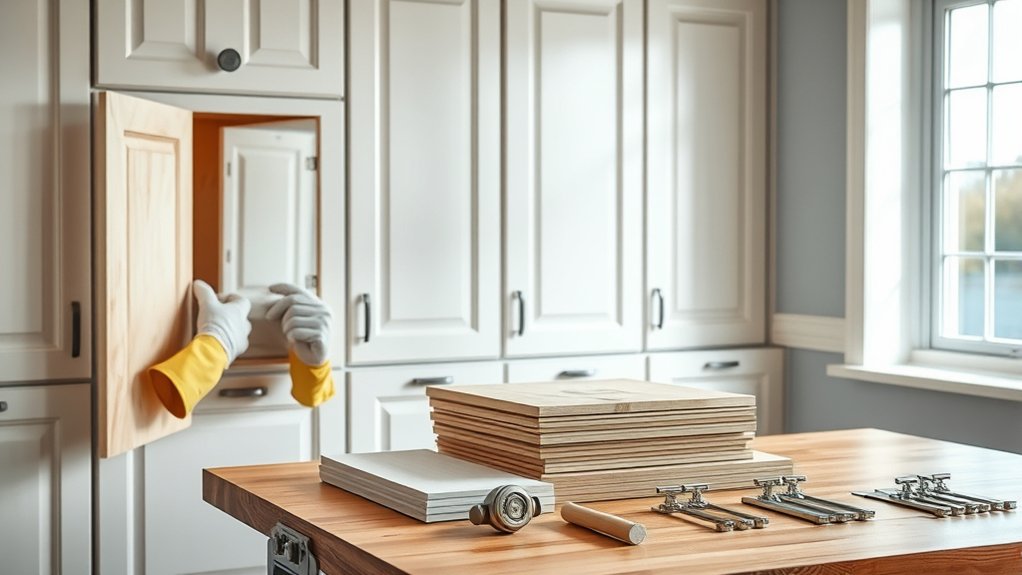
Although you might think replacing your kitchen cabinets is the only option, cabinet refacing offers a quicker, more affordable way to update their look. When you reface, you keep the existing cabinet boxes and replace only the doors, drawer fronts, and veneers.
Cabinet refacing updates your kitchen’s look faster and cheaper by replacing doors and veneers, not entire cabinets.
This approach saves time and reduces mess compared to a full replacement. Before you decide, consider a refacing cost analysis: refacing typically costs less than half of what new cabinets would, making it budget-friendly.
You’ll also want to assess cabinet durability. If your cabinet frames are solid and in good shape, refacing can extend their life by *invigorating* their appearance without compromising strength.
However, if the structure is damaged or warped, refacing won’t fix those issues, and replacement might be necessary.
Choosing refacing is ideal when you want a *revitalized* look quickly, without the high expense or hassle of a full remodel.
Gather Materials and Tools for Kitchen Cabinet Refacing
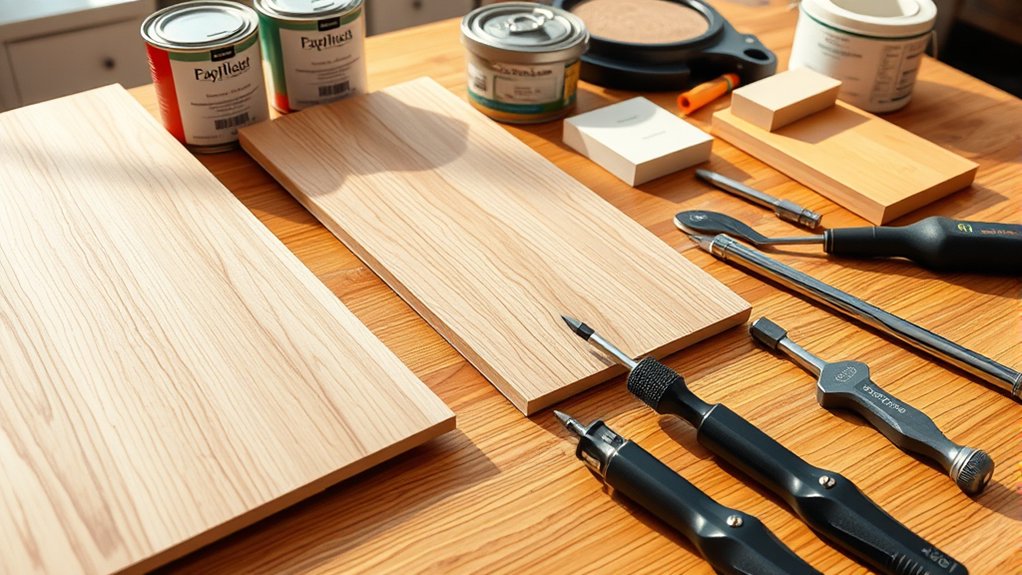
Once you decide to reface your kitchen cabinets, the next step is to gather all the materials and tools you’ll need to get the job done efficiently. Having everything ready saves time and ensures a smooth process. Start with these essentials:
- Cabinet paint – Choose a durable, high-quality paint designed for cabinets to guarantee a lasting finish.
- Decorative hardware – Pick new handles, knobs, or pulls that match your style and complement the cabinet paint.
- Adhesive veneer or laminate – If you’re applying a new surface rather than paint, select the right veneer for your cabinets.
- Basic tools – Include a screwdriver, sandpaper, a paintbrush or roller, and a utility knife for precise cuts.
Preparing these materials beforehand helps you stay organized and focused. With the right cabinet paint and decorative hardware, your cabinets will look refreshed and stylish in no time.
Remove Old Cabinet Doors and Hardware Safely
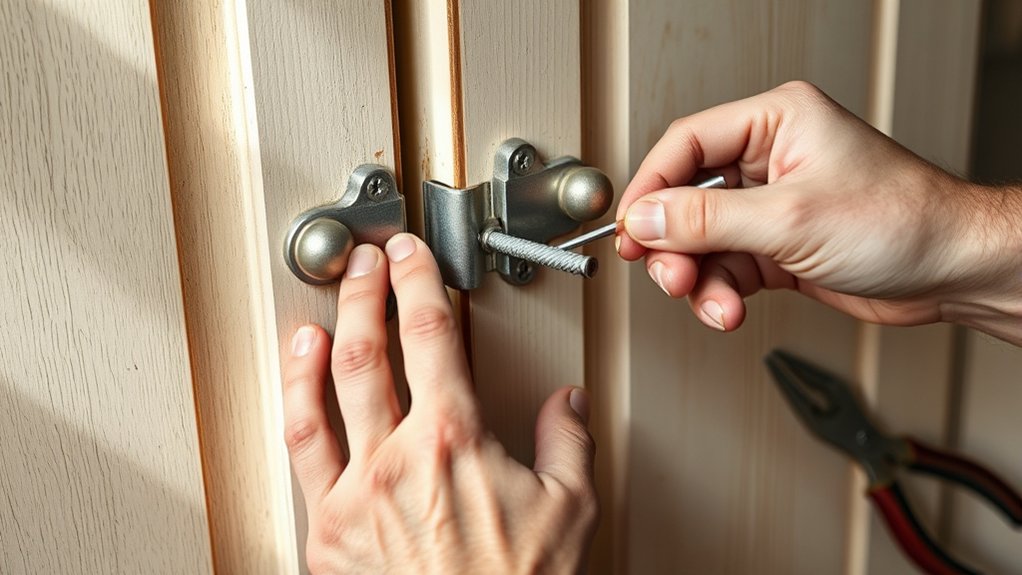
Before you start removing old cabinet doors and hardware, make sure to clear the area and lay down a drop cloth to protect your floors. This step prevents damage and keeps your workspace tidy.
Begin by carefully unscrewing hinges and knobs, placing all hardware in a labeled container to avoid losing small pieces. Use a screwdriver that fits well to prevent stripping screws during hardware removal.
Once the doors are off, inspect the cabinet frames for any damage or loose parts. Take this opportunity to do some cabinet cleaning, wiping away dust and grease to guarantee a clean surface for the next steps.
Handle doors gently to avoid chips or cracks, especially if you plan to reuse or donate them. Removing doors and hardware safely sets a solid foundation for a smooth refacing process, saving you time and effort down the line.
Keep your tools handy and work methodically for the best results.
Clean and Sand Your Cabinets for a Smooth Finish
After removing the doors and hardware, you’ll want to give your cabinets a thorough cleaning to remove any grease, dust, or residue left behind. Proper cabinet cleaning is essential to ensure the new finish adheres smoothly. Here’s how to tackle this step efficiently:
- Use a degreasing cleaner or a mix of warm water and mild detergent to wipe down all cabinet surfaces.
- Rinse with a damp cloth to remove any soap residue, then let the cabinets dry completely.
- Once dry, begin surface sanding with fine-grit sandpaper (around 220 grit) to smooth out imperfections and create a slightly rough texture for better adhesion.
- Wipe away all sanding dust with a tack cloth or damp rag to leave a clean, smooth surface.
Measure and Cut Veneer or Laminate for Kitchen Cabinets
Measure each cabinet surface carefully before cutting to ensure the veneer or laminate fits properly. Then, use a sharp blade and a steady hand to make clean cuts. Taking your time now can help you avoid costly mistakes later.
Accurate Measurements Matter
Since precise measurements guarantee a perfect fit, you’ll want to carefully measure each cabinet surface before cutting your veneer or laminate. Accurate measuring saves you time, money, and frustration, especially when balancing color coordination and budget planning. Follow these steps:
- Use a steel tape measure for exact dimensions of doors, drawers, and panels.
- Record measurements on paper, marking width and height clearly.
- Double-check each measurement to avoid costly mistakes.
- Consider adding a small margin for trimming and adjustments, but don’t overestimate.
Cutting Techniques Explained
Although measuring accurately sets the foundation, mastering cutting techniques guarantees your veneer or laminate fits flawlessly on your kitchen cabinets.
Start by using a sharp utility knife or fine-toothed saw to guarantee clean cuts. When trimming veneer, apply steady pressure to avoid chipping. After cutting, edge banding seals the exposed edges, giving a professional finish and protecting against moisture.
| Step | Tip |
|---|---|
| Measure twice | Confirm dimensions carefully |
| Use sharp tools | Prevent jagged cuts |
| Trim veneer gently | Avoid damaging the surface |
| Apply edge banding | Seal and protect edges |
Apply Veneer or Laminate Smoothly to Cabinet Frames
When applying veneer or laminate to cabinet frames, preparing a clean, smooth surface is vital to guarantee strong adhesion and a flawless finish. Start by removing any dust, grease, or old adhesive from the frames.
Your veneer selection should complement the existing kitchen style and resist moisture for durability. For laminate application, ensure the backing is dry and free from imperfections.
Choose veneer that matches your kitchen style and withstands moisture; laminate backings must be dry and flawless for best results.
Follow these steps for a smooth application:
- Measure and cut the veneer or laminate slightly larger than the frame dimensions.
- Apply a thin, even layer of adhesive onto the frame using a brush or roller.
- Carefully position the veneer or laminate onto the frame, starting from one edge and smoothing out bubbles with a plastic scraper or roller.
- Trim excess material with a sharp utility knife and sand edges lightly for a seamless look.
Stick to these tips to achieve a professional, long-lasting cabinet refacing.
Install New Doors and Hardware to Complete Your Kitchen
After preparing your cabinet frames, you’ll install new doors and hardware to give your kitchen its fresh, updated look. Begin by selecting doors that complement your chosen cabinet color and the overall kitchen layout to guarantee a cohesive design.
Align the hinges carefully with the pre-drilled holes or mark new spots if necessary, then secure the doors firmly to the frames. Next, choose hardware—handles and knobs—that matches both the cabinet color and the style of your kitchen layout.
Attach these pieces precisely, making certain they’re level and comfortable to use. Take your time with each door and drawer to avoid misalignment, which can disrupt your kitchen’s flow.
Once all doors and hardware are in place, open and close each to check for smooth operation. This final step transforms your kitchen, blending functionality with style seamlessly. With doors and hardware installed correctly, your kitchen makeover is nearly complete.
Frequently Asked Questions
How Long Does the Cabinet Refacing Process Typically Take?
The cabinet refacing process typically takes about 3 to 5 days. You’ll spend the first day on cabinet preparation, which includes cleaning and sanding surfaces.
Material selection, like choosing veneers or laminates, happens early to keep things moving. Once materials arrive, installation usually takes 2 more days.
If you plan carefully and stay organized, you can complete the entire refacing efficiently within a week without major disruptions.
Can Cabinet Refacing Increase My Home’s Resale Value?
Yes, cabinet refacing can increase your home’s resale value by enhancing kitchen aesthetics, offering fresh material options, and modernizing your space. When you update your cabinets, you improve your kitchen’s overall appeal and attract potential buyers.
Choosing durable, stylish materials boosts perceived quality and functionality. You won’t just change the look—you’ll add value, making your home more competitive in the market without the cost of a full remodel.
What Are the Most Durable Materials for Cabinet Veneers?
For the most durable cabinet veneer options, choose materials like hardwood veneers, which resist scratches and dents well. Thermofoil is another durable choice, offering a smooth, moisture-resistant finish.
When comparing durable materials, real wood veneers last longer than laminate but cost more. For a balance of durability and affordability, consider high-pressure laminate veneers. They handle wear and tear nicely while keeping your cabinets looking fresh.
Is It Possible to Reface Cabinets Without Removing Them?
Yes, you can reface cabinets without cabinet removal. You’ll save time by leaving the cabinets in place, but surface preparation is essential.
Clean and sand the existing surfaces thoroughly to make certain the new veneer or laminate adheres well. While skipping cabinet removal speeds up the process, take extra care with hinges and hardware.
Proper surface prep guarantees a smooth, long-lasting finish without the hassle of taking everything down.
How Do I Maintain and Clean Newly Refaced Cabinets?
To maintain and clean your newly refaced cabinets, start with gentle cleaning tips like using a soft cloth and mild soap solution. Avoid harsh chemicals that can damage the finish. Wipe spills promptly to prevent stains. Establish a maintenance schedule by dusting weekly and doing a deeper clean monthly. This routine keeps your cabinets looking fresh and extends their lifespan, ensuring your kitchen stays beautiful without extra effort.
Conclusion
Refacing your kitchen cabinets can transform your space without the cost of a full remodel. Did you know refacing saves up to 50% compared to replacing cabinets?
By following these seven easy steps, you’ll give your kitchen a fresh, updated look efficiently and affordably. With just some patience and the right materials, you’ll enjoy a stylish kitchen makeover that feels brand new without breaking the bank or spending weeks on renovation.
Refacing kitchen cabinets is an easy, affordable way to give your kitchen a fresh new look.