How to Clean Kitchen Tiles in 3 Easy Steps
Grease, grime, and stubborn stains can make kitchen tiles look dirty no matter how often you clean them. You’re not alone—many people struggle to find a simple way to get tiles sparkling without spending hours scrubbing.
This guide to how to clean kitchen tiles in 3 easy steps covers the basics. First, gather a scrub brush, microfiber cloth, gloves, and a spray bottle. Next, apply a baking soda paste or a vinegar-and-dish-soap mix to grease and stains, let it sit, then scrub.
Finally, rinse with clean water and dry with a cloth to help prevent streaks.
For more ways to keep your tiles looking their best, explore the care and maintenance tips ahead.
Key Takeaways
- Gather essential cleaning supplies like a scrub brush, microfiber cloth, gloves, and a spray bottle.
- Apply a baking soda paste to tiles and grout, let it sit for 10 minutes to remove grime.
- Use a vinegar and dish soap blend to cut through grease and oily residues effectively.
- Rinse tiles thoroughly with clean water and dry promptly with a microfiber cloth to avoid streaks.
- Seal grout and tiles after cleaning to protect surfaces and maintain cleanliness longer.
Gather Your Kitchen Tile Cleaning Supplies
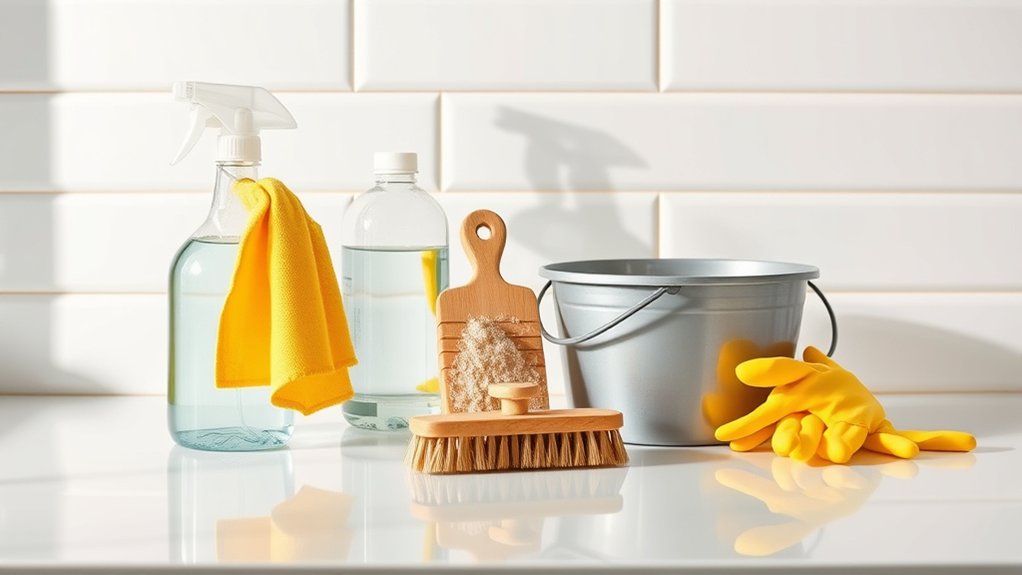
Before you begin cleaning your kitchen tiles, gather all the necessary supplies to make the process efficient. You’ll need the right cleaning tools to tackle both the tiles and the tile grout effectively.
Start with a sturdy scrub brush or an old toothbrush for getting into the grout lines. A microfiber cloth or sponge will help wipe down the tile surfaces without scratching them.
Use a sturdy scrub brush or toothbrush for grout, and a microfiber cloth for gentle tile cleaning.
Don’t forget a bucket for mixing your cleaning solutions and gloves to protect your hands. Having a spray bottle on hand is useful for applying cleaners evenly.
Make sure to have a mop or floor cloth ready if you’re working on floor tiles. By organizing these cleaning tools beforehand, you’ll avoid interruptions and clean more thoroughly.
Paying attention to the tile grout is essential since dirt and grime often settle there, so having the right brushes will make your job easier and your kitchen tiles look spotless.
Remove Grease and Stains From Kitchen Tiles With Homemade Solutions
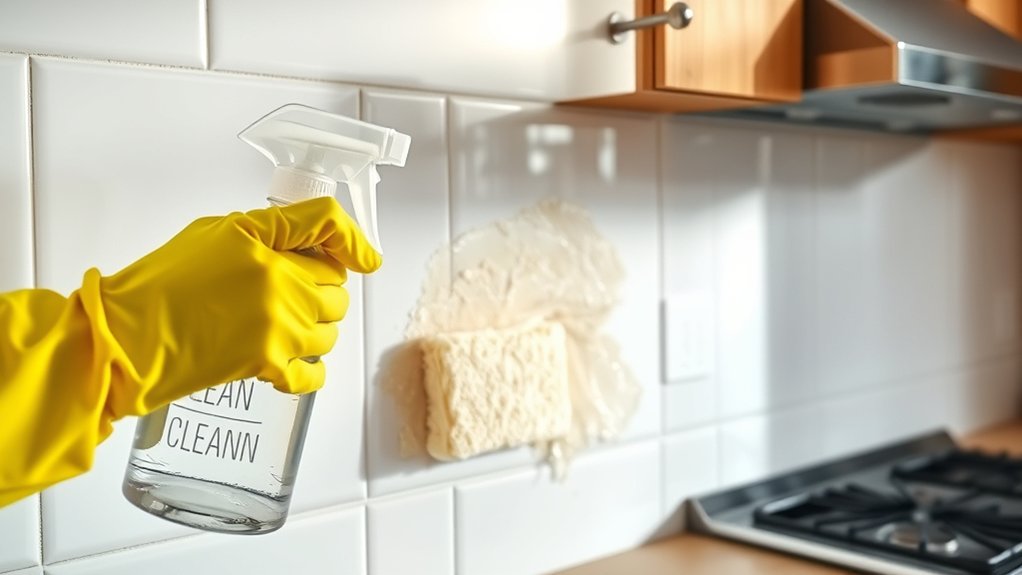
With your cleaning supplies ready, you can tackle the grease and stains that often cling to kitchen tiles. Homemade solutions are effective and budget-friendly. For stubborn grime, mix equal parts baking soda and water into a paste. Apply it to tiles and grout, letting it sit for 10 minutes before scrubbing. This helps with grout whitening and removes built-up grease. Alternatively, a vinegar and dish soap blend cuts through oily residues without harsh chemicals.
Here’s a quick guide for homemade cleaners:
| Solution | Use |
|---|---|
| Baking soda paste | Grease & grout stains |
| Vinegar + dish soap | Oily tile surfaces |
| Lemon juice | Mild bleaching & fresh scent |
| Hydrogen peroxide | Tough grout whitening |
After cleaning, consider tile sealing to protect surfaces from future stains and make maintenance easier. This step guarantees your kitchen tiles stay cleaner longer while preserving the grout’s brightness.
Rinse and Dry Kitchen Tiles for a Spotless Finish
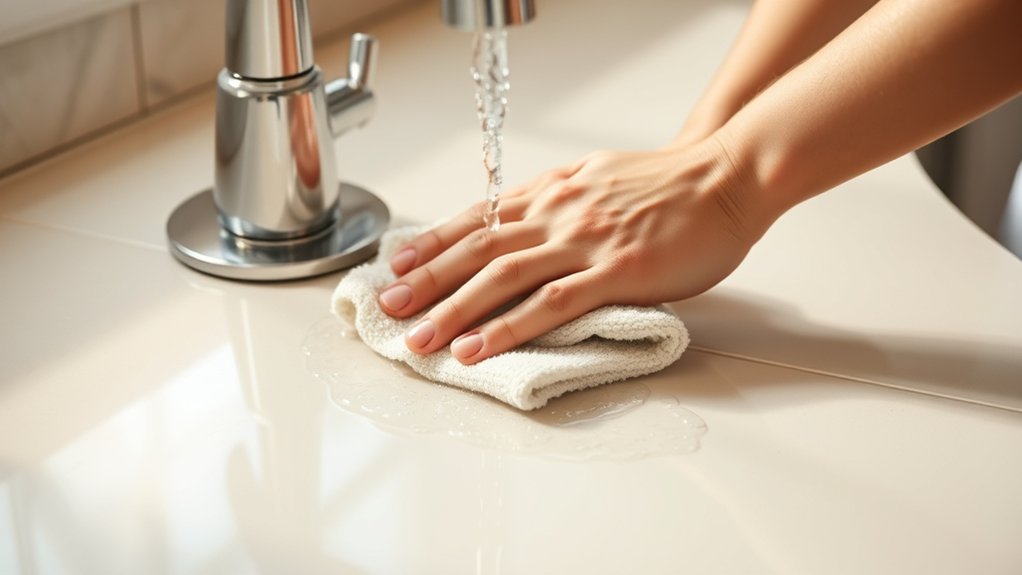
Although cleaning removes most grime, rinsing your kitchen tiles thoroughly is essential to wash away leftover residue that can dull their shine. Use clean water and a mop or sponge to rinse the surface well, ensuring no soap or cleaning solution remains. Pay special attention to grout lines, as leftover residue can cause discoloration or buildup over time.
After rinsing, dry your kitchen tiles promptly with a microfiber cloth or towel to prevent water spots and streaks. Drying also reduces the risk of mold growth in grout lines. Once dry, consider applying grout sealing and tile sealing to protect your surfaces from stains and moisture. These sealants create a barrier that helps maintain your tiles’ appearance and makes future cleaning easier.
Frequently Asked Questions
How Often Should I Deep Clean My Kitchen Tiles?
You should deep clean your kitchen tiles every three to six months to keep them looking fresh and prevent grout staining. If your tiles aren’t sealed properly, grime can seep in, so make sure you maintain tile sealing regularly. This helps protect both tiles and grout from dirt buildup.
If you notice stains or discoloration sooner, don’t wait—deep clean right away to avoid permanent damage and keep your kitchen sparkling.
Can I Use Bleach on Colored Kitchen Tiles?
You might think bleach is fine for colored kitchen tiles, but it can actually fade grout color and damage the tile sealant. Bleach is harsh and can strip away the protective layer, making tiles more vulnerable to stains.
Instead, you should use a gentle cleaner designed for colored tiles to preserve grout color and tile sealant. This keeps your kitchen looking fresh without risking permanent damage.
What Is the Best Way to Prevent Mold on Grout?
The best way to prevent mold on grout is to keep the area dry and well-ventilated. Clean the grout regularly to help stop mold from growing.
After cleaning, apply a grout sealer to help repel moisture and dirt. Reapply it as directed by the manufacturer.
Are Steam Cleaners Safe for Kitchen Tiles?
Think of steam cleaning safety like a gentle rain nourishing your kitchen tiles. Yes, steam cleaners are safe for kitchen tiles when you follow tile cleaning guidelines carefully. You shouldn’t use excessive heat or pressure, as it might damage grout or delicate surfaces.
Always test a small area first and keep the steam moving to avoid moisture buildup. This way, you’ll refresh your tiles without risking harm, making your kitchen sparkle safely.
How Do I Repair Cracked or Chipped Kitchen Tiles?
To repair cracked or chipped kitchen tiles, start by cleaning the area thoroughly. Use grout repair to fix any damaged grout around the tile.
For the chip or crack, apply a tile repair kit or epoxy filler designed for your tile type. Once dry, sand it smooth and apply tile sealing to protect the repair and prevent future damage.
This will keep your kitchen tiles looking great and durable.
Conclusion
Now that you’ve mastered these simple steps, your kitchen tiles will shine like a diamond every day. With just a few common supplies and a bit of elbow grease, you can easily banish grease and stains, leaving your tiles spotless and fresh.
Remember, a clean kitchen isn’t just about looks. It’s the heart of a happy home. So, roll up your sleeves and let your sparkling tiles tell the story of your care. With these tips, cleaning kitchen tiles can be simple and satisfying.