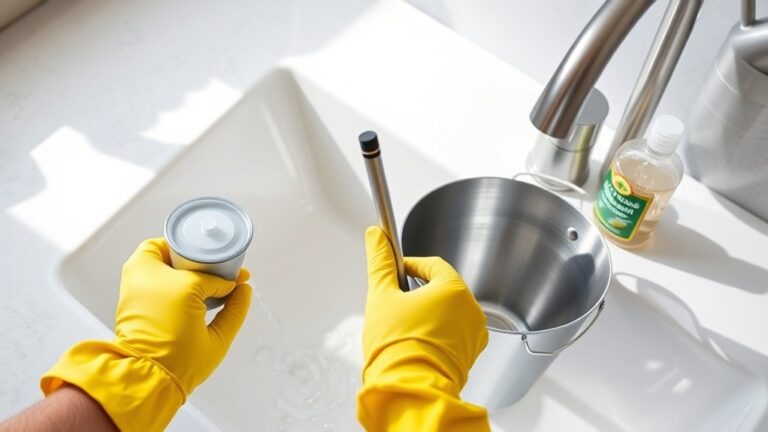
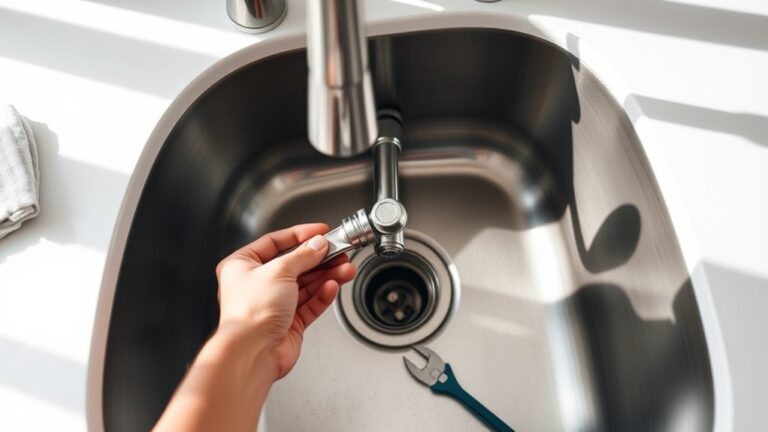
How to Change Kitchen Faucet in 7 Easy Steps
A dripping faucet, awkward handle, or outdated design can make your kitchen feel less functional than it should. If you’re thinking about how to change a kitchen faucet, you’re not alone—many people find the job intimidating, but a little preparation can make it manageable.
To change your kitchen faucet in seven easy steps, first gather tools like a wrench and new faucet parts. Turn off the water supply and clear the workspace. Remove the old faucet by disconnecting water lines and loosening mounting nuts.
Install the new faucet, secure it, then reconnect water lines tightly. Turn the water back on and check for leaks. Finally, test water flow and make adjustments if needed.
Keep going to uncover helpful tips for a smooth installation.
Key Takeaways
- Turn off the water supply and open the faucet to drain remaining water before starting the removal process.
- Use a wrench to disconnect water supply lines and remove mounting nuts to lift out the old faucet.
- Position the new faucet on the sink, secure it with mounting hardware, and avoid overtightening for stability.
- Connect water supply lines hand-tight first, then use a wrench, and gradually turn on water to check for leaks.
- Test faucet operation for proper flow and temperature, inspect for leaks, and tighten fittings or adjust as needed.
Gather Tools and Materials
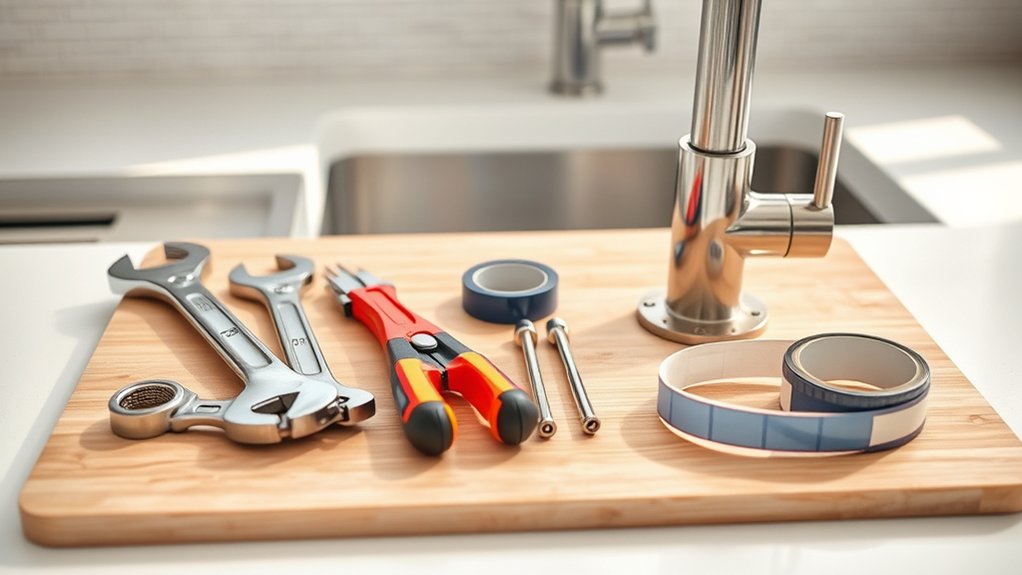
Before you begin changing your kitchen faucet, make sure you’ve gathered all the necessary tools and materials. This preparation saves time and prevents frustration once you start. You’ll need an adjustable wrench, plumber’s tape, a basin wrench, a bucket, and a screwdriver. Having a towel or rag handy helps to manage any spills.
Choosing the right faucet style is essential, not just for functionality but also to complement your kitchen decor. Whether you prefer a sleek modern pull-down faucet or a classic bridge style, pick one that matches your kitchen’s overall look. Check that the new faucet fits your sink’s configuration, single or double holes, and that it includes all required parts like mounting hardware and supply lines.
Turn Off Water and Prepare Your Workspace
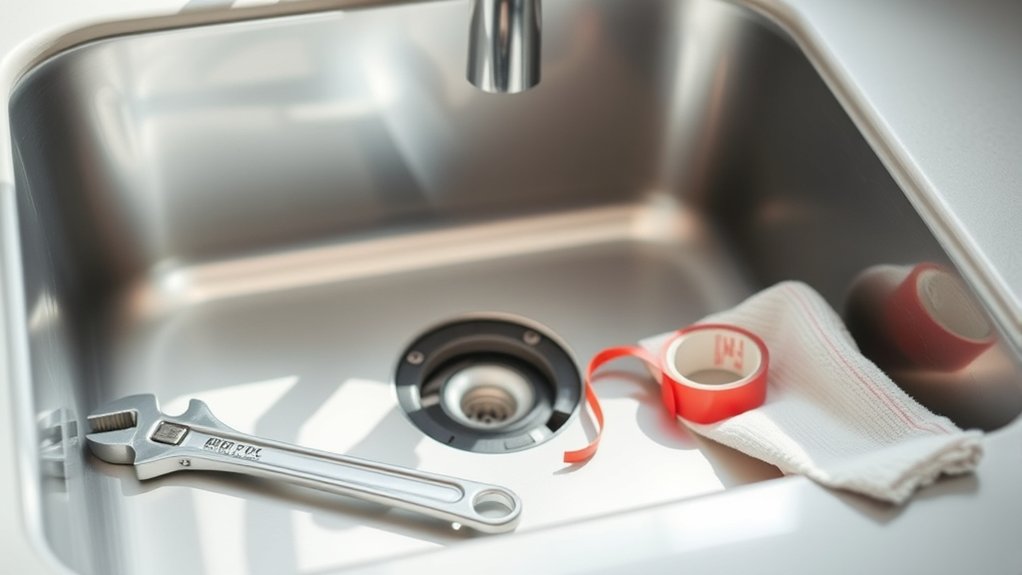
Once you have your tools and faucet ready, shut off the water supply to your kitchen sink to avoid leaks and water damage. Locate the shutoff valves under the sink and turn them clockwise until they’re fully closed. If your valves are old or stuck, you might need to turn off the main water supply to your home. Next, open the faucet to drain any remaining water in the lines.
Clear the area under your sink and around your workspace, removing any items that might get in the way. Lay down a towel or bucket to catch drips, protecting your kitchen décor from water stains or damage.
Preparing your workspace well not only makes the process smoother but also helps maintain your kitchen’s aesthetic during this appliance upgrade. Having a clean, organized setup will save time and prevent accidents as you move forward with replacing your kitchen faucet.
Remove the Old Faucet
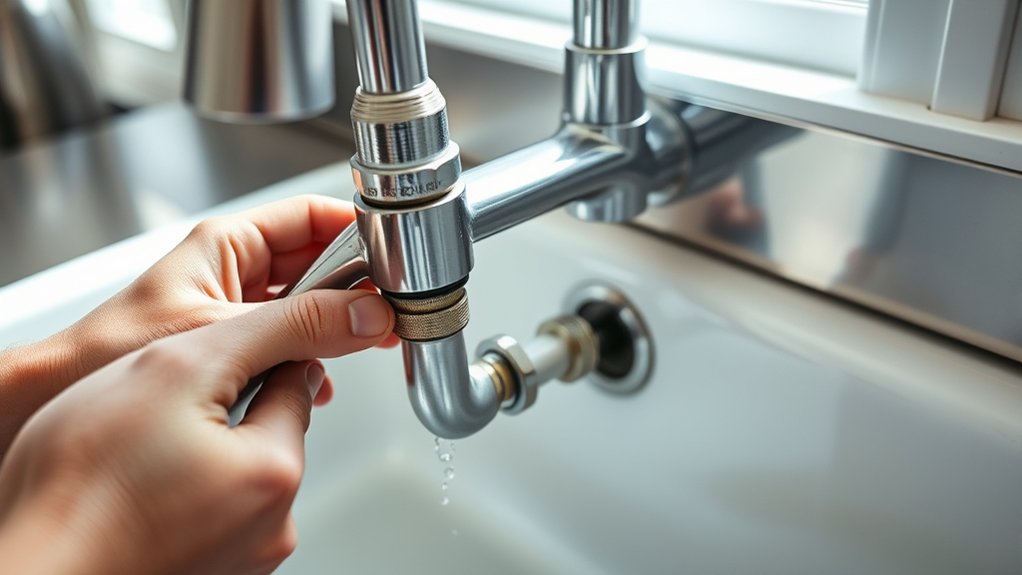
Start by disconnecting the water supply lines connected to your old faucet using an adjustable wrench. Make sure the water is off to maintain plumbing safety throughout the process. Once disconnected, loosen the mounting nuts securing the faucet to the sink from underneath. You might need a basin wrench for tight spaces.
As you remove the old faucet, keep these points in mind:
| Step | Tip |
|---|---|
| Disconnect water lines | Use an adjustable wrench gently |
| Remove mounting nuts | Basin wrench can help |
| Lift faucet out | Clean sink surface afterward |
Handling the old faucet carefully prevents damage to your sink and plumbing fixtures. Removing it fully prepares your workspace for the next phase of faucet installation. By following these steps with attention to plumbing safety, you ensure a smooth and safe removal process.
Install the New Kitchen Faucet
With the old faucet removed and the sink surface cleaned, you can begin installing your new kitchen faucet. First, check your faucet materials to confirm all parts are included—this usually involves the faucet body, mounting hardware, and any gaskets or seals.
Position the faucet on the sink’s mounting holes, aligning it carefully to prevent leaks. Secure it from underneath using the provided nuts or brackets; tighten them firmly but avoid overtightening to prevent damage.
Pay close attention to installation safety by wearing gloves and ensuring the workspace is dry to reduce slipping risks. Also, verify that the faucet materials are compatible with your sink to avoid corrosion or fitting issues.
Keep tools handy for adjustments, and double-check the faucet’s stability before moving on. By following these steps with care, you’ll set a solid foundation for connecting water lines and ensuring your new faucet functions perfectly.
Connect Water Lines and Check for Leaks
How do you guarantee your new kitchen faucet delivers water without any leaks? Start by ensuring your water lines connect properly and the faucet is compatible with your plumbing system. Before tightening, hand-thread the connections to avoid cross-threading. Then, use an adjustable wrench to secure the fittings snugly, but don’t overtighten, as this can damage the lines or faucet.
To confidently connect water lines and check for leaks:
- Verify faucet compatibility with your existing water supply lines
- Hand-tighten connections before using tools to prevent damage
- Turn on the water supply gradually to monitor water pressure
- Inspect all connections carefully for drips or moisture
Once everything’s connected, open both hot and cold water valves slowly. Watch closely for leaks around the fittings. If you spot any, tighten the connections slightly until the leaks stop. This ensures your new faucet delivers steady water pressure without problems.
Test Your New Faucet and Fix Common Problems
Turn on the water and check that it flows smoothly. Look around the connections and base for leaks. If you spot any drips, tighten the fittings or replace the washers.
Check Water Flow
Why isn’t your new faucet delivering water properly? It often comes down to water pressure or flow rate issues. First, turn on both hot and cold taps to check if water flows smoothly. If the pressure feels weak or inconsistent, look for these common culprits:
- Partially closed supply valves restricting flow
- Debris caught in the aerator or cartridge
- Incorrect installation of supply lines causing kinks
- Faulty or damaged water pressure regulators
Identify And Fix Leaks
Once you confirm your faucet delivers water properly, the next step is to check for leaks that could cause damage or waste water. Start with leak detection by carefully inspecting all connections, including under the sink and around the faucet base. Turn on the water and look for drips or moisture.
If you spot any leaks, tighten the fittings with a wrench, but avoid over-tightening. For persistent leaks, you may need to replace worn washers or seals. In some cases, pipe repair might be necessary if cracks or damage are found in the supply lines.
Addressing leaks promptly prevents water damage and keeps your plumbing system efficient. By thoroughly testing and fixing leaks now, you’ll ensure your new faucet works flawlessly and lasts longer.
Clean Up and Maintain Your Faucet
To keep your new faucet looking great and working smoothly, clean it regularly with mild soap and a soft cloth. Avoid harsh chemicals and abrasive tools, as they can damage the finish. With a little regular care, you can prevent wear and help your faucet last longer.
Daily Cleaning Tips
Keeping your kitchen faucet clean daily prevents buildup and extends its lifespan. You don’t need harsh chemicals; simple habits make a big difference. After each use, wipe down the faucet with a soft cloth to remove water spots and soap residue. Using scented sprays occasionally can keep your kitchen smelling fresh while cleaning. Don’t forget soap dispensers—they’re part of the setup and need regular attention to avoid grime buildup.
Try these easy daily cleaning tips:
- Wipe faucet and handles with a damp microfiber cloth
- Use mild soap or dish detergent for stubborn spots
- Spray scented cleaners sparingly to avoid damaging finishes
- Rinse and dry soap dispensers to prevent sticky buildup
Following these steps keeps your faucet sparkling and working smoothly every day.
Preventing Faucet Damage
Although daily cleaning helps, you should also take specific steps to prevent faucet damage and guarantee it lasts longer. Avoid harsh chemicals and abrasive scrubbers, as they can cause faucet corrosion, weakening the finish and internal parts. Instead, use mild soap and a soft cloth for regular cleaning.
Be mindful of water quality; hard water can accelerate corrosion, so consider installing a water softener if needed. Check your faucet for leaks or loose parts regularly and tighten or replace them promptly to prevent further damage.
Also, review your faucet’s warranty considerations before making any repairs or modifications, as some actions could void the warranty. By following these simple preventive measures, you’ll keep your kitchen faucet functioning smoothly and looking great for years to come.
Frequently Asked Questions
Can I Change a Kitchen Faucet Without Shutting off the Main Water Supply?
You shouldn’t change a kitchen faucet without shutting off the main water supply. Skipping this step can cause leaks and water damage, a common mistake.
Instead, follow maintenance tips like turning off the water valves under the sink first. If those don’t work, then shut off the main supply.
Being careful here saves you from costly repairs and frustration. Always double-check for leaks before finishing the job.
What Type of Faucet Is Best for Hard Water Areas?
For hard water areas, you’ll want a faucet made from durable materials like brass or stainless steel, which resist mineral buildup and corrosion. Avoid plastic parts that can degrade quickly.
You should also consider faucets with built-in water filtration to reduce hardness and protect your plumbing. Installing a separate water filtration system can help too.
Choosing the right faucet materials and filtration will keep your kitchen running smoothly despite hard water challenges.
How Do I Choose the Right Faucet Size for My Sink?
You’ll want to measure your sink’s faucet mounting holes first to choose the right faucet size. Count how many holes you have—one, two, or three—and their spacing.
Also, consider handle types; single-handle faucets need less space, while double handles require more. Make sure the faucet’s height and reach fit your sink and countertop to avoid splashing.
This way, you’ll pick a faucet that fits perfectly and works smoothly.
Are There Eco-Friendly Faucets That Save Water?
Yes, eco-friendly faucets are like guardians of your home’s future, symbolizing care for the planet. You can choose eco-friendly fixtures designed to reduce water flow without sacrificing performance.
These faucets use aerators or motion sensors, helping you follow smart water saving tips daily. By installing one, you actively conserve water, lower utility bills, and contribute to a sustainable lifestyle, making every drop count for both your kitchen and the environment.
Can I Install a Kitchen Faucet by Myself Without Plumbing Experience?
Yes, you can install a kitchen faucet by yourself without plumbing experience if you’re willing to learn some basic DIY plumbing skills. Faucet maintenance isn’t as complicated as it seems, and many faucets come with clear instructions to guide you step-by-step.
Just make sure you turn off the water supply first, gather the right tools, and take your time. Watching tutorial videos can also boost your confidence and success.
Conclusion
Changing your kitchen faucet doesn’t have to feel like climbing Mount Everest. With the right tools and these simple steps, you’ll have a fresh, functional faucet in no time.
Take it one step at a time, double-check your connections, and don’t rush the testing phase. Before you know it, you’ll be enjoying a smooth, leak-free upgrade. You’ve got this! Changing your kitchen faucet is a simple way to make washing dishes a breeze and give your kitchen a fresh look.