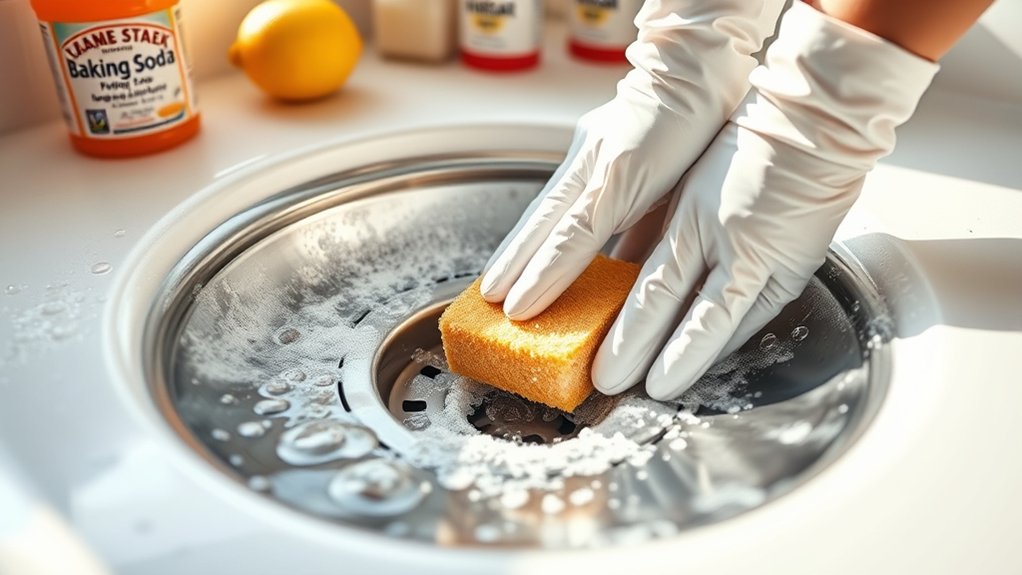
10 Easy Steps to Clean Your Kitchen Sink Drain
A slow or clogged kitchen sink drain can make everyday cleanup frustrating, especially when unpleasant odors start to linger. You’re not alone—many people struggle with stubborn buildup and clogs. These 10 easy steps to clean your kitchen sink drain can help you tackle the problem and keep your sink fresh.
To clean your kitchen sink drain, start by gathering tools like a plunger, drain snake, baking soda, vinegar, and gloves. Clear any standing water using a plunger, then remove and scrub the drain stopper.
Pour baking soda followed by vinegar to break down buildup, and plunge stubborn clogs. Use a drain snake for deeper blockages, and flush with boiling water to clear residue.
Maintaining your sink regularly prevents clogs and odors. Follow along to uncover more helpful tips and techniques.
Key Takeaways
- Remove and clean the drain stopper thoroughly to eliminate trapped debris and prevent odors.
- Use a plunger to clear standing water and dislodge minor clogs near the drain opening.
- Apply a baking soda and vinegar mixture, let it fizz for 15-20 minutes, then flush with hot water.
- Insert a drain snake to break up and remove deep or stubborn blockages inside the pipes.
- Prevent clogs by using a sink strainer, avoiding grease disposal, and performing regular maintenance rinses.
Gather Tools and Ingredients for Cleaning

To get started, gather all the tools and ingredients you’ll need to clean your kitchen sink drain effectively. First, check your kitchen accessories for items like a plunger, a bucket, and a drain snake or wire hanger. These will help you physically remove any blockages.
Next, collect essential cleaning supplies such as baking soda, white vinegar, and dish soap. These natural ingredients are great for breaking down grime and deodorizing your drain without harsh chemicals. You might also want rubber gloves to protect your hands and an old toothbrush or small scrub brush for scrubbing around the drain opening.
Having a flashlight handy can help you inspect the drain for visible debris. By assembling these kitchen accessories and cleaning supplies before you begin, you guarantee a smooth, efficient cleaning process without interruptions. This preparation sets the stage for tackling your kitchen sink drain with confidence and ease.
Clear Standing Water From Your Kitchen Sink
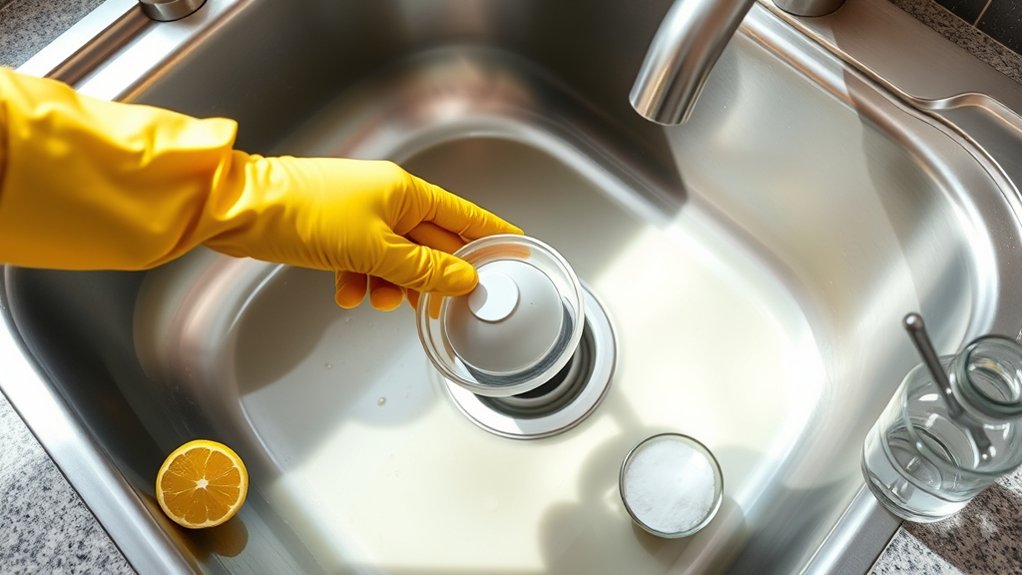
If you notice standing water in your kitchen sink, start by figuring out what’s causing the blockage. Once you’ve identified the issue, use a plunger to push the clog through the drain. This simple step often clears the water and gets things flowing again.
Identify Cause Of Standing
Although standing water in your kitchen sink can be frustrating, pinpointing its cause is the first step toward a lasting fix. To effectively address the issue, you need to assess the drain maintenance and water flow carefully. Here’s how you can identify the cause of standing water:
- Check for obvious clogs near the drain opening that block water flow.
- Inspect the P-trap under the sink for debris buildup or damage.
- Examine the garbage disposal (if you have one) to ensure it’s clear and functioning.
- Look for slow draining water, which indicates partial blockages in your pipes.
Use Plunger Effectively
When standing water collects in your kitchen sink, you’ll want to use a plunger correctly to clear the blockage quickly. First, ensure the plunger cup fully covers the drain and create a tight seal. Push down and pull up with steady, forceful motions—avoid lifting the plunger completely to maintain suction. Repeat this until the water drains smoothly.
After use, focus on plunger maintenance by rinsing it thoroughly with hot water and disinfectant to avoid bacteria buildup. Let it dry completely before storing. For proper plunger storage, keep it in a dry, ventilated area away from other cleaning tools to prevent contamination and extend its lifespan.
With these simple steps, you’ll keep your kitchen sink draining efficiently every time.
Remove and Clean the Drain Stopper

Start by carefully removing the drain stopper. It usually twists or lifts out easily. Then scrub it with warm water and a brush to remove any trapped grime. This helps prevent clogs and keeps your sink smelling fresh.
How To Remove
Start by locating the drain stopper in your kitchen sink—this small piece often traps debris and grime. Removing it is crucial for maintaining a clean, functional kitchen design and supports eco friendly cleaning efforts by preventing clogs naturally. Here’s how to do it:
- Check if the stopper lifts straight out or if it’s attached by a pivot rod underneath the sink.
- If it lifts out, grip it firmly and pull upward. For pivot rod stoppers, loosen the retaining nut under the sink.
- Gently wiggle the stopper free, avoiding damage to seals or pipes.
- Once removed, rinse the stopper thoroughly before cleaning.
Removing the stopper correctly ensures you can clean it properly and maintain your kitchen’s hygiene efficiently.
Cleaning Methods Explained
Although removing the drain stopper is just the first step, cleaning it properly is what prevents buildup and odors from returning. Start by soaking the stopper in a mixture of warm water and dish soap to loosen grime. Use an old toothbrush to scrub away any stuck-on debris, paying attention to crevices. Rinse thoroughly under running water.
This simple action keeps your kitchen sink fresh and complements your kitchen decor by maintaining a clean, inviting space. For better results, incorporate this into your regular kitchen cleaning routine.
As a cooking tip, keeping your drain stopper clean helps prevent unpleasant smells that can affect your cooking environment. Remember, a well-maintained sink drain not only boosts hygiene but also supports a more enjoyable cooking experience.
Break Down Sink Drain Buildup With Baking Soda and Vinegar
When buildup clogs your sink drain, baking soda and vinegar offer a natural and effective solution. This eco friendly cleaning method helps maintain your kitchen without harsh chemicals, making it perfect for routine kitchen maintenance. Here’s how you can break down sink drain buildup:
- Pour half a cup of baking soda directly into the drain.
- Follow with half a cup of white vinegar. You’ll see fizzing as the two react.
- Let the mixture sit for 15 to 20 minutes to loosen grime and neutralize odors.
- Flush the drain with hot water to wash away the dissolved buildup.
Using this simple, chemical-free process regularly keeps your sink drain clear and fresh. It’s a smart, sustainable way to protect your plumbing and promote a clean kitchen environment.
Plunge Stubborn Kitchen Sink Clogs
When tackling a stubborn kitchen sink clog, the right plunger can make all the difference. Choose one designed specifically for sinks, as it’ll create a tight seal and strong suction. Then plunge steadily and with control to clear the blockage without making a mess.
Choosing The Right Plunger
How do you tackle a stubborn kitchen sink clog that just won’t budge? Choosing the right plunger is crucial. Different plunger types suit various clog situations, so pick wisely. Here’s how to choose and maintain your plunger:
- Cup Plunger: Ideal for flat surfaces like sinks; creates a tight seal.
- Flange Plunger: Best for toilets but can work on kitchen drains with deep pipes.
- Accordion Plunger: Offers strong suction but may be harder to use in sinks.
- Plunger Maintenance: Clean after each use with disinfectant, and store it dry to prevent mold and odors.
Selecting the right plunger type and maintaining it properly ensures you’re ready to clear clogs effectively and prolong the plunger’s lifespan.
Effective Plunging Techniques
Mastering just a few effective plunging techniques can make clearing stubborn kitchen sink clogs much easier. First, confirm your plunger is in good condition—regular plunger maintenance, like cleaning the rubber cup and checking for cracks, prevents leaks and improves suction.
Start by filling the sink halfway with water to create a seal. Position the plunger firmly over the drain and use quick, forceful thrusts without lifting it off the surface. Repeat this motion about 15-20 times, then quickly pull the plunger away to release the pressure.
If plunging doesn’t work, consider alternative methods like using a drain snake or natural enzymatic cleaners to break down buildup. Remember, proper technique combined with good plunger care saves time and frustration when tackling tough clogs.
Check and Clean the P-Trap for Trapped Debris
Because debris often accumulates in the P-trap, checking and cleaning it can quickly resolve many common drain clogs. To perform a thorough P trap inspection and debris removal, follow these steps:
- Place a bucket under the P-trap to catch water before loosening the slip nuts.
- Carefully unscrew the slip nuts connecting the P-trap to the drainpipe and sink drain.
- Remove the P-trap and inspect it for trapped debris like food particles, grease, or hair.
- Clean the P-trap thoroughly using a brush or cloth, then rinse with warm water.
After cleaning, reattach the P-trap by tightening the slip nuts securely. This quick inspection and debris removal process helps maintain proper water flow and prevents foul odors. Regular P trap inspection is an essential part of keeping your kitchen sink drain clear and functioning smoothly.
Use a Drain Snake for Deep Kitchen Sink Clogs
If cleaning the P-trap doesn’t clear your clog, a drain snake can reach deeper blockages that simple debris removal can’t fix. You’ll want to insert the snake slowly into the drain, turning the handle clockwise to break up or hook the clog. This tool lets you perform effective drain maintenance by targeting stubborn buildup beyond your reach.
As you work, keep an eye on the snake’s progress to avoid damaging your pipes. Once you feel resistance lessen, slowly withdraw the snake, bringing out trapped debris. This process also serves as a form of pipe inspection, helping you identify potential issues like pipe corrosion or misalignment.
Using a drain snake regularly can prevent severe blockages and keep your kitchen sink draining smoothly. Remember to clean the snake after use to maintain its effectiveness for future drain maintenance tasks.
Flush the Kitchen Sink Drain With Boiling Water
When you’ve cleared stubborn clogs with a drain snake, flushing your kitchen sink drain with boiling water helps wash away remaining debris and grease. This simple step improves your drain’s flow and keeps it fresh.
Follow these steps for effective drain flushing:
- Boil about 4 cups of water in a kettle or pot.
- Carefully pour the boiling water directly into the drain opening.
- Allow the hot water to sit in the drain for a few minutes to soften any leftover buildup.
- Repeat the process once or twice if necessary to ensure thorough cleaning.
Boiling water breaks down grease and loosens particles trapped inside the pipes. Regular drain flushing with boiling water prevents buildup from becoming a problem again.
Just be sure to avoid using boiling water if your pipes are PVC or plastic, as it may cause damage. Otherwise, this quick step effectively complements your kitchen sink cleaning routine.
Maintain Your Kitchen Sink to Prevent Clogs
Flushing your drain with boiling water helps clear away buildup, but keeping your kitchen sink clog-free means staying ahead of problems. You can adopt eco friendly cleaning habits and regular preventative maintenance to avoid costly clogs.
Simple steps like avoiding grease down the drain, using a sink strainer, and monthly vinegar rinses keep your pipes clear and healthy.
Here’s a quick guide to maintain your sink and prevent blockages:
| Task | Frequency | Benefit |
|---|---|---|
| Use sink strainer | Every use | Catches food debris |
| Avoid pouring grease | Always | Prevents fat buildup |
| Vinegar rinse | Monthly | Eco friendly cleaning |
Keep Your Kitchen Sink Smelling Fresh
Why does your kitchen sink sometimes give off unpleasant odors? It’s usually due to trapped food particles and bacteria buildup. To keep your kitchen sink smelling fresh, you need more than just air freshening sprays—they only mask scents temporarily.
Unpleasant kitchen sink odors often stem from trapped food particles and bacteria buildup, not just the need for air fresheners.
Instead, try these effective steps:
- Regularly flush the drain with boiling water to clear residue.
- Use a baking soda and vinegar mix to break down grime and neutralize odors.
- Clean the sink stopper and drain cover to remove hidden debris.
- Place lemon peels or a few drops of essential oils near the drain for natural scent masking.
Frequently Asked Questions
Can Chemical Drain Cleaners Damage My Kitchen Sink Pipes?
Yes, chemical drain cleaners can damage your kitchen sink pipes. They trigger intense chemical reactions that break down clogs but can also cause pipe corrosion over time. If you keep using them frequently, the harsh chemicals may eat away at your pipes, especially if they’re older or made of metal. To protect your plumbing, try gentler methods or natural alternatives before resorting to these strong cleaners.
How Often Should I Clean My Kitchen Sink Drain?
You should stick to a regular cleaning schedule for drain maintenance, ideally every one to two months. This helps prevent buildup and keeps your kitchen sink drain running smoothly.
If you notice slow drainage or odors, clean it more often. Consistent upkeep saves you from costly repairs and clogs, so don’t wait until problems arise. Setting reminders can make it easier for you to stay on top of this essential task.
Is It Safe to Use Bleach to Clean the Sink Drain?
Bleach is like a double-edged sword: powerful but risky. You can use bleach for drain cleaning, but you’ve got to handle it with care. Bleach safety means never mixing it with other cleaners, especially ammonia, or you’ll release toxic fumes. Always wear gloves, ensure good ventilation, and rinse thoroughly afterward. If you’re cautious, bleach can help, but don’t rely on it too often to keep your sink drain safe and clean.
What Are the Signs That My Kitchen Sink Drain Needs Professional Repair?
You’ll know your kitchen sink drain needs professional repair if you notice frequent drain blockage that won’t clear with simple methods. Slow draining water or persistent bad odors also signal trouble.
If you spot rust stains or leaks under the sink, pipe corrosion might be the culprit. Don’t ignore these signs, as corrosion can cause serious damage. Calling a plumber early can save you time and costly repairs down the line.
Can Food Waste Disposers Help Prevent Sink Drain Clogs?
Food waste disposers can be a superhero in preventing sink drain clogs by grinding food scraps into tiny pieces that flush easily. When you use them properly and keep up with disposal maintenance, you drastically reduce the chances of buildup causing blockages.
Just remember, not everything belongs in the disposer—hard bones and fibrous peels can still cause trouble. So, with smart use and regular care, your sink stays clog-free and flowing smoothly.
Conclusion
Just like a garden needs regular care to keep blooming, your kitchen sink requires consistent cleaning to stay clog-free. Imagine your drain as a winding river. Without clearing debris, it can flood and overflow.
By following these easy steps, you’re clearing the path for water to flow smoothly, preventing backups and odors. Keep up with this simple routine, and your sink will thank you with fresh smells and hassle-free use every day. Regularly cleaning your kitchen sink drain helps keep it fresh and clog-free.