
How to Refinish a Wooden Kitchen Table in 3 Simple Steps
A worn or scratched kitchen table can make your whole dining space feel tired, and refinishing it may seem like a daunting project. You’re not alone—many people want to restore their table but aren’t sure where to start.
This guide to how to refinish a wooden kitchen table in 3 simple steps makes the process easier.
To refinish your wooden kitchen table in three simple steps, start by thoroughly cleaning it with mild soap and water, then sand the surface evenly along the grain to remove old finishes and imperfections.
Next, choose a stain that improves the wood’s color, apply it evenly, and follow with thin coats of polyurethane for protection, sanding lightly between coats.
Finally, protect your table using gentle cleaning and coasters to keep it looking fresh.
Keep going to uncover tips for long-lasting care and preservation.
Key Takeaways
- Clean and dry the table thoroughly to remove dirt and moisture before refinishing.
- Sand the surface evenly along the grain, starting with medium-grit and finishing with fine-grit sandpaper.
- Apply stain evenly with a cloth or brush, testing on a small area first for desired color.
- Protect the wood by applying thin coats of polyurethane, sanding lightly between coats for smoothness.
- Maintain the finish by using gentle cleaning methods and avoiding harsh chemicals or abrasive tools.
Clean and Sand Your Wooden Kitchen Table for Refinishing
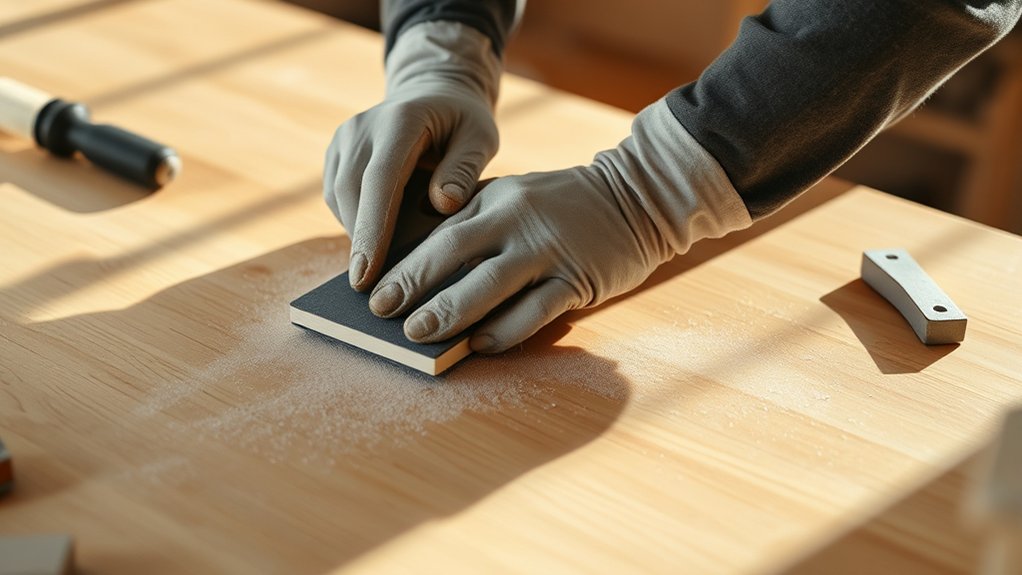
Before you begin sanding, make sure to thoroughly clean your wooden kitchen table to remove any dirt, grease, or food residues. Use a mild soap and water solution with a soft cloth, then dry it completely. This step guarantees that dirt won’t interfere with sanding or damage the wood grain.
Next, inspect the table for surface scratches or dents. Sanding helps smooth these imperfections, but you want to be gentle to avoid damaging the natural wood grain. Start with medium-grit sandpaper to remove old finishes and scratches, sanding evenly along the grain’s direction.
Avoid sanding across the grain, which can cause unwanted scratches. After the initial sanding, switch to fine-grit sandpaper to create a smooth surface ready for finishing. Finally, wipe the table with a tack cloth to remove all dust.
This careful cleaning and sanding prep sets you up perfectly for the next refinishing steps.
Choose and Apply the Right Finish to Your Table
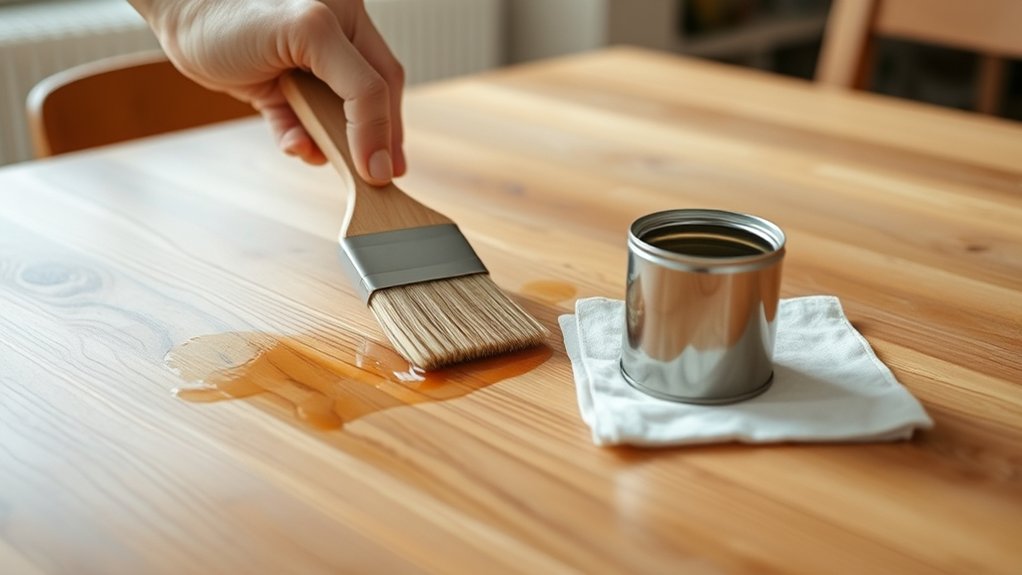
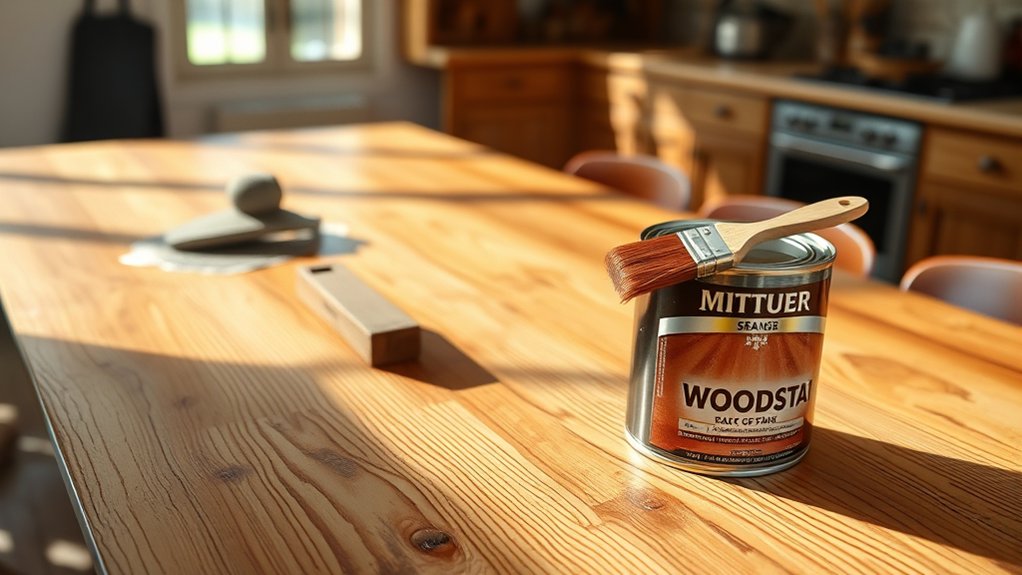
Once your table is clean and sanded smooth, it’s time to pick the right finish to protect and improve the wood. Choosing stain comes first if you want to boost the color. Test a small area to see how the wood reacts, then apply evenly with a cloth or brush. After the stain dries, applying polyurethane will seal and protect your table from spills and scratches.
Here’s a quick guide to help you decide:
| Finish Type | Benefits |
|---|---|
| Oil-based stain | Rich color, deep penetration |
| Water-based stain | Quick drying, low odor |
| Polyurethane | Durable, water-resistant |
Apply polyurethane in thin coats with a clean brush, sanding lightly between layers for a smooth finish. This step is vital for long-lasting protection and a beautiful sheen on your refinished wooden kitchen table.
Protect and Maintain Your Newly Refinished Kitchen Table

Although your kitchen table looks stunning after refinishing, protecting and maintaining it guarantees that beauty lasts for years. Start by using gentle cleaning techniques—wipe the surface with a soft, damp cloth and mild soap to remove spills and dirt without damaging the finish. Avoid harsh chemicals or abrasive scrubbers that can wear down the protective layer.
For ongoing care, follow simple maintenance tips: use coasters and placemats to prevent scratches and water rings, and clean up spills immediately to avoid stains. Periodically, apply a quality furniture polish or wax to nourish the wood and reinforce the finish. Keep your table away from direct sunlight and extreme temperatures to prevent warping or fading.
Frequently Asked Questions
What Tools Do I Need to Start Refinishing My Wooden Table?
You’ll need a few essential tools to start your furniture restoration project. Grab sandpaper or a power sander to strip the old finish, a good-quality paintbrush or foam brush for applying stain or varnish, and a clean cloth for wiping away dust and excess stain.
Don’t forget safety gear like gloves and a mask. These basics will set you up for successful DIY woodworking and bring your wooden table back to life.
How Long Does the Entire Refinishing Process Usually Take?
The entire refinishing process usually takes about two to three days. You’ll spend a few hours sanding and stripping away old finishes, especially if you’re using historical methods that require gentle, detailed work.
After that, applying eco friendly finishes like natural oils or water-based sealers means you’ll need to wait for each coat to dry fully, often several hours to overnight. Patience guarantees a beautiful, durable result that’s kind to the environment.
Can I Refinish a Table With Deep Scratches or Stains?
Oh, sure—just grab a magic wand and wave those deep scratches and stubborn stains away! But since you’re stuck with reality, you’ll want to tackle table sanding thoroughly to level out those imperfections. Don’t skip stain removal either; it’s your best friend for banishing those pesky marks. With some elbow grease and patience, you can absolutely breathe new life into your table, even if it looks like it survived a battle!
Is It Safe to Refinish Furniture Indoors?
Yes, you can refinish furniture indoors, but you need to guarantee proper indoor ventilation to keep fresh air flowing and reduce fumes. Open windows and use fans to help circulate air.
Always prioritize chemical safety by wearing gloves and a mask, and follow product instructions carefully. Avoid prolonged exposure to stains and finishes, and take breaks outside to minimize inhaling harmful fumes during your refinishing project.
What Type of Wood Is Easiest to Refinish?
You’ll find that softwoods like pine are easiest to refinish because their wood grain is less dense, making sanding smoother. However, hardwoods with open grain, such as oak, also respond well to refinishing since their grain absorbs finish types evenly.
When choosing, consider how your finish type interacts with the wood grain. Oil finishes highlight grain beautifully, while paint covers it up. Pick wood that suits your finishing style for best results.
Conclusion
Just like restoring a classic painting brings new life to its beauty, refinishing your wooden kitchen table revives its charm and warmth. By cleaning, sanding, and applying the right finish, you’ll transform your table into a timeless centerpiece.
Maintain it well, and your refinished wooden kitchen table will be a place where memories and meals are shared for years to come.