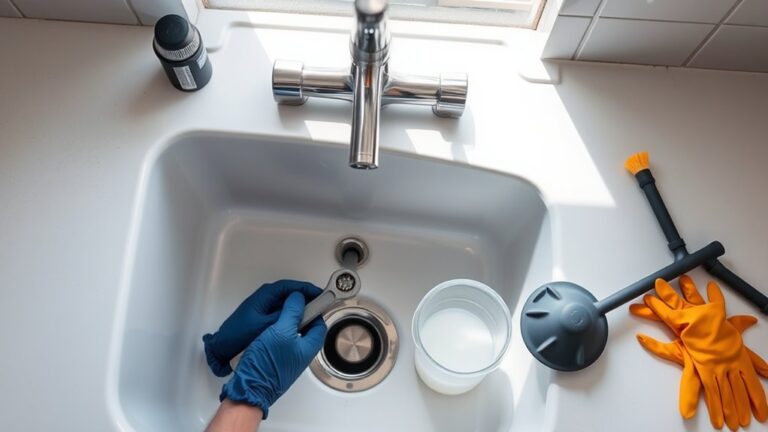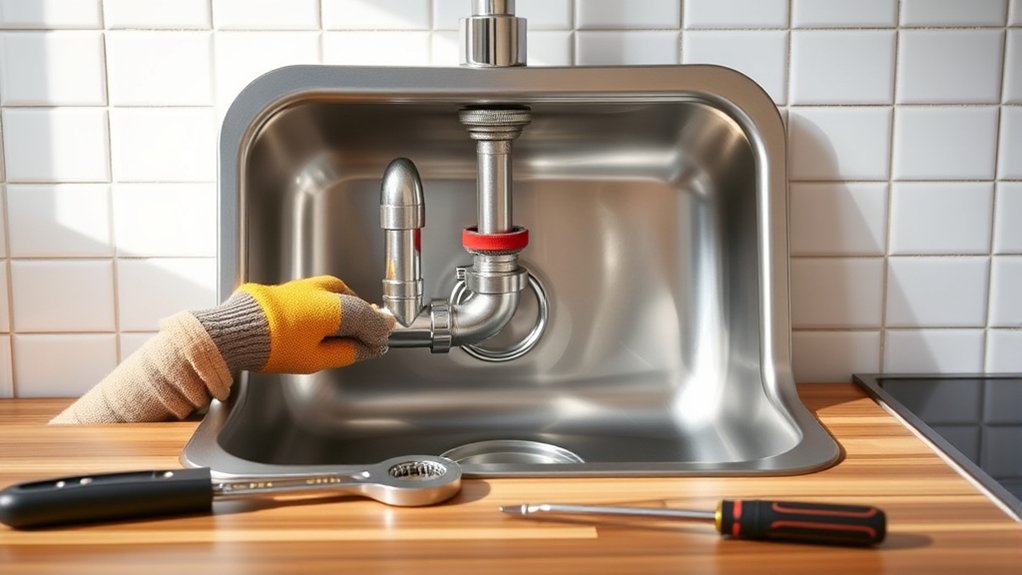
How to Remove Your Kitchen Sink in 10 Easy Steps
Removing a kitchen sink can feel like a bigger job than it looks, especially when stubborn sealant or hard-to-reach plumbing gets in the way. You’re not alone—many homeowners struggle with where to start.
This guide to how to remove your kitchen sink in 10 easy steps will help you prepare for the job and make the process easier to manage.
To remove your kitchen sink in 10 easy steps, first gather tools like a screwdriver and basin wrench, and clear the workspace. Turn off water valves and disconnect plumbing, including the drain and garbage disposal if you have one.
Next, loosen mounting clips and carefully cut through sealant. Gently lift the sink without damaging your countertop.
Finally, clean and prep the area for installation. Follow these steps closely, and you’ll be ready for your sink upgrade in no time.
Delve into more details to master each part smoothly.
Key Takeaways
- Turn off water supply valves and disconnect plumbing pipes with a wrench, using a bucket to catch residual water.
- Remove drain components and garbage disposal by loosening slip nuts and detaching mounting hardware safely.
- Cut through sealant around the sink edges with a utility knife and gently rock the sink to loosen it.
- Loosen and remove sink mounting clips or brackets from underneath the countertop with appropriate tools.
- Lift the sink carefully, supporting its weight and protecting the countertop to avoid damage during removal.
Gather Tools and Materials to Remove Your Kitchen Sink
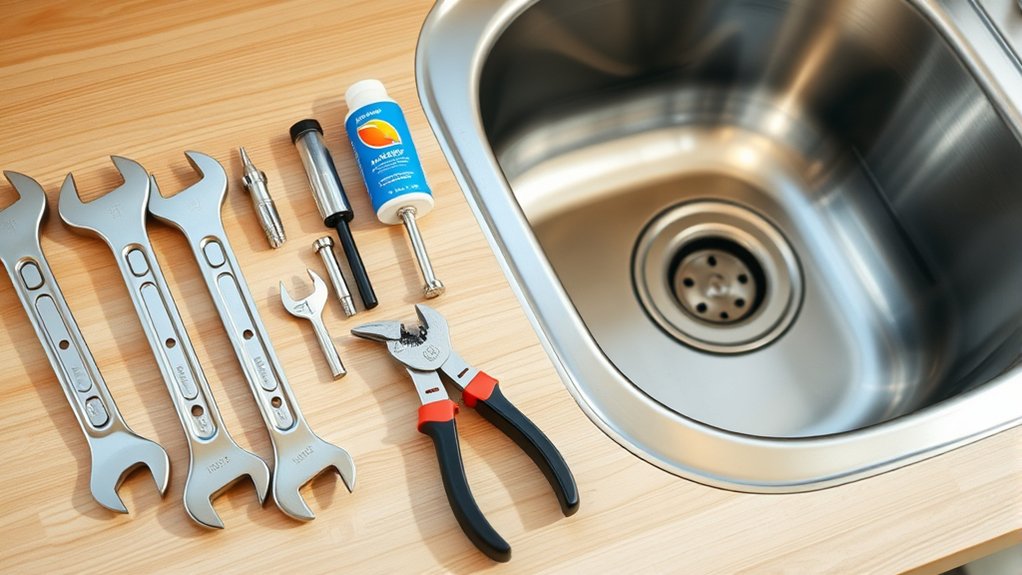
Before you begin removing your kitchen sink, gather all the necessary tools and materials to guarantee the process goes smoothly. Knowing your kitchen sink materials—whether stainless steel, porcelain, or composite—helps you select the right tools and avoid damage. For example, a stainless steel sink might need a basin wrench and adjustable pliers, while a porcelain sink requires extra care to prevent chipping.
Familiarize yourself with common installation techniques, such as clips, caulking, or mounting brackets, so you know what to expect when loosening parts. You’ll likely need a screwdriver, utility knife, bucket, and plumber’s putty remover. Having these at hand prevents interruptions and frustration.
Clear Cabinets and Remove Items Near the Sink

With your tools and materials ready, focus on clearing the cabinets and removing any items around the sink area. Start by organizing cabinets to create a tidy workspace. Take everything out of the cabinets beneath and near the sink, placing items on a nearby counter or table.
Removing clutter not only helps prevent accidental spills or damage but also gives you clear access to plumbing and mounting hardware.
Sort through what you’ve removed, deciding what to keep, relocate, or discard. This step makes future cabinet use more efficient. Wipe down cabinet interiors to remove dirt or moisture before proceeding.
Also, clear off the countertop near the sink to avoid any obstacles while working. By organizing cabinets and removing clutter now, you’ll make the sink removal process smoother and safer, preventing unnecessary interruptions or hazards later on.
Turn Off Water and Disconnect Plumbing Lines
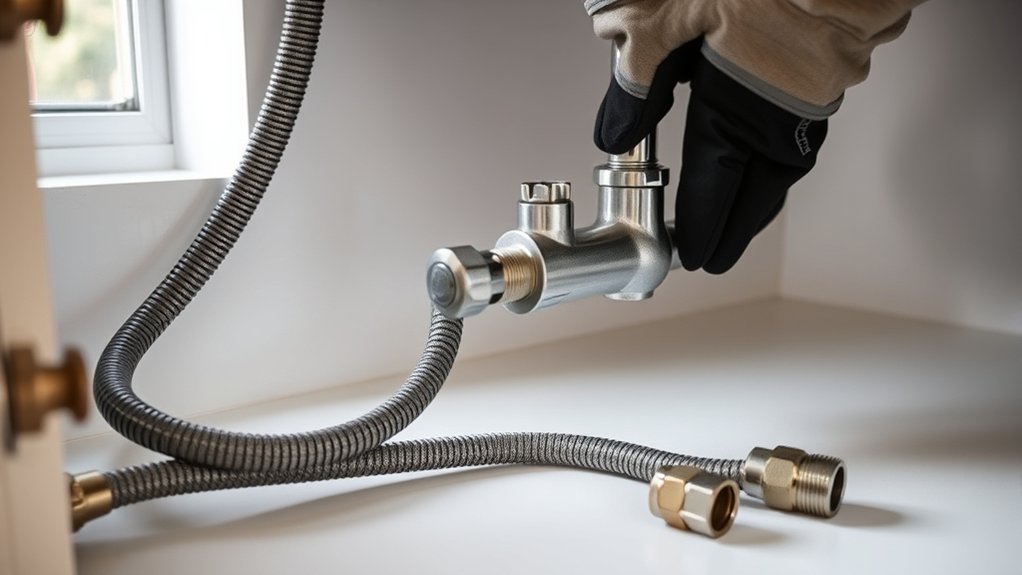
Since water can cause damage and make the removal process messy, you’ll need to shut off the water supply to your sink first. Locate the shutoff valves under the sink and turn them clockwise until they stop. If there are no individual valves, turn off the main water supply for your home. Once off, open the faucet to relieve any remaining water pressure and drain water from the lines.
Next, identify the pipe material, whether copper, PVC, or PEX, because this affects how you disconnect the plumbing lines. Use an adjustable wrench or pliers to loosen the compression nuts on copper or PEX pipes carefully. For PVC pipes, you may need to unscrew slip nuts by hand or with a wrench. Have a bucket handy to catch any residual water as you disconnect each line. Taking these steps guarantees a clean, safe process and preps you for the next stage of sink removal.
Detach Drain Pipes and Garbage Disposal (If Installed)
Carefully disconnect the drain pipe joints to prevent leaks or damage. If there’s a garbage disposal, unplug it and remove its mounting assembly. This will clear the way for removing the sink.
Disconnecting Drain Pipe Joints
Before you disconnect the drain pipe joints, make sure to place a bucket underneath to catch any residual water. This prevents mess and helps you work safely. Follow these steps for a smooth disconnect:
- Use a wrench or pliers to loosen the slip nuts connecting the drain pipes carefully.
- Gently separate the pipe joints, inspecting them for damage. If you notice cracks or leaks, consider drain pipe repair or pipe joint replacement.
- Keep the pipes upright to avoid spills, and set aside any washers or gaskets for reuse or replacement.
Taking these precautions helps when you need to replace worn parts or troubleshoot leaks, making your kitchen sink removal straightforward and clean.
Removing Garbage Disposal Unit
After you’ve disconnected the drain pipe joints and set aside any washers or gaskets, you can move on to removing the garbage disposal unit if your sink has one installed. First, unplug the disposal or switch off the circuit breaker for safety. Locate the mounting ring securing the disposal to the sink flange—twist it counterclockwise to release the unit.
Carefully lower the disposal, detaching it from the sink. If it’s connected to a dishwasher drain, disconnect that hose as well. Removing the disposal allows you to perform thorough garbage disposal maintenance or address disposal troubleshooting issues effectively.
Keep track of any mounting hardware and seals for reinstallation or replacement. With the disposal out, you’ll have clear access to continue removing your kitchen sink or perform further repairs.
Undo the Sink Clips or Mounting Brackets Underneath
Next, look underneath the countertop for the clips or brackets holding the sink in place. Use the appropriate tool, such as a screwdriver or wrench, to loosen them carefully. Once they’re removed, you can lift out the sink.
Locate Mounting Clips
While standing beneath your sink, you’ll want to locate the mounting clips or brackets that secure it to the countertop. These clips hold your sink firmly in place and are essential to identify before starting sink removal.
Typically, you’ll find them spaced evenly around the sink’s perimeter under the countertop. Here’s how to spot them quickly:
- Look for metal or plastic clips attached to the underside of the countertop.
- Check for screws or bolts fastening these clips tightly against the sink rim.
- Identify any brackets securing the sink edge, especially in corners or near the faucet area.
Knowing where the mounting clips are will help you undo them safely and prepare for removing the sink without damaging your countertop or plumbing.
Use Proper Tools
Because the mounting clips can be tight and sometimes rusted, you’ll need the right tools to undo them safely. Start by gathering your proper tool selection: typically a screwdriver or a wrench, depending on the type of clips your sink uses. A socket wrench often works well for stubborn bolts.
Don’t forget to wear safety gear like gloves and safety glasses to protect your hands and eyes from rust or debris. Position yourself comfortably under the sink and carefully loosen each clip or bracket, applying steady pressure to avoid stripping screws.
If a clip resists, try a penetrating oil to loosen rust. Using the proper tools and safety gear guarantees you remove the mounting clips without damaging your sink or risking injury.
Cut Through the Sealant Around the Sink Edges
Before you can lift the sink out, you’ll need to carefully cut through the sealant that keeps it firmly attached to the countertop. This step is essential for sealant removal and guarantees you don’t damage the surrounding surfaces. Start by inspecting the edges to see where the sealant is thickest.
To effectively cut through the sealant around the sink edges, follow these steps:
- Use a utility knife or a specialized sealant removal tool for precise edge cutting.
- Run the blade gently but firmly along the seam, applying even pressure to slice through the sealant without gouging the countertop.
- Work your way around the entire perimeter, making sure the sealant is fully severed to free the sink.
Taking your time with the edge cutting will make the next step smoother, preventing any damage to your countertop or sink.
Lift the Kitchen Sink Out Gently Without Damaging Countertop
Since the sealant is fully cut, you can now carefully lift the kitchen sink out without damaging your countertop. Start by gently rocking the sink back and forth to loosen it from the cut sealant. Pay attention to the sink material—whether it’s stainless steel, cast iron, or composite—as heavier materials require extra caution to avoid sudden drops. Use your hands or a soft lifting tool to prevent scratches.
Keep in mind your countertop compatibility; some surfaces like laminate or wood are more prone to damage than stone or solid surface countertops. Lift slowly and evenly, supporting the sink’s edges to avoid stressing the countertop. If the sink feels stuck, double-check for any remaining adhesive or clips you might have missed. By working patiently and respecting the sink material and countertop compatibility, you’ll remove the sink safely, preserving your countertop’s integrity for your next installation.
Clean the Countertop and Prep It for a New Sink
Before installing your new sink, clear everything off the countertop so you have plenty of room to work. Then wipe down the surface to remove any debris or old sealant. To protect the countertop while you prep, cover it with a soft cloth or padding.
Clear Workspace Thoroughly
Although it might seem like a simple task, clearing your workspace thoroughly is essential to ensure a smooth sink removal and installation process. Before you start, gather the cleaning supplies and safety equipment you’ll need to protect yourself and keep the area tidy.
- Remove all items from the countertop, including dishes, utensils, and small appliances, to create an open and accessible workspace.
- Use your cleaning supplies to wipe down the countertop, removing dust, grease, and debris that could interfere with the new sink’s installation.
- Put on safety equipment like gloves and goggles to avoid injury while handling tools and cleaning agents.
Protect Countertop Surface
With your workspace cleared and cleaned, you can now focus on protecting the countertop surface as you prepare for the new sink. Start by thoroughly surface cleaning to remove any dirt, grease, or debris that could interfere with the installation.
Use a mild cleaner and a soft cloth to avoid damaging the countertop. This step is essential for countertop preservation, ensuring it stays scratch-free and intact during the sink removal and installation process.
Next, apply painter’s tape along the edges where the sink meets the countertop. This tape acts as a barrier against accidental scratches or adhesive spills.
Taking these precautions will keep your countertop in great shape and ready for the new sink, making your project smoother and more professional-looking.
Inspect Plumbing Connections for Leaks and Repairs
Once you’ve disconnected the sink, carefully examine all plumbing connections for signs of leaks or damage. Leak detection is vital to prevent water damage and costly repairs later. Look closely at each joint, pipe, and fitting for drips, corrosion, or cracks. If you spot any issues, address pipe repairs immediately to maintain a secure plumbing system.
Here’s what to focus on during your inspection:
- Check all pipe connections and seals for moisture or rust.
- Inspect the P-trap and drainpipes for clogs or worn parts.
- Test for leaks by running water through the pipes and watching for drips.
Dispose or Recycle Your Old Sink Responsibly
Before you replace your kitchen sink, you’ll need to dispose of the old one properly to avoid environmental harm and possible fines. Start by checking if your local waste management facility accepts sinks for responsible disposal.
Many centers offer eco friendly recycling programs that break down materials like stainless steel or porcelain, keeping them out of landfills. If your sink’s in good condition, consider donating it to a habitat restoration group or a resale shop to extend its life.
Avoid tossing the sink in regular trash, as it can contain materials harmful to the environment. When you schedule a pickup or drop-off, confirm the facility follows eco friendly recycling practices.
Frequently Asked Questions
What Safety Precautions Should I Take When Removing a Kitchen Sink?
You should always prioritize tool safety by wearing gloves and goggles to protect your hands and eyes. Make sure your tools are in good condition and use them properly to avoid accidents.
For electrical precautions, turn off the power to any nearby outlets or appliances to prevent shocks. Also, avoid working in wet conditions. Taking these steps will keep you safe and make the sink removal process smoother and hazard-free.
How Long Does the Sink Removal Process Typically Take?
Removing your kitchen sink typically takes about 1 to 2 hours, like peeling an onion layer by layer. You’ll want to gather your plumbing tools ahead of time to speed things up. Disconnecting water lines and loosening nuts for sink disposal can be tricky, so working methodically helps.
If you run into rusted parts or tight spaces, expect it to take a bit longer. Staying organized keeps the process smooth and efficient.
Can I Remove a Kitchen Sink by Myself or Do I Need a Professional?
You can definitely tackle sink replacement yourself if you’re comfortable with DIY plumbing basics. Removing a kitchen sink solo is doable, especially if you have the right tools and some patience. Just make sure to turn off the water supply and disconnect plumbing carefully.
However, if you’re unsure about handling pipes or potential leaks, calling a professional might save you time and headaches. Trust your skill level when deciding!
What Are the Common Problems Encountered During Sink Removal?
You’ll often face issues like drain clogging when debris blocks pipes during removal, making cleanup tricky. Pipe corrosion is another common problem—it can cause connections to be stuck or break unexpectedly, leading to leaks.
You might also struggle with stubborn sealants or tight fittings. Being prepared with proper tools and patience helps you handle these challenges without damaging your plumbing or creating bigger headaches.
How Do I Handle Mold or Mildew Under the Sink?
You should start by wearing gloves and a mask to protect yourself. Use a mixture of bleach and water or a commercial mildew cleaner to scrub the affected area thoroughly.
After cleaning, dry the space completely to prevent moisture buildup. To help prevent mold, consider applying a mold-resistant sealant and improving ventilation under your sink.
Regularly check for leaks, as dampness encourages mold growth. Keeping the area dry will help you avoid future problems.
Conclusion
Removing your kitchen sink might seem intimidating, but with these steps, you’ll handle it like a pro. Remember, “measure twice, cut once” applies here. Taking your time now saves headaches later.
Once you’ve lifted out the old sink and cleaned the countertop, you’re ready for the next project. Stay patient, work carefully, and you’ll have a fresh, functional kitchen space in no time. You’ve got this! With these tips, you’re ready to remove your kitchen sink with confidence.