
How to Use a Kitchen Scale in 10 Easy Steps
Inconsistent measurements can make even a favorite recipe turn out differently. You’re not alone—many home cooks struggle to get precise results, especially when measuring sticky or liquid ingredients. The right kitchen scale can make weighing ingredients easier and more reliable.
Start by placing your kitchen scale on a flat, stable surface and turn it on. Calibrate it using a known weight or zero it with nothing on.
Use the tare function to reset weight after adding containers, allowing you to weigh multiple ingredients easily. Weigh dry or liquid ingredients in stable containers, switch units as needed, and handle sticky ingredients with care.
Keep your scale clean and avoid overloads for accuracy. Follow these basics, and you’ll master precise measuring in no time.
Key Takeaways
- Place the kitchen scale on a flat, stable surface and power it on for accurate measurements.
- Calibrate or zero the scale before use, especially after moving it, for consistent accuracy.
- Use the tare function to subtract container weight when measuring multiple ingredients in one vessel.
- Select appropriate units (grams, ounces, milliliters) via the unit button for precise recipe adherence.
- Clean the scale after use, avoid overloading, and store it in a dry place to maintain its longevity.
Prepare Your Kitchen Scale and Workspace
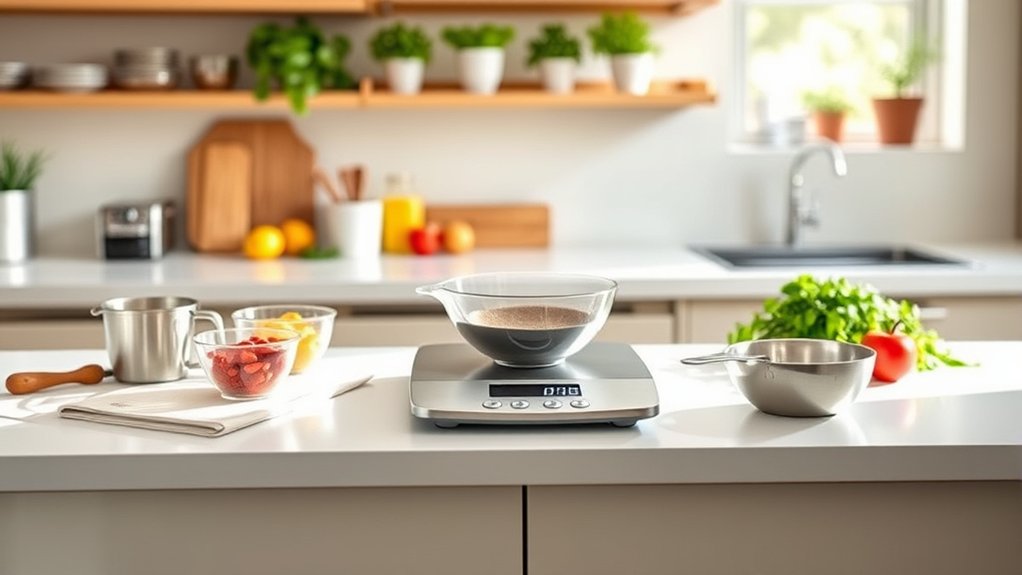
Before you begin weighing ingredients, make sure your kitchen scale is clean and placed on a flat, stable surface. This guarantees accurate measurements and prevents any wobbling that could throw off your results.
Clear your workspace to create a dedicated area for weighing. Good utensil organization helps keep measuring cups, spoons, and bowls within easy reach, so you won’t waste time searching mid-recipe.
Consider using smart storage solutions like drawer dividers or countertop containers to keep your scale and related tools neatly arranged. This setup reduces clutter and speeds up your cooking process.
Also, avoid placing heavy items nearby that might accidentally press or damage the scale. With your kitchen scale ready and your workspace organized, you’ll enjoy a smoother, more efficient cooking experience.
Getting this preparation right is the foundation for precise ingredient measurement and better results in your recipes.
Turn On and Calibrate Your Kitchen Scale
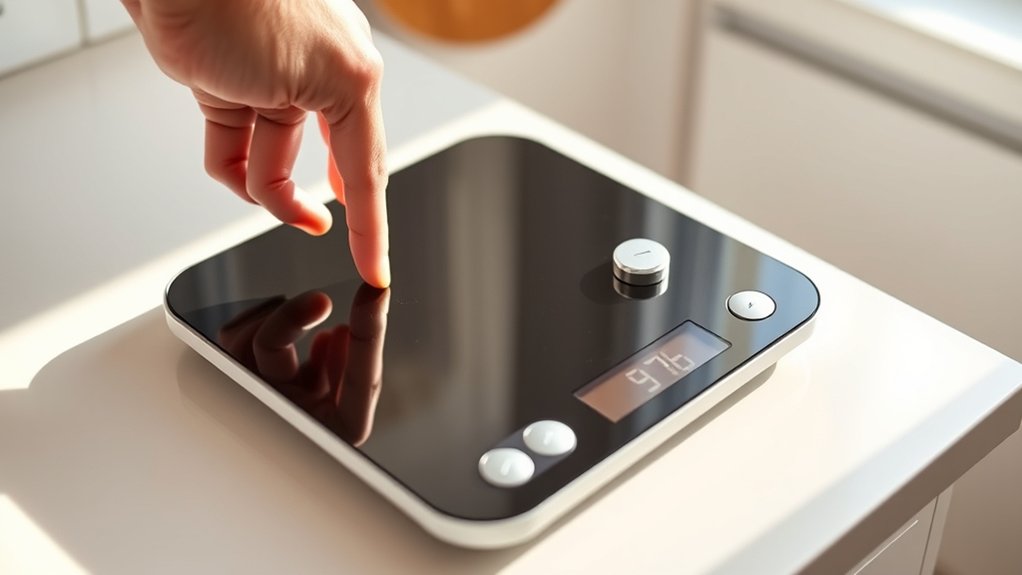
Once you power on your kitchen scale, you’ll need to calibrate it to guarantee every measurement is accurate. Start by placing your scale on a flat, stable surface to ensure proper scale placement. Uneven surfaces can throw off readings, so double-check the area before proceeding.
Most digital scales offer a calibration mode; activate this following your scale’s instructions. Calibration techniques typically involve placing a known weight, like a calibration weight or a commonly used item with a precise mass, on the scale. The scale will then adjust itself to that weight.
If your scale doesn’t have a specific calibration mode, try turning it on with nothing on it and wait for it to zero out. Repeat calibration regularly, especially if you move the scale or notice inconsistent readings. Proper calibration ensures your ingredients are measured correctly, making your cooking and baking results reliable every time.
Use the Tare Function to Weigh Multiple Ingredients
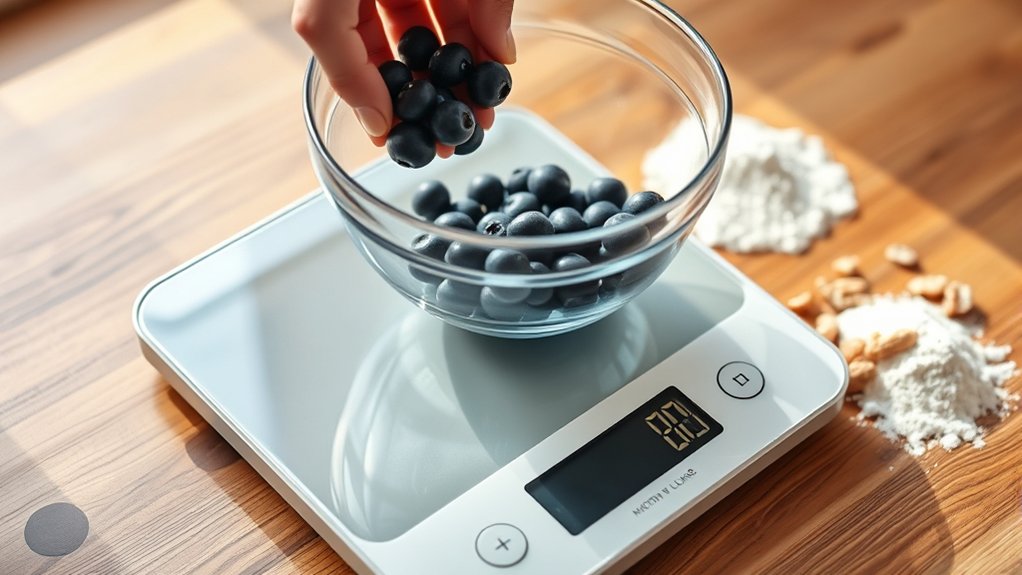
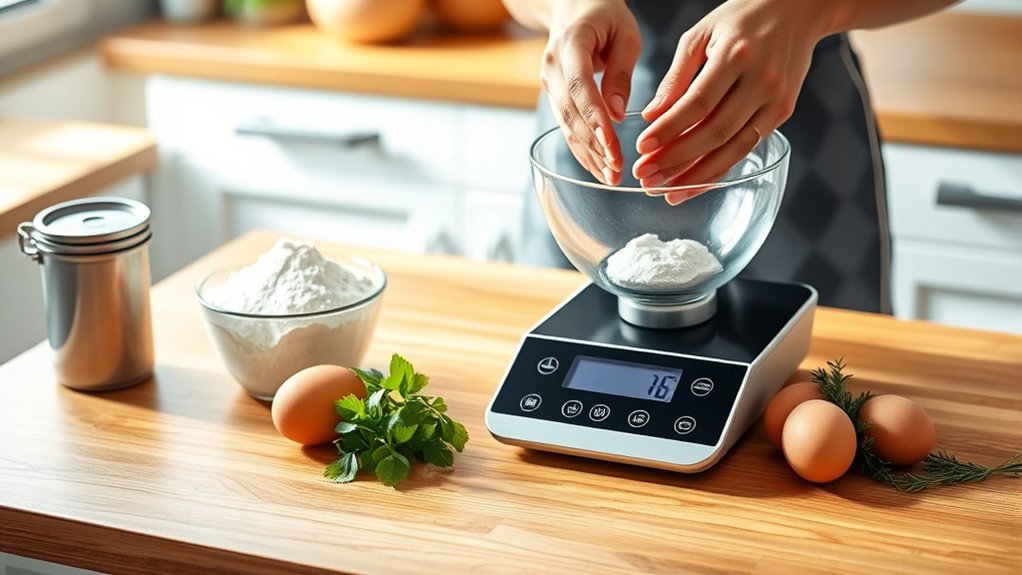
Use the tare function to reset the scale to zero after adding each ingredient. That way, you can weigh multiple ingredients in the same container without doing extra math. It saves time and helps keep your measurements accurate.
What Is Tare Function
Although weighing ingredients separately can feel tedious, the tare function on your kitchen scale makes it easy to measure multiple items in one bowl without any extra cleanup. When you place an empty container on the scale, the tare button resets the digital display to zero, so you only measure what’s added afterward. This feature saves time and guarantees accuracy, especially during the calibration process.
Here’s how the tare function works:
| Step | Description |
|---|---|
| 1. Place container | Put your bowl or container on scale |
| 2. Press tare | Reset digital display to zero |
| 3. Add ingredient | Measure the first ingredient |
| 4. Press tare again | Reset display to zero for next ingredient |
| 5. Repeat | Continue adding and weighing ingredients |
How To Reset Scale
When you need to weigh multiple ingredients in one container, resetting your kitchen scale with the tare function is the key to accurate measurements. First, place your empty container on the scale. Then, press the tare button to reset the display to zero.
This reset procedure ensures that only the weight of the ingredients you add afterward is recorded. If your scale isn’t showing zero after taring, it might need a digital calibration. Refer to your scale’s manual to perform this calibration, which often involves turning the scale off, then holding down the tare button while turning it back on.
Mastering these steps helps you measure ingredients precisely without removing the container, making cooking and baking easier and more accurate.
Benefits Of Taring Multiple
How can taring multiple ingredients simplify your cooking process? Using the tare function lets you weigh each ingredient directly in the same bowl without doing math or dirtying extra dishes. This approach streamlines your cooking techniques and boosts kitchen organization by keeping your countertop clear and your workflow smooth.
Here’s why you’ll love taring multiple:
- Save time by adding and weighing ingredients consecutively
- Reduce cleanup with fewer bowls and utensils
- Maintain accuracy for recipes requiring precise measurements
- Keep your workspace tidy and clutter-free
- Improve efficiency, especially when prepping complex dishes
Weigh Dry Ingredients Accurately
Choose a stable container that won’t tip or spill, then place it on the scale. Press the tare button to reset the display to zero, so you can weigh your dry ingredients without including the container’s weight.
Choosing Proper Containers
Why does choosing the right container matter when weighing dry ingredients? The container you pick affects accuracy and ease. Different container materials—like glass, plastic, or metal—can influence stability and static cling, which impacts measurements. Also, container sizing is essential; too large, and it’s hard to handle; too small, and ingredients may spill.
When selecting your container, consider:
- Lightweight plastic bowls that won’t tip easily
- Clear glass containers for easy ingredient visibility
- Small metal bowls that resist static cling
- Containers with flat bottoms for stable placement
- Sizes matching typical recipe quantities to avoid overflows
Picking the right container ensures you weigh dry ingredients precisely and keep your kitchen mess-free.
Taring for Precision
Now that you’ve selected the right container for your dry ingredients, you need to make certain your scale reads only the weight of what’s inside it. This is where taring comes in. Taring resets the scale to zero with your container on it, ensuring you measure only the ingredient’s weight.
It’s a vital step in cooking techniques for accuracy and consistent results. Taring also helps maintain kitchen organization by reducing the need for multiple measuring tools.
| Step | Action |
|---|---|
| 1 | Place container on scale |
| 2 | Press “Tare” or “Zero” |
| 3 | Confirm scale reads “0” |
| 4 | Add dry ingredient |
| 5 | Record ingredient weight |
Use taring every time to weigh dry ingredients accurately and streamline your cooking process.
Measure Liquid Ingredients on Your Kitchen Scale
Wondering how to accurately measure liquid ingredients using your kitchen scale? Start by placing a clean, empty container on the scale and use the tare function to reset it to zero. This way, you’re only measuring the liquid’s weight, not the container’s.
When measuring liquids, keep in mind that weight often provides more consistent results than volume, especially for ingredients like honey or oil. Accurate dosing ensures your recipes turn out perfectly every time.
Here’s how to visualize the process:
- A transparent measuring cup on the scale, liquid filling up to the desired weight
- You pressing the tare button after placing the container
- A digital display showing grams or ounces precisely
- Pouring honey slowly to avoid overshooting the target weight
- Adjusting the amount by adding or removing liquid until the scale reads just right
Using your kitchen scale for liquids simplifies measuring liquids and guarantees accurate dosing.
Convert Kitchen Scale Units Easily
Although kitchen scales often default to one unit of measurement, you can easily switch between grams, ounces, pounds, and milliliters to suit your recipe’s needs. Most digital scales have a simple button labeled “unit” or “mode” that lets you toggle through different measurements.
This flexibility helps you follow various cooking techniques accurately, especially when recipes use different systems. For instance, switching to grams guarantees precise ingredient amounts for baking, while ounces or pounds might be better for weighing larger portions.
Using the correct unit also improves your food presentation. When you measure ingredients consistently, you achieve uniform portions and balanced flavors, making your dishes look professional.
Plus, converting units on the fly saves time and avoids confusion. There’s no need for separate conversion tools. By mastering unit conversion on your kitchen scale, you streamline your cooking process and elevate the overall quality of your meals.
Tips for Weighing Small and Sticky Ingredients
Switching between units on your kitchen scale sets you up for accurate measurements, but weighing small or sticky ingredients brings its own challenges. To get precise amounts without making a mess, you’ll want to use the right cooking utensils and proper ingredient storage techniques.
Start by placing a small bowl or plate on your scale and zero it out to avoid any extra weight. When handling sticky ingredients, a silicone spatula or spoon can help scoop and transfer them without sticking to your hands.
For tiny amounts like spices or seeds, use a piece of parchment paper or plastic wrap to keep everything contained and easy to pour.
Here are some tips to visualize:
- Use a small, lightweight container to hold sticky ingredients
- Line your bowl with parchment for easy transfer
- Use a rubber spatula to scrape ingredients cleanly
- Weigh ingredients immediately after removing from storage to avoid clumping
- Tare your scale after placing each utensil or container
These steps make measuring small and sticky ingredients hassle-free.
Clean and Maintain Your Kitchen Scale
How often do you clean your kitchen scale? Keeping your scale spotless is essential for kitchen hygiene and accurate measurements. After each use, wipe the scale with a damp cloth and mild detergent. Never immerse it in water. Regular cleaning prevents residue buildup, which can cause scale troubleshooting issues like inaccurate readings or unresponsive buttons.
To maintain your scale, store it in a dry place and avoid overloading it. Here’s a quick guide to keep your scale in top shape:
| Problem Encountered | Quick Fix |
|---|---|
| Unresponsive buttons | Clean around buttons gently |
| Inaccurate readings | Recalibrate the scale |
| Residue buildup | Wipe with damp cloth |
| Scale won’t turn on | Check/replace batteries |
Avoid Common Kitchen Scale Mistakes
When you rely on your kitchen scale, avoiding common mistakes guarantees accurate measurements and better cooking results. Precision is key to mastering cooking techniques, so make sure you don’t overlook these pitfalls.
First, always place your scale on a flat, stable surface to prevent fluctuating readings. Next, remember to tare your container before adding ingredients—that way, you measure only what counts.
Place your scale on a stable surface and always tare your container for precise ingredient measurements.
Avoid using wet or sticky containers, as residue can affect accuracy and complicate kitchen organization. Don’t overload the scale beyond its capacity; this can damage the device and throw off measurements. Finally, calibrate your scale regularly to maintain consistent results.
Here are common kitchen scale mistakes to watch for:
- Placing the scale on uneven or soft surfaces
- Forgetting to reset or tare before weighing
- Using dirty or inappropriate containers
- Exceeding the maximum weight limit
- Neglecting periodic calibration
Stay mindful of these errors to improve your cooking techniques and keep your kitchen organized.
Picking the Right Kitchen Scale for Your Needs
Although kitchen scales come in many styles and sizes, choosing the right one depends on your cooking habits and measurement needs. If you frequently experiment with recipe substitutions, a digital scale with precise measurements is essential for accuracy when swapping ingredients. Consider the scale’s maximum weight capacity too; if you often bake large batches, pick one that can handle heavier loads.
Scale durability is another key factor. Look for models made from sturdy materials like stainless steel or reinforced plastic, which can withstand daily kitchen use and accidental drops. A waterproof or easy-to-clean surface also helps maintain your scale’s longevity.
Lastly, think about features like the tare function, unit conversions, and display readability. By selecting a kitchen scale tailored to your routine, you’ll make cooking and baking more consistent and enjoyable.
Frequently Asked Questions
Can I Use a Kitchen Scale for Portion Control in Dieting?
Yes, you can definitely use a kitchen scale for portion control in dieting. It helps you measure exact serving sizes, making meal prepping easier and more precise. When you weigh your food, you avoid overeating and stick to your calorie goals.
Plus, it’s great for food storage because you can pack balanced portions in containers ahead of time, keeping your diet on track and reducing food waste.
How Do Kitchen Scales Differ From Measuring Cups in Accuracy?
You’d think measuring cups could read your mind, but kitchen scales are way more accurate, almost like they have superpowers! Unlike cups that rely on volume and can mislead you with ingredient substitution, scales measure exact weight, leaving zero room for guesswork.
Just make sure your scale calibration is spot-on, or you might as well be guessing. Scales give you precision, so your recipes turn out perfect every time.
Is It Safe to Weigh Hot Ingredients Directly on the Scale?
It’s generally not safe to weigh hot ingredients directly on the scale because most kitchen scales have heat sensitivity limits. The heat can damage the scale’s sensors or display.
Instead, place a heat-resistant bowl or container on the scale first, then tare it to zero before adding your hot ingredients. Always consider material safety to avoid melting or warping surfaces that could compromise your scale’s accuracy and longevity.
Can a Kitchen Scale Help With Baking Consistency?
Absolutely, a kitchen scale is your secret weapon for recipe precision. When you measure ingredients by weight, you avoid the guesswork that often sneaks in with volume measurements. This means you get ingredient accuracy every single time, leading to consistent baking results. By using a scale, you’ll notice your cakes, breads, and cookies come out just right, batch after batch, turning your kitchen into a reliable baking haven.
What Are the Benefits of Digital vs. Analog Kitchen Scales?
You’ll find digital scales offer precise measurements and easy-to-read displays, making calibration tips simple to follow. Analog scales, while less precise, don’t rely on batteries and can be more durable with minimal scale maintenance.
If you want accuracy and convenience, digital is your best bet, but if you prefer a no-fuss tool, analog works well. Just remember to regularly calibrate and clean your scale to keep it reliable.
Conclusion
Now that you’ve got the hang of using your kitchen scale, you’re well on your way to becoming a culinary artist with precision at your fingertips. Remember, a little patience and care go a long way in keeping your scale happy and accurate.
With each perfectly measured ingredient, you’re not just cooking, you’re crafting edible masterpieces that delight the senses. So, weigh wisely and enjoy the effortless magic of cooking with confidence.