10 Steps to Sharpen Kitchen Knives With a Rod
Dull kitchen knives can make chopping slow, frustrating, and even less safe. If you’ve struggled to keep your blades sharp, you’re not alone. The right honing rod can help restore a keen edge and make everyday prep easier.
To sharpen your kitchen knives with a honing rod, start by selecting the right rod material and size for your blades. Set up a stable workspace, then grip your knife securely and hold the rod vertically.
Find and maintain a 15-20 degree angle as you draw the blade from base to tip with smooth, even strokes. Alternate sides for balance and repeat until sharp.
Test the edge with paper or a tomato, then clean and store everything safely. Keep going to master expert techniques that guarantee lasting sharpness.
Key Takeaways
- Hold the honing rod vertically with its tip on a stable surface, gripping the knife firmly and keeping wrists relaxed for control.
- Maintain a consistent 15-20 degree angle between the blade and rod throughout each honing stroke.
- Draw the blade smoothly from base to tip with moderate pressure, alternating sides evenly to realign the edge.
- Repeat strokes on both sides until the blade easily slices paper or tomatoes, checking sharpness regularly.
- Clean and dry the knife and rod after honing, then store tools properly to maintain their condition and safety.
What Is a Honing Rod and Why Use One?
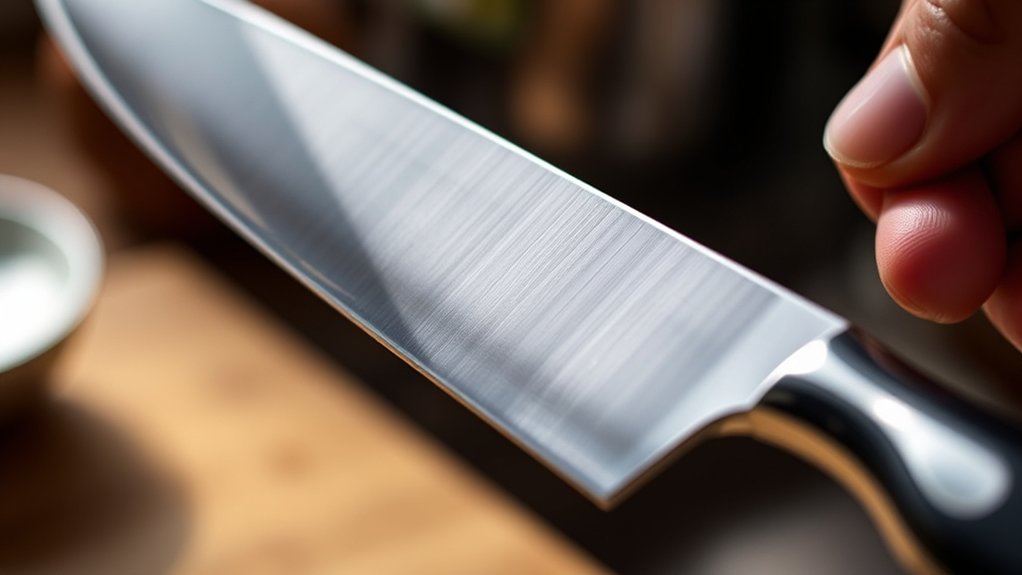
A honing rod is a simple tool that helps realign your kitchen knife’s edge, keeping it sharp and effective. Unlike sharpening, which removes metal, honing straightens the blade’s edge, maintaining its cutting performance.
Using a honing rod regularly improves kitchen safety by reducing the risk of slips caused by dull knives. When your blade is properly aligned, you exert less force, minimizing accidents.
Regular honing sharpens your knife’s edge, enhancing safety by reducing slips and the effort needed to cut.
To get the most from your honing rod, focus on honing rod maintenance. Keep it clean by wiping it down after each use to prevent residue buildup. Avoid dropping or banging it, as this can damage the rod’s surface and reduce its effectiveness.
Store it safely to prevent accidents in your kitchen. By incorporating these simple habits, you’ll guarantee your honing rod remains a reliable tool for maintaining sharp knives, making your cooking experience safer and more efficient every time you prep.
Choose the Right Honing Rod for Your Knives
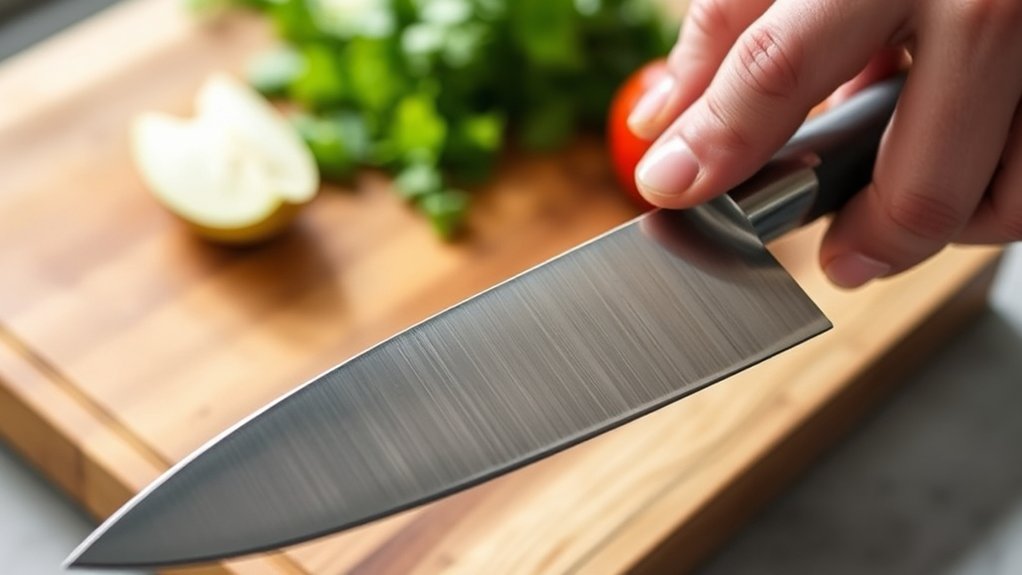
To get the best results, choose a honing rod that suits your knives’ material and size. Pay attention to the rod’s diameter, too—it should feel balanced in your hand and work well with your blade length. And since you’ll use it regularly, make sure the handle feels comfortable.
Material Types Explained
Three common materials stand out when choosing a honing rod: steel, ceramic, and diamond-coated. Each offers unique benefits, so consider material durability and rod maintenance before deciding.
- Steel rods are durable and easy to maintain. They’re perfect for regular touch-ups with minimal effort, ideal if you want a reliable, low-maintenance tool.
- Ceramic rods provide a finer edge, great if you desire precision. However, they require careful handling to avoid chipping, which affects durability.
- Diamond-coated rods sharpen aggressively and last long, but they need gentle cleaning to preserve their abrasive surface.
Knowing these options helps you pick a rod that matches your knife type and sharpening routine, ensuring your blades stay sharp without extra hassle.
Rod Diameter Considerations
Selecting the right rod diameter can make a big difference in how effectively you sharpen your knives. When considering rod diameter, think about the size and shape of your blades.
Thinner rods, around 6 to 8 millimeters, work well for smaller knives and allow precise control. Thicker rods, 10 millimeters or more, are better suited for larger knives and tougher sharpening tasks.
Rod diameter considerations also affect your knife grip techniques. A rod that’s too thick may limit your wrist movement, while one that’s too thin might not provide enough support.
Choose a diameter that feels comfortable and lets you maintain a steady angle. This balance helps you sharpen efficiently without straining your hand or compromising control.
Handle Comfort Importance
Balancing rod diameter with handle comfort makes sharpening much easier and safer. When choosing a honing rod, an ergonomic handle is just as important as its size. You’ll want to prioritize grip comfort to maintain control and avoid slips during sharpening.
Here’s why handle comfort matters:
- Reduces hand fatigue — An ergonomic handle fits your hand naturally, so you can sharpen longer without discomfort.
- Prevents accidents — A secure grip minimizes the risk of the rod slipping, keeping your fingers safe.
- Improves precision — Comfort lets you focus on steady, even strokes, sharpening your knives more effectively.
Don’t overlook the handle when picking your honing rod. Your hands will thank you every time you sharpen.
Set Up Your Workspace Safely
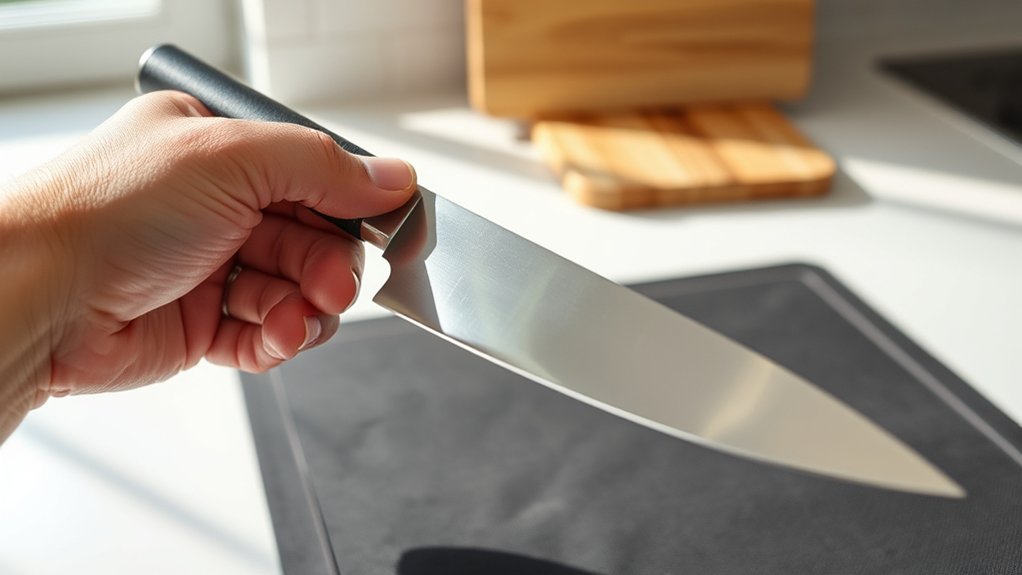
Before you start sharpening, make sure your workspace is clean, well-lit, and free of distractions. Good kitchen safety begins with workspace organization. Clear away any clutter so you have plenty of room to maneuver the knife and honing rod safely.
A stable, non-slip surface will prevent accidents and help you maintain control throughout the process. Position your sharpening area near a good light source to clearly see the knife’s edge and rod angle.
Keep any other kitchen tools or utensils out of reach to avoid unnecessary hazards. If possible, use a cutting board or a rubber mat to add grip and protect your countertop.
Having everything organized and within arm’s reach lets you focus on sharpening without interruptions. This setup reduces the risk of slips or cuts, ensuring you sharpen your knives efficiently and safely every time.
Prioritizing kitchen safety now will make the whole process smoother and more effective.
Hold Your Knife and Honing Rod Properly
Grip the knife firmly by its handle, keeping your fingers away from the blade’s edge. With your other hand, hold the honing rod vertically and rest its tip on a stable surface. This gives you better control and helps you stay safe while honing.
Correct Grip Techniques
Although it might seem straightforward, holding your knife and honing rod correctly is essential for effective sharpening and safety. Your grip directly impacts cooking safety and how well your knife edge is maintained, which in turn affects knife storage longevity.
Follow these three steps for the correct grip techniques:
- Hold the honing rod firmly with your non-dominant hand, gripping the handle near the base to maintain control and prevent slipping.
- Grip the knife handle with your dominant hand, wrapping your fingers securely around it, keeping your index finger on the spine for stability.
- Keep your wrists relaxed to allow smooth, controlled strokes that protect both your blade and your hands.
Mastering this grip ensures sharper knives and safer use in the kitchen.
Optimal Rod Positioning
Now that you’ve got a secure grip on both the knife and honing rod, focus on positioning the rod at the right angle and height. Hold the rod vertically or slightly tilted away from you, typically around a 20-degree angle relative to the blade.
This angle works best for most blade materials, ensuring you don’t damage the edge while honing. Keep the rod steady, with its tip resting firmly on a non-slip surface or held securely in your off-hand.
Proper rod positioning allows you to maintain consistent strokes along the blade, which is *essential* for effective sharpening. Remember, regular honing rod maintenance, like cleaning and inspecting for wear, helps maintain its effectiveness and protects your knives.
With the right position and care, you’ll get sharp, lasting edges every time.
Find the Right Angle to Hone Your Knife
Before you start honing your knife, it’s essential to find the right angle to maintain its edge effectively. Proper knife maintenance hinges on this step, ensuring your blade stays sharp longer while preventing damage. Most kitchen knives require honing at a 15 to 20-degree angle, but it varies by blade type.
Finding the right honing angle is crucial to keep your knife sharp and prevent damage.
To find yours, try these honing best practices:
- Visualize a 90-degree angle between your knife and the rod, then halve it to about 45 degrees. Halve again to roughly 22.5 degrees, adjusting slightly until it feels right.
- Use a guide or angle tool if you want precision, especially if you’re new to honing.
- Practice holding the knife at this angle, feeling the rod’s resistance without forcing it.
Mastering this angle sharpens your blade consistently and safely, making your knife maintenance routine more effective and enjoyable.
Hone From Base to Tip With Consistent Pressure
Once you’ve found the right angle to hone your knife, focus on maintaining steady pressure as you move the blade along the rod. Start at the base of the blade near the handle and draw it smoothly toward the tip, keeping consistent contact with the rod.
This guarantees an even edge, preventing uneven wear or damage. Avoid pressing too hard; moderate pressure works best to realign the edge without removing too much metal.
Pay attention to your knife storage as well. Proper storage reduces dulling and extends the time between sharpenings. Store knives in a block or on a magnetic strip to protect the blade.
Remember, honing doesn’t replace sharpening but helps maintain sharpness between sessions. Adjust your sharpening frequency based on how often you use your knives and how they’re stored.
Keeping a regular honing routine with consistent pressure will keep your blades performing at their best.
Alternate Sides to Balance the Edge
Although honing one side of the blade is important, you need to alternate sides to create a balanced, sharp edge. Focusing on just one side can lead to uneven edge alignment and disrupt blade symmetry, making your knife less effective.
To guarantee a perfectly balanced edge, follow these steps:
- Start by honing one side with steady, consistent strokes from base to tip.
- Switch to the opposite side, matching the number of strokes to maintain symmetry.
- Repeat alternating sides evenly, paying close attention to the angle and pressure.
This alternating method prevents the edge from becoming lopsided and maintains the blade’s structural integrity. By balancing the edge alignment on both sides, you’ll achieve a sharper, longer-lasting blade.
Repeat Honing Strokes Until the Edge Is Sharp
Keep your strokes steady and consistent as you hone each side of the blade. After several passes, carefully check the edge to see if it’s sharp enough for your needs. If it isn’t, keep honing until you notice an improvement.
Consistent Stroke Technique
Before your knife reaches its sharpest edge, you’ll need to uphold a consistent stroke technique with the honing rod. This consistency is key to effective knife maintenance and improving your cutting techniques. Here’s how to stay on track:
- Angle Control – Keep the rod at a steady 20-degree angle to the blade to ensure even honing.
- Uniform Pressure – Apply gentle, even pressure with each stroke to avoid damaging the edge.
- Rhythmic Movement – Use smooth, controlled strokes from the base to the tip, repeating evenly on both sides.
Checking Edge Sharpness
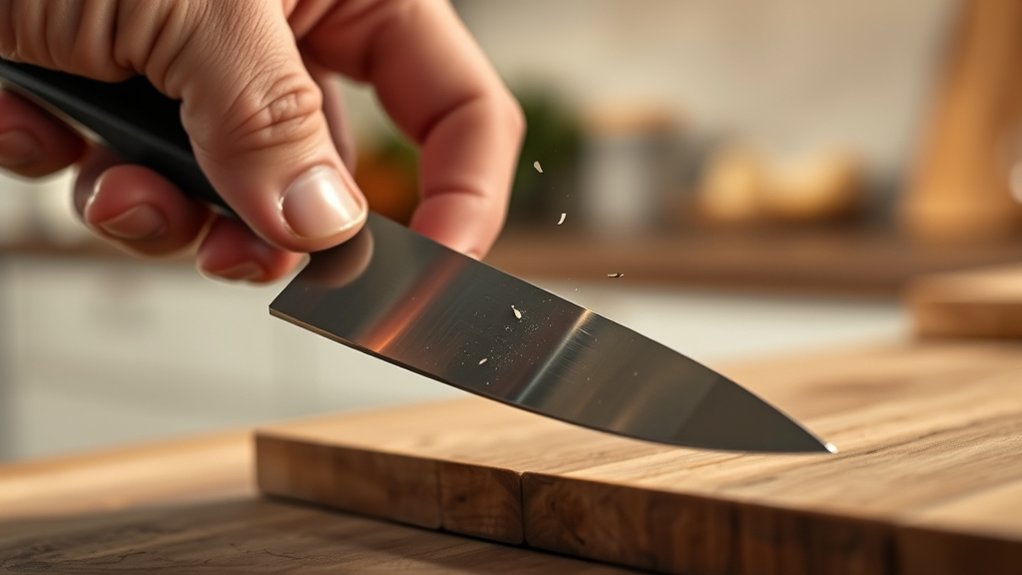
How do you know when your knife is sharp enough? After each pass on the honing rod, carefully check the edge by slicing through a piece of paper or gently running your thumb perpendicular to the blade (without sliding along it).
If it cuts cleanly or feels noticeably sharper, repeat the honing strokes until you achieve that crisp edge. Remember, maintaining kitchen safety is vital. Always handle the knife with care during testing to avoid accidents.
Once your knife is sharp, clean it properly and store it in a safe place, like on a magnetic strip or in a knife block, to preserve the edge and prevent injuries.
Regularly checking and honing your knife ensures it stays sharp, making your kitchen tasks safer and more efficient.
Test Knife Sharpness After Honing
Once you’ve finished honing your knife with the rod, it’s crucial to test its sharpness to guarantee it’s ready for use. This step ensures your knife performs well and helps maintain safe handling. Here’s how to check:
After honing your knife, always test its sharpness to ensure optimal performance and safety.
- Paper Test: Carefully slice through a piece of paper. A sharp knife will cut cleanly without tearing.
- Tomato Test: Try slicing a tomato on your cutting board. The blade should glide through effortlessly without squashing the fruit.
- Fingernail Test: Gently run the edge along your fingernail at a slight angle; it should catch lightly without slipping.
Performing these tests confirms your honing was effective, so you won’t struggle during food prep. Remember, proper knife storage and regular cutting board maintenance also contribute to keeping your blade sharp longer.
Clean and Store Your Knife and Honing Rod
After confirming your knife’s sharpness, it’s important to clean both the blade and honing rod properly to maintain their condition. Rinse your knife under warm water and use a mild detergent to remove any food particles. Gently wipe the honing rod with a damp cloth or sponge, making sure to avoid abrasive materials that could damage its surface. Dry both items thoroughly to prevent rust or corrosion.
Proper cleaning and drying contribute to cooking safety by reducing the risk of bacterial buildup. Once clean, store your knife and honing rod in designated spots within your kitchen organization system, such as a knife block, magnetic strip, or drawer inserts, to keep them protected and easily accessible. Avoid tossing them loosely in drawers where they can get damaged or cause injury. By maintaining a clean, organized storage routine, you’ll extend the lifespan of your tools and keep your cooking environment safe and efficient.
Frequently Asked Questions
How Often Should I Hone My Kitchen Knives?
You should hone your kitchen knives regularly to keep them sharp and safe. For ideal knife maintenance, honing frequency depends on how often you use your knives—generally, honing once a week works well if you cook frequently. If you use your knives less, honing every few weeks is fine. Regular honing realigns the blade’s edge, preventing dullness and extending the time between full sharpenings. Don’t skip this essential step!
Can Honing Rods Fix a Chipped or Damaged Blade?
You wouldn’t use a bandage to fix a broken bone, right? Likewise, honing rods can’t fix a chipped or damaged blade. They realign the blade’s edge, improving sharpness, but don’t repair chips or cracks.
For a damaged blade, you’ll need professional sharpening or a replacement. Honing rods help maintain your knife’s performance, but they’re not a fix-all for serious damage.
Is It Safe to Use a Honing Rod on Serrated Knives?
It’s generally not safe to use a honing rod on a serrated blade because honing and sharpening work differently. Honing realigns a straight edge, but serrated blades have grooves that need special care.
Instead, sharpen serrated knives with a tapered rod designed for those grooves. A regular honing rod might damage the serrations or fail to maintain the edge properly, so stick to the right tools for the job.
What Materials Are Honing Rods Made From?
Honing rods are typically made from steel, ceramic, or diamond-coated materials. You’ll find steel rods offer great material durability, handling regular use without much wear. Ceramic rods are gentler on blades but need careful rod maintenance to avoid chipping. Diamond-coated rods provide the toughest surface, perfect if you want quick sharpening and long-lasting performance. Choose based on your knife type and how much upkeep you’re willing to do for your rod.
Can Honing Rods Replace Professional Knife Sharpening?
No, honing rods can’t replace professional sharpening completely. You can use them for home maintenance to keep your knives aligned and performing well between sharpenings. However, honing rods don’t remove metal or fix serious dullness. For that, you’ll need professional sharpening, which reshapes the blade edge. So, while honing rods help extend the time between professional sharpening sessions, they’re not a full substitute for expert blade restoration.
Conclusion
Now that you know how to sharpen your kitchen knives with a honing rod, why settle for dull blades that slow you down? With the right technique and a bit of practice, you’ll keep your knives sharp and ready for any culinary challenge.
Remember, regular honing helps maintain your knife’s edge and prolongs its life. So, grab your honing rod and give your knives the care they deserve!