How to Add Glass to Kitchen Cabinets in 10 Easy Steps
Want to give your kitchen a fresh look without replacing all your cabinets? You’re not alone—many people struggle to find a simple, stylish update that fits their budget. Adding glass to kitchen cabinets can brighten the room and showcase your favorite dishes.
To add glass to your kitchen cabinets in 10 easy steps, first pick durable, stylish glass that suits your kitchen’s look. Gather tools like a glass cutter, drill, and silicone sealant. Measure cabinet doors accurately, then remove panels carefully.
Order or cut your glass precisely, and install it securely using adhesive or clips. Seal edges neatly for protection, then reattach doors ensuring proper alignment. Finally, maintain cleanliness and check hardware regularly.
Keep going to uncover tips for a flawless finish and lasting durability.
Key Takeaways
- Measure cabinet door frames accurately and select durable, decorative glass that matches your kitchen style.
- Use safety gloves and tools like a glass cutter and screwdriver for precise handling and installation.
- Clean cabinet frames and glass panels thoroughly before securing glass with silicone adhesive or mounting clips.
- Seal glass edges with clear silicone or rubber trim to prevent moisture damage and chipping.
- Reattach cabinet doors carefully, ensuring hinges and screws are aligned for smooth operation and secure fit.
Choose the Best Glass Type for Kitchen Cabinets
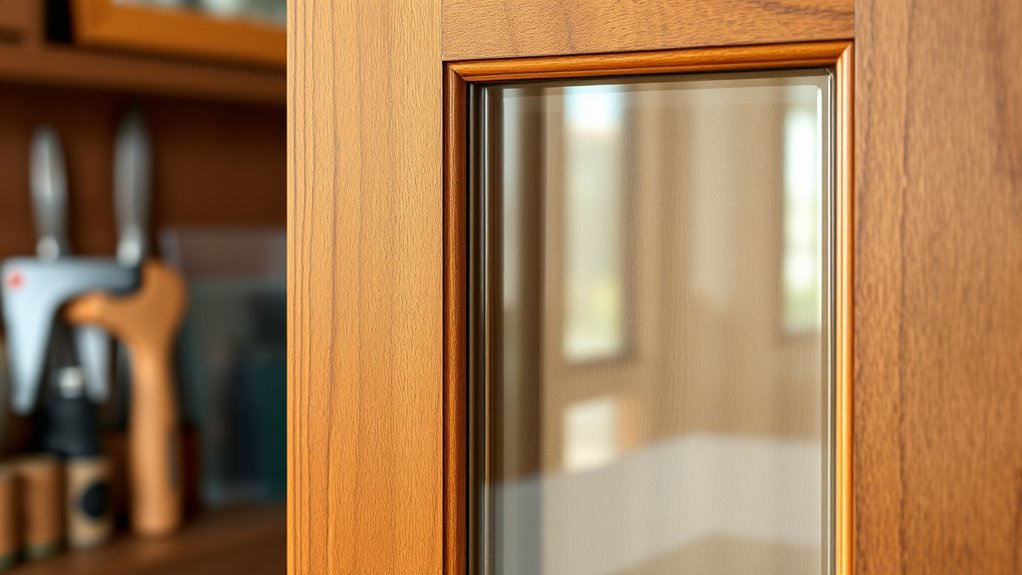
When choosing the best glass type for your kitchen cabinets, consider how you want the glass to look and perform. You’ll find plenty of decorative options, from clear and frosted to textured and stained glass, each adding a unique style to your kitchen.
Think about whether you want a sleek, modern look or something more classic and ornate. Glass durability is essential, too; kitchen cabinets face frequent use, so you need glass that resists chips and cracks.
Choose between sleek modern or classic ornate styles, ensuring glass durability to withstand daily kitchen use.
Tempered glass, for example, offers improved strength and safety, making it a popular choice. Laminated glass adds durability and can include decorative films for added style.
Don’t forget to consider maintenance. Some decorative glasses hide fingerprints and smudges better than others. By balancing decorative options with glass durability, you’ll choose the perfect glass that not only heightens your kitchen’s aesthetic but also stands up to everyday demands.
Gather Tools and Materials You’ll Need
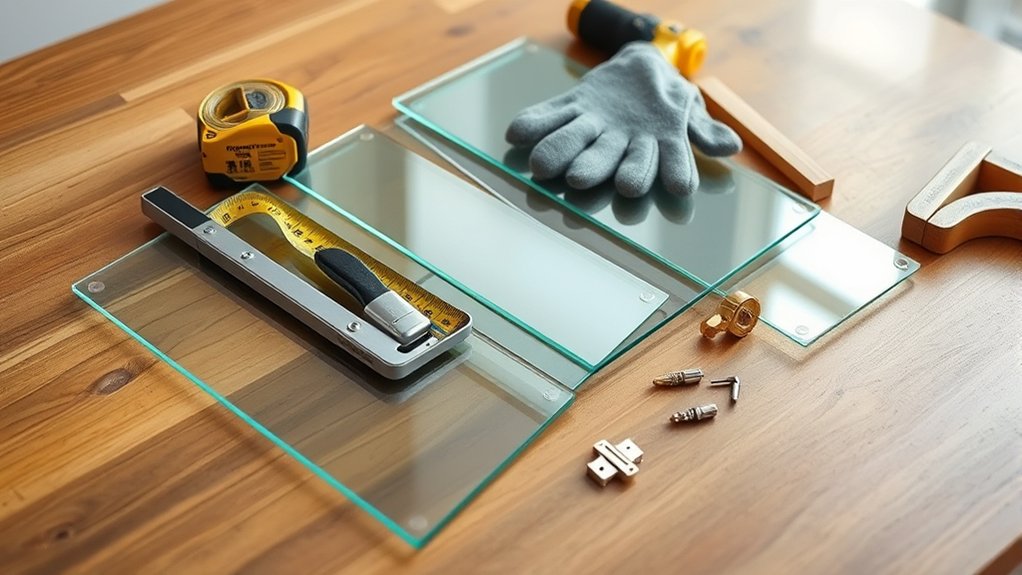
Before you begin installing glass in your kitchen cabinets, gather all the necessary tools and materials to guarantee a smooth process. Start with glass panels chosen for their durability, ensuring they’ll withstand everyday kitchen use.
You’ll also need a drill, screwdriver, measuring tape, glass cutter (if cutting is required), and safety gloves to protect your hands. Don’t forget rubber suction cups to handle the glass safely and avoid damage.
For decorative accents, consider adding weatherstripping or silicone sealant to create a polished finish and prevent rattling. Hinges or mounting clips compatible with your cabinet style are essential for securing the glass panels firmly.
Having painter’s tape handy helps mark measurements without leaving residue. Ultimately, clean cloths and glass cleaner will keep your new glass sparkling after installation.
Gathering these tools and materials upfront saves time and ensures your glass addition goes smoothly with a professional look and lasting durability.
Measure Kitchen Cabinet Doors for Glass Panels
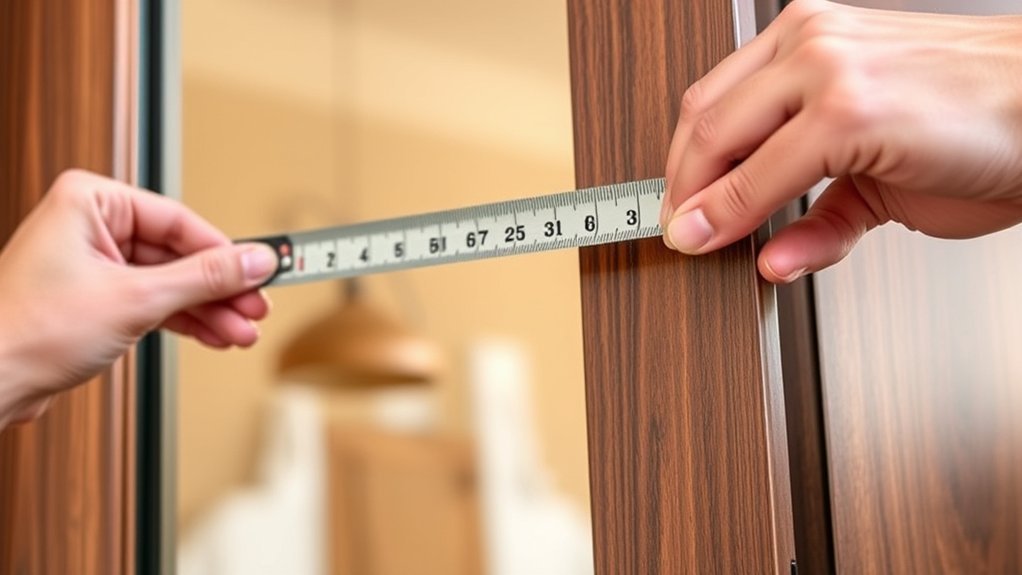
Since accurate measurements are essential, you’ll want to carefully measure each kitchen cabinet door where the glass panels will be installed. This guarantees your decorative glass or frosted options fit perfectly and look professional. Here’s how to get it right:
- Remove any existing panels or trim to access the frame’s inside edges.
- Measure the height and width of the opening from edge to edge, not the door itself.
- Subtract about 1/8 inch from both height and width to allow room for glass expansion and fitting.
- Record all measurements and double-check for consistency across multiple doors.
Taking precise measurements helps you choose the right size decorative glass or frosted options that improve your kitchen’s style. Avoid guessing—small errors can lead to costly adjustments. With these steps, your glass panels will fit snugly and elevate your cabinets’ look and function.
Remove Cabinet Door Panels Safely
Although removing cabinet door panels might seem straightforward, doing it safely prevents damage to both the doors and yourself. First, remove any cabinet hardware like knobs or hinges carefully to avoid stripping screws or scratching surfaces. Use the right screwdriver and keep hardware organized for reassembly.
Next, gently pry the panels loose, keeping in mind the glass thickness you plan to add, as this affects the frame’s stability. Support the door firmly to prevent warping or dropping.
| Step | Tool Needed | Tip |
|---|---|---|
| Remove cabinet hardware | Screwdriver | Store screws in a labeled container |
| Unscrew hinges | Screwdriver | Work slowly to avoid stripping |
| Pry panel carefully | Putty knife | Protect wood with painter’s tape |
| Support door | Hands or clamps | Prevent warping or dropping |
| Inspect frame | Visual check | Ensure frame can hold glass thickness |
Following these steps keeps your cabinets safe and ready for glass installation.
Cut and Order Glass Panels Precisely
Once you’ve safely removed the cabinet door panels and verified the frames can support the glass thickness, it’s time to focus on cutting and ordering the glass panels. Precision here ensures a perfect fit and a professional look.
Follow these steps:
- Measure the exact dimensions of the openings to determine panel size, allowing for slight clearance.
- Choose the appropriate glass thickness that matches your frame’s support capability.
- Select cutting tools suited for the glass type. Diamond-tipped cutters work best for clean edges.
- Place an order from a reliable supplier, providing exact measurements and specifying the glass thickness.
Prepare Cabinet Door Frames to Hold Glass
First, carefully measure the inside of your cabinet door frame to make sure the glass will fit. Then, gently pry out the existing panels without damaging the frame. With the panels removed, you’re ready to install the new glass.
Measuring Door Frame Dimensions
How do you guarantee your cabinet doors fit glass panels perfectly? Accurate measurements are key, especially when adding decorative patterns or considering glass thickness. Follow these steps to measure your door frames precisely:
- Remove any existing panels and clean the frame thoroughly.
- Measure the inner height and width of the door frame where the glass will sit.
- Subtract about 1/8 inch from each measurement to allow for glass thickness and expansion.
- Note any decorative patterns or bevels that might affect the glass size or shape.
Removing Existing Cabinet Panels
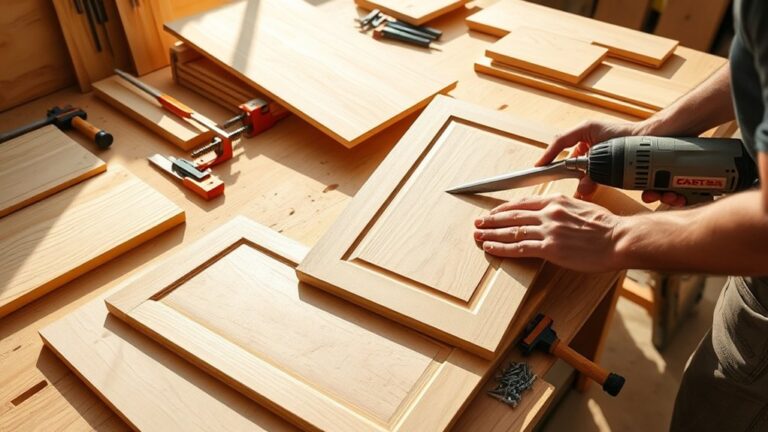
After measuring your door frames to fit glass panels perfectly, you’ll need to remove the existing cabinet panels to prepare the frames. Start by laying the cabinet door on a flat surface. Use a screwdriver or drill to remove any screws or nails holding the panel in place.
Carefully pry out the panel, taking care not to damage the cabinet frame. If the panel is glued, gently score the edges with a utility knife before prying. Once removed, clean the inside of the frame thoroughly to guarantee a smooth fit for your glass inserts.
Check the cabinet frame for any damage or uneven edges and sand if necessary. Preparing the door frames properly guarantees your glass inserts will fit securely and look professional.
Install Glass Panels Using Adhesive or Clips
When you’re ready to secure the glass panels, choosing between adhesive or clips depends on your cabinet style and personal preference. Decorative glass or frosted panels can be installed neatly by following these steps:
- Clean the glass and cabinet frame thoroughly to guarantee proper adhesion.
- If using adhesive, apply a thin, even bead of clear silicone around the frame where the glass will sit.
- Carefully press the glass panel into place, holding it steady for a few minutes until the adhesive sets.
- If you prefer clips, position them evenly around the edges of the glass, then screw them into the cabinet frame, ensuring the glass is held securely without pressure points.
Using adhesive creates a seamless, modern look for decorative glass, while clips offer a traditional finish and make future glass removal easier. Either method works well for frosted panels, so choose what suits your style and needs best.
Seal and Finish Glass Edges Cleanly
Once your glass panels are in place, seal the edges to protect them from moisture and chipping. You can use clear silicone or specialized glazing tape to secure the glass and create a polished look. Then add the finishing touches: lightly sand any rough edges or apply edge trim for a clean, professional finish.
Edge Sealing Techniques
Although glass adds a sleek look to kitchen cabinets, you’ll need to seal its edges properly to prevent chipping and moisture damage. Whether you’re working with frosted glass or tinted glass, edge sealing is essential for durability and a clean finish. Here are four effective techniques you can use:
- Clear Silicone Sealant – Apply a thin bead along edges to waterproof and cushion the glass.
- Edge Polishing – Smooth rough edges with a glass grinder before sealing for a refined look.
- UV-Cured Resin – Use resin that hardens quickly under UV light for a strong, invisible seal.
- Rubber or Vinyl Edge Trim – Snap-on trims protect edges and add a subtle decorative touch.
These methods help maintain your cabinet’s style and extend the life of glass inserts.
Finishing Touches Tips
To achieve a polished look, you’ll want to focus on sealing and finishing glass edges cleanly. This step not only protects the glass but also improves decorative accents and lighting upgrades in your kitchen cabinets.
Use a high-quality edge sealer or silicone to prevent chips and moisture damage. Smooth edges with fine-grit sandpaper or a glass polishing kit for a flawless finish.
| Step | Tip |
|---|---|
| Clean edges | Wipe with alcohol before sealing |
| Apply sealer | Use thin, even layers |
| Smooth edges | Sand or polish gently |
| Add accents | Use decorative trims or moldings |
| Improve lighting | Install LED strips behind glass |
These finishing touches will make your cabinet glass look professional and stylish.
Reattach Glass Cabinet Doors Securely
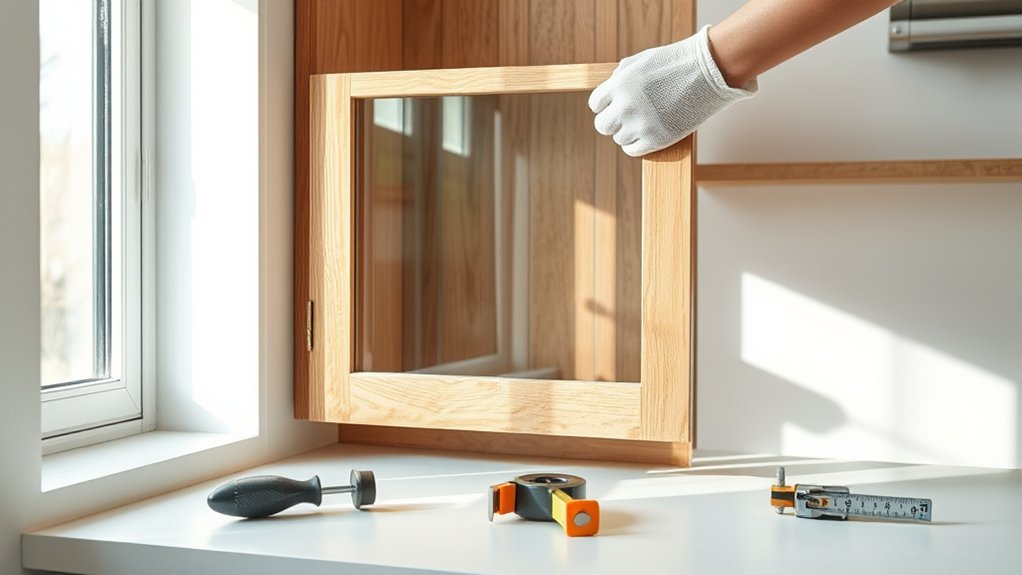
Before securing the glass cabinet doors back in place, make sure the hinges and screws are clean and undamaged. This ensures a sturdy reattachment and prevents future issues. When working with decorative glass styles, always prioritize safety considerations, such as wearing gloves and handling the glass gently to avoid chips or cracks.
Follow these steps to reattach your glass cabinet doors securely:
- Align the door with the cabinet frame, ensuring the hinges match up perfectly.
- Insert screws carefully into each hinge hole, tightening them evenly without over-tightening.
- Test the door’s movement, making sure it swings smoothly and closes flush with the cabinet.
- Check that the glass panel is firmly seated and there’s no movement within the frame.
Clean, Maintain, and Troubleshoot Glass Cabinets
Once you’ve securely reattached your glass cabinet doors, keeping them clean and well-maintained will help preserve their beauty and functionality. For effective glass maintenance, use a non-abrasive glass cleaner and a soft cloth to avoid scratches.
Clean regularly to prevent buildup of grease or dust, especially in the kitchen environment. Avoid harsh chemicals that can damage the glass or cabinet finish.
When it comes to cabinet troubleshooting, check hinges and screws periodically to ensure your doors remain properly aligned and secure. If you notice any looseness or misalignment, tighten screws or adjust hinges as needed.
For chips or cracks in the glass, consider professional repair or replacement to maintain safety and aesthetics. Addressing minor issues promptly will extend the life of your glass cabinets, keeping your kitchen looking polished and functional.
Frequently Asked Questions
Can I Add Glass to Kitchen Cabinets Without Removing the Doors?
Yes, you can add glass to kitchen cabinets without removing the doors, but it’s trickier. For easier cabinet door replacement, removing the doors is usually recommended.
However, if you want to keep them on, carefully measure and mark where the glass will go. Use glass installation tips like securing the glass with adhesive or clips inside the frame.
Take your time to avoid damaging the doors or glass during the process.
What Are the Best Lighting Options for Glass Kitchen Cabinets?
Did you know LED strip lighting uses up to 75% less energy than incandescent bulbs? For your glass kitchen cabinets, LED strip lighting is the best choice because it offers bright, even illumination without heat buildup.
Pair it with frosted glass options to diffuse light softly, creating a warm, inviting glow. You’ll improve both the look and functionality of your cabinets while keeping energy costs low and maintenance easy.
How Do Glass Cabinet Doors Impact Kitchen Resale Value?
You’ll find that glass cabinet doors can boost your kitchen resale value by enhancing interior visibility and showcasing your cabinet material’s quality. Buyers often appreciate the stylish, open feel glass creates, making your kitchen appear larger and more inviting. However, keep the glass clean and choose cabinet materials that complement the transparency to maintain a polished look. This thoughtful upgrade can make your kitchen stand out in the market.
Are There Safety Concerns With Glass Kitchen Cabinet Doors?
Yes, you should consider glass safety when adding glass kitchen cabinet doors. Tempered or laminated glass is your best bet since it’s stronger and less likely to shatter into sharp pieces, enhancing cabinet durability.
You’ll also want to guarantee proper installation to avoid accidents. If you have kids or pets, taking these precautions is even more important to keep your kitchen safe and sturdy while enjoying the stylish look of glass cabinets.
Can I Use Recycled or Salvaged Glass for Cabinet Doors?
Yes, you can use recycled glass or salvaged materials for your cabinet doors, and don’t worry about durability—they’re often just as strong as new glass. Using recycled glass not only adds unique character but also reduces waste, making your kitchen eco-friendly. Just make sure the glass is properly tempered and cut to fit. Salvaged materials might need some extra prep, but they offer a charming, one-of-a-kind look you’ll love.
Conclusion
Now that you know how to add glass to kitchen cabinets in just 10 easy steps, why wait to transform your space? With the right glass, tools, and careful measurements, you can create a stylish, modern look that’s both functional and beautiful.
Just follow the process, seal the edges neatly, and reattach your doors securely. Ready to enjoy your revamped kitchen with a touch of elegance and transparency? Adding glass to kitchen cabinets is easier than you think!