How to Replace a Kitchen Sink in 5 Easy Steps
Replacing a kitchen sink can feel like a bigger job than it should be, especially when you’re unsure which tools and materials you’ll need. You’re not alone—many people struggle with the plumbing and installation details.
This guide to how to replace a kitchen sink in 5 easy steps will help you get started with confidence.
To replace your kitchen sink in 5 easy steps, start by gathering quality materials and essential tools. Then turn off the water supply and disconnect plumbing.
Next, remove the old sink carefully and prepare the countertop by cleaning and smoothing the area.
Install your new sink with sealant, secure it with mounting clips, and reconnect plumbing using plumber’s tape for tight seals.
Once water’s back on, check for leaks. Keep going to master each step with confidence.
Key Takeaways
- Turn off water supply and disconnect plumbing lines to safely remove the old sink.
- Loosen mounting clips and cut through sealant to lift out the old sink without damaging the countertop.
- Clean the countertop thoroughly and check for any damage before installing the new sink.
- Apply plumber’s putty or silicone around the sink edge and secure it with mounting clips evenly.
- Reconnect plumbing, turn on water supply gradually, and check all connections for leaks.
Gather Essential Tools and Materials for Kitchen Sink Replacement
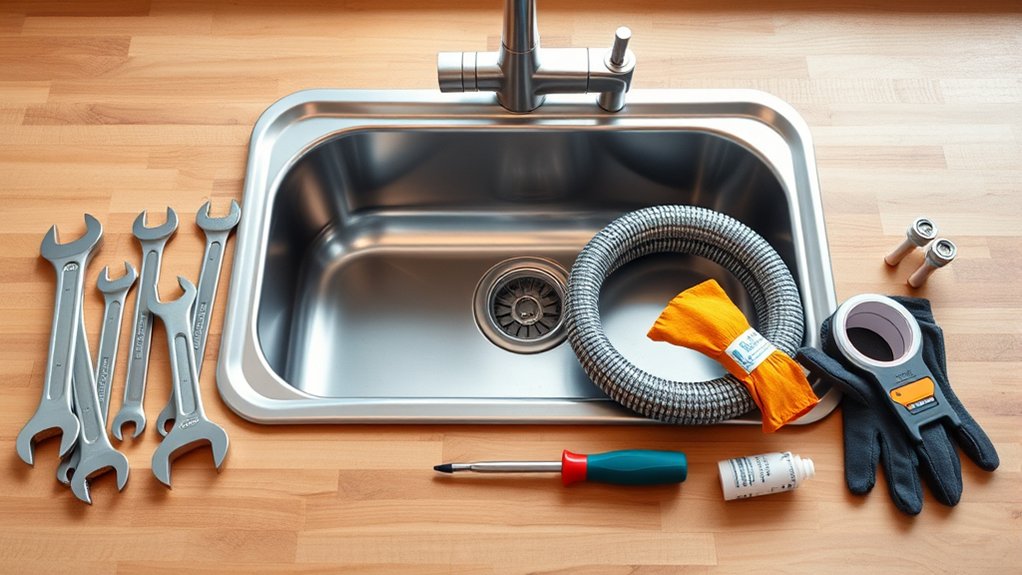
Before you begin replacing your kitchen sink, make sure you have all the essential tools and materials on hand. Start by selecting quality materials that suit your kitchen’s style and functionality needs. Consider options like stainless steel, porcelain, or composite granite, and confirm they fit your countertop’s cutout. Proper material selection not only affects durability but also ease of installation.
Next, gather the necessary tools: adjustable wrenches, plumber’s putty, screwdrivers, a basin wrench, and a utility knife. Don’t forget safety gear like gloves and goggles. Pay attention to tool maintenance. Using clean, well-oiled tools prevents damage and makes your work smoother. For example, a rust-free wrench grips better and reduces the risk of slipping.
Having everything ready saves you time and frustration during the project. When your tools and materials are organized and in good condition, you’ll handle the replacement with confidence and efficiency.
Turn Off Water and Disconnect Your Old Kitchen Sink
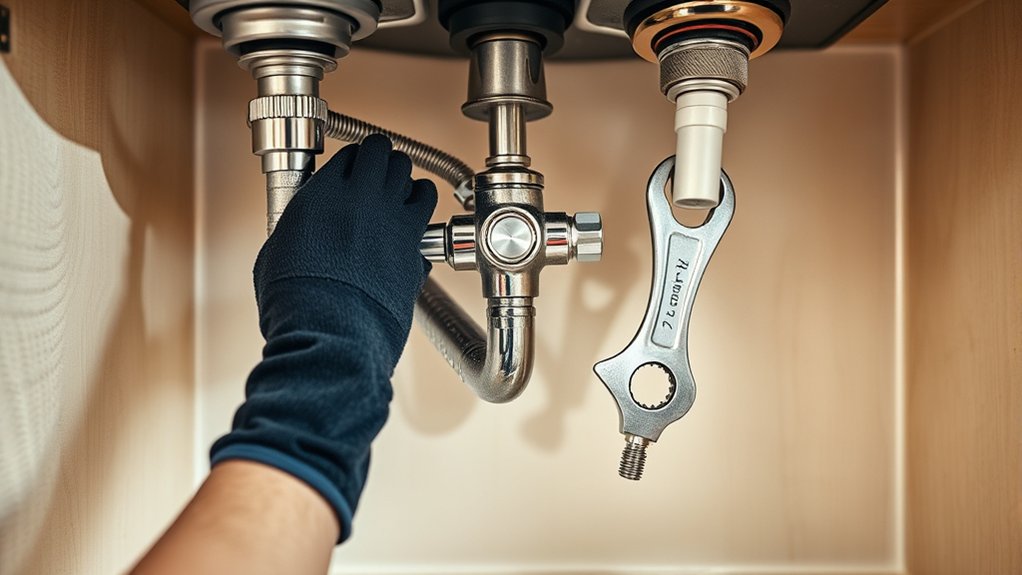
Since water damage can cause serious problems, you’ll want to turn off the water supply completely before you start disconnecting your old kitchen sink. Locate the shut-off valves under the sink and close them to stop water flow. If there aren’t any, turn off the main water supply for the house. Next, relieve any remaining water pressure by opening the faucet and letting the water drain out.
Always shut off the water supply and drain remaining pressure before disconnecting your kitchen sink to avoid damage.
To disconnect your old sink, follow these steps:
- Use a wrench to loosen the water supply lines connected to the faucet.
- Detach the drain pipes carefully to avoid spills.
- Remove any mounting clips or brackets holding the sink in place.
- Check for any old plumber’s putty or sealant that may need scraping off.
This careful approach guarantees you’re ready for a smooth faucet installation and prevents water leaks during the replacement process.
Remove the Old Sink and Prepare Your Countertop
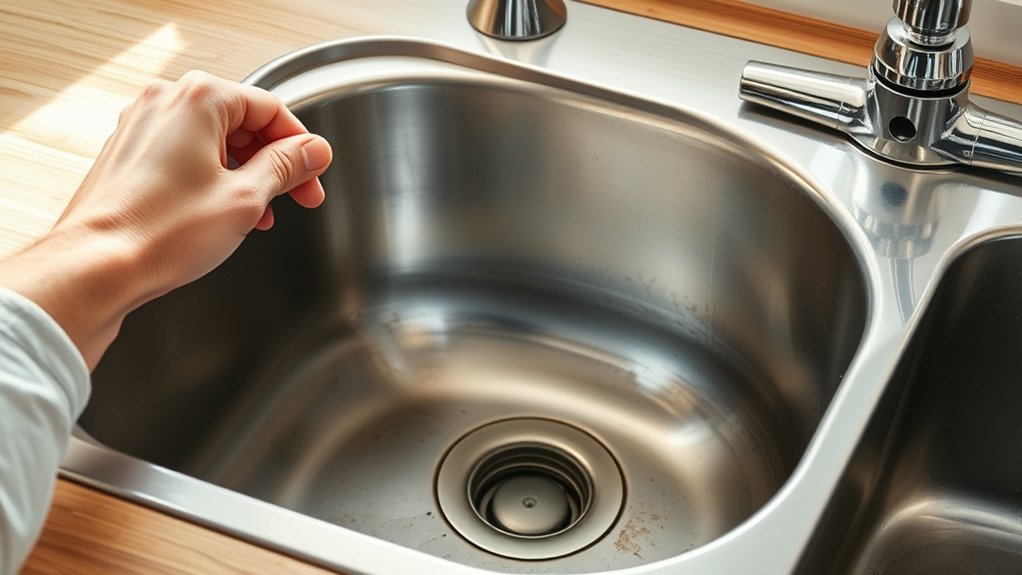
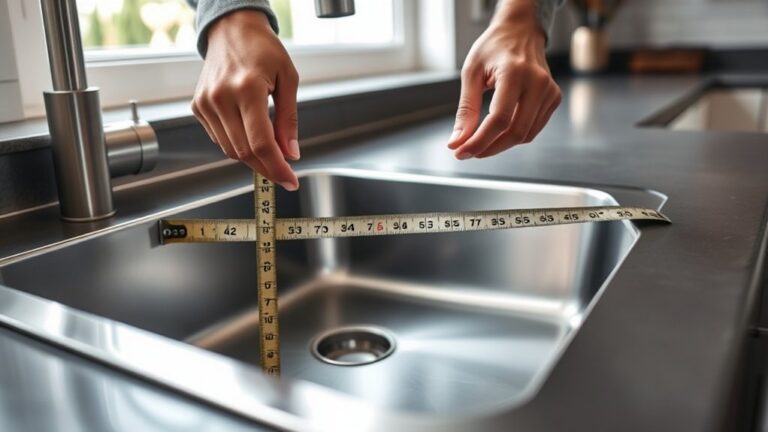
How do you safely remove your old kitchen sink without damaging the countertop? Start by loosening any clips or brackets holding the sink in place from underneath. Use a putty knife or utility blade to carefully cut through the old sealant between the sink and countertop. Gently lift the sink out, avoiding any force that could chip or crack the countertop surface. Once removed, clear away any remaining caulk or debris to ensure a smooth workspace.
Next, focus on countertop preparation. Thoroughly clean the area, checking for any damage or uneven spots that might interfere with your sink installation. If you spot worn spots or rough edges, sand them down lightly for a perfect fit. Proper countertop preparation not only ensures a secure sink placement but also prevents leaks and future damage. Taking these careful steps sets you up for a successful sink installation that looks great and functions perfectly.
Install and Secure Your New Kitchen Sink Properly
While aligning your new kitchen sink, make certain it fits snugly into the countertop cutout without forcing it. This prevents damage and ensures a proper seal. Before securing it, apply a bead of plumber’s putty or silicone around the edge of the sink to create a watertight barrier.
To install and secure your sink properly:
- Tighten the mounting clips under the countertop evenly to hold the sink firmly in place.
- Wipe off excess putty or silicone from around the sink edges to keep the area clean.
- Begin your faucet installation by following manufacturer instructions carefully, ensuring all connections are tight.
- Perform thorough sink cleaning to remove any debris or residue before finalizing installation.
Reconnect Kitchen Sink Plumbing and Check for Leaks
After securing your new sink, you’ll reconnect the plumbing to restore water flow and drainage. Start by attaching the drain pipes and water supply lines, ensuring each connection is tight but not over-tightened.
Proper pipe calibration is crucial here; align pipes accurately to avoid strain or misfit, which can lead to leaks. Use plumber’s tape on threaded connections to enhance seal integrity.
Once everything’s connected, turn on the water supply slowly and check all joints for leaks. Look for drips or moisture under the sink, especially around the P-trap and water supply valves.
For leak prevention, tighten any loose fittings and replace worn washers or gaskets immediately. Run water through both hot and cold taps to confirm smooth drainage and no leaks.
Frequently Asked Questions
What Type of Kitchen Sink Material Is Most Durable?
When considering material comparison for kitchen sinks, stainless steel stands out as the most durable. You’ll appreciate its resistance to chipping, cracking, and heat damage, making durability factors like everyday wear and tear less of a concern.
While cast iron and granite are also strong, stainless steel offers a great balance of toughness and low maintenance. So, if you want a sink that lasts and handles daily use well, stainless steel is your best bet.
How Long Does a Typical Kitchen Sink Replacement Take?
Replacing a kitchen sink usually takes about two to four hours, but it can feel like a breeze or a battle depending on your skills. If you’ve got the right plumbing tools and organized sink accessories, you’ll zip through the job. However, without preparation, what should be a quick swap might drag on. Staying focused and having everything at hand guarantees you finish efficiently and enjoy your refreshed kitchen sooner.
Can I Replace a Kitchen Sink Without Professional Help?
Yes, you can replace a kitchen sink without professional help if you’re comfortable with DIY plumbing. With the right tools and some patience, sink installation becomes manageable.
Just make sure to turn off the water supply, carefully disconnect the plumbing, and follow step-by-step guides or videos. If you run into trouble or leaks, don’t hesitate to call a pro. Many people find that doing it themselves saves money and boosts confidence in home repairs.
What Are Common Signs My Kitchen Sink Needs Replacement?
You’ll notice drain clogs slowing water down, faucet leaks wasting water, and stains or rust marring your sink’s surface. Cracks spreading across the basin, persistent odors, and loose mounting can also signal trouble. When water pools or the sink wobbles, it’s time to act. These signs all point to wear and damage, telling you your kitchen sink needs replacement to keep your space functional and fresh.
How Do I Dispose of My Old Kitchen Sink Responsibly?
You can dispose of your old kitchen sink responsibly by choosing eco friendly disposal methods. First, check if your local recycling center accepts metal sinks. Many centers offer recycling options for stainless steel or cast iron sinks, preventing waste from ending up in landfills. If your sink has non-recyclable parts, separate them before disposal.
You might also donate sinks in good condition to Habitat for Humanity or similar organizations, ensuring your old sink gets reused.
Conclusion
Replacing your kitchen sink doesn’t have to be intimidating. By following these five simple steps, you can upgrade your space efficiently and confidently.
Did you know that over 60% of homeowners tackle plumbing projects themselves to save money? With the right tools and careful attention, you’ll not only improve your kitchen’s look but also gain valuable DIY skills.
So, roll up your sleeves and enjoy the satisfaction of a job well done. You’ll be glad you learned how to replace a kitchen sink!