How to Repaint Kitchen Cabinets in 7 Easy Steps
Worn, dated cabinets can make your whole kitchen feel tired, but replacing them can be expensive. If you’re wondering how to repaint kitchen cabinets for a fresh look without the high cost, you’re not alone—many people struggle to get a smooth, durable finish.
To repaint your kitchen cabinets in 7 easy steps, start by removing doors and hardware carefully. Clean and sand the surfaces thoroughly to make sure paint sticks well.
Apply a suitable primer, then use quality paint and brushes for smooth, even coats. Let each layer dry completely before recoating.
Once dry, reinstall the hardware and doors, making adjustments for proper alignment. Follow these basics, and you’ll achieve a fresh, durable finish.
Stick with us for tips to perfect your project.
Key Takeaways
- Remove cabinet doors and hardware, then clean surfaces thoroughly to remove grease and dirt.
- Sand cabinets with medium-grit sandpaper for better paint adhesion and fill any imperfections.
- Apply primer evenly and allow it to dry completely before painting.
- Paint cabinets with thin, even coats, sanding lightly between layers for a smooth finish.
- Reattach hardware and doors after paint dries, ensuring alignment and smooth operation.
Assess Cabinets and Gather Painting Supplies
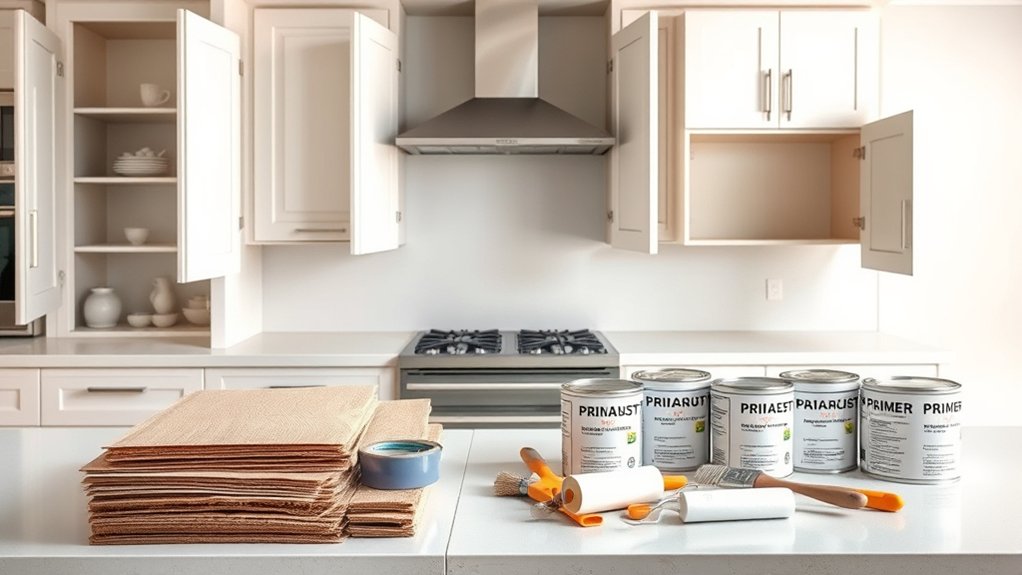
Before you begin, take a close look at your kitchen cabinets to identify any damage, grease, or old finishes that need attention. This step is vital to guarantee the cabinet durability after repainting. Check for scratches, dents, or peeling paint, and make a note of areas that require sanding or repairs.
Inspect your kitchen cabinets thoroughly for damage and old finishes to ensure lasting durability after repainting.
Once you’ve evaluated the condition, think about your paint color options. Choosing the right color can transform your kitchen’s look and feel, so consider shades that complement your style and lighting.
Next, gather all necessary painting supplies: quality primer, paint suited for cabinetry, brushes, rollers, sandpaper, and cleaning materials. Prioritize paints designed specifically for cabinets to boost durability against daily wear.
Having everything ready before you start will streamline the process and improve your results. By carefully evaluating and preparing, you set yourself up for a smooth repainting project with long-lasting, beautiful cabinets.
How to Safely Remove Doors and Hardware
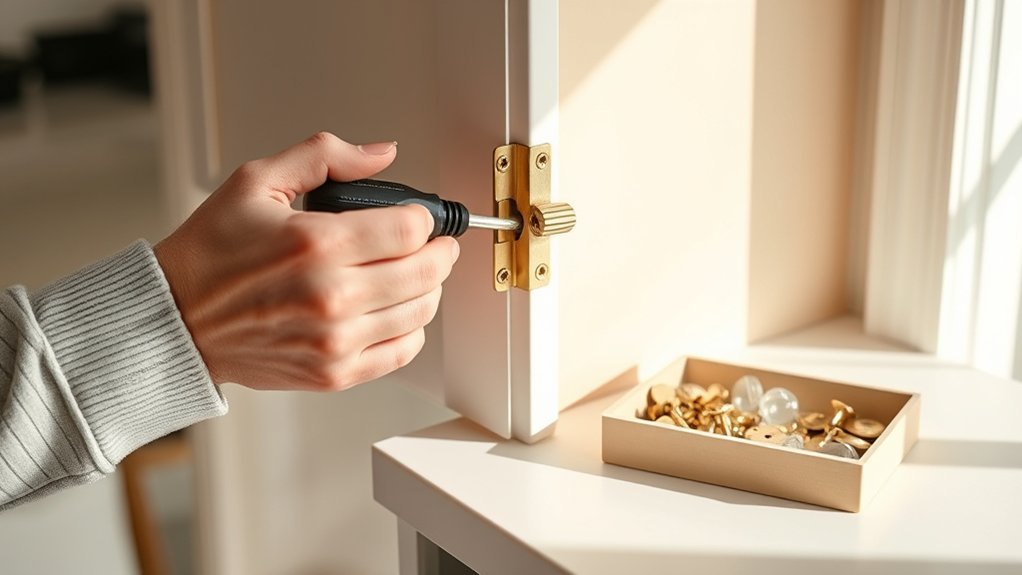
After you’ve assessed and prepared your cabinets, the next step is to carefully remove the doors and hardware. Proper door removal guarantees you avoid damage and makes repainting easier. Start by supporting the cabinet door with one hand while unscrewing the hinges with the other. Keep track of all screws and parts to maintain hardware protection. Label each door and its corresponding hardware to simplify reassembly later.
Follow these tips for safe door removal and hardware protection:
- Use a screwdriver or drill with a suitable bit to avoid stripping screws.
- Place doors on a soft surface like a blanket or cardboard to prevent scratches.
- Store small hardware pieces in labeled containers or bags.
- Handle hinges and knobs gently to avoid bending or breaking them.
- Work systematically, removing one door at a time to stay organized.
Taking these steps will make the process smooth and keep your hardware intact for a flawless repaint.
Clean and Sand Cabinets for a Smooth Finish
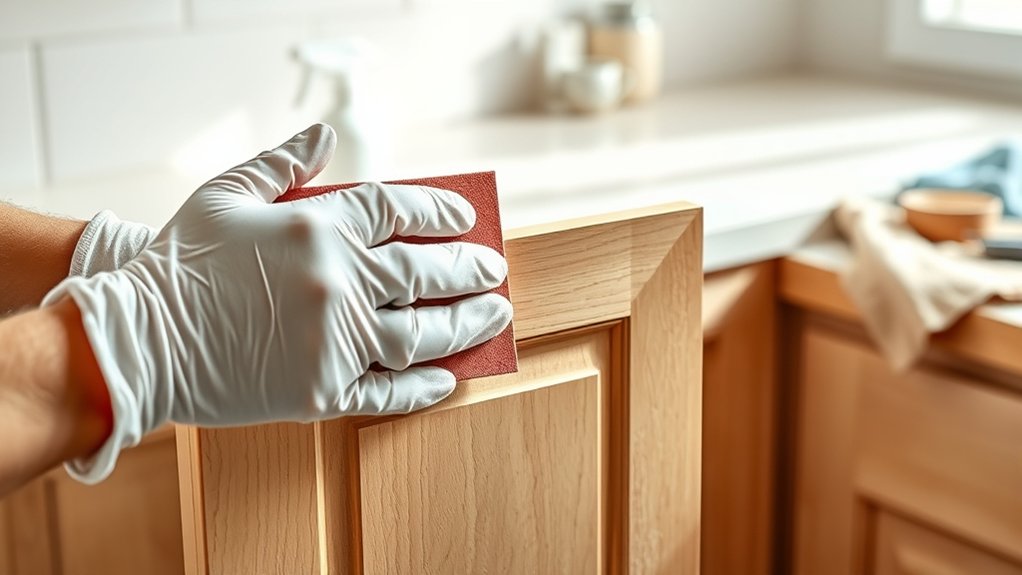
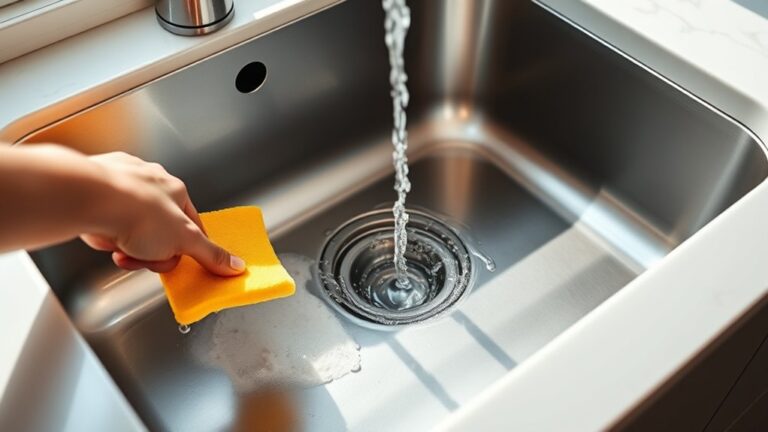
Though removing the doors and hardware sets the stage, you’ll need to thoroughly clean and sand your cabinets next to guarantee the paint adheres properly. Start with cabinet cleaning by wiping down all surfaces with a degreaser or a mixture of warm water and mild detergent. This removes grease, dirt, and grime that could prevent paint from sticking. Rinse with clean water and let the cabinets dry completely.
Next, focus on sanding techniques to create a smooth, even surface. Use medium-grit sandpaper (around 120-150 grit) to scuff the cabinet surfaces gently, removing the old finish and smoothing out imperfections. For detailed areas, consider using a sanding sponge or sanding block to maintain control.
After sanding, wipe away all dust with a tack cloth or damp rag. This step is essential to make certain your new paint job looks flawless and lasts longer. Clean and sand carefully, and you’ll set a solid foundation for your kitchen cabinet makeover.
Apply Primer to Kitchen Cabinets Correctly
Choose a primer that adheres to your cabinet material and blocks stains. Then apply it evenly with a brush or roller, covering every surface while avoiding drips. Taking your time with this step helps create a smooth, long-lasting finish.
Choosing The Right Primer
How do you assure your kitchen cabinets have a smooth, long-lasting finish? It starts with choosing the right primer. Selecting the appropriate primer type ensures better adhesion and durability, while color matching can help cover stains or previous colors effectively. Here’s what you should consider:
- Identify the cabinet material: wood, laminate, or metal
- Choose between oil-based, water-based, or shellac primers
- Consider primer’s stain-blocking and sealing properties
- Match primer color to your final paint for better coverage
- Check drying time and compatibility with your paint
Proper Primer Application Techniques
Selecting the right primer sets the foundation, but applying it correctly makes all the difference in achieving a smooth, durable finish on your kitchen cabinets. Start by cleaning the surfaces thoroughly to remove grease and dust.
Use a high-quality brush or roller to apply an even coat, avoiding drips and brush marks. Pay attention to color matching; if you’re painting a lighter color over a dark cabinet, choose a primer that blocks stains and evens out the tone.
Apply thin, consistent layers rather than thick ones for better adhesion. After application, respect the primer drying time specified on the label. Rushing this step can cause peeling or uneven paint.
Once dry, lightly sand the surface to guarantee maximum smoothness before painting.
Choose the Best Paint and Brushes for Kitchen Cabinets
Because kitchen cabinets endure frequent use and exposure to moisture, selecting the right paint and brushes is essential for a durable, smooth finish. You want paint that resists chipping and stands up to humidity.
Opt for semi-gloss or satin finishes, as they clean easily and highlight your cabinets’ details. When picking color options, consider shades that complement your kitchen’s style but also hide wear over time.
Choosing the right brush types makes a big difference in the final look. Use high-quality synthetic brushes for water-based paints, which provide smooth coverage without streaks. For oil-based paints, natural bristle brushes work best.
Here’s what to keep in mind:
- Choose semi-gloss or satin paint for durability
- Pick colors that match your kitchen’s vibe
- Use synthetic brushes for latex paint
- Opt for natural bristle brushes with oil-based paint
- Avoid cheap brushes to prevent bristles sticking to cabinets
This combo ensures your cabinets look great and last longer.
Paint Kitchen Cabinets With Even Coats and Techniques
Once you’ve picked the right paint and brushes, applying the paint evenly is key to achieving a professional look. Start by using smooth, long strokes in the direction of the wood grain to avoid streaks or brush marks.
Use smooth, long strokes along the wood grain for an even, professional paint finish without streaks or brush marks.
Thin, even coats work best. Apply multiple light layers rather than one heavy one to prevent drips and uneven texture. Between coats, lightly sand the surface with fine-grit sandpaper for a flawless finish.
Pay close attention to color matching if you’re touching up or blending with existing cabinetry. Even subtle differences can stand out after drying.
Consider your finish options carefully. Satin or semi-gloss are popular for kitchen cabinets because they’re durable and easy to clean, while matte finishes offer a modern look but may show wear more quickly.
Take your time applying each coat, ensuring full coverage without pooling paint. Proper technique here will make your cabinets look professionally repainted and long-lasting.
Reinstall Doors and Hardware for a Fresh Look
Although the painting process is complete, your kitchen cabinets won’t truly shine until you reinstall the doors and hardware carefully. Start by inspecting the cabinet hinges. Good cabinet hinge maintenance guarantees smooth door operation and prevents future sagging.
Clean or replace hinges as needed before mounting the doors back in place. Next, focus on hardware color coordination. Matching knobs and pulls with your cabinet’s new color improves the overall look.
Here’s how to reinstall doors and hardware effectively:
- Align doors evenly to avoid gaps or uneven spacing
- Tighten screws securely but avoid overtightening
- Use a level to check door positioning
- Choose hardware finishes that complement your cabinet color
- Lubricate hinges if necessary for smooth movement
Frequently Asked Questions
How Long Does the Entire Repainting Process Typically Take?
The entire repainting process typically takes about 3 to 5 days. You’ll spend the first day on prepping and removing hardware, then sanding and cleaning the cabinets.
Choosing your color choices and paint finishes can influence drying times, so consider fast-drying options. Applying primer and two coats of paint usually takes another 2 to 3 days, including drying time.
Finally, reattaching hardware and reinstalling doors wraps it up.
What Safety Precautions Should I Take When Painting Indoors?
Painting indoors can feel like dancing with fumes, so you’ve got to keep the air flowing. Open windows and use fans as your ventilation tips to chase those smells away. Don’t forget your protective gear—wear a mask, gloves, and safety goggles to shield your skin and lungs from paint particles. These steps protect you while you transform your space, turning a risky job into a safe, smooth experience.
Can I Use Spray Paint Instead of Brushes for Cabinets?
Yes, you can use spray paint for cabinets, and spray application gives you a smooth, even finish quickly. However, don’t completely skip brush techniques—they’re handy for cutting in edges and getting into corners where the sprayer can’t reach. Be certain to mask off areas properly and work in a well-ventilated space. Combining spray application with careful brushing ensures a professional-looking result without brush marks or uneven coverage.
How Do I Maintain Freshly Painted Cabinets to Prevent Damage?
To maintain freshly painted cabinets, you should do regular cabinet cleaning with a soft cloth and mild detergent to avoid damaging the paint. Avoid abrasive cleaners or scrubbing too hard.
If you notice any chips or scratches, do paint touch ups promptly to keep your cabinets looking fresh. Also, try to keep moisture away and open windows for ventilation. These simple steps help preserve your work and extend the life of your beautiful cabinets.
What Are Common Mistakes to Avoid When Repainting Cabinets?
You might think choosing any color works, but poor color coordination can ruin your kitchen’s vibe. Avoid skipping primer, as it’s essential for paint durability and adhesion. Don’t rush drying times; wet paint invites smudges and uneven finishes. Also, steer clear of using low-quality brushes—they leave streaks and reduce paint lifespan. Careful prep, thoughtful color choices, and patience guarantee your cabinets look stunning and last longer.
Conclusion
Congrats, you’re now officially a kitchen cabinet painting pro. Who knew sanding and priming could feel like a thrilling rollercoaster? If you survived removing doors without launching hardware into orbit, you’re basically a DIY legend.
Just remember, those even paint coats aren’t magic. They’re your new superpower. So go ahead, reinstall those doors, and bask in the glory of your fresh, fabulous cabinets.
Who needs a fancy remodel when you’ve got elbow grease and a brush? With these steps, you’ve learned how to repaint kitchen cabinets and give your kitchen a fresh look.