How to Replace a Kitchen Sink Faucet in 10 Easy Steps
A leaky or outdated kitchen faucet can make everyday chores frustrating, and choosing a replacement that fits your sink can feel overwhelming. You’re not alone—many people struggle with finding the right faucet and figuring out how to install it.
This guide to how to replace a kitchen sink faucet in 10 easy steps will help you get started.
To replace your kitchen sink faucet, first gather tools and select a compatible, water-saving model. Turn off the main water supply and open the faucet to drain water.
Carefully disconnect water lines and remove the old faucet, then clean the sink area thoroughly.
Position and secure the new faucet, reconnect water lines, and tighten fittings without overtightening. Test for leaks and smooth water flow.
Follow these steps, and you’ll soon have a fully functional faucet with tips on troubleshooting and maintenance ahead.
Key Takeaways
- Turn off the main water supply and open the faucet to drain remaining water before removal.
- Disconnect water supply lines and remove mounting hardware to detach the old faucet.
- Clean the sink area thoroughly, removing old putty, grime, and debris for a smooth installation surface.
- Position and secure the new faucet over sink holes, tightening mounting nuts carefully without overtightening.
- Connect water supply lines to hot and cold valves, then test for leaks and proper water flow.
What to Expect When Replacing Your Kitchen Faucet
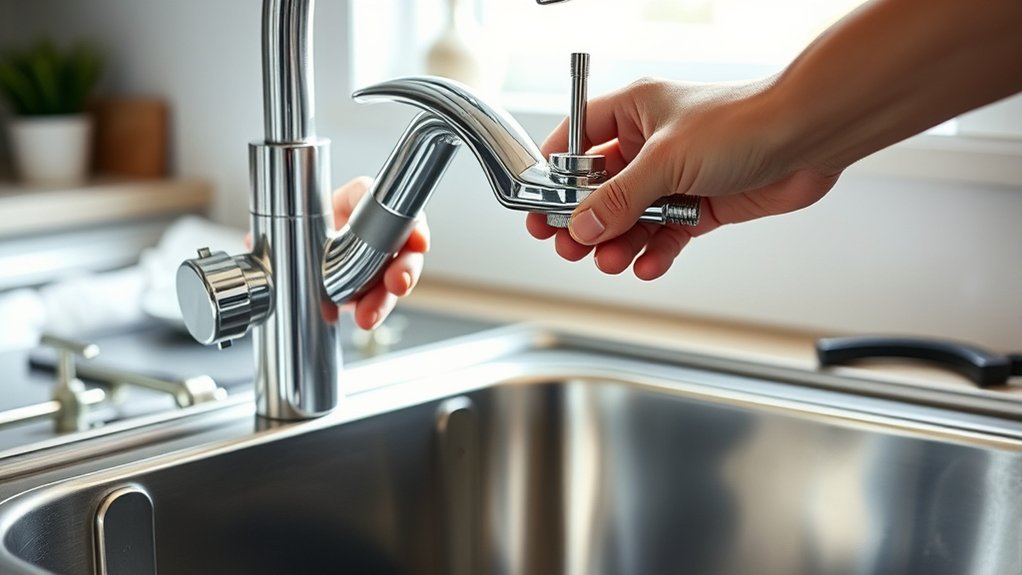
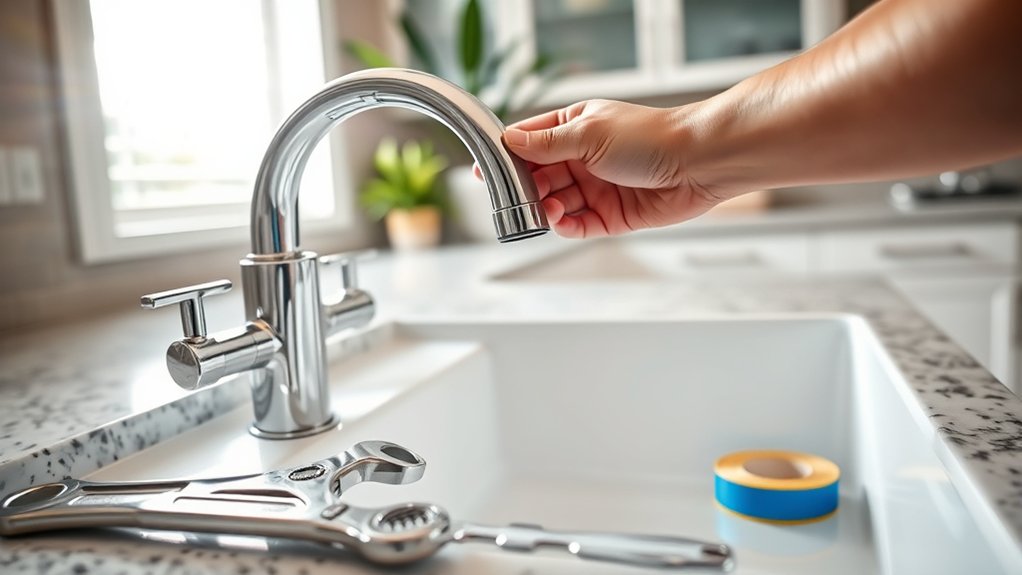
Although replacing your kitchen faucet might seem intimidating, you’ll find the process straightforward once you understand the basic steps involved. First, you’ll need to choose from various faucet styles, such as single-handle, pull-down, or commercial-style, to match your kitchen’s design and functionality needs.
Replacing your kitchen faucet is simple once you know the basic steps and choose the right style for your space.
Selecting a faucet that supports water conservation is a smart move. It helps reduce your water usage and lowers your utility bills without sacrificing performance.
As you prepare, expect to disconnect the water supply lines and remove the old faucet, which may require loosening mounting nuts under the sink. Installing the new faucet involves securing it in place, connecting water lines, and checking for leaks.
While you don’t need to be an expert plumber, having a clear plan and understanding these steps will save you time and frustration. With the right faucet style and attention to water conservation, your kitchen upgrade will be both stylish and efficient.
Get Your Tools and Materials Ready
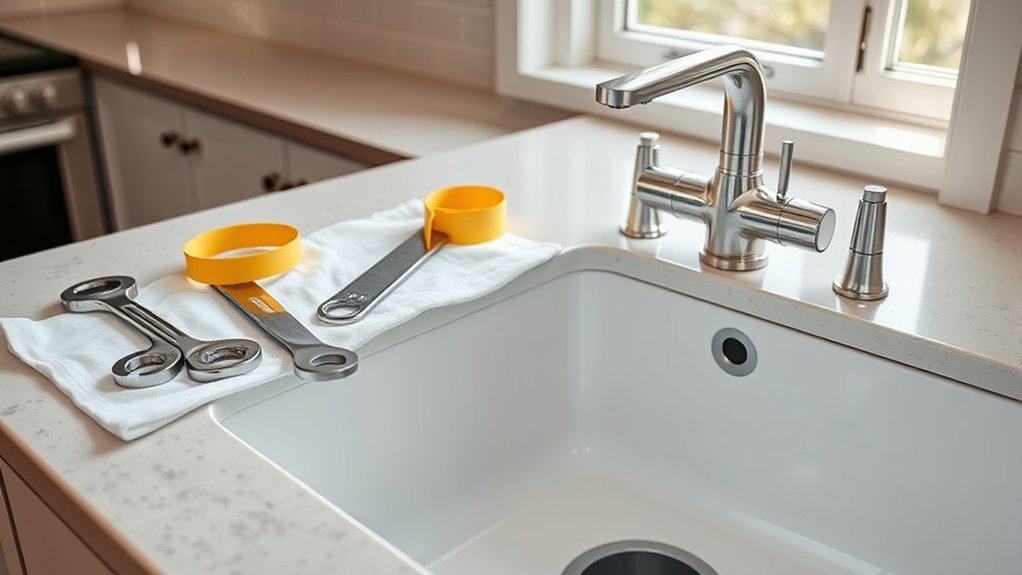
Before you start disconnecting water lines or removing the old faucet, gather all the tools and materials you’ll need for the job. This usually includes an adjustable wrench, basin wrench, plumber’s tape, a bucket, and a new faucet. Having everything ready prevents unnecessary trips and delays.
Don’t forget to review cleaning tips to prep the sink area before installing the new faucet. A clean workspace helps you spot leaks and ensures a tight fit. Also, inspect your tools for rust or damage. Proper tool maintenance, like wiping them down and lubricating moving parts, ensures smooth operation and prevents slipping or stripping nuts.
Turn Off Your Water Supply
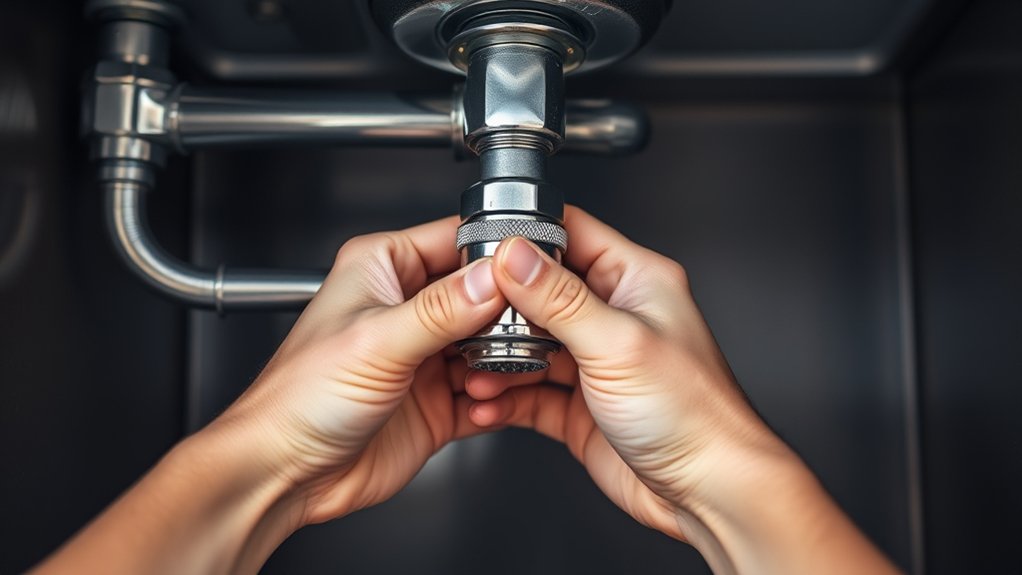
Before you start, find your main water valve and turn it off. Then open the faucet to check that the water has stopped flowing. This will help prevent leaks while you replace the faucet.
Locate Main Water Valve
Where do you find the main water valve in your home? Typically, it’s near the water meter, often in the basement, garage, or outside by the foundation. Turning off this valve is crucial for water conservation and prevents leaks while you replace your faucet. Since faucet materials can affect water flow and durability, controlling the water supply ensures you work safely.
| Location | Description | Tips for Access |
|---|---|---|
| Basement | Near the main water pipe | Check behind utility sinks |
| Garage | Wall near the water heater | Clear clutter for easy reach |
| Outside | Ground level near foundation | Look for a covered box |
| Utility Room | Close to the water meter | Use a flashlight if dark |
Verify Water Is Off
Once you’ve located and turned off the main water valve, the next step is to make certain the water supply is completely shut off. Turn on the kitchen faucet to check if water still flows.
If water runs, double-check the valve or locate the individual shutoff valves under the sink. Confirming no water is coming through prevents leaks and helps with water conservation during your project.
Before removing your old faucet, consider the condition of your faucet accessories, like aerators or hoses, and replace any worn parts. This guarantees your new installation works efficiently and avoids future leaks.
Verifying the water is off is essential for a smooth, mess-free faucet replacement process, so don’t skip this step.
Remove Your Old Kitchen Faucet Carefully
Although removing your old kitchen faucet might seem straightforward, you’ll want to proceed carefully to avoid damaging the sink or plumbing. Start by disconnecting the water supply lines using an adjustable wrench, turning counterclockwise to loosen them.
Next, remove any mounting nuts or clips holding the faucet in place, often located under the sink. If corrosion or buildup makes removal tough, apply a penetrating lubricant to loosen parts without forcing them.
Remove mounting nuts carefully, using penetrating lubricant if corrosion hinders easy removal under the sink.
As you remove the faucet, keep in mind your design inspiration for the new fixture, whether you’re opting for sleek modern faucet styles or classic designs. Careful removal protects your sink’s surface and plumbing.
Avoid rushing this step. A gentle, methodical approach helps prevent leaks or damage. Once the old faucet is free, handle it carefully to avoid scratching the countertop or sink basin.
This careful removal sets the stage for a smooth installation of your new kitchen faucet.
Clean the Sink Area Before Installing
Before installing your new kitchen faucet, make sure you thoroughly clean the sink area to remove any grime, old plumber’s putty, or debris. This step is vital for proper sealing and avoiding leaks.
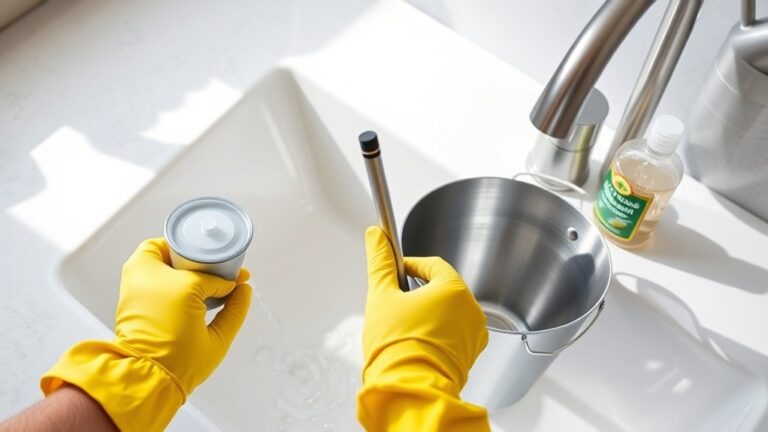
Use gentle cleaning tips like a soft sponge and mild detergent to clear away dirt without damaging surfaces. For stubborn stains, a baking soda paste or vinegar solution works well for effective stain removal.
Take your time to verify the surface is dry and smooth before proceeding.
| Cleaning Task | Recommended Method |
|---|---|
| Grime removal | Mild detergent & sponge |
| Old putty removal | Plastic scraper & rubbing alcohol |
| Stain removal | Baking soda paste or vinegar |
| Debris removal | Vacuum or damp cloth |
| Final wipe down | Dry microfiber cloth |
Thorough cleaning sets a solid foundation for your new faucet installation.
Prepare Your New Faucet for Installation
With the sink area clean and dry, you’re ready to prepare your new faucet for installation. First, examine the faucet finish carefully to verify it matches your kitchen’s style and existing fixtures. A consistent faucet finish not only looks better but also resists corrosion and wear more effectively.
Next, check the brand compatibility of your new faucet with your sink and plumbing connections. Some brands have proprietary fittings or require specific adapters, so confirming this will save you time during installation.
Unpack all parts and verify that you have the mounting hardware, hoses, and any included gaskets or washers. If your faucet includes a spray hose or additional features, familiarize yourself with their components now.
Finally, remove any protective coatings or packaging materials from the faucet to avoid interference with sealing and mounting. Taking these steps ensures a smooth installation and long-lasting performance from your new kitchen faucet.
Position and Secure Your Kitchen Faucet
Position the faucet over the sink holes, making sure it’s properly aligned. Tighten the mounting nuts to hold it in place, then give the faucet a gentle shake to check that it’s stable and won’t wobble during use.
Align Faucet Correctly
Although it might seem straightforward, aligning your kitchen faucet correctly is crucial for both functionality and appearance. Proper alignment guarantees that the faucet complements your sink’s faucet design and supports efficient water conservation.
To align your faucet perfectly, follow these steps:
- Position the faucet so the spout is centered over the sink basin.
- Check that handles are easily accessible and symmetrical.
- Ensure the faucet base sits flush against the countertop or sink surface.
- Adjust the faucet to avoid any awkward angles that might interfere with sink use.
- Confirm the faucet’s orientation matches your kitchen workflow for comfortable operation.
Taking these steps guarantees your new faucet looks great and functions effectively, enhancing both style and water efficiency in your kitchen.
Tighten Mounting Nuts
How do you guarantee your kitchen faucet stays securely in place? After aligning it properly, tighten the mounting nuts beneath the sink using the mounting hardware provided. This step confirms your faucet won’t wobble or shift, preserving the faucet finish and overall stability. Use a basin wrench or adjustable wrench for a snug fit—avoid overtightening to protect the finish and plumbing.
| Step | Tip |
|---|---|
| Position faucet | Center over sink hole |
| Insert mounting nuts | Hand-tighten first |
| Use wrench | Tighten firmly but gently |
| Check alignment | Adjust if needed |
| Secure completely | Prevent leaks and movement |
Properly tightened mounting nuts lock your faucet in place, maintaining both function and appearance.
Check Stability Thoroughly
Once you’ve tightened the mounting nuts, make sure your faucet sits firmly without any wobble or movement. A thorough stability assessment helps ensure your faucet stays secure and functions properly. Use proper mounting techniques to avoid leaks or damage over time.
Check the following to confirm stability:
- Apply gentle pressure from multiple angles to detect any looseness
- Verify that mounting nuts are evenly tightened, not overtightened
- Inspect the gasket or seal to ensure it’s properly seated
- Confirm the faucet base aligns flush with the sink surface
- Test the faucet handle operation for smooth, stable movement
Connect Kitchen Faucet Water Supply Lines
Before you attach the water supply lines to your new kitchen faucet, make sure the shutoff valves under the sink are fully closed to prevent leaks. Next, connect the hot and cold water lines to the corresponding valves, typically marked with red and blue.
Use an adjustable wrench to tighten the nuts securely, but avoid overtightening, which can damage fittings. As you connect the lines, pay attention to their length and flexibility, especially if your kitchen has tight spaces or a unique faucet style, such as a pull-down or touchless model.
These faucets may require specific connectors or adapters, so double-check the manufacturer’s instructions. Once both lines are attached, position them neatly to avoid kinks or strain and ensure smooth water flow and long-lasting connections.
Properly connecting your water supply lines is essential for a functional kitchen faucet. It also helps prevent leaks and water damage.
Test for Leaks and Proper Water Flow
Now that you’ve connected the water supply lines, turn on the faucet and check each connection for leaks. Look closely for drips or moisture around the joints. Then check that the water flows smoothly and steadily.
Inspect Faucet Connections
How can you be sure your new faucet is installed correctly? Start by carefully inspecting all faucet connections to prevent leaks and ensure smooth water flow. The faucet material affects how tightly connections hold, so check for any signs of wear or corrosion.
Test the water pressure briefly to confirm there’s no drop caused by improper sealing. Here’s what you should do:
- Tighten all nuts and fittings securely without over-tightening
- Examine hoses and connections for cracks or damage
- Look for any water droplets or moisture around joints
- Turn the faucet on and off to observe consistent flow
- Verify that the faucet material and fittings match for ideal sealing
These steps help *guarantee* your new faucet performs reliably and stays leak-free.
Verify Water Pressure
Since even a small leak or pressure drop can cause bigger issues over time, you’ll want to verify the water pressure carefully after installing your new faucet. Start by turning on the water supply and checking the water flow at both hot and cold handles.
Observe if the flow is steady and strong; weak flow may indicate pressure regulation problems or a clog. Next, inspect all connections for any leaks, tightening fittings if necessary.
If you notice inconsistent pressure or dripping, it could signal an issue with the faucet’s internal valves or supply lines. Take time to confirm everything functions smoothly, as proper pressure regulation not only improves performance but also prevents damage and water waste.
This step guarantees your new faucet works efficiently and reliably.
Troubleshooting Installation Issues and Maintenance Tips
Although installing a new kitchen sink faucet can seem straightforward, you might encounter common issues like leaks, low water pressure, or loose connections. To troubleshoot effectively, first check all connections for tightness and verify the water supply valves are fully open.
If you notice persistent leaks, inspect the washers and seals, which may need replacement. Low water pressure might stem from clogged aerators or supply lines.
Remember, some common warranty issues arise from improper installation, so always follow manufacturer guidelines closely. If your current faucet isn’t working well, consider alternative faucet types that might better suit your water pressure or sink setup.
Here are key troubleshooting and maintenance tips:
- Tighten all fittings and connections securely
- Clean or replace clogged aerators regularly
- Inspect washers and seals for wear and replace if needed
- Check for leaks after installation and during routine use
- Understand warranty coverage to avoid common claim issues
Following these steps helps maintain your faucet’s performance and longevity.
Frequently Asked Questions
What Types of Kitchen Faucets Are Available?
You’ll find several types of kitchen faucets, including single-handle, double-handle, and pull-out or pull-down models. Each offers different spray options to suit your needs, from steady water flow to powerful sprays for cleaning.
Touchless faucets provide hands-free control, while commercial-style faucets deliver strong water flow for heavy-duty tasks. Choosing the right faucet depends on your kitchen habits and preferred spray options for convenience and efficiency.
How Do I Choose the Right Faucet Finish?
You’ll want to pick a faucet finish that matches your kitchen’s style and offers strong finish durability. Consider faucet material too—brass and stainless steel finishes usually hold up well against corrosion and daily use.
If you want something low-maintenance, look for finishes like chrome or brushed nickel that resist fingerprints and water spots. Ultimately, choose a finish that combines durability with the look you love for a faucet that lasts and looks great.
Can I Install a Faucet Without Professional Help?
Yes, you can install a faucet without professional help if you’re comfortable with DIY plumbing. It requires basic tools and some patience, but many guides make it manageable.
Make sure you turn off the water supply first. Doing it yourself also helps you understand faucet maintenance better, so you can troubleshoot leaks or clogs later.
Just follow instructions carefully, and you’ll save money while gaining handy skills.
What Is the Average Cost of a Kitchen Faucet?
You’ll love hearing this: a kitchen faucet costs about as much as your monthly coffee addiction—anywhere from $50 to $300. Sure, you could buy a fancy one that practically judges your faucet maintenance skills or fixes water pressure issues by itself. But if you’re like most, you’ll pick something reliable without breaking the bank.
Just remember, a good faucet saves you headaches and keeps water pressure happy, so choose wisely!
How Often Should I Replace My Kitchen Faucet?
You should replace your kitchen faucet every 10 to 15 years, but if you notice leaks or reduced water flow, it’s time sooner. Regular faucet maintenance helps extend its life and supports water conservation by preventing drips.
Keeping your faucet in good shape ensures you’re not wasting water or energy. If repairs become frequent or parts corrode, replacing the faucet is the best way to sustain efficiency and save resources.
Conclusion
Replacing your kitchen faucet is like tending a garden: each careful step nurtures a space that serves you daily. Just as a gardener turns soil and plants anew, you’ve turned off the water, removed the old faucet, and installed the new one with care.
Now, test for leaks and watch the water flow smoothly. Your patience and attention have transformed your kitchen into a fresher, more functional place, ready to support your everyday moments. With these steps, you’ve learned how to replace a kitchen sink faucet and refresh your kitchen.