How to Measure Kitchen Sink in 3 Easy Steps
Choosing the wrong sink size can lead to costly countertop changes and frustrating installation delays. If you’re unsure where to start, you’re not alone. This guide to how to measure a kitchen sink will help you find the right fit.
To measure your kitchen sink in three easy steps, start by using a tape measure to get the length, width, and depth accurately.
Next, identify your sink’s mounting style, top-mount, undermount, or flush-mount, by checking how it sits relative to the countertop and measuring the lip or rim.
Finally, open the cabinet below to confirm plumbing space and faucet hole compatibility.
Keep going to uncover tips that guarantee a perfect fit and smooth installation.
Key Takeaways
- Measure the sink’s length from outer edge to outer edge for accurate sizing.
- Measure the width from the front edge to the back edge of the sink.
- Measure the depth from the top edge to the bottom of the basin.
- Identify the mounting style by checking if the sink rim sits above, below, or flush with the countertop.
- Confirm the sink lip or rim width to ensure proper fit in the countertop cutout.
Measure Your Sink’s Length, Width, and Depth
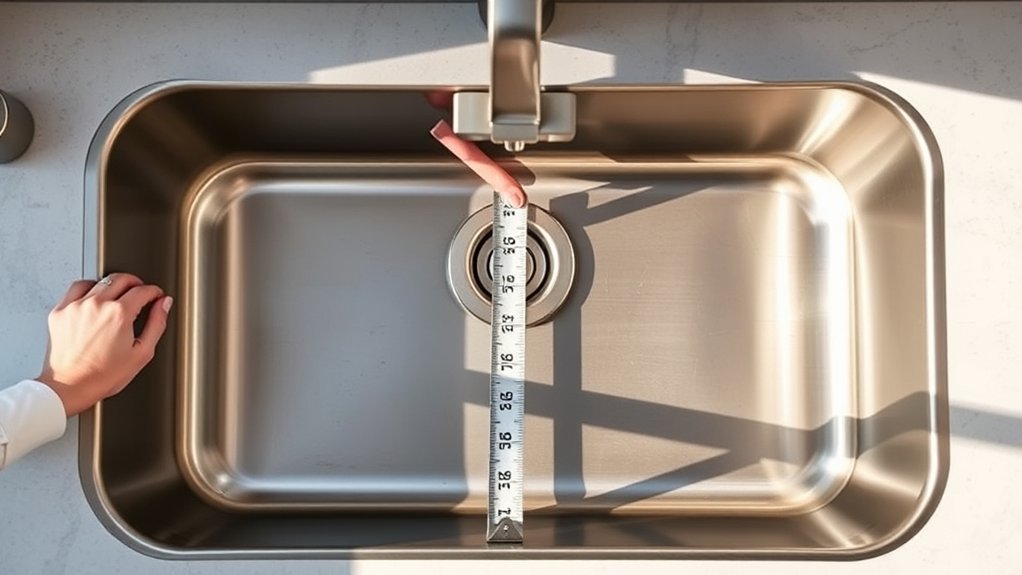
Before you begin, make sure you have a tape measure handy. Measuring your sink’s length, width, and depth accurately is vital for confirming dishwasher compatibility and proper countertop clearance.
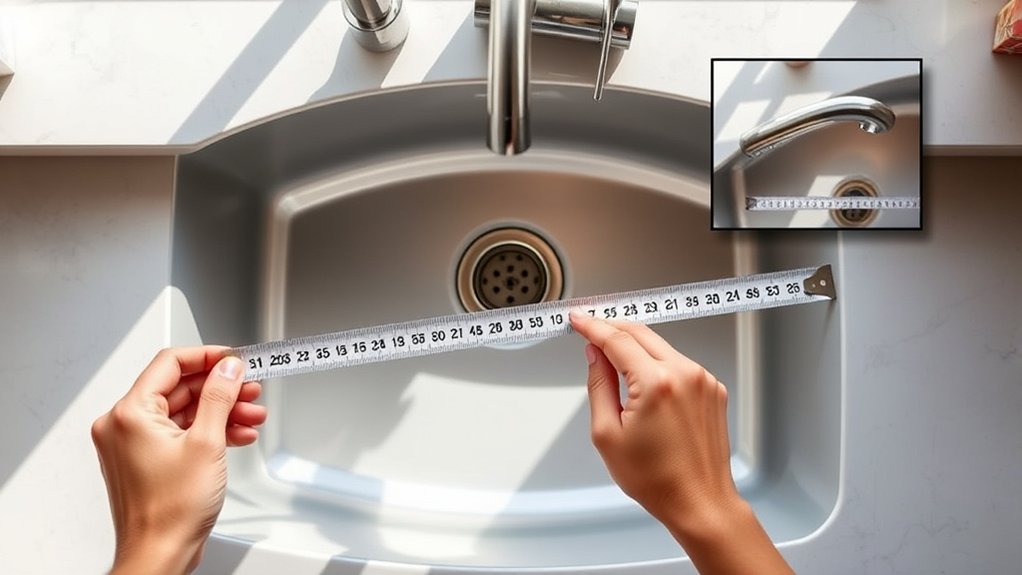
Start by measuring the length from one outer edge to the other, then do the same for the width. These dimensions help you confirm that your sink fits well within your countertop cutout and won’t interfere with your dishwasher installation.
Begin by measuring the sink’s length and width to ensure it fits your countertop and dishwasher space.
Next, measure the depth by placing the tape measure from the top edge down to the bottom of the basin. This is essential for understanding how much space your sink occupies beneath the countertop, affecting both clearance and plumbing connections.
Taking these measurements carefully helps you avoid costly mistakes when replacing or upgrading your sink. Remember, precise length and width measurements ensure your sink integrates smoothly with your countertop, while knowing the depth supports proper dishwasher compatibility and enough countertop clearance for everyday use.
How to Identify Your Sink’s Mounting Type and Edge Size
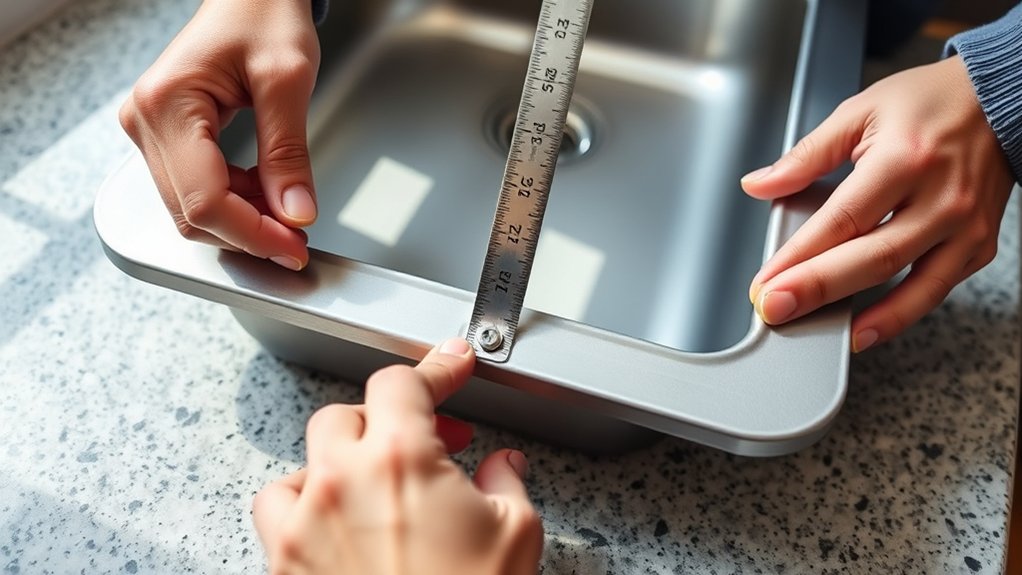
Once you have your sink’s length, width, and depth measured, the next step is to identify its mounting type and edge size. Understanding your sink’s mounting styles guarantees a proper fit and smooth installation.
Start by examining how your sink sits in relation to the countertop. There are three common mounting styles to recognize:
- Top-mount (drop-in): The sink drops into a cutout, with a visible rim resting on the countertop.
- Undermount: Installed beneath the countertop for a seamless look; no rim sits on top.
- Flush-mount: The sink edge aligns flush with the countertop surface, requiring precise edge measurements.
To get accurate edge measurements, use a tape measure to check the width and thickness of the sink’s lip or rim. This helps determine how much space the sink’s edge occupies and ensures you pick the right countertop cutout size.
Identifying these details prepares you for a perfect sink fit.
Confirm Sink Plumbing and Cabinet Space for a Perfect Fit
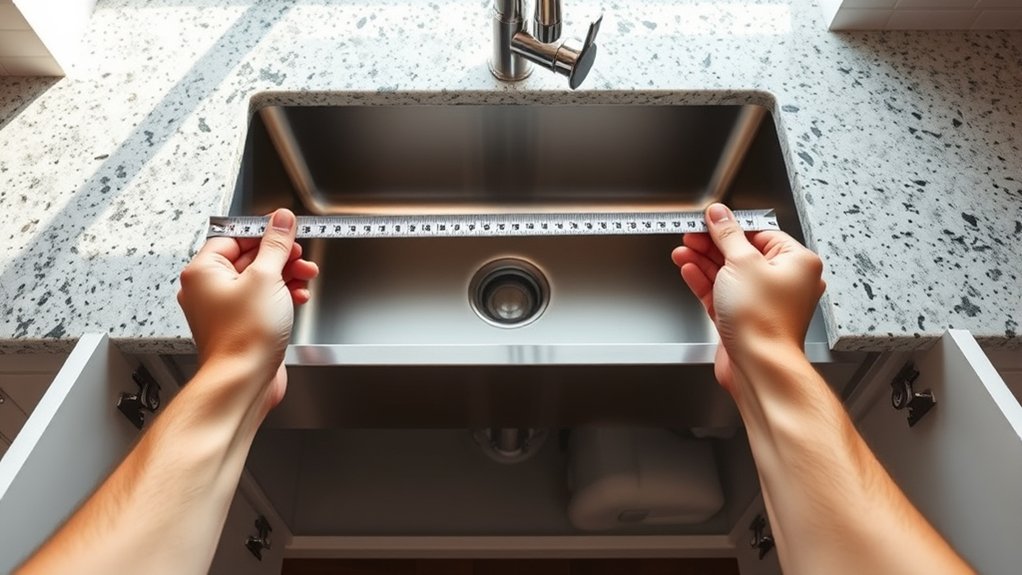
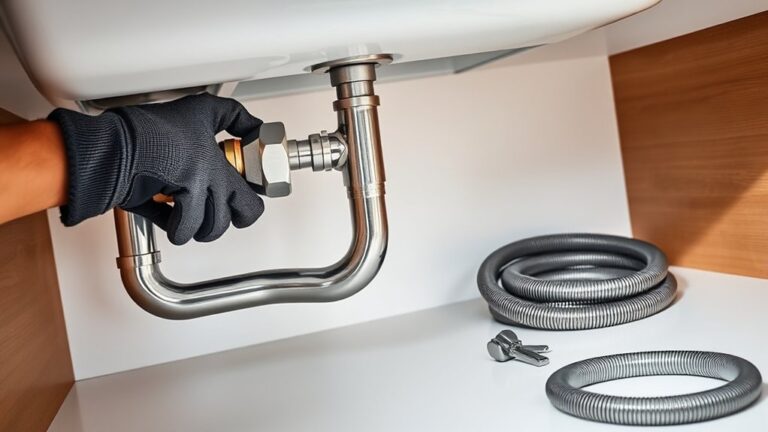
Although you’ve measured your sink and identified its mounting style, you still need to verify that your plumbing and cabinet space can accommodate the new installation. Start by opening the cabinet beneath your sink and checking the available space.
Make sure there’s enough room for the sink’s depth and width without interfering with plumbing connections or storage. Measure the distance between existing plumbing pipes and the cabinet walls to ensure compatibility with your new sink’s drain and faucet holes.
Next, gather your installation tools and inspect the plumbing connections. Look for any signs of corrosion or leaks that might require repair before installing the new sink.
Confirm that your plumbing setup matches the new sink’s configuration, such as the number of faucet holes and drain size. Taking these steps now helps prevent surprises during installation and ensures a perfect fit, saving you time and effort in the long run.
Frequently Asked Questions
What Tools Do I Need to Measure My Kitchen Sink Accurately?
You’ll need a tape measure or ruler to get precise faucet dimensions and drain size requirements. A notepad or smartphone helps you jot down measurements.
If your sink has tight or awkward spots, a flexible measuring tape or caliper can enhance accuracy. Don’t forget to measure both the faucet base and the drain opening carefully to guarantee compatibility with your fixtures and plumbing. Taking your time prevents costly mistakes.
How Often Should I Measure My Kitchen Sink for Replacements?
You should measure your kitchen sink for replacements whenever you plan an upgrade or notice damage. Since sink material affects durability, keep an eye on wear and tear, especially with softer materials like stainless steel or composite.
Also, check the installation height each time to confirm the new sink fits comfortably in your workspace. Regular measurements help you avoid surprises and guarantee a smooth installation when it’s time to replace your sink.
Can I Measure My Sink Without Removing It From the Countertop?
You don’t have to move mountains to measure your sink—you can do it right in place! Simply use a tape measure to get the length, width, and depth while the sink is still installed.
This helps you check sink installation accuracy and confirm countertop compatibility without the hassle of removal. Just measure from edge to edge carefully, and you’ll have the info you need for a smooth upgrade or replacement.
What Are the Common Sink Sizes Available in the Market?
You’ll find common sink sizes usually range between 22 to 33 inches in length and 18 to 22 inches in width. When planning your sink installation, choose a size that fits your countertop space and allows for efficient water drainage.
Smaller sinks suit compact kitchens, while larger ones offer more room for washing. Always consider the plumbing setup to guarantee proper water drainage and a smooth installation process.
How Do I Measure a Double-Bowl Kitchen Sink Correctly?
Measure each bowl’s length, width, and depth separately. Remember, “measure twice, cut once.” Don’t forget to include the divider between bowls in your total width.
Keep material considerations in mind; heavier materials like cast iron may affect installation. For installation tips, make certain you measure the countertop cutout precisely and account for any mounting clips or seams.
Accurate measurements save headaches during installation and help you pick the perfect double-bowl sink.
Conclusion
Measuring your kitchen sink might seem like rocket science, but with these three simple steps, you’ll feel like a pro in no time! Forget fumbling with confusing tools or risking a disastrous fit. This quick guide makes measuring your kitchen sink easy, so you can find the right fit for your kitchen.