How to Paint Kitchen Cabinets Without Sanding in 5 Easy Steps
Painting kitchen cabinets can feel like a big job, especially when you want to avoid the dust and hassle of sanding. You’re not alone—many people want an easier way to get a smooth, lasting finish.
In this guide to how to paint kitchen cabinets without sanding, we’ll walk you through five simple steps.
To paint your kitchen cabinets without sanding, start by removing hardware and thoroughly cleaning all surfaces to remove grease and dirt.
Next, choose a bonding primer designed for slick surfaces to guarantee paint sticks well.
Use quality brushes and apply multiple thin coats of paint for a smooth finish.
Finally, seal your cabinets with a clear, kitchen-safe sealer to protect the paint and keep it vibrant.
Keep going to uncover expert tips that make your project last longer and look professional.
Key Takeaways
- Remove all cabinet hardware and thoroughly clean surfaces with a degreaser to ensure paint adhesion without sanding.
- Apply a bonding or adhesion primer designed for slick surfaces to promote paint stickiness without sanding.
- Use high-quality brushes and rollers to apply multiple thin coats of paint, allowing each to dry fully.
- Choose a satin or semi-gloss finish for durability and moisture resistance suitable for kitchen cabinets.
- Seal the painted cabinets with a clear polyurethane or water-based sealer to protect the finish and extend longevity.
Understand Painting Kitchen Cabinets Without Sanding
Although sanding is a common step in painting kitchen cabinets, you can skip it if you prepare the surface correctly. The key is to focus on cleaning and using the right primers that adhere well to your cabinets. Before you start, remove all cabinet hardware like knobs and handles to guarantee a smooth, uninterrupted paint job. This also protects your hardware from paint splatters.
Next, consider your cabinet style. If your cabinets have intricate details or a glossy finish, you’ll need primers designed for those surfaces to ensure the paint sticks properly. Skipping sanding doesn’t mean skipping preparation. You need to create a surface that grips paint firmly.
Clean and Degrease Cabinets Before Painting
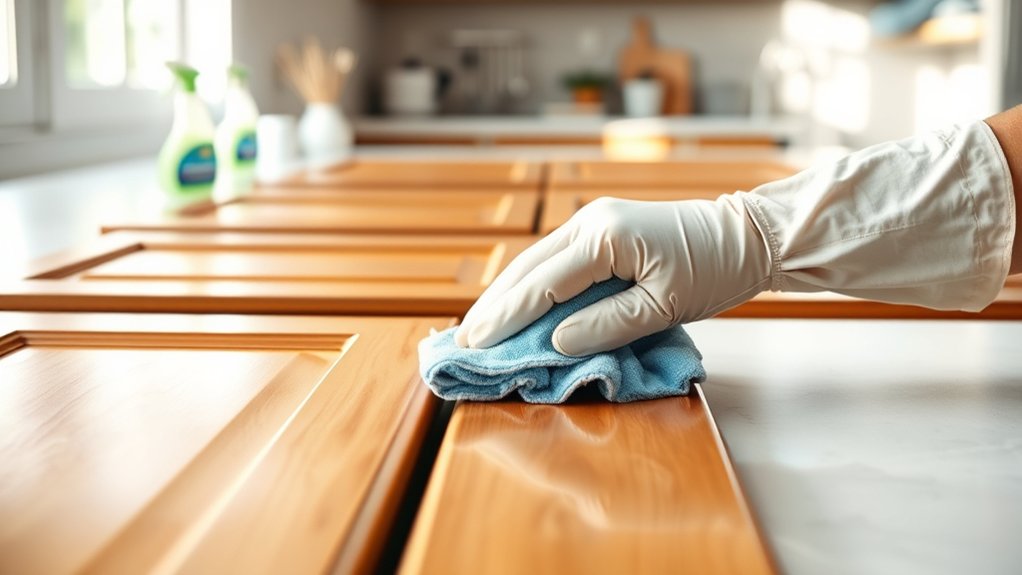
Before you apply any primer or paint, you need to thoroughly clean and degrease your kitchen cabinets. Residue from cooking oils, dust, and dirt can prevent paint from adhering properly, causing peeling or uneven coverage.
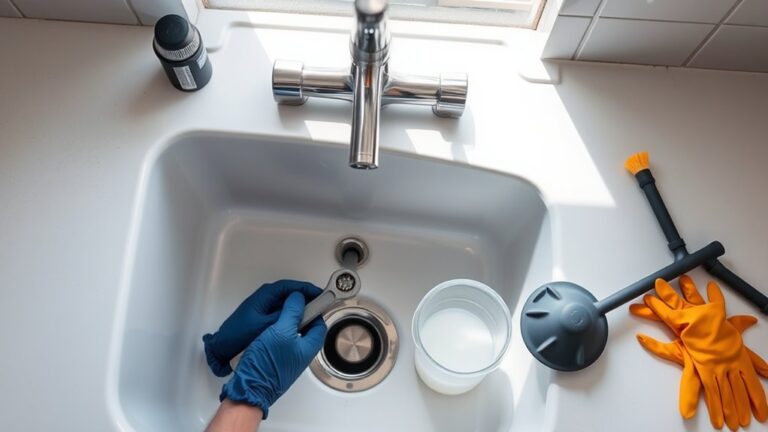
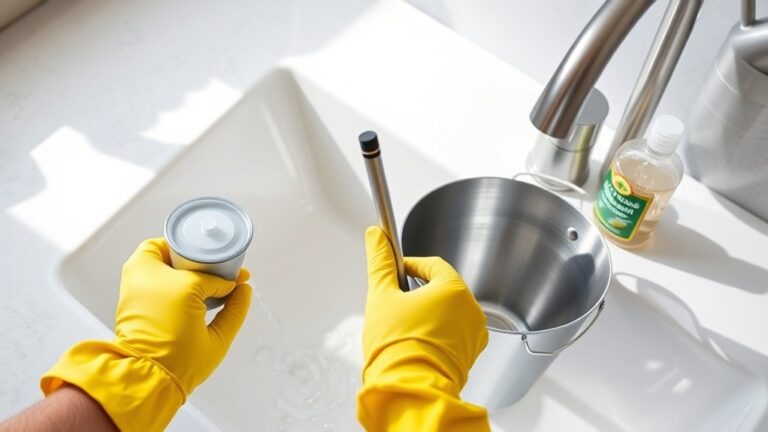
Start by removing cabinet hardware like knobs and handles to access every surface easily. Use a degreaser or a mixture of warm water and mild dish soap with a sponge to scrub all cabinet surfaces, including doors, frames, and edges.
Pay close attention to corners where grime tends to build up. After cleaning, rinse with a damp cloth and let the cabinets dry completely.
This step is vital no matter what paint color selection you’ve made, as clean cabinets ensure a smooth, vibrant finish. Skipping this process will compromise your efforts, so take the time to do it right before moving on to painting.
Choose the Best Primer for No-Sanding Projects
Once your cabinets are spotless and dry, the next step is picking the right primer to guarantee your paint sticks without sanding. You want a primer that boosts paint durability and offers good adhesion. Look for primers labeled “bonding” or “adhesion,” as they’re designed for slick surfaces like cabinet finishes. Also, consider color options—you’ll find primers in white, gray, or tinted versions to improve your topcoat’s vibrancy or coverage.
Here’s a quick primer comparison to help you decide:
| Primer Type | Color Options | Paint Durability |
|---|---|---|
| Bonding Primer | White, Gray | High |
| Shellac Primer | Clear, White | Very High, Stain Blocking |
| Oil-Based Primer | White, Tinted | High |
| Latex Primer | White, Tinted | Moderate |
| Spray Primer | White, Clear | High |
Choosing the best primer guarantees your paint adheres well and lasts, even without sanding.
Paint Cabinets Using the Right Tools and Techniques
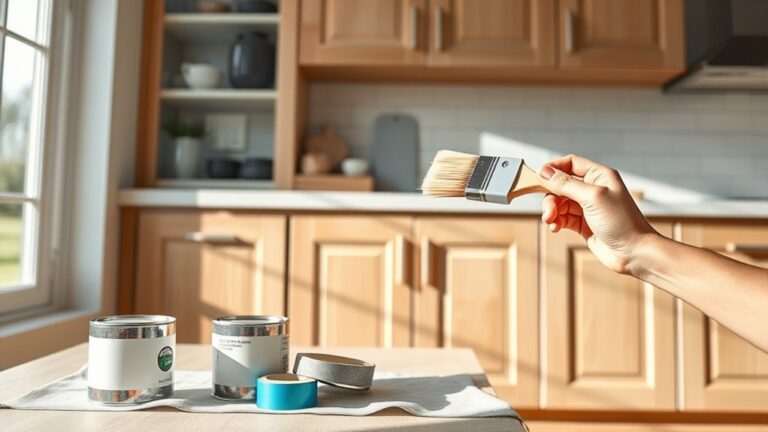
When you’re ready to paint your cabinets, using the right tools and techniques makes all the difference in achieving a smooth, professional finish. Start with high-quality brushes and foam rollers designed for cabinetry paint. These tools help you apply paint evenly without leaving brush strokes or bubbles. Use a small angled brush for corners and detailed areas to ensure full coverage.
Pay close attention to color matching, especially if you’re touching up or blending with existing paint. Test your paint in natural light to confirm it complements your kitchen’s style. Consider your finish options carefully: matte, satin, or semi-gloss finishes each offer different durability and sheen levels. Satin and semi-gloss are popular for cabinets because they resist moisture and wipe clean easily.
Apply multiple thin coats rather than one thick layer, allowing each coat to dry completely. This method avoids drips and ensures a durable, attractive surface that elevates your kitchen’s look without sanding.
Seal Cabinets and Keep Your Paint Looking Fresh
To keep your freshly painted cabinets looking their best, you need to seal them with a protective finish that guards against wear and moisture. Choose a clear polyurethane or a water-based sealer designed for kitchen surfaces to maintain durability without yellowing your paint color options.
Apply the sealer evenly with a high-quality brush or foam applicator, ensuring you cover edges and corners thoroughly.
Use a quality brush or foam applicator to evenly seal every edge and corner for lasting protection.
Before sealing, remove or mask your cabinet hardware to prevent damage or sticky residue. Once the sealer dries, reinstall your hardware carefully to avoid scratching the finish.
This step not only protects your cabinets but also helps keep your paint looking fresh through daily use and cleaning. By sealing your cabinets properly, you extend the life of your paint job and preserve the vibrant look you’ve achieved without sanding.
This simple step guarantees your kitchen stays stylish and functional for years to come.
Frequently Asked Questions
Can I Paint Over Laminate Cabinets Without Sanding?
Yes, you can paint over laminate cabinets without sanding, but proper surface preparation is key to ensuring strong adhesion. Clean the cabinets thoroughly to remove grease and dirt, then lightly scuff the surface with a fine abrasive pad or use a liquid deglosser. This helps the primer stick better.
Use a high-quality bonding primer designed for laminate. Skipping these steps risks poor adhesion and peeling paint later, so don’t skip surface prep.
How Long Does Painted Cabinet Finish Typically Last?
You can expect your cabinet durability and paint longevity to last about 5 to 10 years with proper care. This timeframe depends on factors like the quality of paint, surface prep, and daily wear.
If you use high-quality paint and seal the finish well, your cabinets will stay fresh longer. Regular cleaning and gentle use also boost paint longevity, helping your kitchen look great without frequent repainting.
What Is the Best Type of Paint for Kitchen Cabinets?
For flawless finishes, you’ll find that fast-drying, furniture-friendly paints work best on kitchen cabinets. Choose a paint with a satin or semi-gloss sheen for easy cleaning and durability. Before painting, perfect your primer selection to guarantee proper adhesion and smooth color matching. Water-based acrylic latex paints are popular because they resist yellowing and dry quickly, making your kitchen cabinets look fresh and fabulous for years to come.
Can I Paint Kitchen Cabinets Myself or Hire a Professional?
You can definitely paint kitchen cabinets yourself if you’re comfortable with the process and have time. Just remember to remove cabinet hardware before starting to get a clean finish. Choosing the right color selection is essential—it can transform your kitchen’s vibe.
However, if you want a flawless, professional look or have limited time, hiring a pro might be better. Either way, prepping and patience make all the difference.
How Do I Fix Paint Chips on Cabinets Without Repainting?
Imagine you notice chips on your cabinets just before guests arrive. To fix them without repainting, start with proper cabinet prep—clean the area and lightly sand around the chip for better adhesion. Then, use touch up techniques like applying matching paint with a fine brush or a paint pen. This method saves time and keeps your cabinets looking fresh without a full repaint job.
Conclusion
Now that you’ve mastered how to paint kitchen cabinets without sanding, your kitchen’s about to look like it belongs in a magazine! By cleaning, priming, painting, and sealing with the right techniques, you’ll get a beautiful finish without the hassle of sanding.
Trust me, this method saves enough time and effort to binge-watch your favorite show twice over. So grab your brush and get ready to transform your space effortlessly!