How to Install a Kitchen Sink Drain in 7 Easy Steps
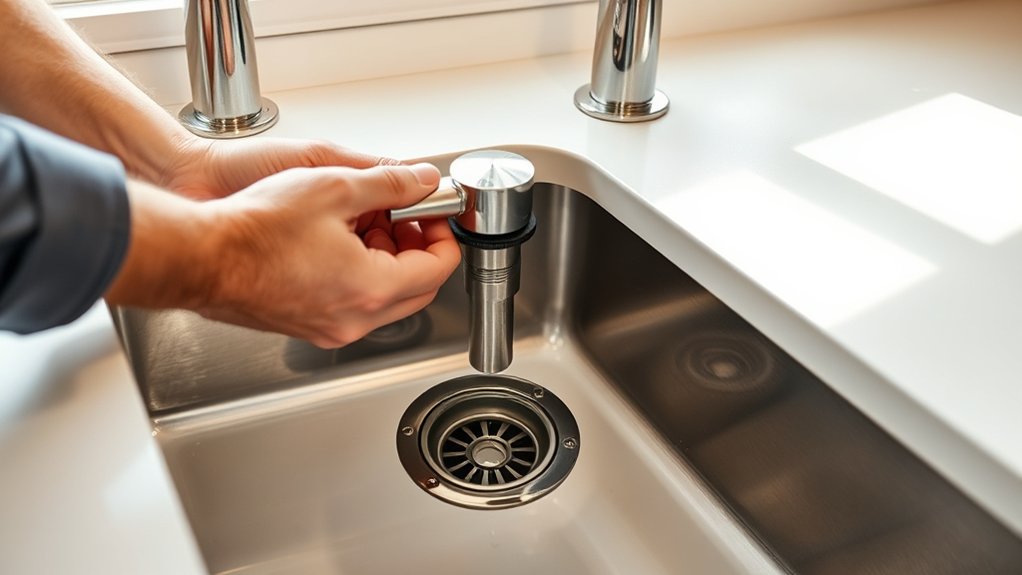
A leaky or poorly fitted kitchen sink drain can turn a simple kitchen task into a frustrating cleanup. If you’re unsure where to start, you’re not alone—many people struggle to get a drain installation snug and leak-free. This guide walks you through how to install a kitchen sink drain in 7 easy steps.
To install a kitchen sink drain, first gather your tools and materials, then remove any old drain and clean the sink opening thoroughly.
Roll plumber’s putty and apply it under the drain flange before securing it in place.
Tighten the drain body with the gasket, connect the tailpiece, and hand-tighten the slip nuts.
Attach the P-trap, aligning everything properly.
Finally, run water to check for leaks and make adjustments.
Keep following along to uncover tips for a flawless, leak-free installation.
Key Takeaways
- Remove the old drain by loosening slip nuts and clean the sink opening thoroughly to ensure a smooth, debris-free surface.
- Apply plumber’s putty around the drain flange, insert it into the sink, and then tighten the drain body with the correct gasket.
- Connect the tailpiece to the drain, attach the P-trap, and align all components properly to prevent leaks.
- Test water flow and check for leaks by running water, tightening connections as needed without overtightening.
- Perform a final inspection to secure all fittings, ensure proper alignment, and confirm the drain functions leak-free and efficiently.
Gather Tools and Materials for Kitchen Sink Drain Installation
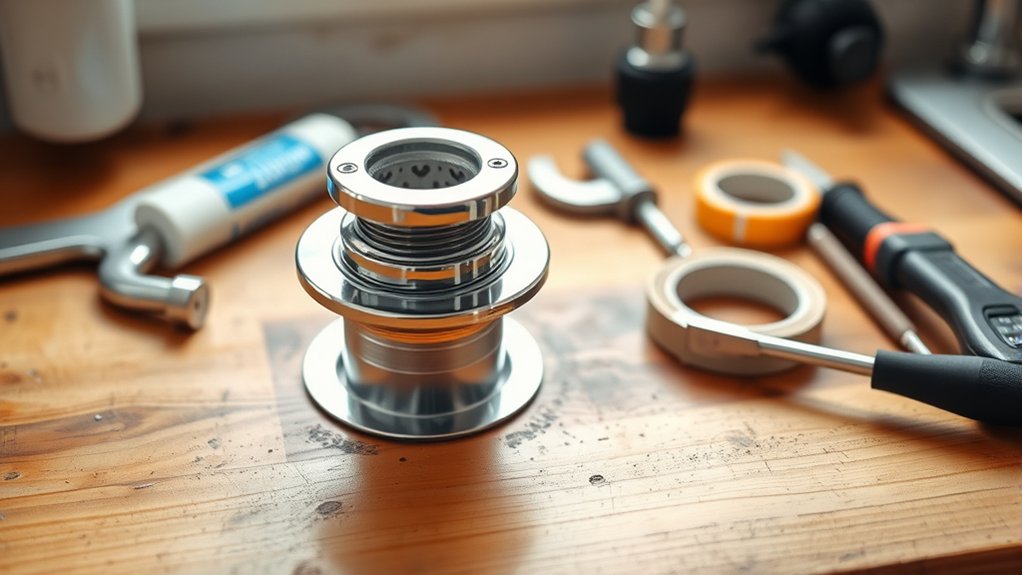
Before you begin installing your kitchen sink drain, make sure you have all the necessary tools and materials on hand. Choosing tools carefully will save you time and frustration. You’ll typically need a pipe wrench, adjustable pliers, plumber’s putty, a screwdriver, and a bucket to catch any water drips.
Selecting materials is just as important. Opt for a drain assembly kit compatible with your sink type, including the strainer, tailpiece, washers, and slip nuts.
Double-check that the materials are durable and corrosion-resistant, like PVC or stainless steel. Don’t forget Teflon tape for sealing threaded connections.
Having everything ready guarantees a smooth installation process without unexpected trips to the hardware store. Take a moment to organize your tools and materials within easy reach before starting. This preparation makes the work more efficient and helps you avoid mistakes during the installation.
Remove Old Drain (If Applicable) and Clean Sink Opening
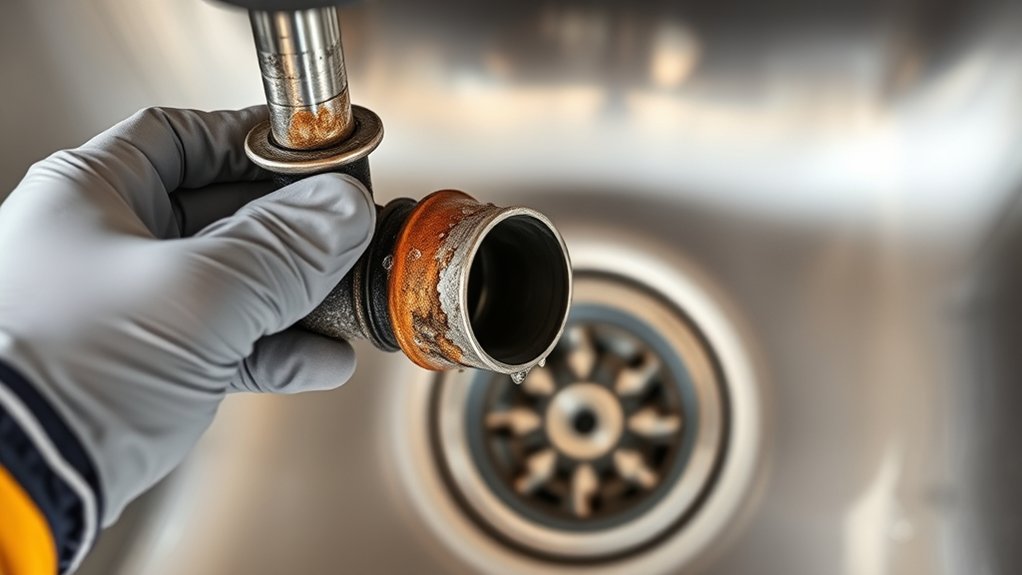
If you’re replacing an old drain, carefully remove all the existing components. Then clean away any debris or buildup around the sink opening so you have a smooth, clean surface. Before installing the new drain, check the area for damage or leftover residue.
Removing Old Drain Components
Since old drain components can cause leaks or blockages, you’ll want to remove them completely before installing a new kitchen sink drain. Start by loosening the slip nuts under the sink with a wrench, then carefully detach the old drain pipe.
If corrosion or grime has built up, use a putty knife to scrape around the sink opening. Keeping your sink area clean is essential—not just for functionality but also to complement your kitchen decor and maintain hygiene for your cooking techniques.
| Task | Tip |
|---|---|
| Loosen nuts | Use adjustable wrench for grip |
| Remove old drain pipe | Be gentle to avoid damaging fittings |
| Clean sink opening | Scrape old putty or debris carefully |
Clearing Debris Thoroughly
While removing the old drain, you’ll want to clear away all debris thoroughly to guarantee a proper seal and prevent future clogs. Effective debris prevention starts with meticulous drain cleaning. After detaching the old drain, clean the sink opening carefully to remove any buildup or residue.
Follow these steps for thorough debris prevention and drain cleaning:
- Use a putty knife or scraper to remove old plumber’s putty and grime.
- Wipe the sink opening with a damp cloth to remove dust and particles.
- Inspect for any leftover debris in the drain pipe and flush it with water.
- Allow the area to dry completely before installing the new drain.
A clean sink opening ensures a tight seal and helps avoid leaks or blockages down the line.
Inspecting Sink Opening
Once you’ve cleared away all debris and cleaned the sink opening, focus on inspecting the area thoroughly before installing the new drain. Check for any cracks or damage in the sink material that might cause leaks. Remove the old drain carefully if it’s still in place, ensuring the surface is smooth and clean. Verify that the drain size matches your new drain assembly to avoid installation issues. Use the table below to quickly review key inspection points:
| Inspection Aspect | What to Check | Action Needed |
|---|---|---|
| Sink Material | Cracks, chips, corrosion | Repair or replace if damaged |
| Drain Size | Diameter measurement | Confirm with new drain specs |
| Opening Surface | Cleanliness and smoothness | Clean and smooth out irregularities |
Proper inspection helps guarantee a secure, leak-free installation.
Apply Plumber’s Putty and Install the Drain Flange
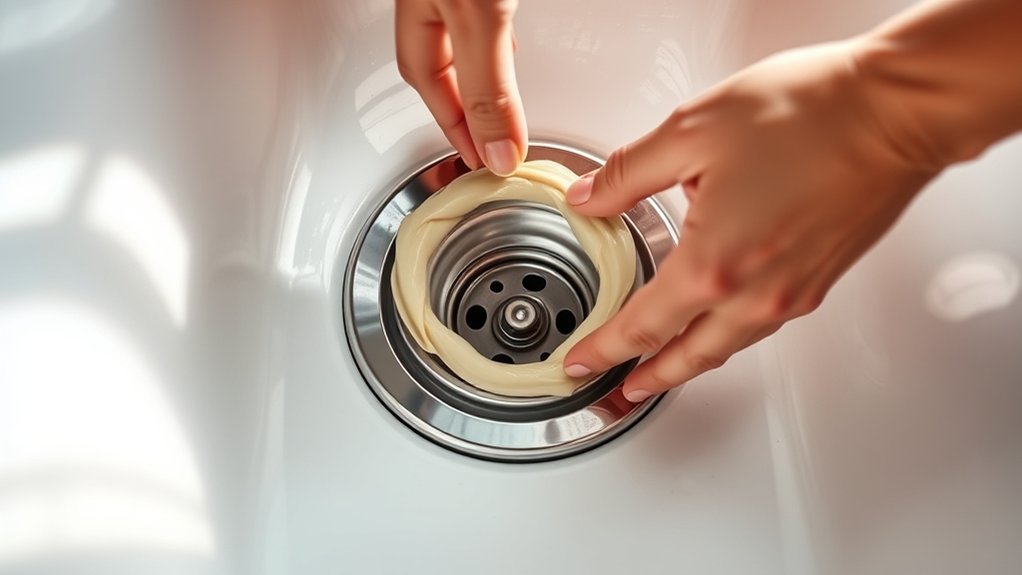
Before you install the drain flange, you’ll want to apply plumber’s putty around its underside to create a watertight seal between the sink and the drain. This step is essential to prevent leaks, especially depending on your drain material, which could be metal or PVC. Here’s how to do it right:
- Roll a small amount of plumber’s putty into a rope about the size of a pencil.
- Press the putty evenly around the underside edge of the drain flange.
- Carefully position the flange into the sink’s drain opening.
- Press down firmly to guarantee the plumber’s putty spreads and seals the flange to the sink surface.
This method guarantees a tight seal without gaps. If your drain material is prone to corrosion, plumber’s putty provides a flexible barrier that maintains the connection over time. Avoid skipping this—it’s key to a durable, leak-free installation.
Tighten the Drain Body and Attach the Rubber Gasket
After securing the drain flange, you’ll need to tighten the drain body from underneath the sink and attach the rubber gasket to guarantee a watertight connection. Start by positioning the rubber gasket correctly; proper gasket placement is essential to prevent leaks.
Depending on your drain material—whether metal or plastic—the tightening method may vary slightly. Use your hand to snug the drain body first, then finish with a wrench, but avoid over-tightening, especially with plastic drains, to prevent damage.
| Drain Material | Gasket Type | Tightening Tip |
|---|---|---|
| Stainless Steel | Thick Rubber Gasket | Hand-tighten then wrench |
| Plastic | Flexible Rubber | Avoid over-tightening |
| Brass | Standard Rubber | Firm but careful grip |
| PVC | Soft Rubber | Tighten gently |
| Chrome | Durable Rubber | Use adjustable wrench |
Correct gasket placement and careful tightening guarantee a secure, leak-free drain assembly.
Connect the Kitchen Sink Drain Tailpiece and Tighten the Slip Nut
Although the drain body is now secure, you’ll need to connect the tailpiece to the drain and tighten the slip nut to guarantee a leak-free joint. First, slide the slip nut and the plumbing seal onto the tailpiece before attaching it to the drain pipe. The plumbing seal ensures no water escapes at this critical connection.
Here’s how to proceed:
- Align the tailpiece with the drain outlet carefully to avoid cross-threading.
- Hand-tighten the slip nut onto the drain pipe to secure the tailpiece.
- Use adjustable pliers to give the slip nut a final snug turn. Don’t overtighten to prevent damage.
- Check that the plumbing seal sits evenly to maintain a watertight fit.
Attach the P-Trap and Check Its Alignment
Position the P-trap under the sink and connect it to the drain tailpiece. Tighten all the slip nuts securely, then check that everything is aligned properly to help prevent leaks and ensure smooth drainage.
Positioning the P-Trap
How do you guarantee the P-trap fits perfectly beneath your kitchen sink? Start by positioning it to ensure a snug fit without forcing any joints. Proper alignment helps avoid leaks and makes future P trap maintenance easier.
When placing the P-trap, keep these tips in mind:
- Align the trap arm with the drain tailpiece to prevent stress on connections.
- Ensure the P-trap’s curve holds water to block sewer gases effectively.
- Leave enough room for easy P trap replacement if needed.
- Check clearance around pipes to avoid interference with cabinet doors or shelves.
Securing Connections Properly
Once you’ve positioned the P-trap correctly, secure all connections tightly to prevent leaks and guarantee proper drainage. Start by hand-tightening the slip nuts on both ends, then use adjustable pliers to snug them further—don’t overtighten, or you risk damaging the threads.
Check that the P-trap aligns with the drainpipe smoothly, ensuring a proper fit. If you notice any gaps or misalignment, adjust before final tightening.
Adding pipe insulation around the drain pipes helps minimize condensation and protects against temperature fluctuations affecting water pressure. This step is especially important in colder climates.
After securing everything, run water to test flow and watch for any movement or looseness. Properly secured connections will maintain steady water pressure and keep your kitchen sink drain functioning efficiently.
Ensuring Leak-Free Alignment
Before fully tightening the P-trap, you’ll want to carefully align it with the drainpipe to guarantee a leak-free connection. Start by loosely attaching the slip nuts, then adjust the P-trap so the pipes fit straight without strain. Proper alignment prevents leaks and ensures smooth drainage.
Keep these maintenance tips in mind:
- Check for any gaps or misalignment before tightening.
- Use plumber’s tape on threaded connections to enhance the seal.
- Ensure the P-trap doesn’t sag, avoiding water pooling and odors.
- Consider aesthetic considerations by positioning pipes neatly for easy access and a clean look under the sink.
Taking these steps helps you avoid leaks and makes future maintenance hassle-free.
Test the Kitchen Sink Drain for Leaks and Final Adjustments
Although you’ve assembled and connected all the components, you’ll need to test the kitchen sink drain carefully to make certain there are no leaks. Start by running water through the sink, checking every joint and connection for signs of moisture. Use a flashlight if necessary to improve visibility.
Pay close attention to the areas around the drain flange, trap, and pipe connections. Leak detection is critical here to prevent water damage later.
Next, tighten any fittings that show minor drips, but avoid overtightening, which can damage components. If leaks persist, disassemble and apply fresh plumber’s putty or Teflon tape before reassembling.
Once you’re confident there are no leaks, perform a quick drain cleaning by flushing hot water down the sink to clear any debris. This step ensures smooth water flow and helps identify any hidden blockages.
Finally, double-check the alignment and secure all connections one last time, completing your installation.
Frequently Asked Questions
What Type of Sink Drain Is Best for Different Sink Materials?
You’ll want to pick a sink drain that guarantees material compatibility with your sink to avoid damage or leaks.
For stainless steel sinks, metal drains with rubber gaskets work best, providing solid drain sealing. For porcelain or ceramic sinks, plastic or brass drains with a tight seal prevent cracking.
If you have a composite or stone sink, choose drains designed specifically for those materials to maintain proper drain sealing and durability.
Can I Install a Garbage Disposal With This Drain Installation?
Want to make sure your setup handles food scraps efficiently? Yes, you can install a garbage disposal with your drain installation, but you’ll need to check drain compatibility first. Not all drains fit perfectly with a disposal unit, so verify the drain is designed to connect seamlessly.
You’ll also want to confirm the mounting system matches your sink type to avoid leaks. Once compatible, you’ll enjoy easy waste disposal right at your sink!
How Do I Prevent Odors From the Kitchen Sink Drain?
To prevent odors from your kitchen sink drain, you need good air admittance and regular P trap maintenance. Make sure your P trap always has water in it—that water blocks sewer gases from coming up.
If your drain lacks proper venting, install an air admittance valve to let air in without letting smells out. Also, clean the P trap periodically to remove buildup and keep everything flowing smoothly, so odors don’t linger in your kitchen.
What Should I Do if the Drain Leaks After Installation?
Did you know that nearly 30% of home plumbing issues stem from leaks? If your drain leaks after installation, start with leak repair by tightening all connections. If that doesn’t work, apply a waterproof sealant around the joints to stop water from seeping through. Make sure the sealant dries completely before running water again. This approach should quickly fix your leak and prevent further damage to your kitchen cabinet.
Are There Any Local Codes or Permits Required for Drain Installation?
Yes, you’ll likely need building permits before installing a kitchen sink drain. Local regulations vary, so check with your city or county’s building department to see what’s required. Some areas require inspections to ensure plumbing meets code and prevents leaks or contamination.
Don’t skip this step—it can help you avoid fines and ensure your work is safe and up to standard. Always follow your local regulations closely.
Conclusion
Now that you’ve installed your kitchen sink drain in just seven easy steps, isn’t it satisfying to see everything fit perfectly and work smoothly? With the right tools and a bit of patience, you’ve saved time and money while gaining a valuable DIY skill.
Next time a leak or clog pops up, you’ll know exactly how to handle it. So, why wait for a plumber when you can install a kitchen sink drain yourself?