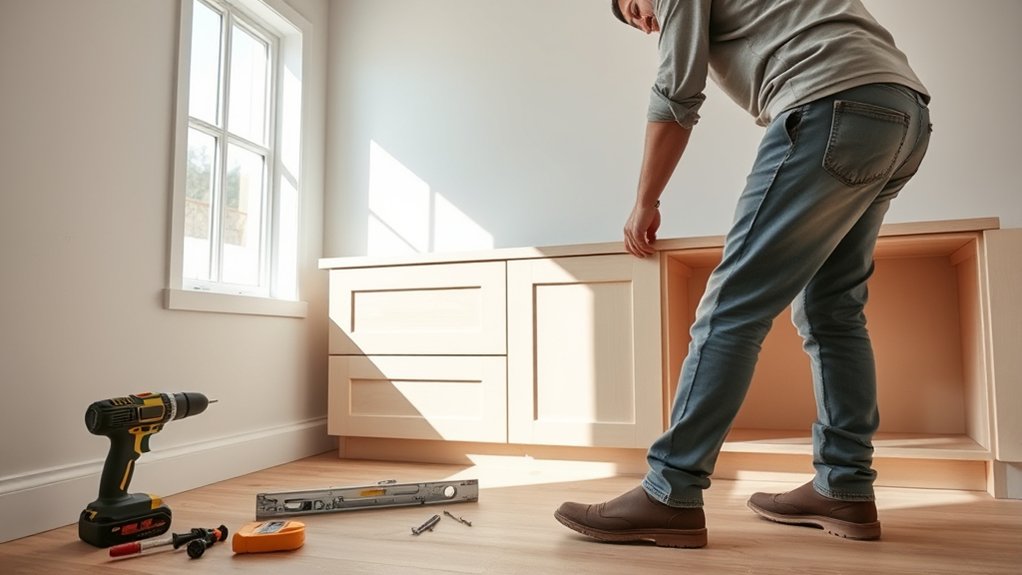
How to Install Kitchen Base Cabinets in 10 Easy Steps
Installing kitchen base cabinets can feel overwhelming when you’re trying to get every cabinet level, aligned, and securely fastened. You’re not alone—many people struggle with the details, but the right tools and a clear plan can make the job easier.
Start by clearing your kitchen workspace and checking the floor for levelness. Gather necessary tools and materials, then measure and plan your cabinet layout carefully. Mark wall studs and set reference lines for precise placement.
Position the first cabinet, shim as needed, and secure it to the studs. Align and fasten the remaining cabinets, keeping their edges level and flush. Finish by attaching toe kicks and hardware, and you’ll be ready to master every detail of how to install kitchen base cabinets.
Key Takeaways
- Clear the workspace, measure walls precisely, and mark studs and reference lines for accurate cabinet placement.
- Gather necessary tools, cabinet parts, and hardware, verifying compatibility and inspecting finishes before assembly.
- Position and level the first cabinet using shims, secure it to wall studs, and align subsequent cabinets flush and level.
- Check for even gaps, use clamps and pilot holes to fasten cabinets securely, and adjust shims to ensure stability.
- Attach toe kicks, then measure and install hardware like handles and knobs to complete the installation.
Clear and Prep Your Kitchen for Base Cabinet Installation
Before you begin installing your kitchen base cabinets, make sure to clear the entire area of any furniture, appliances, and clutter. This step is crucial to give you an unobstructed workspace and prevent damage to your new cabinets.
A clean, open space lets you focus on the installation without distractions, which is essential for achieving a professional finish.
Next, evaluate your kitchen design to ensure the layout supports your cabinet materials and overall flow. Understanding the kitchen’s dimensions and existing structural elements will help you plan where each cabinet fits best.
Check the floor for levelness; uneven surfaces can cause alignment issues, affecting both appearance and function. Taking time to prep your kitchen thoroughly sets a solid foundation for the installation process.
Proper preparation not only streamlines your work but also ensures your kitchen design looks seamless and your cabinet materials perform optimally over time.
Gather Essential Tools and Cabinet Materials
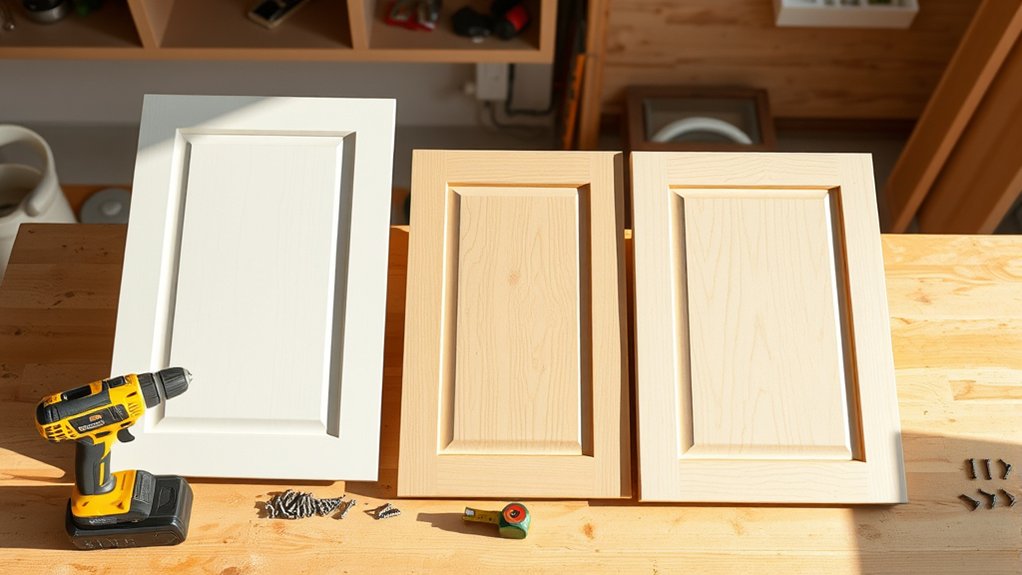
With your kitchen cleared and prepped, the next step is to gather all the tools and materials you’ll need for installing your base cabinets. Start by collecting essential tools like a drill, level, measuring tape, stud finder, screwdriver, clamps, and a pencil. These will help you work efficiently and accurately.
Next, consider your cabinet material options carefully. Whether you choose solid wood for durability or plywood for affordability, your choice should reflect both your budget and design inspiration. Laminate and MDF are also popular for sleek, modern looks. Don’t forget to gather screws, shims, and mounting brackets, as these hardware components are vital for a secure installation.
Measure and Plan Your Kitchen Base Cabinet Layout
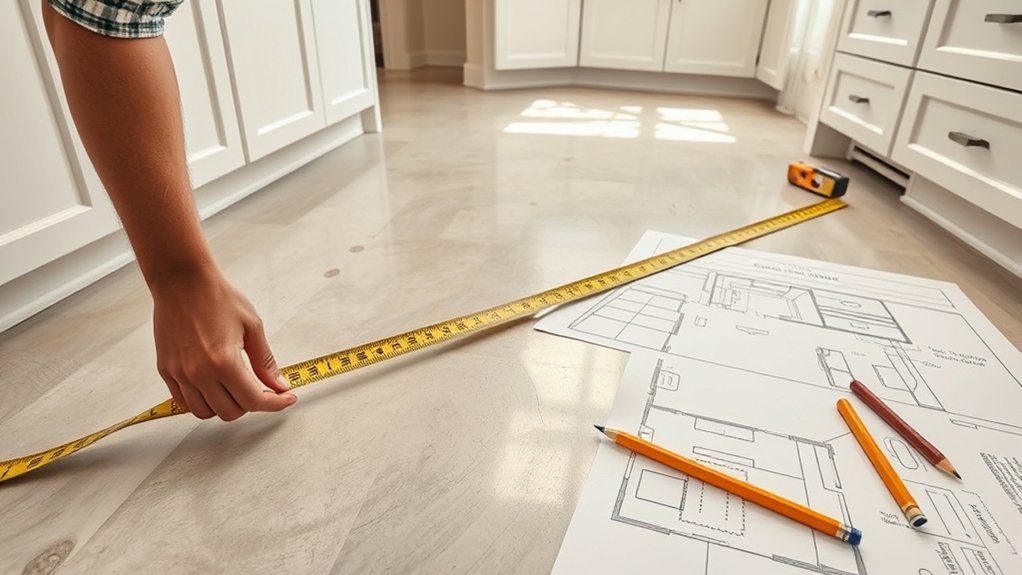
Although it might seem straightforward, measuring and planning your kitchen base cabinet layout requires careful attention to detail to guarantee a perfect fit. You’ll want to create a detailed sketch of your kitchen space, noting walls, appliances, and plumbing. Consider how cabinet finishes and decorative accents will complement your overall kitchen style. Accurate measurements ensure your cabinets fit seamlessly without gaps or overlaps.
Focus on these key points when planning:
- Measure wall lengths precisely, accounting for any irregularities
- Plan cabinet placement around appliances and sinks for functionality
- Choose cabinet finishes that improve your kitchen’s aesthetic
- Incorporate decorative accents to personalize your layout
Find and Mark Wall Studs Accurately
Locating and marking wall studs accurately is essential for securely attaching your kitchen base cabinets. Start with wall stud detection by using a stud finder or tapping the wall to listen for solid sounds. Mark each stud’s center with a pencil at the desired cabinet height. Accurate marking techniques guarantee your cabinets hang firmly and stay level.
Here’s a quick guide to help you:
| Step | Action |
|---|---|
| 1 | Use a stud finder to detect studs |
| 2 | Confirm with tapping or measuring 16 inches on center |
| 3 | Mark the center of each stud with a pencil |
| 4 | Double-check marks before drilling |
Level Your Floor and Set Reference Lines
Before installing your kitchen base cabinets, you’ll want to assure your floor is level and establish clear reference lines. Proper floor preparation ensures your cabinets sit evenly, preventing future issues like misaligned doors or uneven countertops.
Start by checking your floor’s level with a long spirit level or laser level. If you spot uneven areas, use a leveling compound or shims.
Next, setting reference lines helps you position your cabinets accurately along the wall. Here’s how to get started:
- Snap a horizontal chalk line at cabinet height along the wall.
- Mark vertical lines where wall studs and corners are located.
- Use a level to double-check the alignment of these lines.
- Keep your reference lines visible throughout the installation for consistent guidance.
With a level floor and precise reference lines, you’ll create a solid foundation for your kitchen base cabinets, making installation smoother and more accurate.
Assemble Your Kitchen Base Cabinets Before Installation
Before you start, lay out all the cabinet parts and hardware so everything is easy to reach. Then follow the assembly instructions step by step to avoid mistakes. Check that the hardware fits properly, and you’ll be ready for a smoother installation later.
Organize Cabinet Components
Although it might be tempting to start installing immediately, you’ll save time and frustration by organizing all your cabinet components first. Lay out everything to guarantee you have all parts, including panels, shelves, and doors. This step also prevents damage to delicate finishes or decorative hardware during assembly.
Focus on these key components:
- Check cabinet finishing for any flaws or touch-ups needed
- Separate screws, hinges, and decorative hardware by type
- Arrange panels and shelves in order of assembly
- Set aside tools required for assembly and installation
Follow Assembly Instructions
When you start assembling your kitchen base cabinets, carefully following the manufacturer’s instructions guarantees each piece fits perfectly and functions as intended. Pay close attention to the steps related to cabinet finishes to avoid damaging surfaces during assembly. Use the recommended tools and hardware to maintain the integrity of these finishes.
Also, consider countertop compatibility early in the process—assure your cabinets’ dimensions and support structures align with the countertop you plan to install. This prevents costly adjustments later and ensures a seamless fit.
Take your time with each step, double-checking alignment and connections before moving forward. Proper assembly now makes installation smoother, resulting in sturdy, attractive cabinets that complement your kitchen’s overall design and withstand daily use.
Check Hardware Compatibility
How do you guarantee your kitchen base cabinets function smoothly once installed? Start by checking hardware compatibility thoroughly. Proper hardware selection is essential to avoid compatibility issues that can cause misalignment or malfunction later. Before assembly, confirm each hinge, drawer slide, and handle matches your cabinet model and design.
Focus on these key points:
- Verify hinge type matches door thickness and opening style
- Ensure drawer slides support the expected weight and length
- Match screws and fasteners to cabinet material and thickness
- Confirm handle or knob size aligns with cabinet front dimensions
Position the First Kitchen Base Cabinet and Secure It
Before you secure the first kitchen base cabinet, make sure it’s perfectly aligned with your layout marks and level on all sides. Use a carpenter’s level to check both the front and top edges, adjusting shims underneath the cabinet if needed. This guarantees a stable, even foundation for the rest of your cabinets.
Ensure your first base cabinet is perfectly level and aligned for a stable, even kitchen foundation.
Once level, hold the cabinet firmly in place and drill pilot holes through the cabinet’s side into the wall studs. Secure it with screws, but don’t overtighten to avoid damaging the cabinet finishing or warping the frame.
Pay special attention to how the cabinet’s cabinet finishing and decorative accents appear in your space. Positioning it carefully now prevents misalignment that can detract from the overall look. Taking your time here makes installation smoother and maintains the seamless appearance of your kitchen.
With the first base cabinet solidly secured and perfectly positioned, you’re ready to move forward confidently.
Align and Attach Kitchen Base Cabinets Together
With the first cabinet secured, carefully align the next one. Make sure the edges are flush and the fronts line up to prevent gaps or uneven surfaces. Once everything is aligned, fasten the cabinets together to create a solid, continuous base.
Check Cabinet Alignment
Where should you start when aligning your kitchen base cabinets? Begin by ensuring each cabinet sits level and flush with the adjoining one. Proper alignment not only looks professional but also prevents issues with cabinet paint chipping or misaligned cabinet lighting later on.
Use a level and a carpenter’s square as you proceed, checking these key points:
- Verify the cabinet fronts are flush to create a seamless look.
- Confirm the tops are level to support countertops correctly.
- Check gaps between cabinets to avoid uneven spacing.
- Inspect the base for any rocking or unevenness.
Taking the time to carefully check cabinet alignment now sets a solid foundation for a smooth installation and a polished final appearance.
Secure Cabinets Jointly
Once your cabinets are properly aligned, you’ll want to secure them together to create a stable, unified base. Start by using cabinet joint techniques like clamping the adjacent cabinets tightly to guarantee there are no gaps.
Then, drill pilot holes through the face frames where they meet. Use screws long enough to penetrate both frames securely. These secure fastening methods will prevent any shifting or separation over time.
Make sure to countersink screws slightly to avoid damaging the cabinet surface. Double-check the alignment as you tighten each screw to maintain a flush, seamless connection.
Shim and Secure Cabinets to Ensure Level and Stability
Before securing your kitchen base cabinets, you’ll need to check for any uneven spots along the floor or wall. Uneven surfaces can throw off the entire installation, so proper shim adjustment is essential. Grab some wood or plastic shims to fill gaps and level the cabinets. This not only ensures stability but also prevents future damage.
To properly shim and secure your cabinets, focus on:
- Identifying low or high spots with a level or straightedge
- Inserting shims behind the cabinet base or at wall contact points
- Tightening screws gradually for cabinet reinforcement without warping
- Rechecking levels after each adjustment
Take your time with shim adjustment to provide a solid foundation. Once the cabinets are level and stable, you can securely fasten them to the wall studs and to each other, guaranteeing a long-lasting, professional finish.
Install Toe Kicks and Hardware to Finish Installation
With your cabinets securely installed, attach the toe kicks to give the base a clean, finished look. Then install the handles and knobs to complete the setup. These finishing touches make your cabinets easier to use and give your kitchen a polished appearance.
Attaching Toe Kicks
How do you give your kitchen base cabinets a polished, professional look? Attaching toe kicks is the key. These decorative accents cover the cabinet’s base, hiding gaps and providing a finished appearance.
Before you start, choose the right toe kick type—common options include solid wood, MDF, or metal—each offering different styles and durability.
To attach toe kicks effectively:
- Measure and cut toe kicks to fit cabinet lengths precisely
- Use screws or adhesive to secure toe kicks firmly in place
- Align toe kicks flush with cabinet fronts for a seamless look
- Sand and paint or stain toe kicks to match your cabinets perfectly
Following these steps ensures your kitchen base cabinets look complete and stylish.
Installing Cabinet Hardware
Where do you start when it’s time to install cabinet hardware and finalize toe kicks? Begin by securely attaching the toe kicks to the base of your cabinets to cover gaps and provide a polished look. Make sure they’re flush and even for proper cabinet finishing.
Next, focus on installing your cabinet hardware—handles, knobs, or pulls. Measure and mark each spot carefully to keep everything aligned. Use the right screws and tools to fasten the hardware firmly without damaging the cabinet surfaces. These decorative accents not only improve the overall style but also boost functionality.
Take your time to ensure everything fits perfectly, and your kitchen base cabinets will look professionally finished and ready for everyday use.
Frequently Asked Questions
What Type of Wood Is Best for Kitchen Base Cabinets?
You’ll find that hardwoods like maple, oak, and cherry are the best cabinet materials for kitchen base cabinets because they’re durable and hold up well over time. These woods also take wood finishing beautifully, allowing you to customize the look to match your style.
If you want something budget-friendly but sturdy, plywood with a hardwood veneer is a smart choice. Just make sure the wood finishing protects against moisture and daily wear.
How Do I Remove Old Kitchen Base Cabinets Safely?
Think of cabinet demolition like a careful dance; you don’t want to step on any toes. First, cut power to nearby outlets and turn off the water lines to avoid hazards. Then, use a pry bar gently to detach the cabinets, watching for hidden screws or nails. Wear gloves and safety goggles to protect yourself from splinters and dust. Taking your time helps you remove old kitchen base cabinets safely and smoothly.
Can I Install Base Cabinets on Uneven Concrete Floors?
Yes, you can install base cabinets on uneven concrete floors, but you’ll need to focus on floor leveling first. Use shims or adjustable cabinet supports to create a perfectly level surface before securing the cabinets. This prevents gaps and guarantees stability.
Taking the time to properly level the floor and support the cabinets will make your installation much smoother and your kitchen look professional. Don’t rush this vital step!
What Is the Average Cost of Kitchen Base Cabinet Installation?
You might find the average cost of kitchen base cabinet installation pleasantly manageable, typically ranging between $300 and $1,200. This price usually covers the basics, but if you want to add cabinet hardware or a special paint finish, be ready for a little extra.
When budgeting, consider the quality of materials and any customization you choose. With careful planning, you’ll get a beautiful, functional kitchen without surprises.
How Long Does a Typical Kitchen Base Cabinet Installation Take?
A typical kitchen base cabinet installation takes about 4 to 8 hours, depending on your kitchen’s size and complexity. You’ll want to think about design trends that might affect cabinet types or custom features.
Since storage solutions are key, installing pull-out shelves or organizers might add extra time. If you’re upgrading to maximize space, plan for a bit more work to make sure everything fits perfectly and functions smoothly.
Conclusion
Now, picture your kitchen transformed: base cabinets standing sturdy and perfectly aligned, ready to hold your culinary essentials. With a level floor beneath them and every cabinet securely fastened, you’ve built a foundation that blends function with style.
The smooth touch of freshly installed hardware and the clean lines of toe kicks complete the scene. You’ve not just installed cabinets; you’ve crafted the heart of your kitchen, setting the stage for countless meals and memories. By learning how to install kitchen base cabinets, you’ve made a lasting improvement to your home.