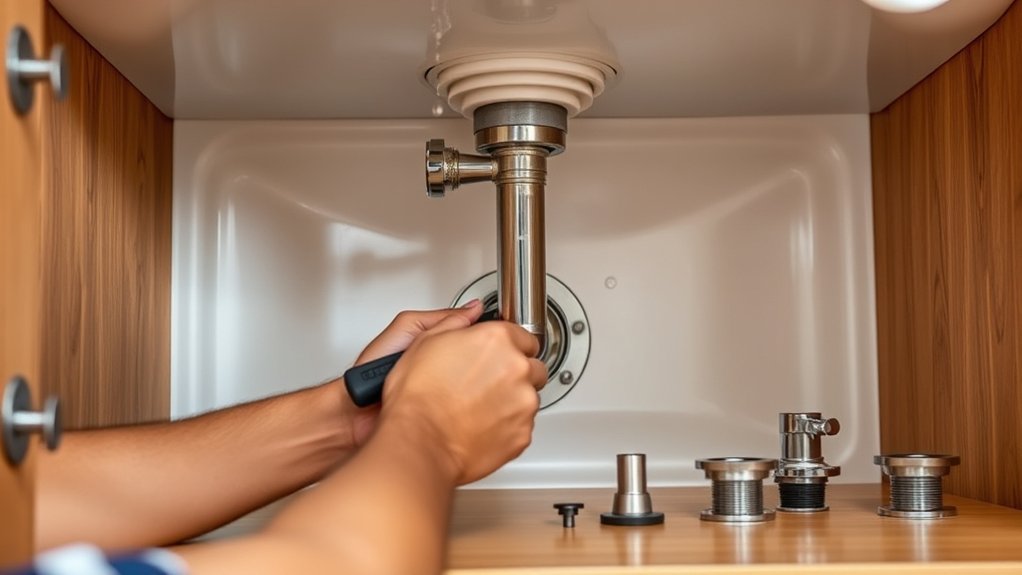
How to Install a Kitchen Sink Drain in 3 Easy Steps
A leaky or outdated kitchen sink drain can turn a simple cleanup into a frustrating mess, and you’re not alone—many people struggle to find the right parts and install them without leaks.
This guide to how to install a kitchen sink drain in 3 easy steps will help you get started.
First, gather all necessary tools and materials, ensuring compatibility with your sink, and wear protective gear.
Next, turn off the water, remove the old drain using a wrench, and clean the sink’s drain hole thoroughly.
Finally, fit the new drain flange with plumber’s putty, secure it from underneath with gaskets and a locknut, then connect and tighten all parts carefully.
Follow these essentials, and you’ll find it easy to achieve a leak-free install; there’s more to mastering the process ahead.
Key Takeaways
- Turn off water supply and remove the old drain using a wrench and pliers.
- Apply plumber’s putty under the drain flange and press it firmly into the sink hole.
- Secure the drain from underneath with a rubber gasket, friction ring, and locknut.
- Attach the tailpiece and hand-tighten all slip nuts on drain connections.
- Check for leaks and tighten connections carefully without overtightening.
Get Your Tools and Materials Ready
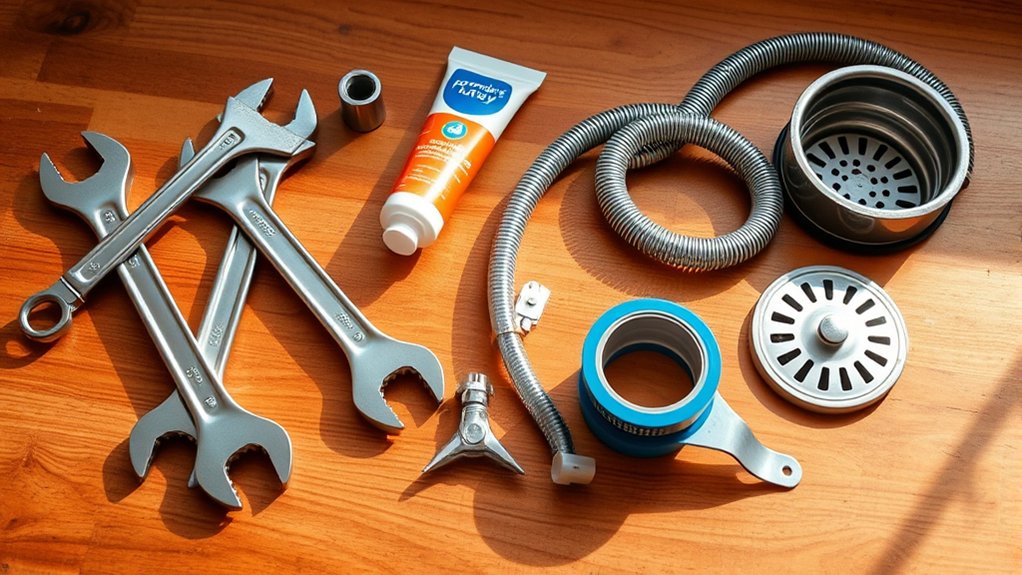
Before you begin installing your kitchen sink drain, gather all the necessary tools and materials to avoid interruptions. Start by choosing the right materials—opt for durable pipes, washers, and sealants designed for kitchen sinks to guarantee a long-lasting installation. Pay attention to compatibility with your sink model to prevent leaks or damage.
Next, focus on tool safety. Use gloves and safety glasses to protect your hands and eyes from sharp edges or splashes. Make sure your wrench, pliers, screwdriver, and plumber’s putty are in good condition. Inspect tools for rust or defects before use to avoid accidents.
Organize everything within reach to streamline your workflow. This preparation helps you work efficiently and safely, minimizing mistakes. By prioritizing material selection and tool safety upfront, you set yourself up for a smooth, successful kitchen sink drain installation.
Remove the Old Kitchen Sink Drain and Prep the Sink

With your tools and materials ready, you can start removing the old kitchen sink drain. Begin by turning off the water supply and placing a bucket underneath the drain to catch any residual water. Use your plumbing tools—like a wrench or slip-joint pliers—to loosen and disconnect the drain pipes carefully.
If the drain parts are stuck, apply a penetrating lubricant to ease removal. Once the drain assembly is free, inspect the sink’s drain hole for any old putty or debris. Clean the area thoroughly with a cloth and perform some drain cleaning to remove buildup that might interfere with the new installation.
Make sure the sink surface is dry and smooth before moving forward. Properly prepping the sink ensures a tight seal later on and prevents leaks. By carefully removing the old drain and prepping the sink, you set the stage for a seamless installation of your new kitchen sink drain.
Install the New Kitchen Sink Drain and Seal Connections
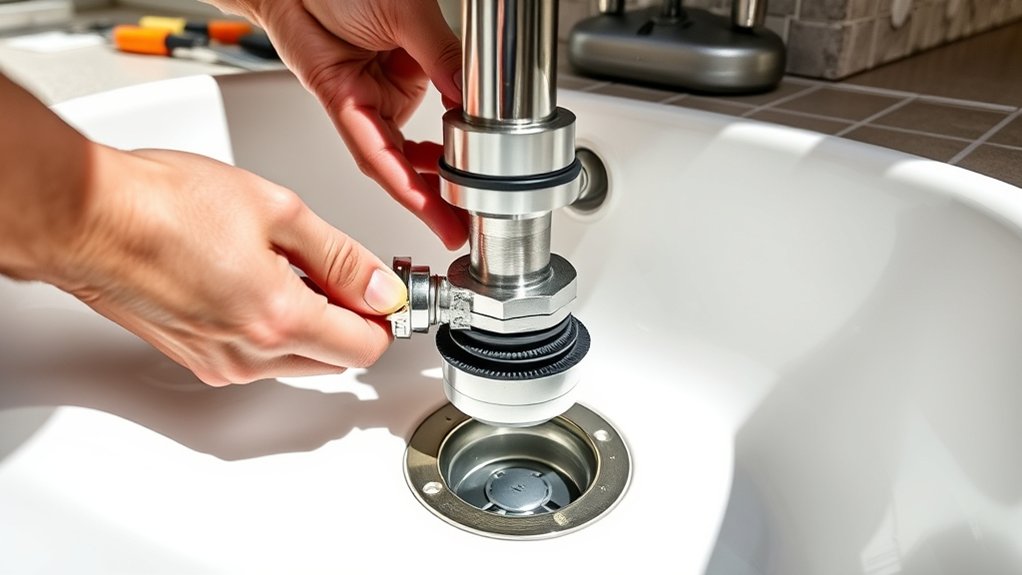
Once you’ve prepped the sink, you can start installing the new drain assembly by fitting the drain flange into the sink’s drain hole. Apply a generous bead of plumber’s putty or silicone sealant around the flange’s underside to guarantee a watertight seal.
Press the flange firmly into place, then from underneath, slide on the rubber gasket, friction ring, and locknut. Tighten the locknut securely to hold the drain assembly in place.
Next, connect the tailpiece to the drain assembly and hand-tighten the slip nuts on all connections. Use sealant application on threaded connections for extra leak protection.
Check that everything aligns properly before final tightening.
| Step | Tool Needed | Tip |
|---|---|---|
| Fit Drain Flange | Putty/Silicone | Apply sealant evenly |
| Secure Locknut | Adjustable Wrench | Tighten but don’t overtighten |
| Connect Tailpiece | None | Hand-tighten slip nuts |
This guarantees a secure, leak-free kitchen sink drain installation.
Frequently Asked Questions
How Do I Fix a Leaking Kitchen Sink Drain?
To fix a leaking kitchen sink drain, first tighten all connections under the sink. If it still leaks, check the washers and replace any damaged ones to guarantee a proper seal.
During sink installation, using plumber’s putty or silicone around the drain flange helps prevent leaks. Regular drain maintenance, like cleaning out debris and ensuring pipes are secure, keeps leaks from happening.
Don’t forget to inspect for cracks or corrosion and replace faulty parts promptly.
Can I Use Plumber’s Putty Instead of Silicone Sealant?
You can use plumber’s putty instead of silicone sealant in most kitchen sink drain installations, especially around the drain flange. Plumber’s putty creates a watertight seal and is easier to work with and remove if needed.
Silicone sealant is more flexible and durable but can be messier and harder to clean up. For metal sinks, plumber’s putty works great, but for granite or stone sinks, silicone sealant is usually better.
What Do I Do if the Drain Pipe Is Clogged?
If your drain pipe is clogged, start with drain cleaning using a plunger or a drain snake to clear the blockage. Avoid harsh chemicals, as they can damage your pipes. For persistent clogs, consider a natural solution like baking soda and vinegar.
Regular pipe maintenance, such as flushing drains with hot water and avoiding grease buildup, helps prevent future clogs. If problems persist, call a professional plumber to inspect and fix the issue properly.
How Often Should I Replace My Kitchen Sink Drain?
You should replace your kitchen sink drain every 10 to 15 years, but this can vary depending on the drain material. For example, PVC drains last longer than metal ones prone to rust.
Keep an eye on leaks, corrosion, or slow drainage as signs it’s time for replacement. Regularly checking your drain material helps you maintain your plumbing and avoid costly repairs by sticking to a sensible replacement frequency.
Are There Any Eco-Friendly Drain Options Available?
Think of choosing an eco-friendly drain as planting a seed for a cleaner planet. You’ll find eco-friendly materials like bamboo and recycled plastics, which reduce waste and pollution. Biodegradable solutions, such as natural enzyme-based drain cleaners, help keep pipes clear without harsh chemicals. By opting for these options, you’re not just maintaining your sink—you’re nurturing the environment, making your kitchen a greener, healthier space for everyone.
Conclusion
You might think installing a kitchen sink drain is something only professionals can handle, but you’ve just learned it’s as simple as three easy steps. With your tools ready, the old drain out, and the new one sealed tight, you’ve basically earned your plumbing license.
So next time your sink leaks, don’t call a plumber. Just remember, you’ve got this down pat. Who knew installing a kitchen sink drain could be this straightforward?