
10 Easy Steps to Unclog Your Kitchen Sink With a Garbage Disposal
A clogged kitchen sink can bring meal prep and cleanup to a frustrating halt. If you’re struggling with slow drainage or a garbage disposal that won’t clear the blockage, you’re not alone. These easy steps to unclog your kitchen sink with a garbage disposal can help you get things flowing again.
To unclog your kitchen sink with a garbage disposal, first identify any jams or slow drainage, then turn off the disposal and cut power. Remove visible debris carefully, use a sink plunger to loosen minor clogs, and try resetting the motor.
Flush the drain with hot water and dish soap, or pour baking soda and vinegar to break down buildup. Don’t forget to clean the P-trap for deeper blockages. Follow these steps to restore flow, and keep going to uncover even more easy fixes.
Key Takeaways
- Turn off and unplug the disposal, then check for visible debris inside the unit and remove it carefully with gloves and tongs.
- Use a hex wrench in the bottom hole to manually rotate and unjam the blades if the disposal is stuck.
- Press the reset button, plug in the disposal, and run cold water while turning it on to test if the clog clears.
- Use a plunger to create suction and dislodge clogs, ensuring a tight seal and blocking the other sink basin if needed.
- Flush the drain with hot water and dish soap or a baking soda and vinegar mixture to dissolve grease and prevent buildup.
Diagnose If Your Garbage Disposal Is Causing the Clog
Before you plunge into unclogging, you need to figure out if your garbage disposal is the real culprit behind the blockage. Start by checking if water drains slowly or if the sink fills up when you run the disposal. If you hear unusual noises or no sound at all when it’s turned on, it’s a strong sign the disposal might be jammed or clogged. Another quick test is to listen for humming; a humming sound without grinding usually indicates a jam. You can also look under the sink for leaks or standing water near the disposal, which hints at a clog.
Regular garbage disposal maintenance can prevent many issues. Use clog prevention tips like running cold water during and after use, avoiding fibrous or starchy foods, and grinding small amounts at a time. Identifying the problem early helps you avoid tougher blockages and keeps your kitchen sink running smoothly.
Turn Off Your Garbage Disposal Before You Start
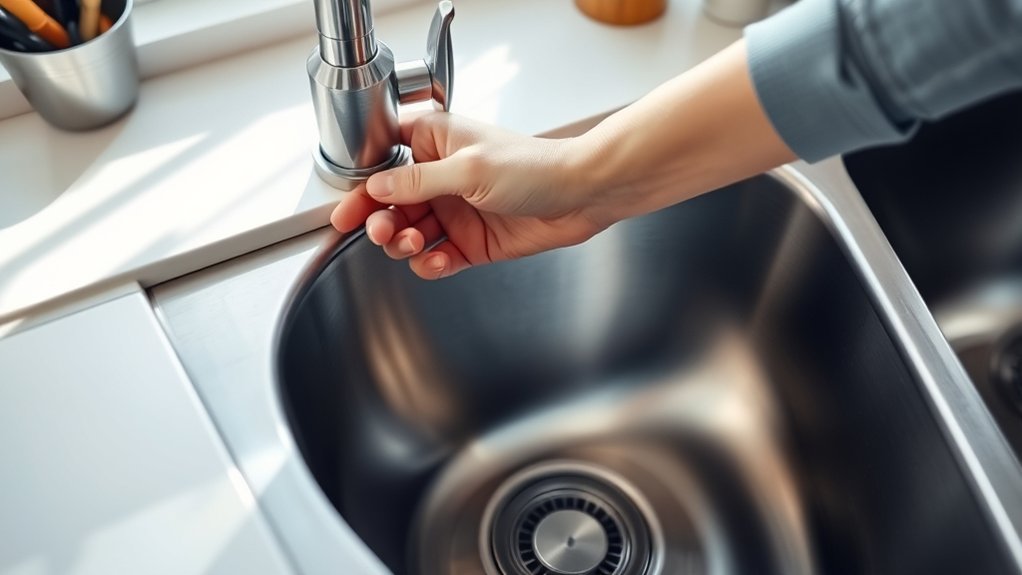
Since safety is essential, always turn off your garbage disposal before starting any unclogging efforts. This simple step prevents accidents and protects you from injury while working on your sink. Proper disposal maintenance begins with ensuring the unit is completely powered down to avoid unexpected starts.
Follow these steps to safely turn off your garbage disposal:
- Locate the power switch under the sink or on the wall and turn it off.
- Unplug the disposal unit from the electrical outlet if accessible.
- If you can’t unplug it, turn off the circuit breaker dedicated to the disposal.
- Double-check that the disposal is off by pressing the reset button or trying to turn it on briefly.
Taking these precautions not only keeps you safe but also helps with clog prevention by allowing you to work efficiently without risk. Always make turning off the disposal your first step in any maintenance routine.
Clear Visible Debris From the Garbage Disposal
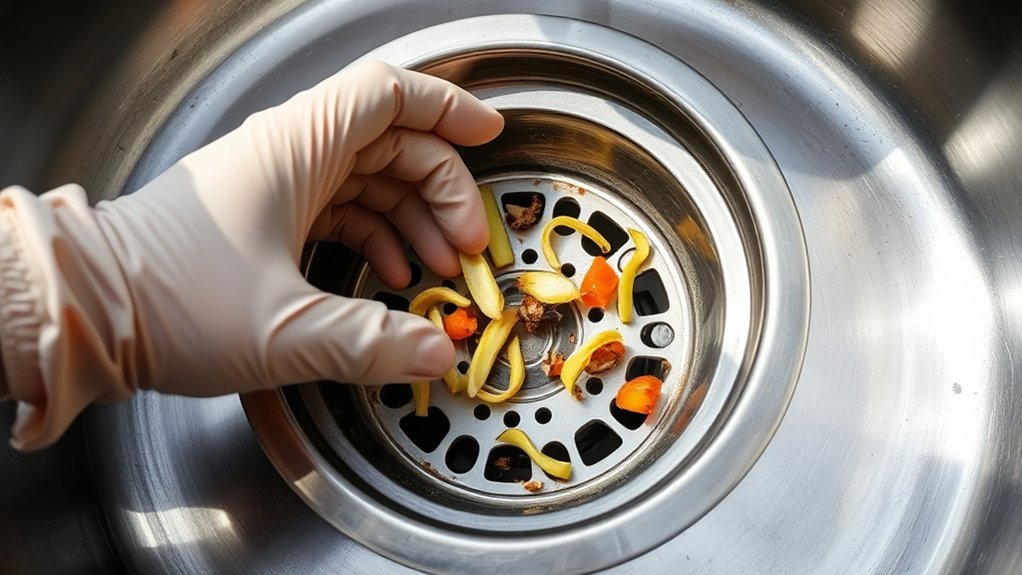
Before you clear visible debris from the garbage disposal, make sure it’s completely turned off. Then put on gloves and remove any large food scraps you can see. This helps protect your hands and makes the next steps easier.
Safety Precautions First
While tackling a clogged kitchen sink, you’ll want to start by ensuring the garbage disposal is free of any visible debris. Before you reach in, prioritize safety gear like goggles and sturdy shoes to protect yourself. Maintain hazard awareness to avoid unexpected injuries from sharp objects or sudden disposal activation. Follow these steps:
- Turn off the garbage disposal and unplug it or shut off the power at the breaker.
- Use a flashlight to inspect the disposal chamber for stuck items.
- Remove any visible debris carefully with tongs or pliers—never use your bare hands.
- Double-check the disposal blades to ensure they’re clear before restoring power.
Use Gloves For Protection
Although you’ve already taken steps to power down the garbage disposal, you should still wear gloves when clearing out any visible debris. Gloves safety is essential because even a powered-off disposal may have sharp edges or residual bits that can cause cuts.
Put on sturdy protection gear designed for kitchen work to shield your hands effectively. These gloves provide a reliable barrier against bacteria and sharp objects, ensuring you don’t injure yourself while working inside the disposal.
Always inspect your gloves for any damage before use; compromised gloves won’t offer adequate protection. By wearing proper gloves, you maintain hygiene and prevent accidents, making the cleaning process safer and more efficient.
Don’t skip this simple step—it’s key to handling your garbage disposal safely.
Remove Large Food Particles
Wearing gloves not only protects your hands but also gives you the confidence to reach inside the garbage disposal safely. Large food particles often cause a drain blockage, so clearing them out is essential. Here’s how to remove them effectively:
- Turn off the disposal and unplug it to prevent accidents.
- Shine a flashlight inside to spot any visible food particle buildup.
- Use tongs or pliers to carefully pull out large debris stuck inside.
- Wipe the inside with a damp cloth to remove smaller remnants.
Use a Sink Plunger to Dislodge Minor Clogs
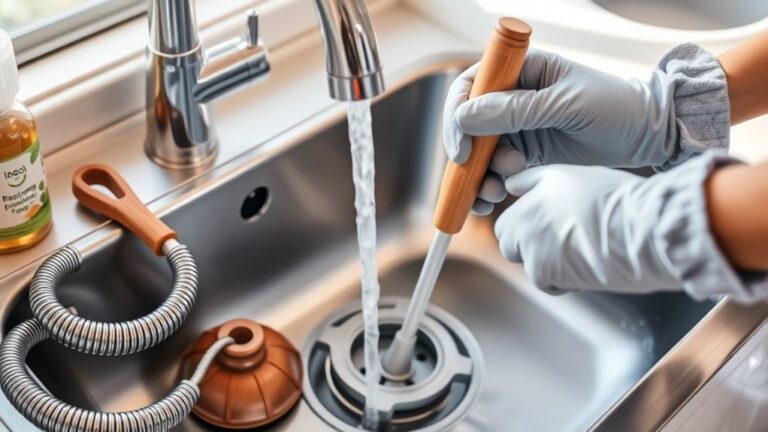
Grab a sink plunger designed for kitchen use to tackle minor clogs. Make sure it forms a tight seal, then plunge steadily and with control to loosen the blockage. If the clog doesn’t clear after a few tries, take a short break before trying again.
Choosing The Right Plunger
When you face a minor clog in your kitchen sink, choosing the right plunger can make all the difference in quickly clearing the blockage. Not all plunger types deliver the effective suction needed for kitchen sinks, so picking the right one is essential.
Here are four tips for choosing the best plunger:
- Opt for a sink plunger with a flat flange to create a tight seal on the sink drain.
- Avoid toilet plungers with a narrow cone shape—they don’t provide enough suction for kitchen sinks.
- Look for a plunger made of sturdy rubber to maintain strong suction over time.
- Consider a plunger with an extended handle to give you better leverage with less effort.
Choosing the right plunger ensures you tackle minor clogs efficiently without damaging your sink or disposal.
Proper Plunging Technique
Although it might seem straightforward, using a sink plunger correctly is key to dislodging minor clogs effectively. First, make sure there’s enough water in the sink to cover the plunger’s cup.
Position the plunger over the drain, creating proper sealing to prevent air from escaping. Use firm, consistent plunging techniques—push down and pull up with controlled force—to generate pressure that loosens the clog.
Avoid lifting the plunger too far, as breaking the seal reduces effectiveness. If your sink has a double basin, block the other drain with a wet cloth to maintain suction.
When To Repeat Plunging
If you don’t clear the clog after a few plunging attempts, don’t hesitate to try again. Sometimes minor blockages need persistent effort before they clear.
Repeating plunging at the right moments helps maintain your kitchen decor’s functionality without calling a plumber. Here’s when to repeat plunging:
- Water drains slowly but doesn’t stop completely.
- You notice gurgling sounds from the sink drain.
- The clog feels minor, not hardened or deep.
- You’ve performed appliance maintenance like running the garbage disposal.
Reset the Garbage Disposal Motor to Fix Jams
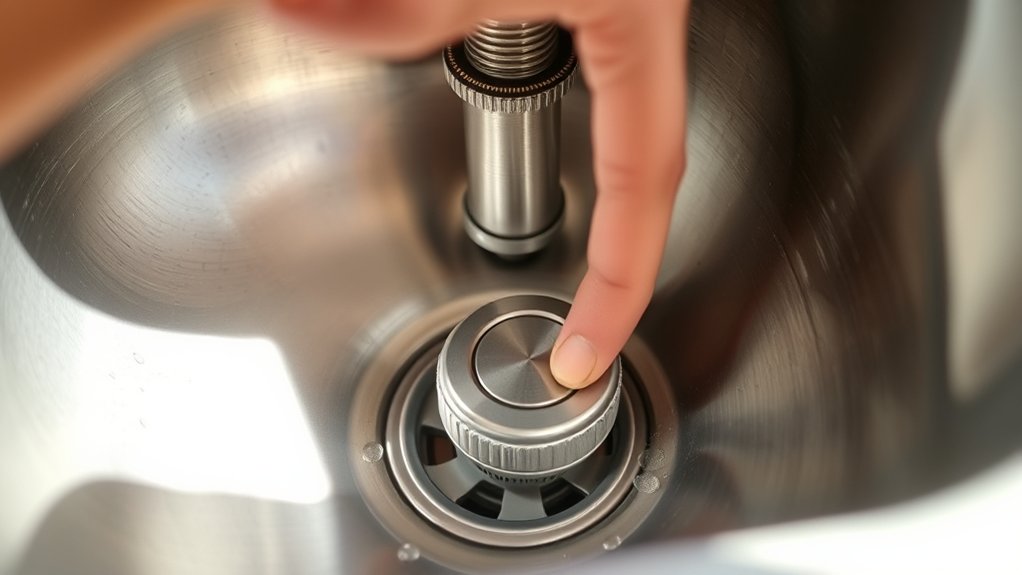
You can often fix a jammed garbage disposal by simply resetting its motor. First, make sure the disposal is turned off and unplugged for safety. Locate the reset switch, usually a small red button found at the bottom or side of the disposal unit.
If the disposal motor has overheated or tripped due to a jam, this reset switch will have popped out. Press the button firmly until it clicks back into place. This action resets the disposal motor, allowing it to run again.
After resetting, plug the disposal back in and run cold water. Turn on the disposal to check if it operates smoothly. If it still doesn’t work, avoid forcing it, as this could cause damage.
Resetting the disposal motor is a quick and effective way to clear minor jams and get your kitchen sink flowing again without needing tools or professional help.
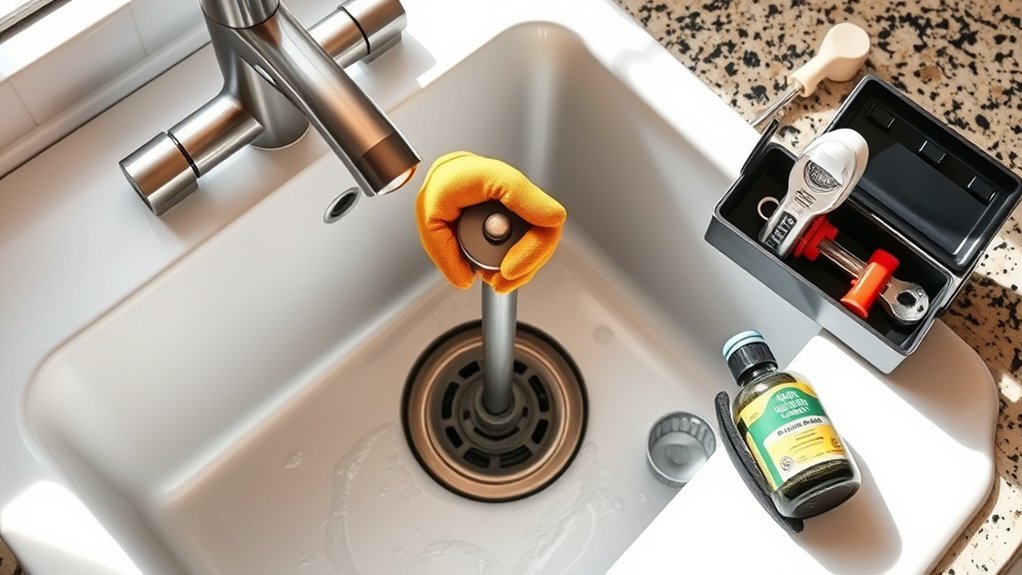
Unjam the Blades With a Hex Wrench
After resetting the motor, the blades may still be stuck if the jam is more stubborn. To get things moving again, you’ll need to perform blade unjamming using a hex wrench. This tool fits into the bottom of most garbage disposals and allows you to manually turn the blades to clear the blockage.
Here’s how to unjam the blades with a hex wrench:
- Locate the hex-shaped hole at the bottom center of the disposal unit.
- Insert the hex wrench firmly into this hole.
- Turn the wrench back and forth slowly to free the jammed blades.
- Once you feel the blades move freely, remove the wrench and test the disposal by turning it on briefly.
Using a hex wrench for blade unjamming is straightforward and effective, helping you avoid calling a plumber. Just remember to always ensure the disposal is off and unplugged before working on it!
Flush the Drain With Hot Water and Dish Soap
Though clearing the blades gets your disposal moving again, flushing the drain with hot water and dish soap helps remove lingering grease and debris. Start by boiling a kettle or pot of water, then carefully pour it down the drain while running the garbage disposal. The hot water melts away grease buildup that can clog pipes over time.
Boil water and pour it down the drain with dish soap to melt grease and keep your disposal running smoothly.
Next, add a few drops of dish soap directly into the drain and run the disposal for about 30 seconds. This combination breaks down oily residues and flushes them out, supporting effective drain maintenance.
Avoid relying on harsh chemical solutions, which can damage your pipes and the disposal unit. Instead, this simple method uses common household items to keep your drain clear and functioning well. Doing this regularly prevents stubborn clogs and keeps unpleasant odors at bay.
Flushing with hot water and dish soap is a safe, eco-friendly step that complements mechanical cleaning and keeps your kitchen sink flowing smoothly.
Use Baking Soda and Vinegar to Break Down Build-Up
When grease and grime start to build up inside your kitchen sink pipes, baking soda and vinegar can work wonders to break them down. These natural cleaning agents create a powerful chemical reaction that loosens stubborn clogs without harsh chemicals. Here’s how you can use them effectively:
- Pour half a cup of baking soda directly into the drain.
- Slowly add one cup of white vinegar and cover the drain to contain the fizzing reaction.
- Let the mixture sit for 15-20 minutes to allow the chemical reaction to break down the build-up.
- Flush the drain with hot water to wash away loosened debris and restore flow.
This simple method uses the fizzing action between baking soda and vinegar to dissolve grease and grime safely. It’s an eco-friendly, cost-effective way to maintain your garbage disposal and prevent future clogs without damaging your pipes.
Remove and Clean the P-Trap Under the Sink
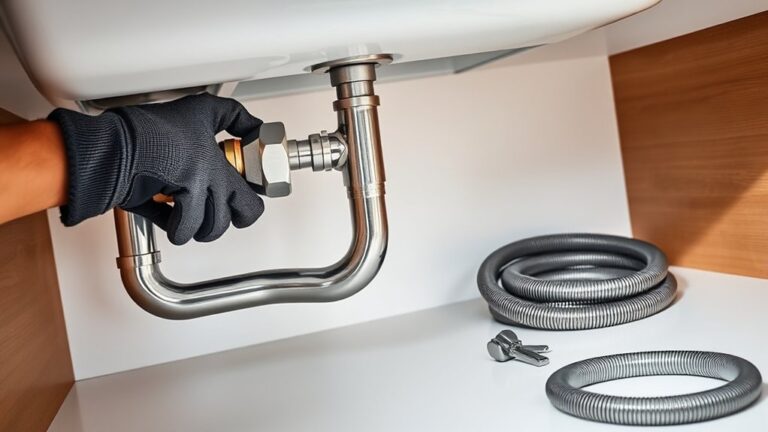
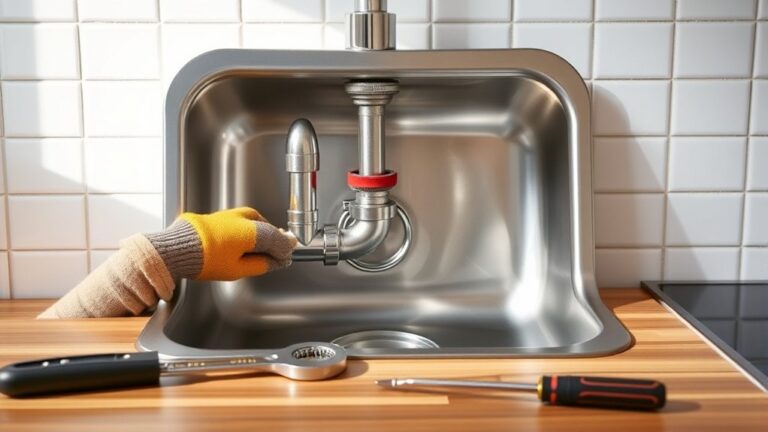
Locate the P-trap under your sink, then carefully loosen the slip nuts to remove it. Clean out any debris or buildup inside the trap to help water drain smoothly. Finally, reassemble the P-trap securely and test the sink.
Locate and Detach P-Trap
Before you can clear any clogs deeper in your kitchen sink, you’ll need to locate and detach the P-trap—the curved pipe beneath the sink that often traps debris. Follow these steps for a proper P trap inspection and drain pipe removal:
- Place a bucket under the P-trap to catch water and debris.
- Use a wrench or your hands to loosen the slip nuts connecting the P-trap to the drain pipe and wall pipe.
- Carefully remove the P-trap, keeping it upright to avoid spills.
- Inspect the P-trap for blockages or buildup that could be causing the clog.
Once detached, you’re set for the next step to clean and reassemble the P-trap effectively.
Clean and Reassemble P-Trap
Although removing the P-trap is just the beginning, thoroughly cleaning it is key to clearing your clog. First, rinse out any debris trapped inside the curved pipe. Use a bottle brush or an old toothbrush to scrub the interior, removing buildup that can cause drain odor.
Inspect the P-trap for signs of pipe corrosion; if you see rust or damage, replace it to avoid leaks. Once clean, reassemble the P-trap by aligning it properly and tightening the slip nuts by hand. Don’t overtighten, as this can cause cracks.
Finally, run water to check for leaks and guarantee the clog is cleared. Proper cleaning and reassembly keep your kitchen sink draining smoothly without unpleasant smells or damage.
Prevent Future Clogs by Using Your Garbage Disposal Right
To keep your kitchen sink flowing smoothly, you’ll want to use your garbage disposal correctly. Proper garbage disposal maintenance not only prevents clogs but also promotes kitchen sink hygiene, keeping odors and buildup at bay. Here are four key tips to help you avoid future blockages:
- Only put soft, small food scraps down the disposal—avoid fibrous, starchy, or hard items like celery, potato peels, or bones.
- Run cold water continuously before, during, and after use to help flush debris through the pipes.
- Don’t overload the disposal; feed food scraps gradually to give the blades time to grind them properly.
- Regularly clean the disposal by grinding ice cubes and citrus peels to clear residue and freshen odors.
Following these simple steps will protect your plumbing, improve your kitchen sink hygiene, and extend the life of your garbage disposal system.
Frequently Asked Questions
How Do I Know When to Replace My Garbage Disposal?
You’ll know it’s time to replace your garbage disposal when you notice clear replacement signs like persistent clogs, strange noises, or leaks. Most disposals have a disposal lifespan of about 8 to 15 years, so if yours is older and acting up frequently, it’s probably wearing out. Don’t ignore foul odors or reduced grinding efficiency either—they’re signs your disposal’s performance is fading and a replacement is due.
Can I Pour Grease Down the Garbage Disposal?
You shouldn’t pour grease down the garbage disposal—over 70% of kitchen clogs are caused by improper grease disposal. When grease cools, it solidifies, clogging pipes and damaging your disposal.
For better kitchen maintenance, pour grease into a container and throw it in the trash instead. This simple step protects your plumbing and keeps your kitchen running smoothly, saving you time and costly repairs down the line.
What Types of Food Should Never Go Into a Garbage Disposal?
You should never put fibrous foods like celery, corn husks, or artichokes into your garbage disposal because they can tangle and jam the blades. Avoid starchy items like potato peels that can turn into gluey paste, clogging pipes.
Also, don’t dispose of grease or coffee grounds to maintain disposal efficiency. Keeping these food safety tips in mind helps you prevent damage and guarantees smooth disposal maintenance over time.
How Often Should I Clean My Garbage Disposal?
You should clean your garbage disposal about once a week—yes, it’s the spa day your sink desperately needs. Neglecting disposal maintenance is like expecting your car to run on empty; it just won’t work well.
Regular cleaning frequency keeps odors at bay and prevents clogs from forming. So, don’t wait for it to scream in protest. Show your disposal some love weekly, and it’ll keep your kitchen running smoothly without any unpleasant surprises.
Is It Safe to Use Chemical Drain Cleaners With a Garbage Disposal?
You shouldn’t use chemical drain cleaners with your garbage disposal because they can harm its components and pose chemical safety risks. These harsh chemicals may corrode the disposal’s parts, leading to costly repairs.
Instead, focus on regular disposal maintenance like running cold water and grinding citrus peels to keep it fresh and clear. This way, you protect your appliance and avoid dangerous chemical exposure in your kitchen.
Conclusion
By following these simple steps, you can quickly unclog your kitchen sink and keep your garbage disposal running smoothly. Did you know that nearly 60% of kitchen sink clogs are caused by food scraps and grease buildup? Taking a few minutes to maintain your disposal not only saves you from costly repairs but also keeps your kitchen fresh and hassle-free. Remember, regular care prevents major blockages and keeps everything flowing effortlessly. These easy steps to unclog your kitchen sink with a garbage disposal can help keep your sink clear and your disposal running smoothly!