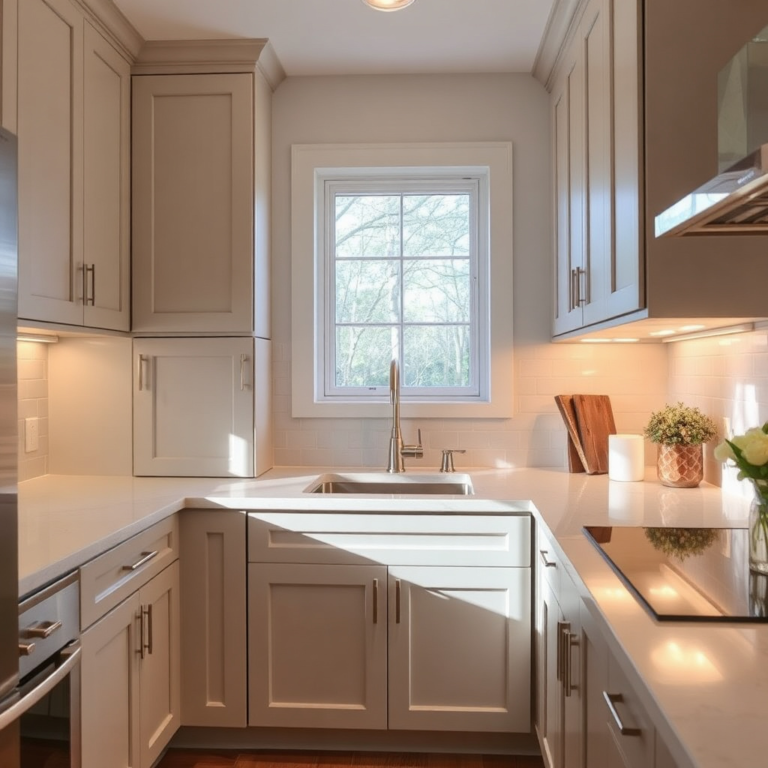

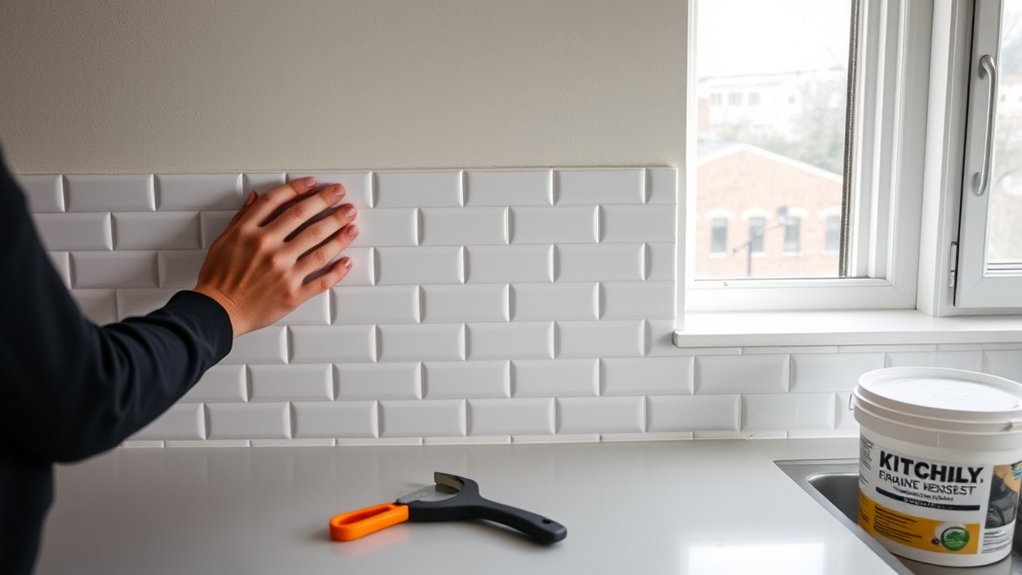
How to Install a Kitchen Backsplash in 3 Easy Steps
A dated or plain kitchen wall can make the whole room feel less inviting, but choosing and installing the right backsplash can seem overwhelming. You’re not alone—many people struggle to get a polished look without the project becoming complicated.
This guide to how to install a kitchen backsplash in 3 easy steps covers the basics, from preparing the wall to finishing the grout. Keep reading for practical tips and design ideas to help you create a backsplash you’ll love.
Key Takeaways
- Clean and prepare the wall by removing grease, dust, and patching holes for a smooth surface.
- Apply adhesive evenly using a notched trowel, then press tiles in place with spacers to maintain consistent gaps.
- Check tile alignment and level frequently, adjusting tiles before adhesive sets to ensure a straight pattern.
- Spread grout diagonally into gaps with a rubber float, then wipe excess grout off tiles with a damp sponge.
- After grout cures, apply a sealer to protect tiles and grout from moisture, stains, and grease.
Gather Materials and Get Your Wall Ready for Kitchen Backsplash Installation
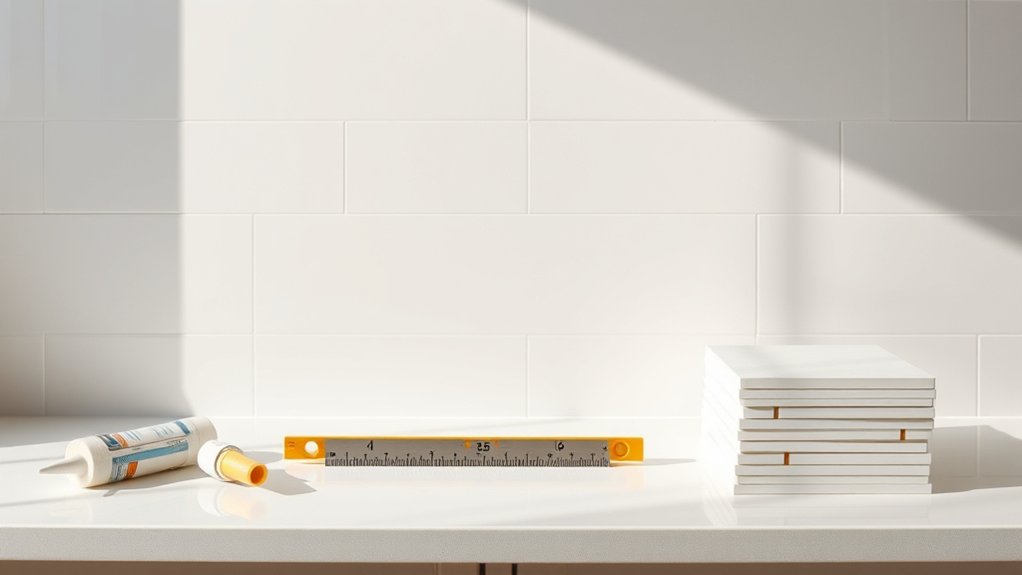
Before you start installing your kitchen backsplash, gather all the necessary materials to guarantee a smooth process. You’ll need tiles, adhesive, grout, a trowel, a tile cutter, spacers, a level, and a sponge. Don’t forget to select tiles that match your kitchen’s color coordination to create a cohesive look.
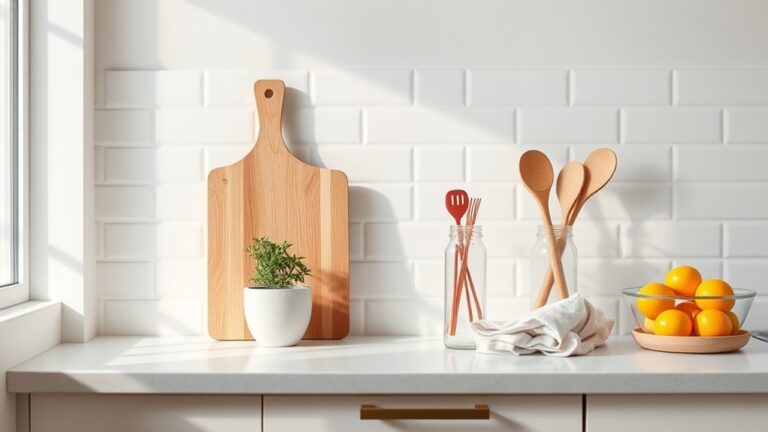
Consider how your chosen tile patterns will influence the overall style. Simple subway tiles offer a classic feel, while intricate mosaics add visual interest.
Next, prepare the wall by cleaning it thoroughly to remove grease or dust. If your wall has any holes or uneven spots, patch and sand them smooth. Make sure the surface is dry and flat to ensure the tiles adhere properly.
Taking these preparatory steps will help you avoid issues later and achieve a professional finish. With materials ready and the wall prepped, you’re set to begin your backsplash installation confidently and efficiently.
Apply Adhesive and Set Kitchen Backsplash Tiles Correctly
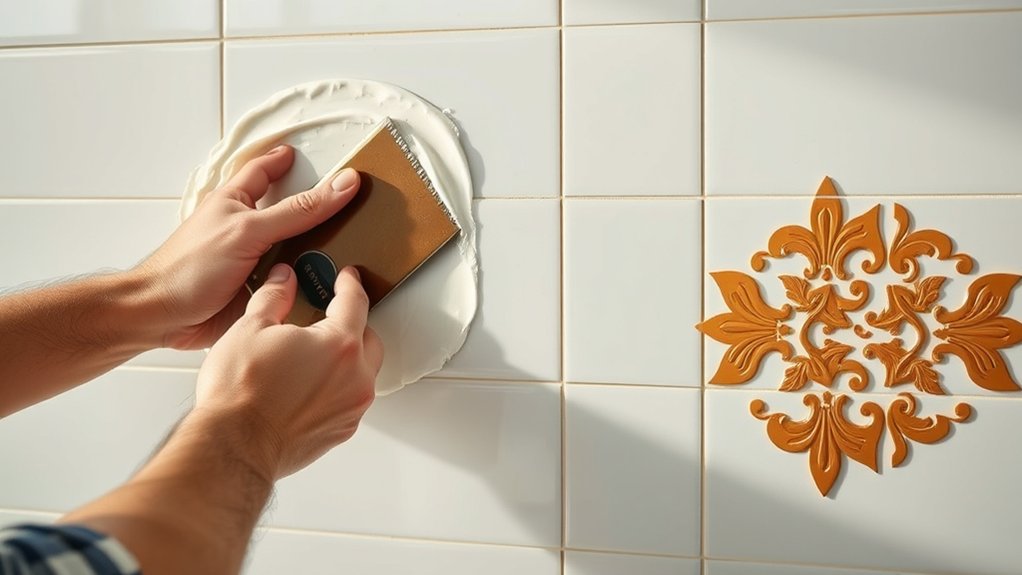
How do you guarantee your kitchen backsplash tiles stick perfectly and look professional? Start by choosing the right adhesive type for your tile material and wall surface. Thinset mortar works great for ceramic, while mastic suits lighter tiles.
Apply the adhesive evenly using a notched trowel, holding it at a consistent angle to create uniform ridges. This ensures strong bonding and helps prevent air pockets.
Use a notched trowel at a steady angle for even adhesive ridges, ensuring strong bonding and no air pockets.
Next, carefully press each tile into place, following your chosen tile pattern, whether straight, diagonal, or herringbone. Use spacers between tiles to maintain even gaps for grout later.
Work in small sections to prevent the adhesive from drying out before you set the tiles. Periodically check that tiles are level and aligned with your guide lines.
Taking these steps will secure your backsplash firmly and keep your tile patterns crisp and visually appealing.
Finish With Grouting and Sealing for a Professional Kitchen Backsplash Look

Once your tiles are firmly set, you’ll want to finish the job by applying grout and sealing it to protect your backsplash and improve its appearance. Choose grout colors that complement your tile patterns—lighter grout can highlight intricate designs, while darker grout offers a sleek, modern look. Use a rubber float to spread grout diagonally across the tiles, ensuring all gaps fill evenly. Wipe off excess grout with a damp sponge before it dries, keeping your tile surfaces clean.
After the grout cures, apply a quality sealer to shield against moisture and stains. This step is essential, especially in kitchens where water and grease are common. Sealing also boosts grout durability and maintains your backsplash’s fresh, professional look. By carefully grouting and sealing, you’ll not only protect your backsplash but also highlight the beauty of your tile patterns for years to come.
Frequently Asked Questions
What Types of Backsplash Materials Are Best for Kitchen Use?
You’ll want to choose backsplash materials that offer great material durability and suit your style. Ceramic and porcelain tiles are popular because they handle heat and moisture well, plus you can experiment with tile patterns to add personality.
Glass tiles resist stains and are easy to clean. Natural stone looks beautiful but needs sealing for durability. Think about maintenance and how the material will hold up over time in your kitchen’s environment.
How Do I Remove an Old Backsplash Without Damaging the Wall?
To remove an old backsplash without damaging the wall, start by carefully scoring the grout lines with a utility knife. Use a putty knife or scraper to gently pry off tiles, working slowly to avoid gouging the wall. Once tiles are off, focus on adhesive removal by softening it with a heat gun or adhesive remover. Afterward, thoroughly clean the surface for proper wall preparation before installing a new backsplash.
Can I Install a Backsplash Over Existing Tiles?
Yes, you can install a backsplash over existing tiles as long as the surface is clean, smooth, and sturdy. Use a high-quality adhesive designed for tile-to-tile application to guarantee strong bonding.
Before you start, consider your tile patterns carefully to create a visually appealing design. Proper preparation and the right adhesive types will help your new backsplash look great and last long without damaging the existing tiles underneath.
What Tools Do I Need Besides Those Listed for Installation?
Need to keep your backsplash project cost effective and eco friendly? Besides the usual tools, you’ll want a level to guarantee perfect alignment, a sponge for cleanup, and spacers to maintain even gaps. Don’t forget a mixing bucket for adhesive and a utility knife for trimming tiles. These tools help you get professional results without breaking the bank or harming the planet. Ready to make your kitchen beautiful and sustainable?
How Do I Maintain and Clean My Kitchen Backsplash Effectively?
You can maintain and clean your kitchen backsplash effectively by setting up a maintenance scheduling routine. Wipe down decorative tile options regularly with a gentle cleaner and a soft cloth to prevent grime buildup.
Avoid harsh chemicals that can damage the tile’s finish. For tougher stains, use a mixture of baking soda and water.
Staying consistent with cleaning guarantees your backsplash stays vibrant and lasts longer, preserving its decorative charm and functionality.
Conclusion
Just like planting a garden, installing your kitchen backsplash may seem intimidating at first, but with the right steps, it quickly transforms your space. Remember, a quick survey found that 85% of DIYers felt proud finishing a backsplash themselves. By prepping well, applying tiles carefully, and sealing it perfectly, you’ll watch your kitchen bloom with personality and charm, turning a simple wall into a vibrant masterpiece you’ll enjoy every day. Follow these steps to install a kitchen backsplash you’ll love.