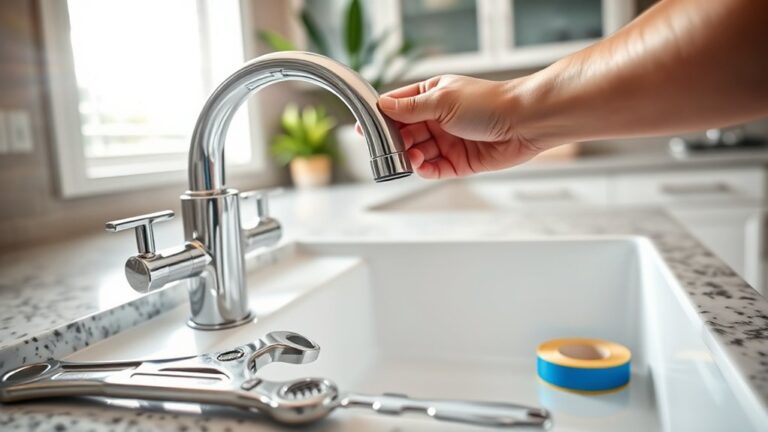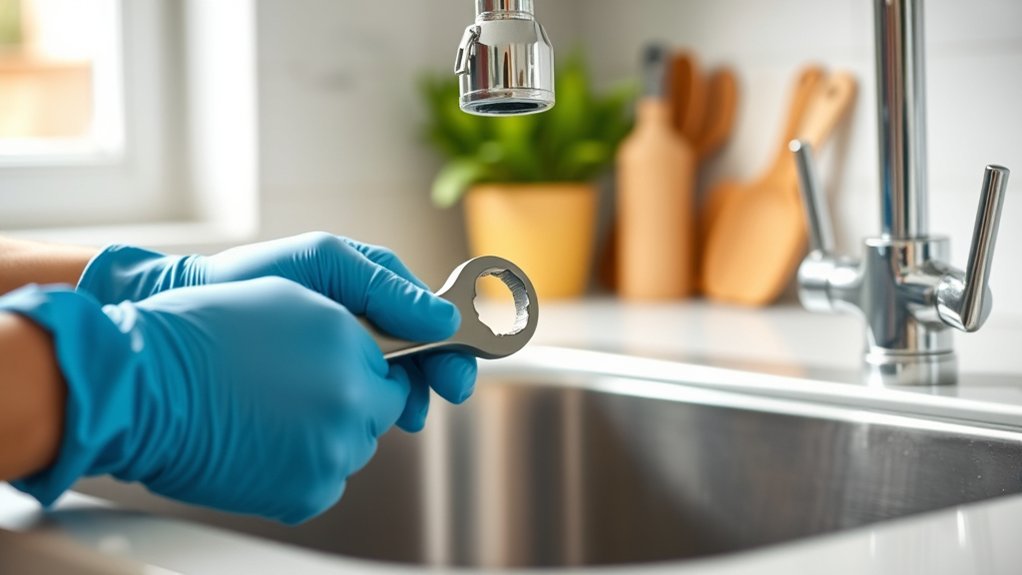
Fix a Dripping Kitchen Faucet in 3 Easy Steps
A dripping kitchen faucet can waste water, make an annoying sound, and leave you wondering which repair supplies to buy. You’re not alone—many people struggle to find the right tools and replacement parts for a quick, reliable fix.
To fix a dripping kitchen faucet in 3 easy steps, start by gathering an adjustable wrench, screwdrivers, plumber’s tape, and a replacement washer or cartridge.
Then, turn off the water supply and carefully remove the faucet handles and stem to identify worn washers or seals causing the drip.
Next, replace these parts with proper fits, reassemble everything securely but not too tight, and turn the water back on to test.
For a smoother repair, keep exploring detailed tips and techniques.
Key Takeaways
- Turn off the water supply to prevent leaks before starting any repairs.
- Remove faucet handles by unscrewing decorative caps and loosening packing nuts with a wrench.
- Inspect and replace worn washers, O-rings, or seals compatible with your faucet model.
- Reassemble the faucet carefully, tightening screws and nuts securely without over-tightening.
- Turn the water supply back on and test the faucet for leaks to ensure the repair is successful.
Gather Tools to Fix Your Dripping Kitchen Faucet
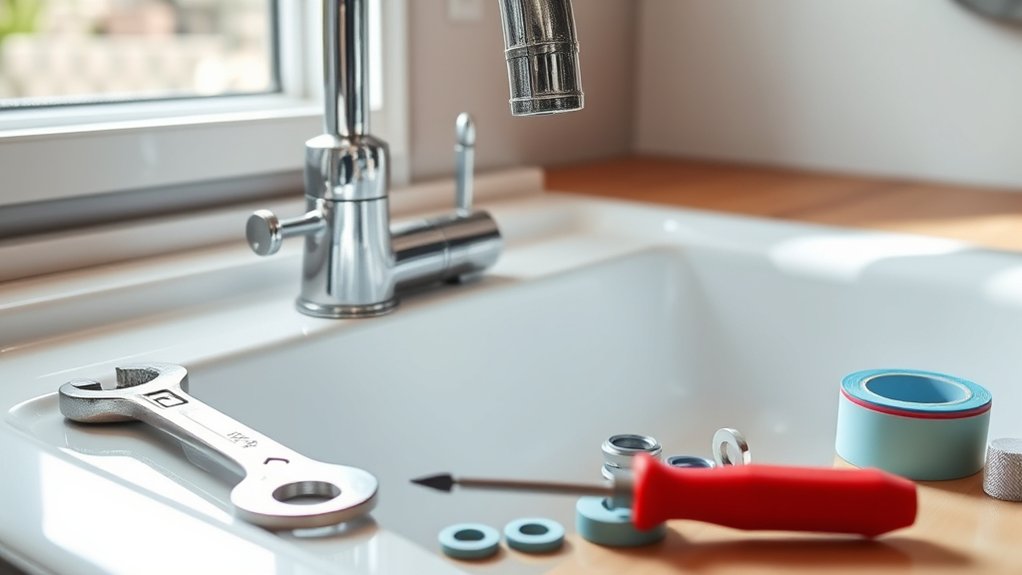
Before you begin fixing your dripping kitchen faucet, gather all the necessary tools to make the process smooth and efficient. Start with an adjustable wrench and a set of screwdrivers, as these are vital for loosening and tightening faucet parts. You’ll also need plumber’s tape to guarantee a tight seal and prevent leaks once reassembled.
A replacement washer or cartridge compatible with your faucet model is essential—make sure you check faucet compatibility before purchasing parts. Having a small bowl or container ready will help you keep screws and small components organized.
Understanding your water pressure system helps, too. High water pressure can worsen leaks, so knowing this allows you to adjust or prepare accordingly. Finally, a flashlight can be handy if your workspace under the sink is dim.
Identify the Cause and Remove Faucet Parts
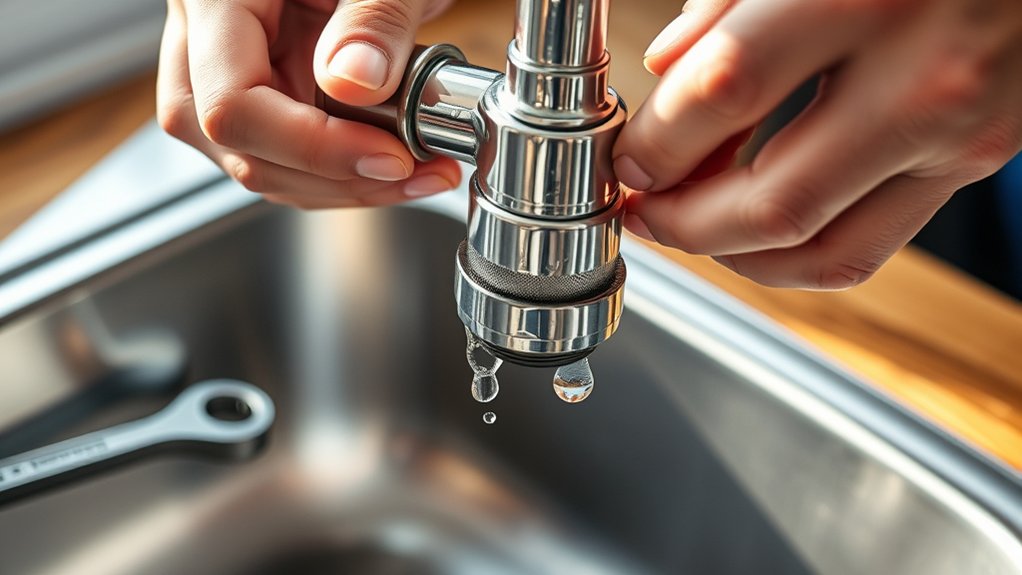
With your tools ready, you can now pinpoint what’s causing the drip and start taking apart the faucet. First, turn off the water supply to avoid any spills. Remove the decorative caps on the handles and unscrew the handles carefully.
Next, use a wrench to loosen the packing nut and take off the stem assembly. Inspect these parts closely for worn-out washers, O-rings, or damaged seals. These are common culprits behind leaks.
Identifying the faulty components is key to effective leak prevention and water conservation. As you dismantle the faucet, keep track of all pieces to guarantee a smooth reassembly later.
Replace Faulty Components and Reassemble the Faucet
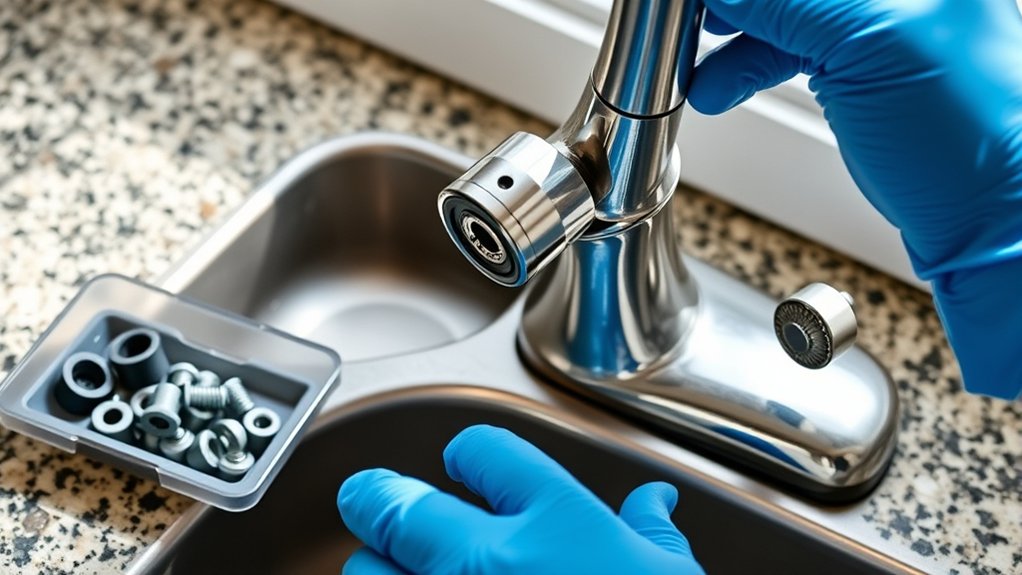
After identifying the worn washers, O-rings, or seals, you’ll want to replace them with exact matches to guarantee a tight, leak-free fit. Always prioritize plumbing safety by turning off the water supply before starting. Use faucet maintenance tips like cleaning parts and inspecting for damage during reassembly. Handle components gently to avoid damaging threads or seals.
Follow this simple guide to replace and reassemble:
| Component | Replacement Tip |
|---|---|
| Washers | Match size and thickness |
| O-rings | Use flexible, durable material |
| Seals | Ensure a snug, leak-proof fit |
Once replaced, reassemble the faucet in reverse order. Tighten screws and nuts securely but avoid over-tightening to prevent damage. Turn the water supply back on and test for leaks. If it still drips, revisit your steps and confirm component compatibility. With these faucet maintenance tips and plumbing safety measures, you’ll stop that drip efficiently and safely.
Frequently Asked Questions
How Much Water Does a Dripping Faucet Waste Daily?
A dripping faucet can waste over 3,000 gallons of water annually, which breaks down to about 8 gallons daily. If you want to practice water conservation, stopping that drip is essential.
Every drop counts, and leaks not only increase your water bill but also harm the environment. By focusing on leak prevention, you save water and money.
Don’t ignore that drip. Fixing it helps protect this precious resource for everyone.
Can a Leaking Faucet Increase My Water Bill?
Yes, a leaking faucet can definitely increase your water bill. Even small drips waste gallons over time, driving up costs. By choosing faucets with durable materials, you reduce the chance of leaks, saving money and supporting eco-friendly benefits. Fixing leaks promptly helps conserve water, lowering bills and protecting the environment. You’ll enjoy both financial savings and a smaller ecological footprint by maintaining durable, leak-free faucets.
Is It Safe to Fix a Faucet Without Shutting off Water?
It might seem like a quick DIY plumbing fix to skip shutting off the water, but you shouldn’t. Coincidentally, ignoring water safety can lead to floods or damage just when you least expect it. Always turn off the water supply before you start. That way, you prevent surprises and keep yourself safe. Taking this simple step ensures your repair goes smoothly, protects your home, and saves you from bigger headaches later.
How Often Should Faucet Washers Be Replaced?
You should replace faucet washers every 1 to 2 years, depending on water pressure and usage. High water pressure can wear washers out faster, causing leaks.
While changing washers, check your faucet aerator for buildup, as it affects water flow and pressure too. Keeping both in good shape guarantees smooth operation and prevents drips.
Regular maintenance helps you avoid bigger plumbing problems down the line.
When Should I Call a Professional Plumber?
You might think DIY plumbing can handle every faucet issue, but when leaks persist after your faucet maintenance or water damage appears, it’s time to call a professional plumber. Don’t wait if you notice low water pressure, strange noises, or corrosion—these signs mean the problem’s bigger than a simple washer replacement. Trusting an expert saves you frustration and prevents costly repairs down the line.
Conclusion
Now that you’ve fixed your dripping kitchen faucet, you’ll feel like a plumbing superhero saving gallons of water every minute! With just a few simple tools, a bit of patience, and these easy steps, you’ve stopped that annoying drip for good.
Remember, tackling small repairs yourself not only saves money but gives you confidence for bigger projects. So next time your faucet acts up, you’ll know exactly what to do. Fixing a dripping kitchen faucet? No sweat!