Paint Kitchen Countertops in 7 Easy Steps
Worn or outdated countertops can make your whole kitchen feel tired, but replacing them can be expensive. If you’re looking for a budget-friendly refresh, you’re not alone—many people want a stylish surface without the cost of a full renovation. Painting your kitchen countertops can be a practical solution, and the right supplies can help you get started.
To paint your kitchen countertops in 7 easy steps, start by gathering quality materials like sandpaper, brushes, and painter’s tape. Choose durable paint and primer fit for heat and moisture.
Clean and sand your countertops thoroughly to guarantee paint sticks well.
Apply primer with smooth strokes, then add thin, even coats of paint. Seal your work with epoxy or polyurethane for lasting protection. Let each layer dry fully before use, and you’ll soon enjoy a fresh, stylish surface.
There’s more to learn for a flawless finish.
Key Takeaways
- Gather quality materials like sandpaper, cleaner, brushes, painter’s tape, and drop cloths before starting your countertop painting project.
- Choose durable, moisture-resistant paint and primer, such as epoxy or acrylic urethane, with a satin or semi-gloss finish.
- Thoroughly clean and sand countertops to ensure a smooth, debris-free surface that improves paint adhesion.
- Apply primer first, then paint in thin, even coats, allowing each layer to dry fully for a professional finish.
- Seal painted countertops with epoxy or polyurethane sealant, and wait 24-48 hours before use for lasting protection.
Gather Materials for Painting Your Countertops

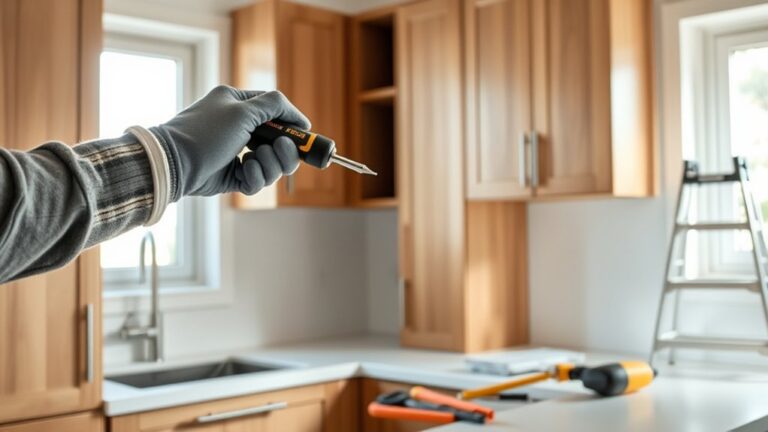
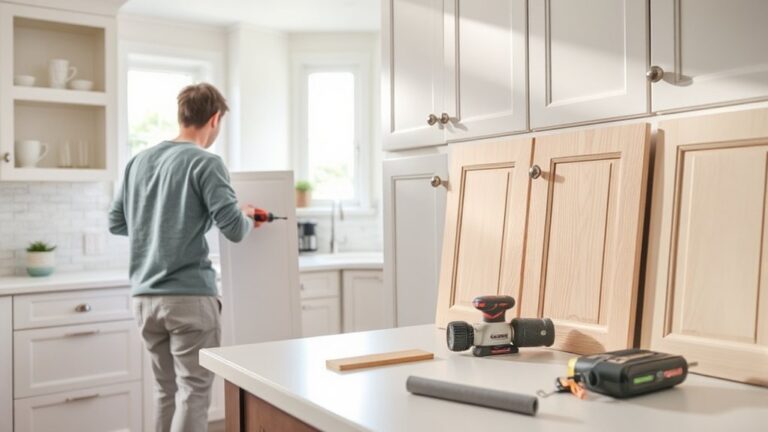
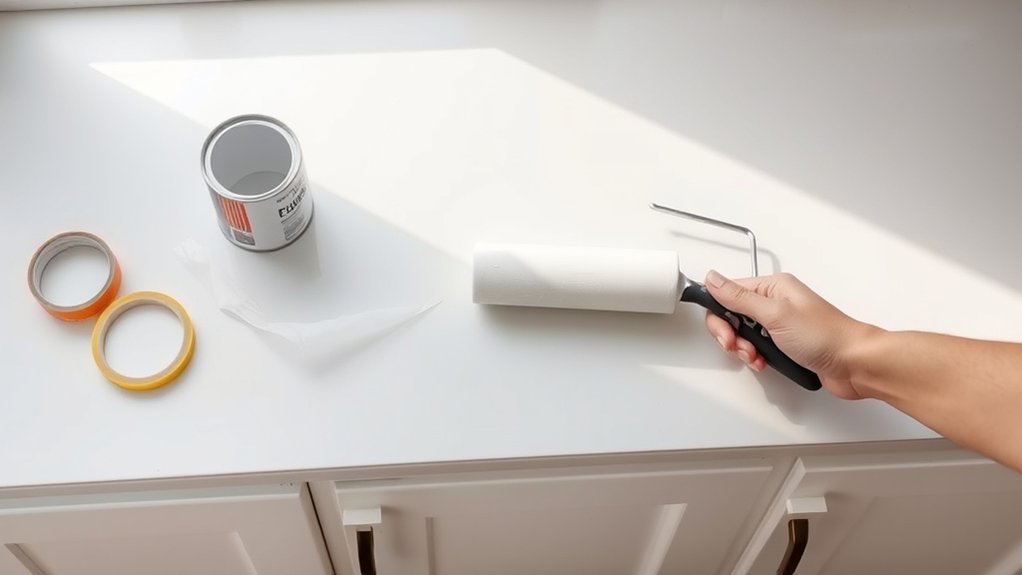
Before you begin painting your kitchen countertops, you’ll need to gather all the necessary materials to guarantee a smooth process. Start with quality sandpaper to prep the surface, along with a durable cleaner to remove grease and debris. Pick your paint carefully, but don’t choose it yet—that comes next. For now, focus on brushes, rollers, painter’s tape, and drop cloths to protect your workspace.
As you collect supplies, think about your color choices and design patterns. Do you want a solid color for a sleek look, or are you considering stencils or tape to create geometric patterns? Gathering any stencils or painter’s tape for these designs now will save time later. Also, have a clear plan for how your chosen colors and patterns will complement your kitchen’s style. Being organized with your materials and design ideas upfront will help you transform your countertops without unexpected delays or mistakes.
Choose the Best Paint and Primer for Kitchen Countertops
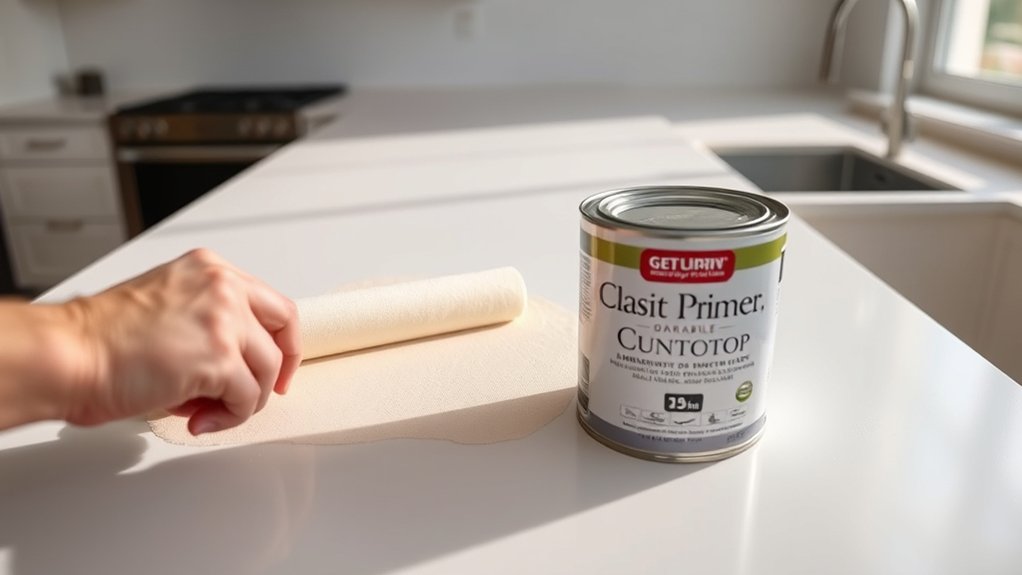
Once you’ve gathered your materials and settled on your design, it’s time to pick the right paint and primer that will hold up in a kitchen environment. You want a primer that seals well and a paint designed to resist heat, moisture, and frequent cleaning. Epoxy or acrylic urethane paints are great choices for durability. Consider color options carefully to complement your kitchen’s style. Also, think about paint finishes; satin or semi-gloss finishes offer a nice balance of shine and easy cleaning.
| Paint Type | Color Options | Paint Finishes |
|---|---|---|
| Epoxy Paint | Wide range, vibrant colors | High gloss, semi-gloss |
| Acrylic Urethane | Broad palette, muted tones | Satin, semi-gloss |
| Latex Paint | Extensive, customizable | Matte, satin |
| Oil-Based Paint | Classic, rich colors | Gloss, semi-gloss |
Choose a primer compatible with your paint for the best results.
Prepare Countertops by Cleaning and Sanding
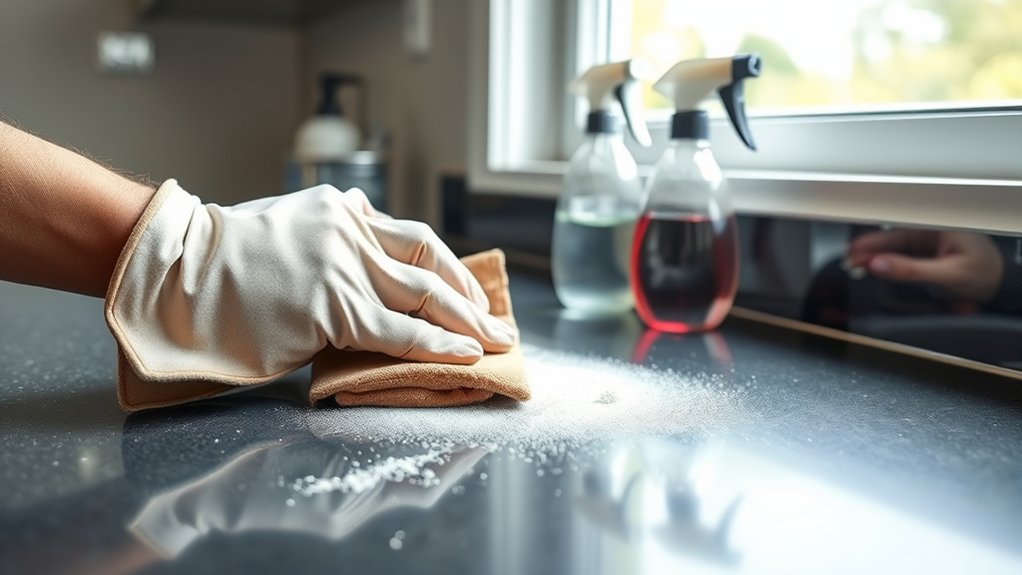
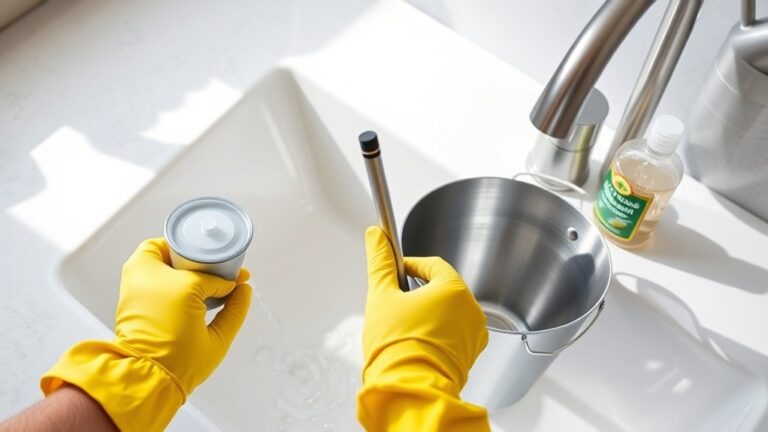
Since a clean, smooth surface guarantees the paint adheres properly, you’ll need to thoroughly clean and sand your countertops. Start by wiping down the entire surface with a degreaser or a mixture of warm water and mild detergent to remove dirt, grease, and grime. Rinse well and let it dry completely.
Next, use fine-grit sandpaper to gently scuff the surface. This step helps the paint grip better and evens out any imperfections. After sanding, wipe away the dust with a damp cloth and let it dry again.
As you prepare, consider how your chosen color coordination will influence the overall look. A well-prepped surface assures your decorative accents stand out beautifully once painted. Proper cleaning and sanding set the foundation for a long-lasting finish, making your kitchen countertops not only functional but also visually appealing in line with your style preferences.
Prime Your Countertops for a Smooth Finish
Although it might seem like an extra step, priming your countertops is essential to guarantee the paint adheres smoothly and lasts longer. You’ll want to choose a high-quality primer suited for your countertop material to create a uniform surface that grips the paint well.
Priming countertops ensures smooth paint adhesion and durability, creating a flawless, long-lasting finish.
This step prevents peeling and uneven patches, making your final finish look professional.
As you prime, keep your color selection and design ideas in mind. Applying a white or light-colored primer can boost the vibrancy of your chosen paint color, ensuring it pops exactly as you envision.
Plus, a smooth, primed surface lets your design ideas, whether a bold solid color or a subtle pattern, stand out beautifully. Don’t rush this step; allow the primer to dry completely before moving on.
Taking your time here sets the foundation for a stunning, long-lasting transformation of your kitchen countertops.
Paint Your Countertops Evenly and Effectively
Now that your countertops are primed, take a moment to prepare the surface so the paint adheres well. Then apply the paint in smooth, even strokes to help prevent streaks and drips. Keep your technique consistent, and you’ll be on your way to a smooth, polished finish.
Preparing Surface Properly
Before you start painting, make sure you clean and sand your countertops thoroughly to guarantee the paint adheres evenly. Removing grease, dirt, and old coatings is essential for a smooth finish. Sanding roughens the surface, helping the paint grip better and preventing peeling.
As you prep, think about color coordination—choose a paint color that complements your kitchen’s style and existing decor. This will improve your space without the need for costly renovations. Keep budget considerations in mind when selecting materials; high-quality primer and paint may cost more upfront but save money by lasting longer and reducing touch-ups.
Proper surface preparation sets the foundation for a durable, attractive countertop makeover that looks professional and lasts. Take your time here—it’s worth the effort.
Applying Paint Consistently
With your countertops clean and sanded, you’re ready to apply paint evenly to achieve a smooth, professional look. Start by choosing the right paint texture—opt for one that spreads easily and adheres well to your countertop material.
Use a high-quality brush or foam roller to maintain consistent strokes, preventing streaks or clumps. Keep your strokes light and even, blending each section into the next for seamless coverage.
Pay close attention to color matching if you’re applying multiple coats or touching up spots; uneven tones can stand out on your finished surface. Allow each layer to dry fully before adding another, ensuring the paint cures evenly.
Taking these steps helps you create a durable, attractive countertop that looks like new.
Seal Painted Countertops to Protect Against Damage
Although painting your countertops gives them a fresh look, sealing them is essential to protect the surface from scratches, stains, and water damage. To guarantee durability, you’ll want to focus on effective sealing techniques that create a strong barrier between your painted surface and everyday wear.
Start by choosing a high-quality protective coating designed for countertops, such as a clear epoxy or polyurethane sealant. Apply it evenly with a foam brush or roller in thin layers, allowing each coat to dry completely before adding the next. This method prevents bubbling and ensures a smooth finish.
Sealing not only boosts the paint’s longevity but also makes cleaning easier and protects against heat and moisture. Don’t rush this step. Properly sealing your countertops is key to maintaining their fresh, polished look and keeping your kitchen functional and beautiful for years to come.
Let Paint Dry Fully and Maintain Your Countertops
Once you’ve sealed your countertops, let the paint dry fully to guarantee a durable finish that withstands daily use. The drying process typically takes 24 to 48 hours, but it’s best to follow the manufacturer’s instructions for exact timing.
Avoid placing any items on the surface or exposing it to moisture during this period. This step is vital to prevent smudges, dents, or peeling.
After the drying process, maintain your countertops to keep them looking fresh. Use gentle cleaning solutions like mild soap and water, avoiding harsh chemicals or abrasive scrubbers that can damage the finish.
Wipe spills immediately to prevent stains. Consider using cutting boards and trivets to protect the surface from scratches and heat. Regularly inspect your countertops for chips or wear and touch up the paint or sealer as needed.
Frequently Asked Questions
How Long Does the Entire Countertop Painting Process Take?
The entire countertop painting process usually takes about 3 to 5 days. You’ll spend a good chunk of time on surface preparation, making sure everything’s clean and smooth for the paint to adhere. Color matching can add extra time if you want a perfect shade.
After applying primer and paint, you’ll need to wait for drying and curing between coats. Patience here guarantees a durable, beautiful finish you’ll love.
Can I Use Regular Household Paint for Kitchen Countertops?
You can’t just paint kitchen countertops with regular household paint—it’s like trying to fit a square peg in a round hole. Regular paint often lacks the durability needed to withstand daily wear, heat, and moisture.
Instead, choose specialized countertop paint or epoxy, which offers better protection and a wider range of color choices. This helps keep your countertops vibrant and durable, so your kitchen looks fresh for longer.
Will Painted Countertops Withstand Heat From Hot Pots?
Painted countertops generally won’t withstand direct heat from hot pots very well. Even with heat-resistant paint, the paint durability can be compromised by high temperatures, leading to discoloration, bubbling, or peeling.
You should always use trivets or hot pads to protect your painted surface. While heat-resistant paints improve durability, they’re not designed to handle constant, extreme heat, so taking precautions helps keep your countertops looking great longer.
How Do I Remove Paint Mistakes on Countertops?
If you spot paint mistakes on your countertops, start by gently sanding the area to remove the excess paint without damaging the surface. During your countertop prep, use a mild paint remover or rubbing alcohol for stubborn spots, but test it in a small area first. After paint removal, clean the surface thoroughly before repainting. This careful approach helps keep your countertops smooth and guarantees the new paint adheres properly.
Is It Safe to Eat on Newly Painted Countertops Immediately?
You shouldn’t eat on newly painted countertops immediately because paint fumes can be harmful and compromise food safety. Even if the paint looks dry, it might still release chemicals that could contaminate your food.
Wait at least 24-48 hours for the paint to fully cure and the fumes to dissipate. To be extra safe, follow the paint manufacturer’s instructions on drying times before placing food directly on the surface.
Conclusion
Now that you’ve transformed your countertops with a few simple steps, enjoy the fresh, vibrant look of your kitchen. With proper prep, paint, and care, painted kitchen countertops can stand up to daily wear.
Take pride in your handiwork, let the paint dry fully, and enjoy a kitchen that feels brand new every time you step in.