7 Essential Tips to Pack Kitchen for Moving
Packing up a kitchen can feel overwhelming, especially when fragile dishes, bulky appliances, and everyday essentials all need to make the trip. If you’re wondering how to pack a kitchen for moving without the stress, you’re not alone—many people struggle with keeping everything organized and protected.
To pack your kitchen efficiently, start by sorting and decluttering to lighten your load and group items by kitchen zones. Use sturdy boxes and protect fragile dishes with bubble wrap.
Pack small appliances carefully, labeling cords for easy setup. Create an essentials box with must-haves for moving day.
Clearly label all boxes to speed up unpacking. Organize your new space for functionality, keeping frequently used items handy.
Following these tips will make your move smoother and your kitchen ready to use faster.
Key Takeaways
- Declutter and sort kitchen items by zone before packing to reduce load and simplify unpacking.
- Use sturdy boxes, bubble wrap, and foam sheets to protect fragile dishes and utensils during transit.
- Organize small appliances by wrapping cords, using original boxes, and cushioning with packing paper or bubble wrap.
- Label all boxes clearly with contents and kitchen zone for efficient unpacking and organization.
- Pack an essentials box with immediate-use items like utensils, plates, and basic cleaning supplies for quick kitchen setup.
Sort and Declutter Your Kitchen Before Packing
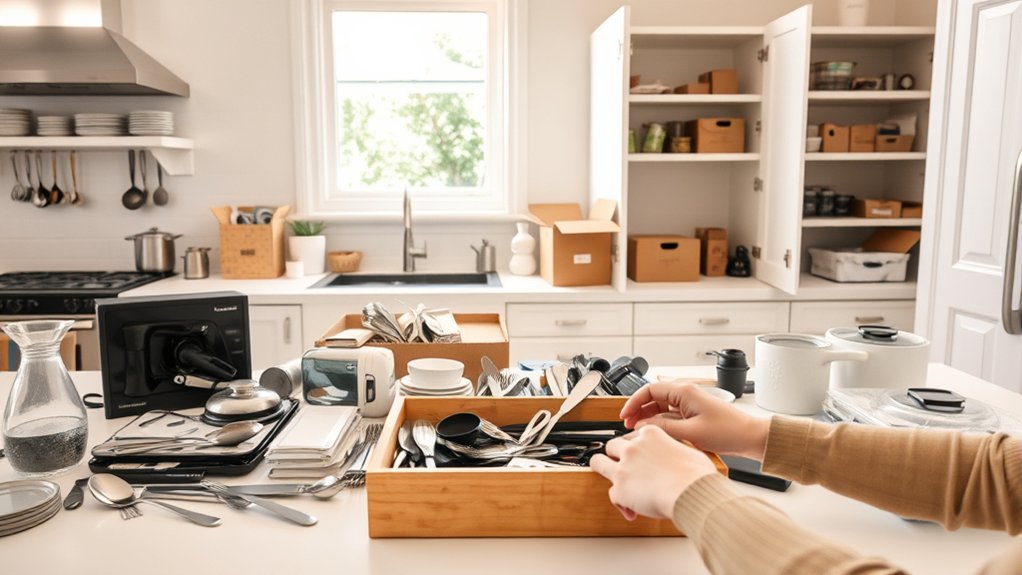
Before you start packing, take time to sort and declutter your kitchen. This step helps you streamline the moving process and avoid hauling unnecessary items.
Sorting and decluttering your kitchen before packing simplifies your move and prevents carrying unwanted items.
Begin by grouping your belongings using effective kitchen organization strategies. Separate utensils, cookware, and pantry items while discarding expired food or broken gadgets.
Appliance maintenance also plays a role here. Check your appliances for any repairs or cleaning needs before packing them. Doing so prevents damage during transit and ensures they’re ready to use in your new home.
Decluttering not only lightens your load but also makes unpacking easier, allowing you to set up your kitchen efficiently. By tackling this task upfront, you’ll save time and reduce stress.
Get the Right Packing Supplies for Your Kitchen
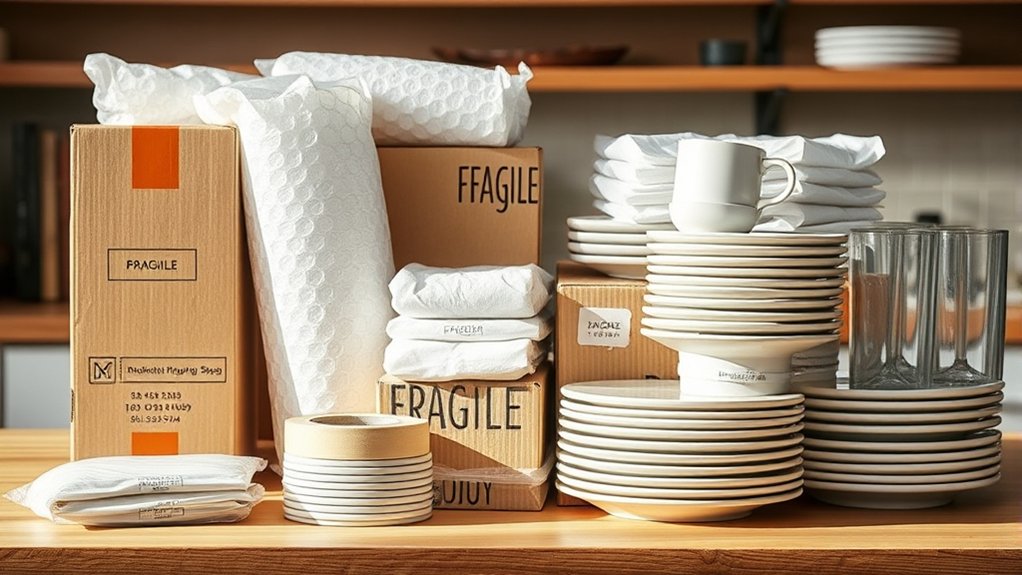
You’ll need the right packing supplies to keep your kitchen items safe and organized. Choose durable containers and protective materials for fragile dishes and glassware. A little extra care now can save you time and stress during the move.
Essential Packing Materials
How do you guarantee your kitchen items arrive safely at your new home? It all starts with essential packing materials. Using the right supplies protects your fragile dishes and keeps your kitchen storage organized during the chaos of moving day. Before you begin, consult your moving checklist to confirm you’ve gathered everything you need.
Make sure to have:
- Sturdy boxes of various sizes to fit different kitchen items
- Bubble wrap or packing paper to cushion breakables
- Strong packing tape to seal boxes securely
- Permanent markers for clear labeling
These materials help you pack efficiently, prevent damage, and make unpacking easier. With the right packing tools, your kitchen essentials stay safe and ready to use once you settle in.
Choosing Durable Containers
While packing your kitchen, choosing durable containers is essential to protect your items from damage during the move. Opt for BPA free containers to guarantee safety and dishwasher safe options for easy cleaning after unpacking. Sturdy containers prevent spills and keep your kitchen organized. Here’s a quick guide to help you pick the best containers:
| Container Type | Material | Key Features |
|---|---|---|
| Plastic Bins | BPA Free Plastic | Lightweight, stackable |
| Glass Jars | Tempered Glass | Dishwasher safe, airtight |
| Silicone Bags | Food-grade Silicone | Reusable, flexible |
| Metal Tins | Stainless Steel | Durable, rust-resistant |
| Cardboard Boxes | Reinforced Cardboard | Cost-effective, recyclable |
Choose containers that match your needs and ensure a smooth, hassle-free kitchen move.
Protecting Fragile Items
Several essential packing supplies can protect your fragile kitchen items during the move. To guarantee glassware safety and utensil protection, you need the right materials that cushion and separate each piece carefully. Without proper packing, your delicate items could easily break, causing stress and loss.
Make sure you have these on hand:
- Bubble wrap for cushioning fragile glassware
- Packing paper to wrap and separate utensils
- Divided boxes designed specifically for plates and glasses
- Foam sheets to add extra padding inside containers
Using these supplies, you’ll safeguard your kitchen treasures and make unpacking a joy rather than a disaster. Prioritize glassware safety and utensil protection—it’s the best way to move with peace of mind.
Pack Fragile Dishes and Utensils Carefully
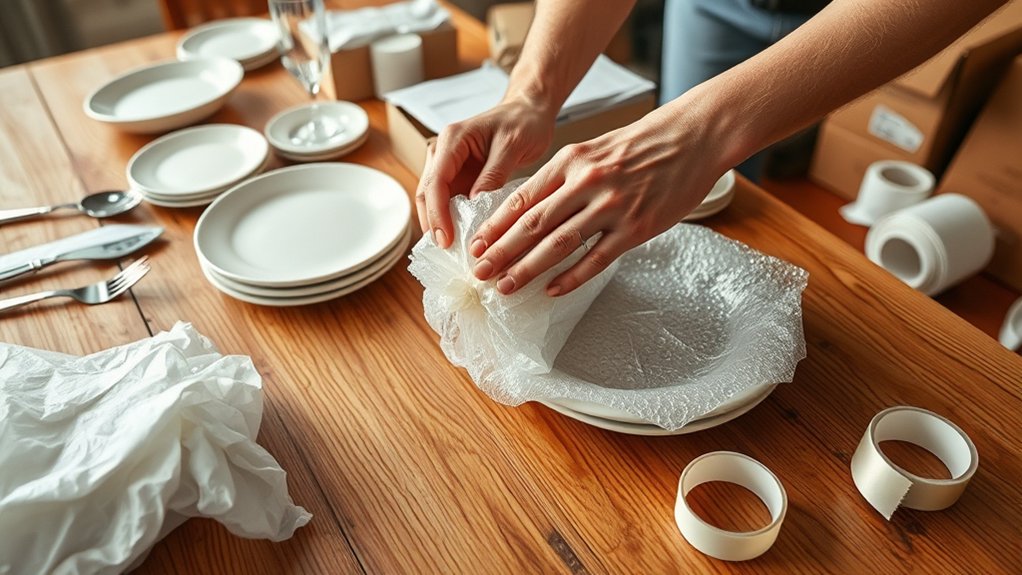
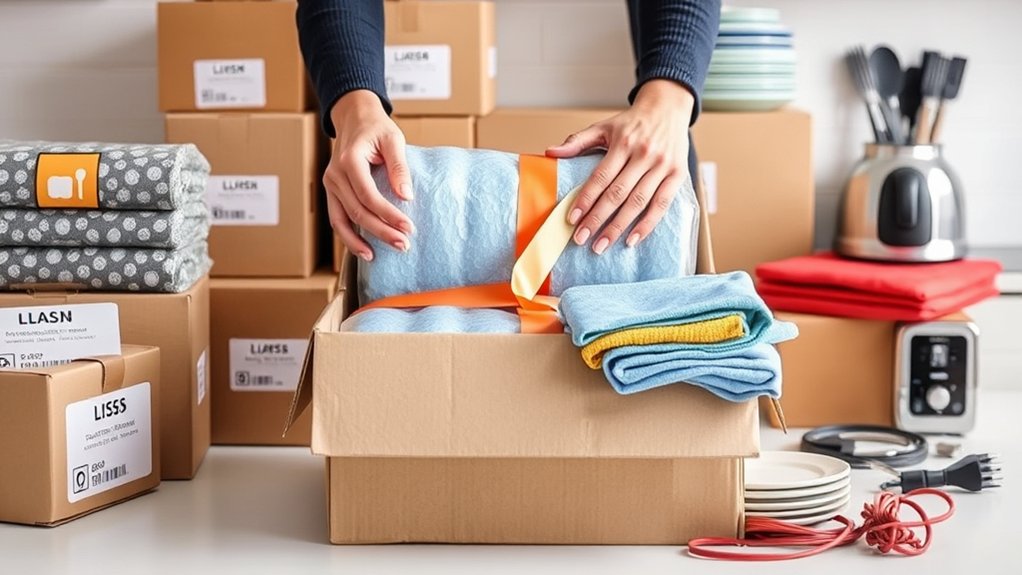
Wrap each fragile dish and utensil in plenty of padding to help prevent cracks and chips. Pack delicate items separately so they don’t bump into one another during the move. That way, your kitchenware is more likely to arrive safe and intact.
Use Proper Padding
How can you guarantee your fragile dishes and utensils arrive intact at your new home? The answer lies in using proper padding. As you follow your packing timeline, don’t rush this essential step—it’s key to preserving your kitchen organization. Padding cushions your delicate items, preventing chips and cracks during transit.
Here’s how to pad effectively:
- Wrap each dish individually with bubble wrap or packing paper.
- Line boxes with crumpled paper or foam peanuts for extra shock absorption.
- Use kitchen towels or cloths to fill gaps and add cushioning.
- Place heavier items at the bottom, lighter ones on top to avoid crushing.
Separate Fragile Items
Proper padding protects your fragile dishes and utensils, but separating them before packing adds another layer of safety. To guarantee glassware protection, group similar items together and wrap each piece individually using bubble wrap or packing paper.
This prevents items from clinking against each other and breaking during the move. For dishware organization, separate plates, bowls, and other items into different boxes or compartments.
Make sure heavier dishes go at the bottom and lighter ones on top to avoid pressure damage. Also, pack utensils separately in small containers or wrap them in cloth to keep them secure.
Taking the time to separate fragile items thoughtfully not only safeguards your kitchenware but also streamlines unpacking, making your move smoother and less stressful.
Pack Small Appliances and Electronics Safely
Since small appliances and electronics are often delicate and expensive, packing them carefully is essential to prevent damage during your move. Start by unplugging each device and wrapping cords neatly using electronic cord organization techniques.
Carefully unplug and organize cords to protect delicate small appliances and electronics during your move.
Secure cords with twist ties or Velcro straps to avoid tangling and damage. Use original boxes when possible; if not, choose sturdy boxes and cushion appliances with bubble wrap or packing paper.
Remember appliance power safety: never pack devices while plugged in or with wet components.
To pack small appliances and electronics safely:
- Protect fragile parts with extra padding to avoid costly repairs.
- Label plugs and cords to save time reconnecting later.
- Avoid stacking heavy items on top to prevent crushing.
- Keep batteries out to prevent leaks and corrosion.
Organize and Label Kitchen Boxes by Zones
Dividing your kitchen items into distinct zones makes unpacking faster and keeps your new kitchen organized from day one. Start by grouping items based on their function or location in your new kitchen.
Use clear labels on each box to identify its zone and contents. This saves time and helps you find what you need without digging through multiple boxes. Consider sturdy bins or containers to keep smaller items secure.
Here’s a simple way to zone and label your kitchen boxes:
| Zone | Examples | Labeling Tips |
|---|---|---|
| Cooking | Pots, pans, utensils | Use “Cooking” and item list |
| Baking | Mixing bowls, measuring cups | Label “Baking” + fragile |
| Food Storage | Containers, wraps | “Storage Solutions” + zone |
| Cleaning | Sponges, dish soap | Mark “Cleaning” clearly |
| Dining | Plates, glasses, cutlery | “Dining” + handle with care |
Stick to this system, and unpacking will be a breeze.
Pack a Kitchen Essentials Box for Moving Day
How will you manage your meals on moving day without the usual kitchen setup? Packing a kitchen essentials box guarantees you have what you need for simple meal prep and keeps your pantry organization intact during the chaos. This box should hold everything you’ll use immediately, so you don’t waste time searching through multiple boxes.
Include items that help you stay nourished and comfortable, like:
- A few plates, cups, and utensils
- A small cutting board and knife
- Non-perishable snacks and easy-to-make ingredients
- Basic cleaning supplies for quick tidying
Tips for Unpacking and Setting Up Your Kitchen
Once you arrive at your new home, unpacking your kitchen efficiently can make a big difference in settling in quickly. Start by organizing your essentials box first—it contains the tools and items you’ll need right away.
Use kitchen organization tips like grouping similar items together, such as utensils, cookware, and pantry staples, to create a functional layout. Arrange your cooking tools based on your preferred cooking techniques to streamline meal prep. For example, keep pots and pans near the stove and knives close to your cutting board.
Take advantage of cabinet space by installing organizers or shelf risers to maximize storage. Label containers and shelves to maintain order and make it easier to find ingredients. Finally, clean as you unpack to keep your new kitchen fresh and inviting.
Frequently Asked Questions
How Far in Advance Should I Start Packing My Kitchen?
You should start packing your kitchen about two to three weeks before your move. Begin by packing non-essential items first and make sure to handle packing fragile items with extra care, using plenty of padding.
Labeling kitchen boxes clearly helps you find what you need quickly after the move. This way, you avoid last-minute stress and keep everything organized, ensuring your fragile dishes and glasses arrive safely.
Should I Clean Appliances Before Moving Them?
Yes, you should clean appliances before moving them—it’s not just about hygiene but proper appliance maintenance. Think of it as ticking off your cleaning checklist: unplug, defrost refrigerators, and wipe down ovens and microwaves.
This prevents mold, odors, and damage during transit. Plus, a clean appliance is easier to handle and sets you up for a smooth unpacking later. Don’t skip this step; your future self will thank you!
Can I Pack Spices and Pantry Items Together?
Yes, you can pack spices and pantry items together, but it’s best to focus on spice organization first. Use small containers or ziplock bags to prevent spills and keep similar spices grouped.
For pantry labeling, clearly mark each box with its contents to make unpacking easier. This way, you’ll quickly find what you need without sifting through everything. Keeping things organized saves time and reduces stress during your move.
How Do I Handle Packing Sharp Kitchen Knives Safely?
You handle packing sharp kitchen knives safely by prioritizing knife safety. Wrap each knife blade in thick cardboard or bubble wrap, then secure it with tape to prevent shifting.
Use a knife roll or a sturdy box lined with padding for sharp utensil handling. Always point blades away from you and clearly label the box as containing sharp items. This way, you’ll avoid accidents and keep your knives protected during the move.
What’s the Best Way to Move a Full Refrigerator?
To move a full refrigerator, start by emptying perishable items and organizing what’s left to prevent spills. Defrost and clean it thoroughly, then secure doors with tape or straps.
Use moving appliance tips like keeping it upright to protect the compressor and wrapping it in moving blankets to avoid damage. Enlist help or use a dolly for safe transport. Proper refrigerator organization before moving makes the process smoother and prevents messes.
Conclusion
Packing your kitchen efficiently can save you time and stress on moving day. Did you know that nearly 60% of people say unpacking kitchen items is their most overwhelming task? By sorting, labeling, and packing carefully, you’ll make setting up your new space much smoother.
Remember, a well-organized kitchen box with essentials will keep you cooking without hassle. Follow these tips for packing your kitchen for moving, and you’ll be unpacking like a pro in no time!