
How to Clean Kitchen in 10 Simple Steps
Keeping your kitchen clean can feel like an endless chore, especially when clutter and mess build up faster than you can tackle them. You’re not alone—many people struggle to keep this busy space spotless.
These 10 simple steps for how to clean a kitchen can help make the job feel more manageable.
Start by gathering all your cleaning supplies and clearing counters of clutter. Wash and sanitize your dishes and sink thoroughly. Wipe down all appliances and surfaces using mild cleaners.
Empty and clean your trash bin, then mop the floors using effective techniques. Organize your pantry and cabinets by tossing expired items.
Give your oven, microwave, and fridge a deep clean for lasting freshness. Follow these steps, and you’ll keep your kitchen spotless and efficient every day.
There’s plenty more to master beyond these essentials.
Key Takeaways
- Clear counters by removing clutter and grouping essential items in trays or containers for an organized workspace.
- Wash dishes promptly and disinfect the sink to prevent bacteria buildup and maintain hygiene.
- Wipe down all appliances, countertops, and cabinet surfaces using mild cleaners and microfiber cloths.
- Deep clean appliances periodically by soaking racks, applying baking soda paste, and steam cleaning microwaves.
- Sweep and mop floors with appropriate tools, empty trash, disinfect bins, and replace bags securely.
Gather Your Cleaning Supplies
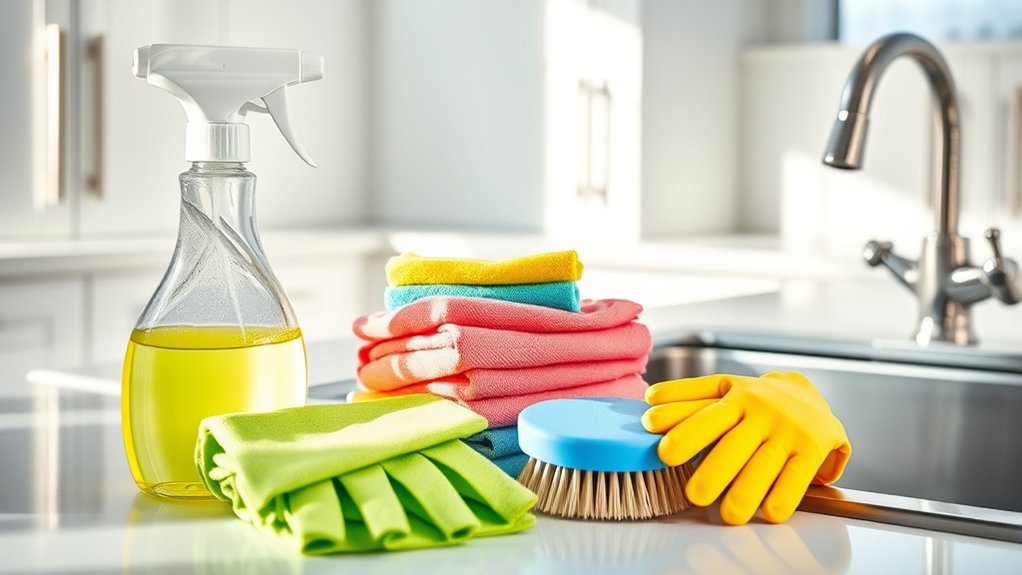
Before you begin cleaning, gather all the supplies you’ll need. Having the right cleaning tools on hand saves time and keeps you organized. Grab essentials like all-purpose cleaner, sponges, microfiber cloths, a scrub brush, and gloves. Don’t forget your trash bags and a mop or broom for the floor.
Next, think about storage solutions for your cleaning supplies. Use a caddy or tote to keep everything portable so you can easily move from one area to another. If you clean regularly, consider designating a cabinet or shelf specifically for these tools. This way, you’ll always know where to find them when it’s time to clean.
Clear Counters and Remove Clutter

With your cleaning supplies ready, focus on clearing your counters to create a tidy workspace. Start by removing any items that don’t belong on the counters, like mail, keys, or random gadgets. This clutter removal step instantly makes your kitchen look cleaner and gives you room to work.
Next, group similar items like spices or utensils and decide what needs to stay out and what can be stored away. Prioritize essential items you use daily to keep on the counter for easy access.
Implementing smart counter organization helps maintain this neatness long-term. Use trays, containers, or small baskets to keep items grouped and prevent clutter from building up again. Remember, a clear counter not only looks better but also makes cleaning faster and more efficient.
Wash and Sanitize Dishes and Sink
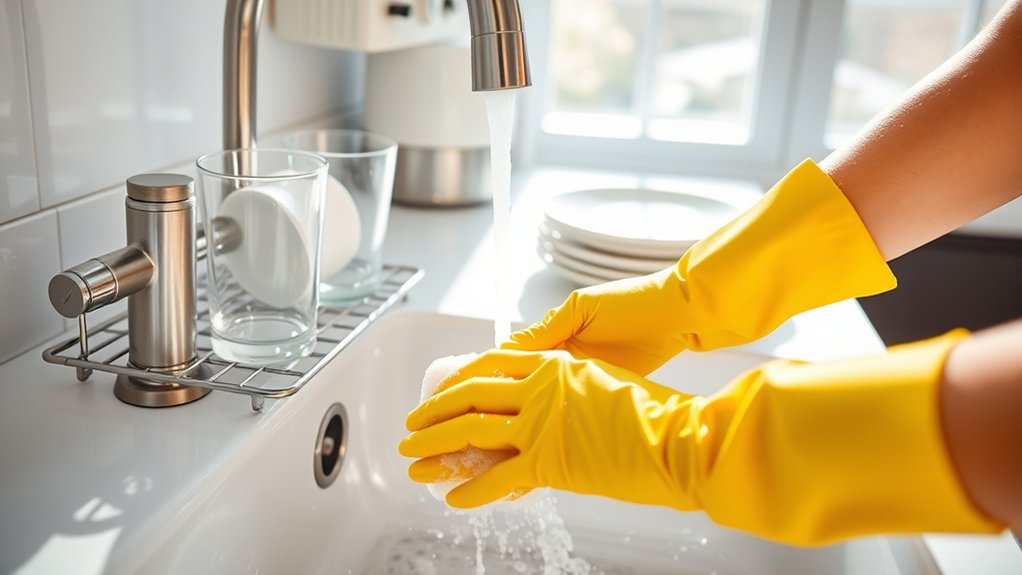
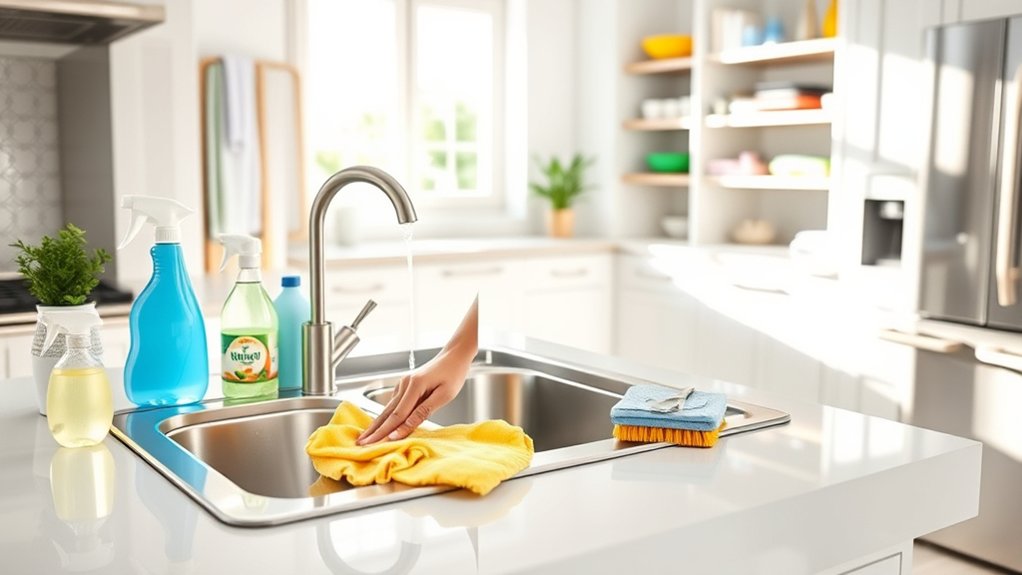
Once you’ve cleared your counters, plunge into washing and sanitizing your dishes and sink to maintain a hygienic kitchen. Start by scraping off food debris and loading your dishwasher properly, which supports effective dishwasher maintenance and guarantees every dish gets clean.
After clearing counters, wash and sanitize dishes and sink for a clean, hygienic kitchen.
If washing by hand, use hot, soapy water and scrub thoroughly. Don’t forget to disinfect your sink after washing to prevent bacteria buildup. Rinse dishes well and apply proper dish drying techniques, like using a clean drying rack or microfiber towels, to avoid water spots and germs.
To visualize the process, imagine:
- Scraping plates into the trash or compost bin
- Stacking dishes neatly in the dishwasher
- Scrubbing pots and pans with a sponge
- Spraying disinfectant in the sink basin
- Placing dishes on a drying rack for air drying
Wipe Down Appliances and Surfaces
After finishing your dishes and sanitizing the sink, give your appliances and kitchen surfaces a thorough wipe-down. Start with appliances like the microwave, toaster, and refrigerator exterior. Use a damp cloth with a mild cleaner to remove fingerprints, smudges, and grime.
This simple step is essential for appliance maintenance, helping them look good and last longer. Don’t forget knobs, handles, and control panels, where dirt tends to accumulate.
Next, focus on your kitchen surfaces, including countertops, cabinet doors, and backsplashes. Use a microfiber cloth for surface polishing to restore shine and remove streaks without scratching. Avoid harsh chemicals that can damage finishes.
Regular wiping prevents buildup and keeps your kitchen looking fresh. By incorporating these steps into your routine, you’ll maintain a cleaner, more inviting space while extending the life of your appliances and surfaces. It’s a quick task that pays off in both hygiene and appearance.
Clean and Disinfect Kitchen Counters
How do you make sure your kitchen counters are truly clean and safe? Start by removing everything from the surface to access every inch. Depending on your countertop materials—whether granite, laminate, or stainless steel—choose a suitable cleaner that won’t cause damage. Then, pick an effective disinfectant type, like a bleach solution or an alcohol-based spray, to kill germs without harming the surface.
Follow these steps to get your counters spotless:
- Clear all items off the counters
- Wipe down with warm, soapy water
- Apply disinfectant evenly, letting it sit briefly
- Avoid abrasive scrubbing on sensitive materials
- Dry thoroughly with a clean cloth
Sweep and Mop the Kitchen Floor
Start by choosing a broom that makes it easy to gather dirt and crumbs. Then, use an effective mopping technique to remove stains and leave your kitchen floor spotless. Here are the best tools and methods to get the job done quickly.
Choosing The Right Broom
Why does choosing the right broom matter when cleaning your kitchen floor? Proper broom selection directly impacts dust control and the ease of sweeping. Picking a broom suited for your floor type helps you capture crumbs and dirt efficiently without scattering debris. When shopping, consider bristle stiffness and broom size to match your kitchen’s needs.
Look for these features in a broom:
- Soft bristles for smooth tile or hardwood floors
- Stiffer bristles for textured or rough surfaces
- Angled heads to reach corners and under appliances
- Lightweight handles for comfortable use
- Durable materials that resist wear and tear
Choosing wisely means less dust in the air and a cleaner floor with less effort.
Effective Mopping Techniques
Although sweeping removes loose dirt and crumbs, mopping is essential to eliminate sticky residue and stains from your kitchen floor. Start by choosing the right cleaning solution for your floor type to avoid damage.
Dilute it according to the instructions, then dip your mop and wring out excess liquid to prevent oversaturation. Use effective mopping patterns—typically an “S” or figure-eight motion—to cover every inch without missing spots or pushing dirt around.
Change your cleaning solution regularly to avoid spreading grime. Focus on high-traffic areas where spills and stains often accumulate.
After mopping, let the floor air dry or use a dry mop to speed up the process. Following these steps guarantees your kitchen floor stays spotless and hygienic with minimal effort.
Empty and Clean Your Kitchen Trash Bin
Remove the trash bag and set it aside for disposal. Then, wash and disinfect the bin thoroughly to get rid of odors and germs. Once it’s dry, put in a fresh bag to help keep your kitchen clean and fresh.
Remove Trash Bag
How often do you empty your kitchen trash bin? Removing the trash bag regularly prevents odors and keeps your kitchen tidy. When you take out the trash, keep trash sorting in mind. Separate recyclables from general waste to make disposal easier and eco-friendly.
Use recycling tips, like rinsing containers before tossing them in the bin, to reduce contamination.
Here’s how to remove the trash bag effectively:
- Tie the bag securely to avoid spills.
- Lift it carefully out of the bin.
- Check for leaks or tears.
- Replace with a fresh bag that fits snugly.
- Place recyclables in designated bins nearby.
Following these steps helps maintain cleanliness and supports your recycling efforts.
Wash and Disinfect Bin
Why wait until your bin smells bad to clean it? Maintaining proper bin hygiene is key to preventing unpleasant odors and bacteria buildup.
Start by emptying your kitchen trash bin completely, ensuring no waste remains stuck inside. Next, rinse the bin with warm water to loosen debris.
Use a disinfectant cleaner or a mixture of vinegar and water to scrub the interior thoroughly. Pay special attention to corners and the lid, where germs often hide.
After scrubbing, rinse the bin again and let it air dry fully to avoid mold. Regularly washing and disinfecting your bin not only improves bin hygiene but also supports effective waste disposal, keeping your kitchen environment fresh and healthy.
Don’t delay—make this a routine part of your cleaning process.
Dry and Replace Bag
Once your bin is completely dry, replace the bag promptly to keep things clean and odor-free. A fresh trash bag helps keep waste disposal hygienic and prevents leaks or lingering smells. Choose a sturdy bag that fits your bin well so it doesn’t slip or tear.
Here’s what to do when replacing your trash bag:
- Select a durable trash bag that matches your bin size
- Insert the bag smoothly without wrinkles or folds
- Secure the bag edges firmly around the bin rim
- Check the bag for any holes or weak spots
- Tie the bag securely when full before waste disposal
Sort and Organize Pantry and Cabinets
Although it might seem overwhelming at first, sorting and organizing your pantry and cabinets is essential for maintaining a functional kitchen. Start by emptying everything out so you can see what you have. Check expiration dates and toss anything expired or stale.
Group similar items together—canned goods, baking supplies, snacks—to make pantry organization easier. Use clear containers or labels to keep things visible and accessible.
For effective cabinet sorting, arrange items by frequency of use. Place daily essentials at eye level and less-used items higher up or in the back. Consider using shelf risers or pull-out baskets to maximize space and accessibility.
Keeping your pantry and cabinets neat not only saves time when cooking but also reduces food waste. Once you’ve sorted and organized, maintaining this system becomes much simpler, making your kitchen a more enjoyable space to work in.
Deep Clean Oven, Microwave, and Refrigerator
Now it’s time to give your oven, microwave, and refrigerator a deep clean. We’ll walk you through easy ways to cut through grease and grime in your oven, along with simple tips for keeping your refrigerator clean, your food fresh, and your appliance running smoothly.
Oven Cleaning Techniques
When you tackle oven cleaning techniques, you’ll find that deep cleaning your oven, microwave, and refrigerator not only improves their performance but also boosts kitchen hygiene. Start by removing racks and soaking them in warm, soapy water.
Then, apply a baking soda paste inside your oven, letting it sit to break down grease and grime. For microwaves, wipe down the interior with a lemon-water steam to loosen food splatters.
Don’t forget to clean the refrigerator seals and shelves to prevent odors. Regular oven maintenance keeps your appliance efficient and extends its lifespan.
- Scrub oven racks with a brush
- Use baking soda paste on oven walls
- Steam clean microwave interiors with lemon water
- Wipe down refrigerator seals
- Remove and clean refrigerator shelves
These oven cleaning techniques make kitchen upkeep simpler and more effective.
Refrigerator Maintenance Tips
Since keeping your refrigerator clean is key to preserving food freshness and preventing odors, you should schedule regular deep cleanings. Start by emptying your fridge completely, discarding expired items, and wiping down shelves with a mild detergent. Pay attention to spills and sticky spots to prevent bacteria growth.
Next, focus on refrigerator organization. Arrange items by category and use clear bins to keep everything accessible and tidy. This not only saves time but reduces food waste.
Don’t forget cooling system maintenance. Clean the condenser coils at least twice a year to ensure efficient performance. Unplug the fridge, vacuum or brush the coils gently, and check door seals for any gaps. Following these steps keeps your refrigerator running smoothly and your food fresh longer.
Keep Your Kitchen Clean Every Day
Keeping your kitchen clean every day takes just a few simple habits that you can easily fit into your routine. By staying consistent, you prevent messes from piling up and make cleaning less overwhelming. Focus on small tasks that maintain order and hygiene without much effort.
Start with meal prep to minimize mess while cooking. Organize your utensils so you can quickly find what you need and put them away immediately after use.
Begin with meal prep to reduce mess and keep utensils organized for quick access and easy cleanup.
Wipe down counters and stove tops after each meal to keep surfaces spotless. Rinse and load dishes into the dishwasher or wash them promptly to avoid clutter. Sweep the floor daily to catch crumbs and spills before they spread.
- Prep ingredients ahead to avoid last-minute messes
- Keep utensils in designated holders for easy access
- Clean spills immediately to prevent stains
- Wash or load dishes right after meals
- Sweep or vacuum floors daily to remove crumbs
These habits make daily kitchen cleaning manageable and keep your space inviting.
Frequently Asked Questions
What Natural Cleaners Are Safe for Kitchen Surfaces?
You can use eco friendly substitutes like white vinegar, baking soda, and lemon juice as safe natural cleaners for your kitchen surfaces. These DIY cleaning solutions effectively cut grease, disinfect, and deodorize without harsh chemicals.
Just mix vinegar and water for countertops or sprinkle baking soda to scrub stubborn stains. Lemon juice brightens and adds a fresh scent. You’ll keep your kitchen spotless while staying eco-friendly and protecting your family’s health.
How Often Should I Deep Clean My Kitchen Appliances?
You should deep clean your kitchen appliances at least every three months to keep them running efficiently. Studies show that neglected appliance maintenance can reduce their lifespan by up to 30%.
Sticking to a regular cleaning schedule prevents buildup and potential malfunctions. Set reminders for quarterly deep cleans, focusing on ovens, refrigerators, and microwaves.
This way, you’ll save money on repairs and enjoy a healthier, fresher kitchen environment.
Can I Use Vinegar to Disinfect Kitchen Counters?
Yes, you can use vinegar to clean your kitchen counters, but keep in mind vinegar safety—it’s not a registered disinfectant, so it won’t kill all bacteria and viruses.
If you need stronger disinfectant power, consider alternatives like diluted bleach or commercial disinfectants approved for kitchen surfaces. Vinegar works well for general cleaning and deodorizing, but for thorough disinfection, especially during illness, you should choose a more effective disinfectant.
What’s the Best Way to Remove Grease Stains?
Grease stains can be stubborn, but don’t worry—you’ve got this! For effective grease removal, sprinkle baking soda over the stain, then spray with vinegar to create a fizzy reaction that breaks down the grease.
Scrub gently with a sponge or cloth, then rinse with warm water. This method makes stain elimination a breeze and keeps your surfaces sparkling without harsh chemicals. You’ll have your kitchen gleaming in no time!
How Do I Prevent Mold in Kitchen Cabinets?
To prevent mold in your kitchen cabinets, guarantee proper cabinet ventilation by leaving doors slightly open or installing vents to allow airflow. Use moisture barriers like shelf liners or plastic mats to keep dampness from seeping in.
Wipe up spills quickly and avoid storing wet items inside. Keeping your cabinets dry and well-ventilated stops mold growth before it starts, protecting your kitchen from damage and unpleasant odors.
Conclusion
Now that you’ve tackled these 10 simple steps, your kitchen is almost sparkling clean. But there’s one secret tip left that can make maintaining that shine effortless. Ready to discover how a few daily habits can keep your kitchen spotless without the stress?
Stick around to learn an easy routine that turns cleaning from a chore into a breeze. Your kitchen transformation is just getting started, and keeping your kitchen clean can be simple!