10 Easy Steps to Clean Your Kitchen Drain
A slow, smelly kitchen drain can make everyday cleanup frustrating—and you’re not alone; many people struggle with stubborn buildup and clogs. If you’re looking for the best products to clean a kitchen drain, the right tools and cleaners can make the job easier.
To clean your kitchen drain easily, start by removing visible debris and the sink stopper while wearing gloves.
Pour half a cup of baking soda followed by one cup of vinegar, then cover the drain and let it fizz for 15-20 minutes.
Flush with boiling water, then use a plunger and drain snake to clear stubborn clogs.
Don’t forget to clean the P-trap and regularly maintain your drain to prevent buildup.
Keep following these steps to master effective, long-term drain care.
Key Takeaways
- Remove visible debris and clean the sink stopper to access the drain safely.
- Pour baking soda and vinegar into the drain, let fizz for 15-20 minutes, then flush with hot water.
- Use a plunger or drain snake to dislodge and remove stubborn clogs carefully.
- Clean the P-trap by removing, scrubbing inside with warm soapy water, and reassembling securely.
- Flush the drain weekly with boiling water and maintain a clean strainer to prevent future clogs.
Identify Common Causes of Kitchen Sink Clogs
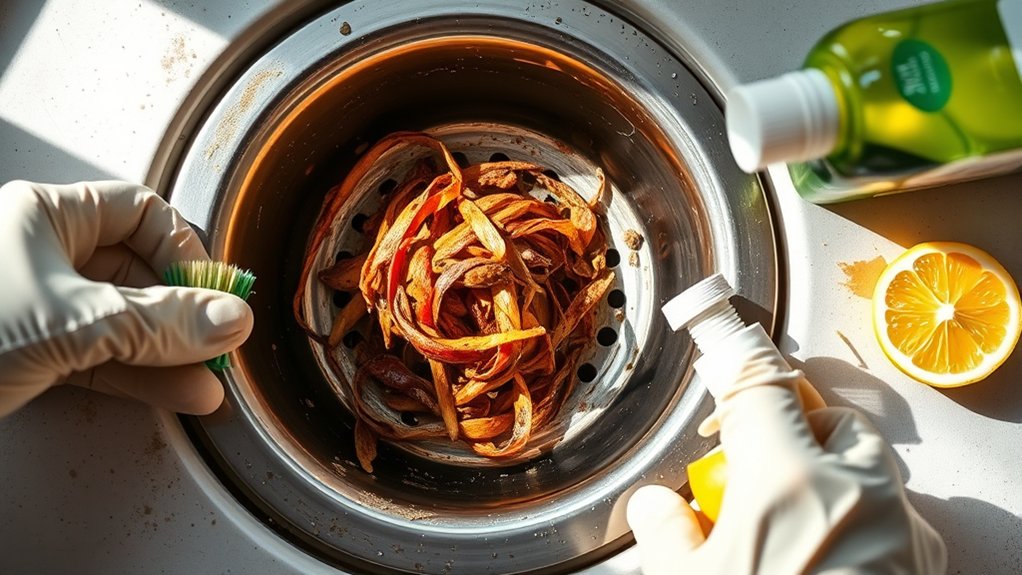
Before you start cleaning your kitchen drain, it helps to understand what usually causes clogs. A causes overview reveals that food scraps, grease buildup, and soap residue are the main culprits. When you rinse leftover food down the sink, particles accumulate over time, narrowing the drain. Grease is especially tricky because it solidifies as it cools, creating stubborn blockages. Soap scum can also cling to pipes, compounding the problem.
Knowing these causes is essential for effective clog prevention. You can avoid many issues by scraping plates before washing and disposing of grease in the trash instead of the drain. Also, running hot water while using the sink helps keep grease melted and moving through pipes. Understanding what leads to clogs puts you ahead in maintaining a clear kitchen drain, saving you time and effort during cleaning. This knowledge sets the foundation for a hassle-free unclogging process.
Get the Tools Ready to Clean Your Kitchen Drain
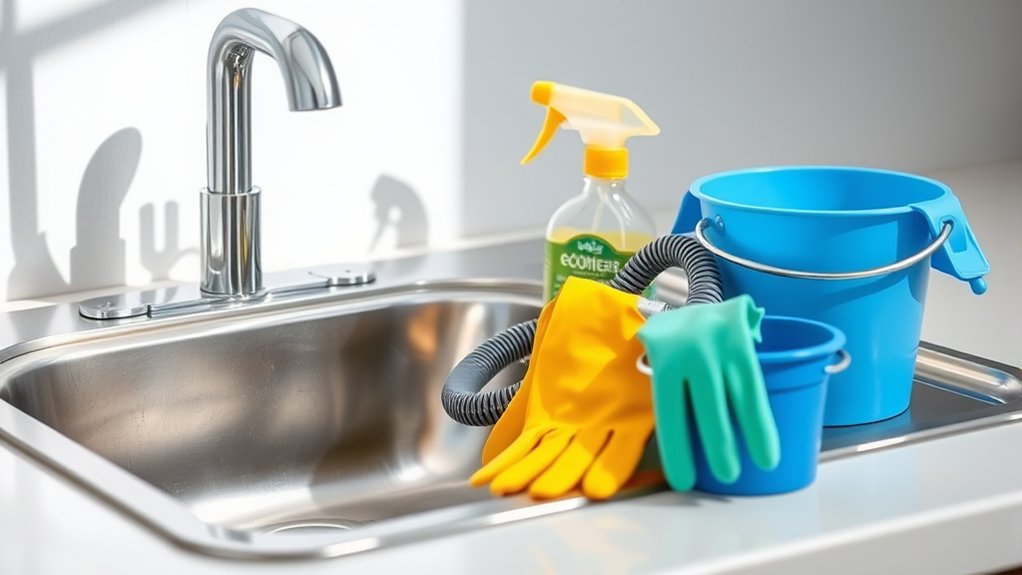
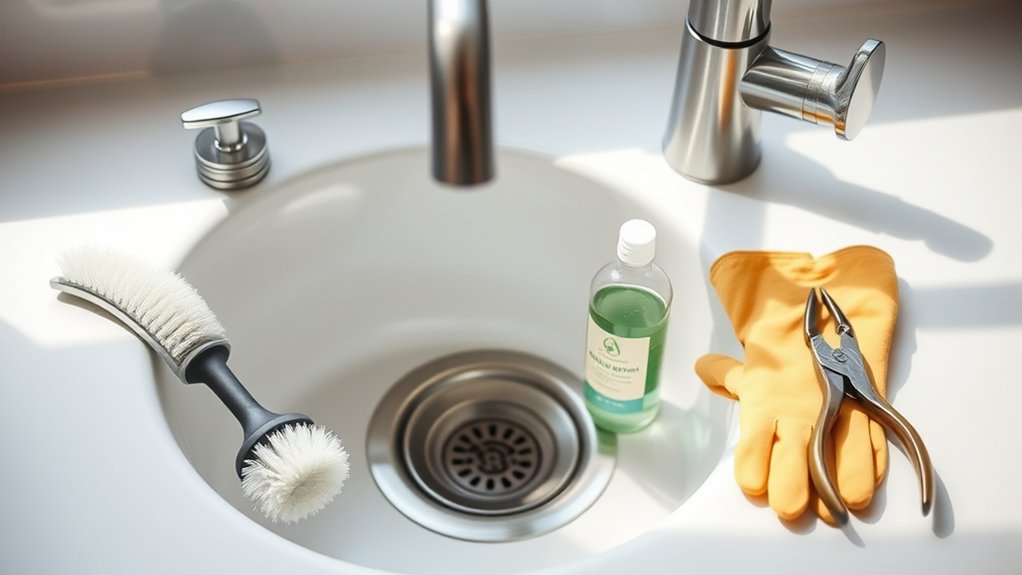
Before you start, gather a plunger, a drain snake, and a pair of gloves. Put on safety glasses to protect your eyes, too. With the right tools ready, you’ll be able to clear the drain more quickly and safely.
Essential Cleaning Tools
When you’re ready to tackle your kitchen drain, gathering the right tools can make the job faster and more effective. Start with essential cleaning tools like a plunger, drain snake, and a bucket to catch any water or debris.
A pair of rubber gloves will keep your hands clean without sacrificing grip. You’ll also need a screwdriver or wrench to remove the drain cover if necessary.
Baking soda and vinegar are natural cleaning agents that help break down grime and eliminate odors. Finally, keep a scrub brush or an old toothbrush handy to clean tight spots.
Having these tools ready not only streamlines your kitchen maintenance but also guarantees you handle the drain cleaning efficiently and thoroughly every time.
Safety Gear Preparation
Three key pieces of safety gear will protect you while cleaning your kitchen drain: gloves, goggles, and a mask. Before you start, gather these essential items as part of your protective gear.
Gloves keep harmful bacteria and chemicals away from your skin, goggles shield your eyes from splashes, and a mask prevents you from inhaling unpleasant odors or airborne particles. Taking these safety precautions seriously reduces the risk of injury or irritation.
Make certain your gloves fit well, your goggles seal properly, and your mask covers your nose and mouth effectively. Preparing your safety gear ahead of time ensures a smoother, safer cleaning process.
Don’t skip this step. It’s vital for protecting yourself while dealing with grime and cleaning agents in your kitchen drain.
Clear Visible Debris and Remove the Sink Stopper
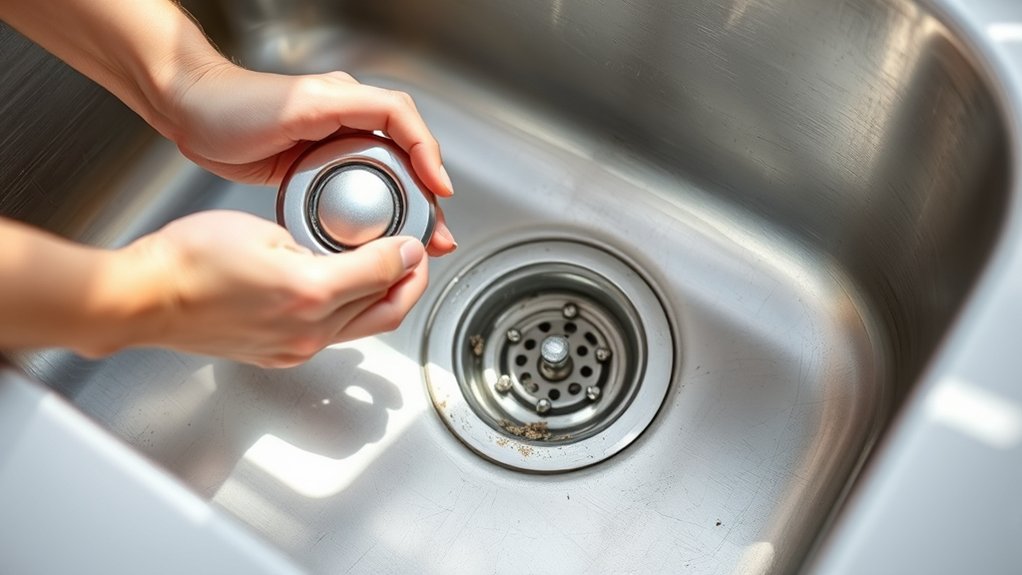
Although it might seem simple, clearing visible debris from your kitchen drain is a crucial first step to prevent clogs and improve water flow. Start by removing the sink stopper carefully—this often traps hair, food particles, and soap scum.
Depending on your sink type, you might twist, pull, or unscrew the stopper. Once it’s out, you’ll have better access to the drain opening.
Next, use your fingers or a pair of tongs to pull out any visible debris lodged near the surface. Be thorough but gentle to avoid pushing debris further down.
Wipe the stopper clean before setting it aside. Removing this block will make the next cleaning steps more effective.
Don’t forget to wear gloves during this process to keep your hands clean and protected. Clearing visible debris and removing the sink stopper sets you up for a deeper clean, so take your time and ensure the area is as clear as possible.
Apply Baking Soda and Vinegar to Break Down Blockages
Since debris is cleared, you can now tackle deeper blockages by applying baking soda and vinegar. This natural duo helps break down grime and neutralize drain odors effectively.
Start by pouring about half a cup of baking soda directly into the drain. If you don’t have baking soda, consider these baking soda alternatives like washing soda or citric acid, which work similarly.
Next, slowly add one cup of vinegar; the fizzy reaction will loosen buildup within the pipes. Let the mixture sit for 15-20 minutes to maximize its effectiveness. During this time:
- Avoid using the sink to prevent washing away the solution too soon
- Cover the drain with a plug or cloth to contain the reaction
- Prepare for some bubbling and fizzing – it’s working!
- Keep an eye on any persistent drain odors, signaling deeper cleaning may be needed
After the wait, you’ll be ready for the next step to clear out the loosened grime.
Use Boiling Water to Loosen Grease and Soap Scum
Pouring boiling water slowly into your kitchen drain can help loosen grease and soap scum. Be careful to avoid splashes, and check that your pipes can handle the heat. Doing this about once a week may help keep the drain flowing smoothly and reduce buildup.
Benefits of Boiling Water
When you pour boiling water down your kitchen drain, it quickly melts away grease and soap scum that clog the pipes. Using boiling water regularly is a simple yet effective step in kitchen maintenance that helps keep your drains flowing smoothly.
It’s an easy way to prevent buildup before it becomes a bigger problem. Plus, boiling water is eco-friendly and chemical-free, making it safe for your plumbing and the environment. Here’s why you should consider adding boiling water to your cleaning routine:
- Dissolves grease and soap scum fast
- Prevents unpleasant odors caused by residue
- Reduces the need for harsh chemical cleaners
- Maintains the longevity of your pipes by avoiding corrosion
Incorporating boiling water into your kitchen maintenance saves you time and money.
How To Pour Safely
Although boiling water is highly effective at dissolving grease and soap scum, pouring it safely requires caution to avoid burns or damage to your plumbing. To guarantee proper pouring, hold the kettle firmly and pour slowly down the drain to prevent splashing.
Spill prevention is key—keep children and pets away, and clear the area before you start.
| Step | Tip |
|---|---|
| Hold Kettle Securely | Use both hands for control |
| Pour Slowly | Avoid splashes |
| Keep Distance | Stand back to prevent burns |
| Clear Surroundings | Remove obstacles and people |
Following these simple steps helps you clean your drain efficiently while staying safe.
Frequency for Best Results
Since grease and soap scum build up gradually, using boiling water to loosen them works best when done regularly. You’ll prevent tough clogs and keep your kitchen drain smelling fresh by sticking to a consistent schedule.
Pour boiling water down your drain about once a week to break down grease and soap residue before they cause problems.
For the best results, consider these tips:
- Use boiling water after each heavy cooking day
- Avoid frequent use if your pipes are old to prevent pipe corrosion
- Combine with a natural cleaner monthly to reduce drain odor
- Don’t pour boiling water too fast; pour slowly to maximize effect
This routine helps maintain clear pipes and prevents drain odor without risking damage.
Flush Your Kitchen Drain With Hot Water to Remove Residue
To effectively clear built-up residue in your kitchen drain, you should flush it with hot water regularly. Hot water helps dissolve grease, soap scum, and food particles that accumulate over time, preventing blockages before they become serious problems.
Unlike chemical drain cleaners, which can be harsh on your pipes and the environment, flushing with hot water is a simple, eco friendly solution you can do often without worry. Just boil a kettle or heat water on the stove, then carefully pour it down the drain in stages.
This method loosens residue and encourages smooth water flow. Avoid relying solely on chemical drain cleaners, as frequent use may damage your plumbing and harm the ecosystem.
Instead, make flushing with hot water part of your regular kitchen maintenance routine to keep your drain clear and fresh without harsh chemicals. This step is quick, safe, and effective for everyday drain care.
Use a Plunger to Dislodge Stubborn Clogs
Flushing your drain with hot water helps prevent buildup, but sometimes stubborn clogs still form. When that happens, using a plunger is an effective way to dislodge blockages without harsh chemicals. To get the best results, follow these plunger techniques:
- Make certain the plunger cup fully covers the drain opening to create a strong seal.
- Fill the sink with enough water to submerge the plunger cup, improving suction.
- Push and pull the plunger vigorously, maintaining the seal to loosen the clog.
- Repeat several times, then quickly remove the plunger to flush the debris out.
Using a plunger not only clears existing clogs but also supports clog prevention by keeping your pipes clear. Remember, regular plunging combined with hot water flushes helps maintain a smoothly running kitchen drain, reducing the chance of tough blockages forming in the future.
Use a Drain Snake to Clear Deeper Blockages
When a plunger can’t reach the clog, you’ll want to use a drain snake to tackle deeper blockages. A drain snake, also called a plumber’s auger, is a flexible tool designed to navigate bends and reach debris stuck far down your pipes.
To use it, carefully insert the snake into the drain and rotate the handle clockwise. This action helps the snake break up or hook the blockage so you can pull it out. Remember to wear gloves and work slowly to avoid damaging your pipes.
Regular use of a drain snake is an excellent part of drain maintenance, helping you prevent buildup before it turns into serious clogs. Incorporating this tool into your routine not only clears current blockages but also supports blockage prevention, keeping your kitchen drain flowing smoothly.
With minimal effort, you can save time and avoid costly plumbing repairs by addressing tough clogs early on.
Clean the P-Trap to Eliminate Hidden Build-Up
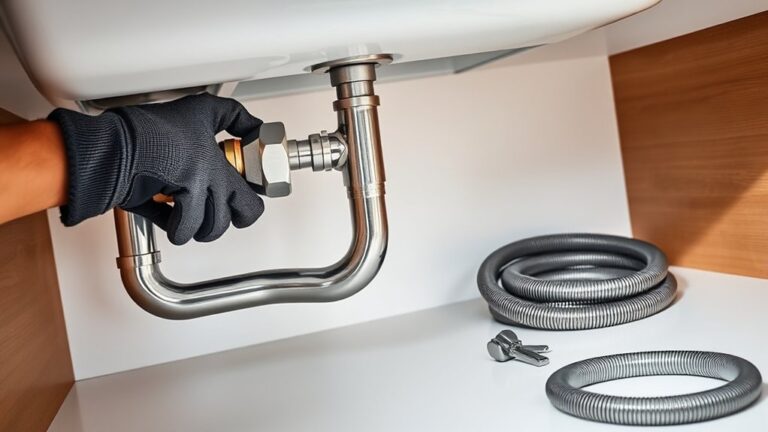
Locate the P-trap under your sink and carefully remove it, keeping a bucket or towel nearby to catch any spills. Then clean out any gunk or buildup inside the trap. Once it’s clean, reassemble it securely and check for leaks.
Locate And Remove P-Trap
Where exactly is the P-trap, and why does it matter? The P-trap is the curved pipe located under your kitchen sink that holds water to block sewer gases. Removing it is key for a thorough p trap inspection and to clear hidden grime. To locate and remove the P-trap:
- Place a bucket underneath to catch water.
- Loosen the slip nuts connecting the trap to the drain pipe.
- Carefully detach the trap and inspect for clogs or buildup.
- Keep parts organized for easy trap reinstallation.
Clean And Reassemble Properly
Once you’ve removed the P-trap, it’s time to clean it thoroughly to remove any hidden buildup that might be causing slow drainage or odors. Use a brush and warm, soapy water to scrub away grease, food particles, and gunk trapped inside. Rinse it well to guarantee no debris remains.
Regular drain maintenance like this prevents clogs and keeps your kitchen plumbing running smoothly. After cleaning, carefully reassemble the P-trap, making sure all connections are tight but not over-tightened to avoid leaks. Test your drain by running water to confirm everything flows properly.
Proper cleaning and reassembling of the P-trap is a simple yet essential step for maintaining a healthy kitchen drain and avoiding costly plumbing issues down the line.
Maintain Your Kitchen Drain to Prevent Future Clogs
Because kitchen drains handle a lot of grease, food particles, and soap residue, maintaining them regularly is essential to prevent clogs. You can avoid costly blockages by following simple drain maintenance tips that keep everything flowing smoothly. Using eco-friendly solutions not only protects your pipes but also benefits the environment.
Regular maintenance of kitchen drains prevents clogs and protects pipes using eco-friendly, cost-effective solutions.
Here are some effective ways to maintain your kitchen drain:
- Pour boiling water down your drain weekly to dissolve grease buildup.
- Use a mixture of baking soda and vinegar to naturally break down debris.
- Avoid pouring grease or oil down the drain; instead, collect and dispose of it properly.
- Clean your drain strainer regularly to trap food particles before they enter the pipes.
Frequently Asked Questions
Can Chemical Drain Cleaners Damage My Pipes?
Yes, chemical drain cleaners can damage your pipes. They often cause chemical damage by eating away at the pipe material, especially if you use them frequently. This leads to pipe corrosion, which weakens your plumbing and may cause leaks or bursts over time.
You should avoid relying on harsh chemicals and consider safer alternatives like mechanical cleaning or natural solutions to protect your pipes and keep your drain flowing smoothly.
How Often Should I Professionally Inspect My Kitchen Plumbing?
You should schedule professional plumbing maintenance and inspections every 1 to 2 years to keep your kitchen plumbing in top shape. Sticking to a regular inspection schedule helps catch minor issues before they turn into costly repairs.
If you notice slow drains or leaks, don’t wait—call a plumber sooner. Regular check-ups help keep your pipes clear, prevent clogs, and extend the life of your plumbing system.
Are There Eco-Friendly Alternatives to Baking Soda and Vinegar?
Yes, you can use biodegradable solutions and other natural cleaning agents instead of baking soda and vinegar. For example, lemon juice mixed with salt works great to break down grime and deodorize your drain.
Enzyme-based cleaners are also eco-friendly and safely dissolve organic buildup without harsh chemicals. These options keep your kitchen drain clean while protecting the environment, so you don’t have to sacrifice effectiveness for sustainability.
What Are the Signs of a Serious Drain Problem Needing a Plumber?
When your drain odor becomes a persistent fog clouding your kitchen, it’s a red flag. If you notice slow drainage or water pooling, it’s like a warning bell ringing beneath your sink. Pipe corrosion, often hidden, can cause leaks or discoloration—like rust spreading quietly. These signs mean you shouldn’t wait. Call a plumber to prevent a small drip from turning into a flood, protecting your home from serious damage.
Can Food Waste Disposals Cause or Prevent Kitchen Drain Clogs?
Food waste disposals can both cause and prevent kitchen drain clogs. If you use them properly, they help break down food waste, preventing buildup in your pipes. However, disposal hazards like grinding fibrous or starchy foods can lead to clogs and damage. You should avoid putting grease, coffee grounds, or large bones down the disposal to keep your drain flowing smoothly and reduce the risk of costly plumbing problems.
Conclusion
You might think a clogged drain means hassle and mess, but with these simple steps, you can turn frustration into ease. You don’t need harsh chemicals or costly repairs, just everyday tools and a bit of effort.
By tackling blockages now, you can prevent bigger problems later. So, don’t wait for a drip or slow drain. Follow these 10 easy steps to clean your kitchen drain and enjoy a kitchen that flows smoothly every day.