

How to Clean Kitchen Cabinets in 7 Simple Steps
Greasy fingerprints, sticky spills, and layers of dust can make kitchen cabinets feel impossible to keep clean. You’re not alone—many people struggle to find a simple way to tackle the mess without damaging their cabinets.
This roundup will help you learn how to clean kitchen cabinets in 7 simple steps. Start by gathering supplies like microfiber cloths, gentle cleaners, and gloves. Clear out your cabinets, removing dust, dirt, and expired items.
Mix cleaners based on your cabinet’s finish, then wipe away grease and stains carefully. Remove and soak hardware to clean it thoroughly, then dry and polish the cabinets to restore their shine.
Follow these tips, and you’ll find it easy to maintain spotless cabinets with quick touch-ups ahead.
Key Takeaways
- Remove all items from cabinets, discard expired goods, and group similar objects before cleaning.
- Use customized cleaners based on cabinet material: mild soap for wood, vinegar for laminate, and all-purpose cleaner for painted surfaces.
- Wipe cabinets with warm soapy water, gently scrub stains with baking soda paste, and rinse thoroughly with a damp cloth.
- Clean and soak hardware separately, lubricate hinges before reinstalling for smooth operation.
- Organize items using bins and labels, maximize space with storage solutions for efficient cabinet use.
Gather Your Cleaning Supplies for Kitchen Cabinets
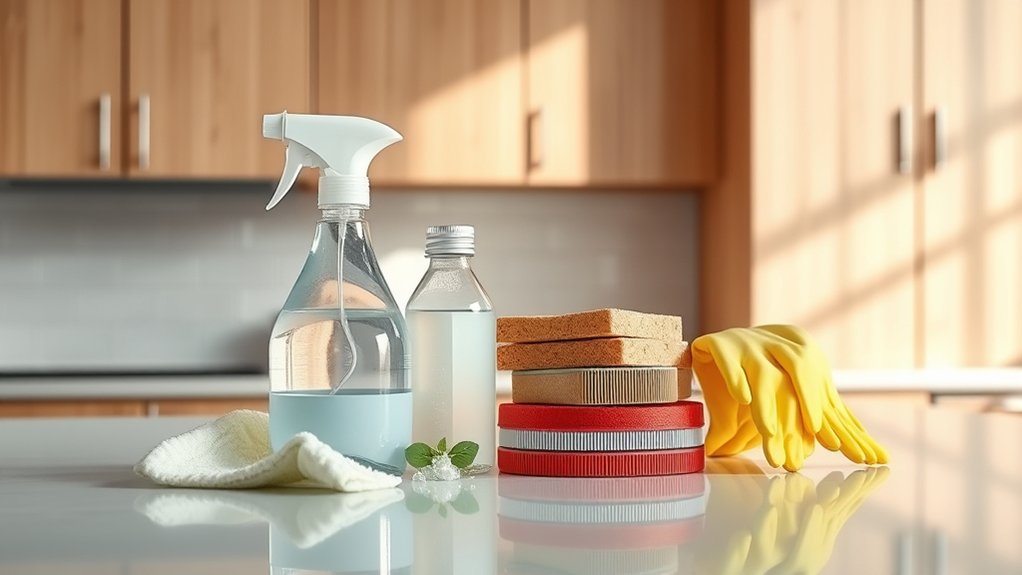
Before you start cleaning your kitchen cabinets, gather all the essential supplies to make the process smooth and efficient. Having everything ready helps you avoid interruptions and keeps you focused. You’ll need a gentle all-purpose cleaner, microfiber cloths, a soft brush, and a bucket of warm water. Don’t forget gloves to protect your hands and a step stool if your cabinets are high.
While collecting your supplies, consider incorporating organizing tips and storage solutions to maximize your cabinet space. Use small bins or containers to group similar items, making it easier to clean and reorganize later. Label these containers for quick identification.
This approach not only keeps your cleaning session efficient but also sets you up for better maintenance. By preparing your cleaning tools and thinking about smart storage solutions from the start, you’ll make the whole kitchen cabinet cleaning and organizing process much more manageable and effective.
Clear Cabinets and Remove Dust and Loose Dirt
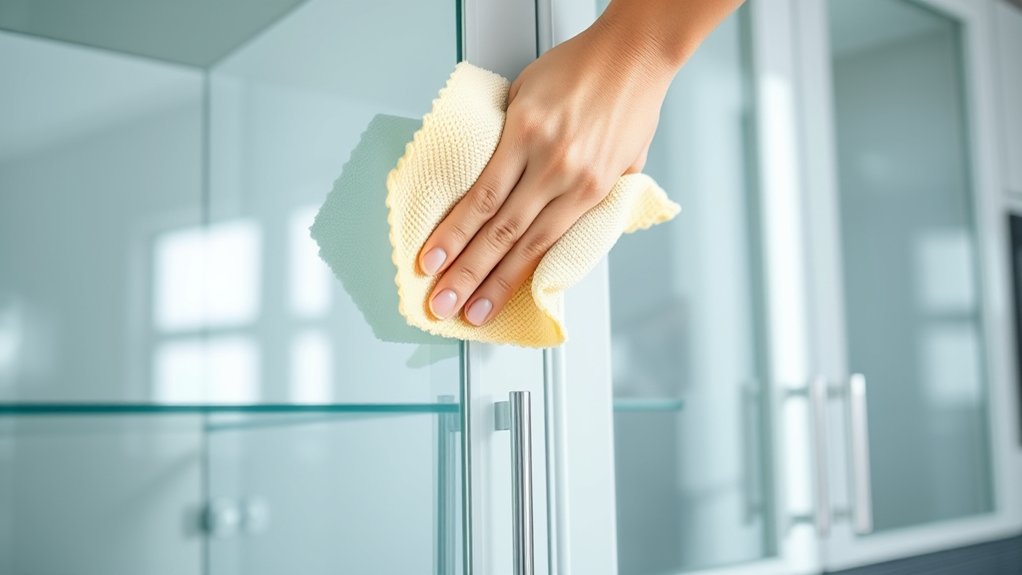
First, clear everything out of your cabinets to make cleaning easier. Then use a soft cloth or a vacuum with a brush attachment to remove dust and loose dirt. This way, you’re less likely to miss any hidden grime.
Clear Cabinet Contents
Although it might seem tedious, clearing out your kitchen cabinets is essential for a thorough cleaning. Removing everything helps you spot dirt and plan for better cabinet organization and storage optimization. Here’s how to clear your cabinet contents efficiently:
- Take out all items, grouping similar things together.
- Check expiration dates and toss expired or unused items.
- Wipe down shelves before putting anything back.
- Consider storage solutions like baskets or shelf risers to maximize space.
Dust Removal Techniques
With your cabinets emptied, you can easily tackle the dust and loose dirt that often build up in hard-to-reach corners. Start by using a microfiber cloth or a soft brush to gently remove dust accumulation on shelves and inside cabinet doors. Pay special attention to edges and crevices where dust tends to settle.
To prevent stirring up dust, consider using a vacuum cleaner with a brush attachment. Improving your kitchen’s air filtration can also reduce future dust buildup, so check and replace air filters regularly.
Once you’ve cleared the loose dirt, wipe surfaces with a damp cloth to catch any remaining particles. This simple routine helps keep your cabinets clean and fresh, making the next cleaning step much easier.
Mix Gentle Cleaners for Different Cabinet Finishes
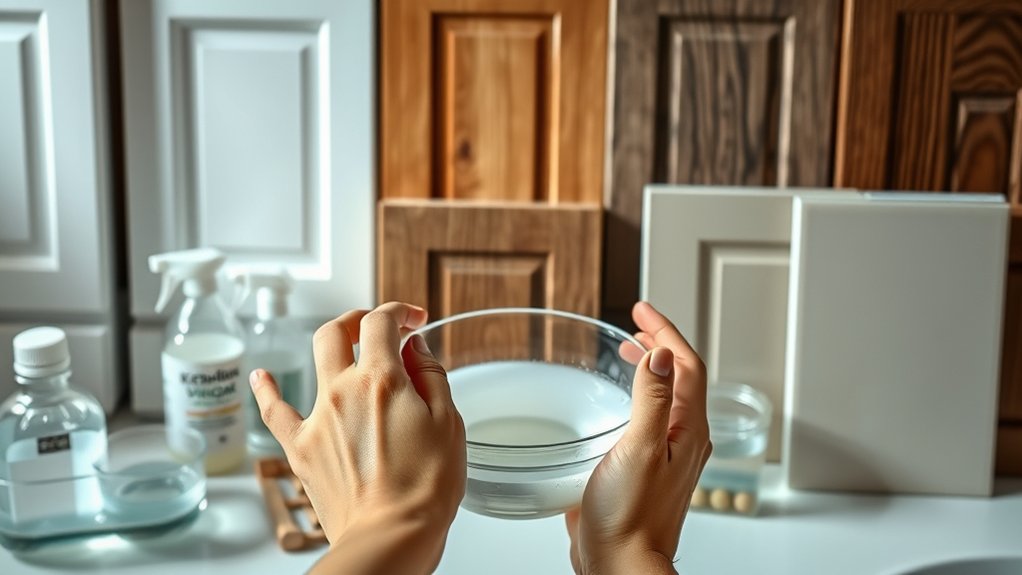
Because kitchen cabinets come in various finishes, you’ll need to mix gentle cleaners tailored to each type to avoid damage. Using the right cleaning solutions guarantees you protect the cabinet finishes while effectively removing dirt. Here’s how to mix gentle cleaners for different cabinet surfaces:
- Wood Cabinets: Combine warm water with a few drops of mild dish soap. Avoid harsh chemicals that can strip the finish.
- Laminate Cabinets: Mix equal parts water and white vinegar for a non-abrasive cleaner that cuts through grime without damaging the surface.
- Painted Cabinets: Use a blend of warm water and a gentle all-purpose cleaner, but test a small area first to prevent discoloration.
- Glass-front Cabinets: Mix warm water with a small amount of ammonia-free glass cleaner to keep the glass clear without harming the surrounding frame.
Adjust your cleaning solutions to match your cabinet finishes, and always avoid abrasive ingredients. This approach helps keep your cabinets looking fresh and lasting longer.
Wipe Down Kitchen Cabinets to Remove Grease and Stains
Start by wiping down your kitchen cabinets with a cleaner that cuts through grease. Gently scrub any stubborn stains to avoid damaging the finish. This simple step will leave your cabinets looking fresh and clean.
Effective Grease Removal
Removing grease and stains from your kitchen cabinets takes just a few simple steps. To tackle grease stains and stubborn grime effectively, follow this quick routine:
- Mix warm water with a few drops of dish soap to create a gentle cleaning solution.
- Dip a soft cloth or sponge into the solution, wring out excess water, and wipe the cabinet surfaces.
- For tougher grease buildup, sprinkle baking soda on a damp cloth and gently scrub the area.
- Rinse with a clean damp cloth and dry thoroughly to prevent moisture damage.
Stain Cleaning Techniques
After clearing away grease and grime, you’ll want to focus on tackling any remaining stains on your kitchen cabinets. Effective stain removal starts with identifying the type of stain—whether it’s food, ink, or water marks.
Use a gentle surface treatment, like a mixture of baking soda and water, to create a paste. Apply it to the stain with a soft cloth and gently rub in circular motions.
For tougher stains, a diluted vinegar solution can help break down residue without damaging the finish. Always test your cleaning solution on a small, hidden area first to avoid discoloration.
Once the stains lift, wipe the cabinets with a damp cloth to remove any residue. Regular stain removal keeps your cabinets looking fresh and prolongs their lifespan.
Clean Kitchen Cabinet Hardware and Hinges Separately
How often do you take the time to clean your kitchen cabinet hardware and hinges? These small parts often collect grime and can get noisy or stiff if neglected. Cleaning them separately guarantees they function smoothly and look polished.
Follow these steps for effective hardware polishing and hinge lubrication:
- Remove knobs, handles, and hinges carefully using a screwdriver.
- Soak hardware in warm, soapy water for 10-15 minutes to loosen dirt.
- Scrub gently with a soft brush, then rinse and dry completely.
- Apply a few drops of lubricant to hinges before reinstalling to keep them operating quietly.
Dry and Polish Cabinets to Restore Their Shine
Once you’ve cleaned the surfaces thoroughly, drying and polishing your kitchen cabinets will bring back their original shine and protect the finish. Start by wiping down the cabinets with a soft, dry microfiber cloth to remove any leftover moisture.
Pay close attention to the cabinet material, as wood, laminate, and painted surfaces each respond differently to polishing products. For wood cabinets, use a polish specifically designed to nourish and *beautify* wood grain. For laminate or painted surfaces, choose a gentle, non-abrasive polish that won’t damage the coating.
Apply the polish sparingly in small sections, using circular motions to evenly distribute it. This method *improves* shine *amplification* while preventing buildup. After applying polish, buff the cabinets with a clean, dry cloth until they gleam.
Maintain Cabinets With Simple Weekly Touch-Up Tips
To keep your kitchen cabinets looking their best, you’ll want to perform simple weekly touch-ups that prevent dirt and grime from building up. Regular touch up maintenance not only preserves the cabinet finish but also supports your overall cabinet organization by keeping surfaces clean and clutter-free.
Here are four easy steps to maintain your cabinets weekly:
- Wipe down cabinet doors and handles with a damp microfiber cloth to remove fingerprints and spills.
- Check for sticky spots or stains and gently clean them with a mild soap solution.
- Organize cabinet contents to prevent overcrowding, which can lead to wear and make cleaning harder.
- Inspect hinges and knobs for looseness and tighten them as needed to maintain smooth operation.
Frequently Asked Questions
Can I Use Vinegar to Clean Kitchen Cabinets?
Yes, you can use vinegar cleaning to disinfect your kitchen cabinets effectively. Vinegar is a natural, non-toxic option that helps break down grease and grime while providing cabinet disinfecting benefits.
Just mix equal parts water and white vinegar in a spray bottle, spray the solution onto your cabinets, and wipe them down with a soft cloth. Avoid using vinegar on unfinished or waxed wood, as it might damage the surface.
How Often Should I Deep Clean My Kitchen Cabinets?
You should deep clean your kitchen cabinets every three to six months, depending on cabinet materials and how often you cook. If you have a busy kitchen with lots of grease and spills, cleaning more frequently helps maintain cabinet organization and keeps surfaces looking fresh.
For delicate materials like wood, use gentle cleaners to avoid damage. Regular deep cleaning prevents buildup and guarantees your cabinets stay in great shape for years.
What Should I Do About Mold on Cabinets?
Imagine mold on your cabinets like unwelcome graffiti. If you don’t clean it quickly, it can spread. When you spot cabinet mold, grab a mixture of water and vinegar or a mild bleach solution. Scrub gently but thoroughly to remove mold and prevent damage.
Always wear gloves and ventilate the area. Cleaning mold early keeps your kitchen fresh and safe, just like removing graffiti restores a wall’s charm and prevents further defacement.
Are Steam Cleaners Safe for Kitchen Cabinets?
Yes, steam cleaners can be safe for kitchen cabinets, but you need to take into account your cabinet finishes first. Delicate finishes like laminate or unfinished wood might get damaged by steam’s heat and moisture.
If your cabinets have a durable finish like sealed wood or laminate, steam cleaners can be effective cleaning tools. Always test a small area first and avoid prolonged exposure to steam to protect your cabinets from warping or peeling.
How Do I Fix Scratches on Cabinet Surfaces?
To fix scratches on cabinet surfaces, start with scratch repair kits designed for your cabinet material. Lightly sand the area, then apply a wood filler or touch-up marker matching your cabinet’s color.
For deeper damage, consider cabinet refinishing to restore the entire surface evenly. This process involves sanding, staining, and sealing, giving your cabinets a fresh, scratch-free look. You’ll love how smooth and new your cabinets feel after these steps.
Conclusion
By caring for your kitchen cabinets, you’re not just cleaning surfaces—you’re polishing the heart of your home. Each wipe removes yesterday’s grime, letting the wood breathe and shine like new dawn light.
Think of your cabinets as silent storytellers, their gleam reflecting your daily life’s rhythm. With simple weekly touch-ups, you keep this story bright and inviting, turning every meal into a moment of warmth and comfort.
Your kitchen’s beauty is in your hands. Regularly cleaning your kitchen cabinets helps keep them looking their best.