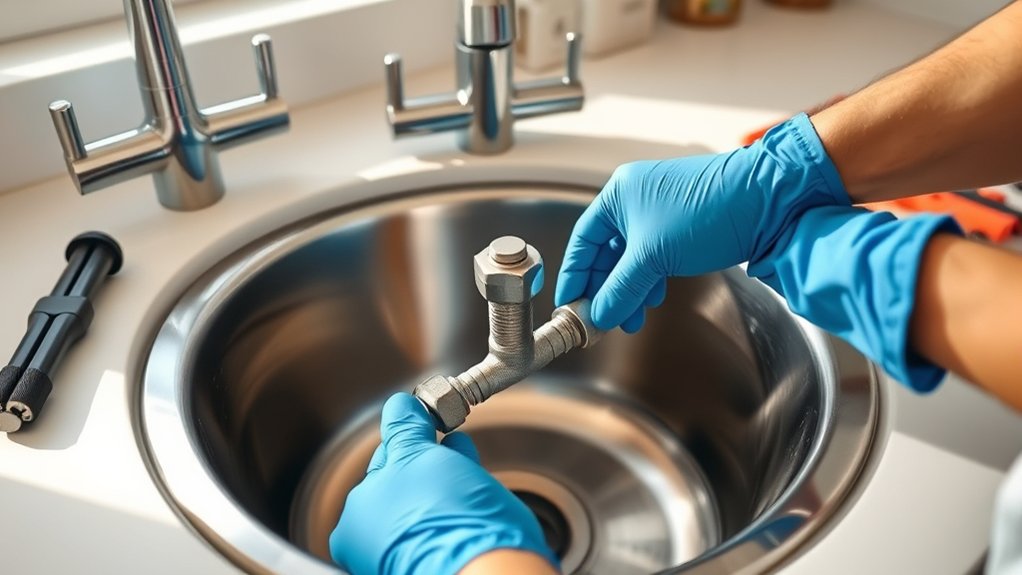
How to Remove a Kitchen Sink in 7 Simple Steps
Removing a kitchen sink can feel like a bigger job than expected, especially when you’re dealing with stubborn sealant or tricky plumbing. You’re not alone—many people want a clear, simple guide to make the process easier and avoid damaging their countertop.
Start by gathering your tools like a wrench, screwdriver, and bucket. Turn off the water valves and disconnect plumbing carefully to avoid spills. Remove sink clips and cut through the sealant to free the sink. Lift the old sink out safely, then inspect and repair your countertop for damage.
Clean the area thoroughly and dispose of the old sink following local guidelines. If you want to make the process even smoother, detailed tips can help guide you through each step.
Key Takeaways
- Turn off water supply valves and open the faucet to relieve pipe pressure before disconnecting plumbing connections.
- Remove drain trap and water supply lines carefully over a bucket to prevent water spills.
- Loosen and remove sink clips and cut through sealant around the sink perimeter using a putty knife.
- Lift the sink steadily with proper technique after detaching fixtures and ensure the area is protected to avoid damage.
- Inspect and clean the countertop surface thoroughly, removing old sealant and debris for a smooth, dry surface before installing a new sink.
Gather Kitchen Sink Removal Tools and Materials
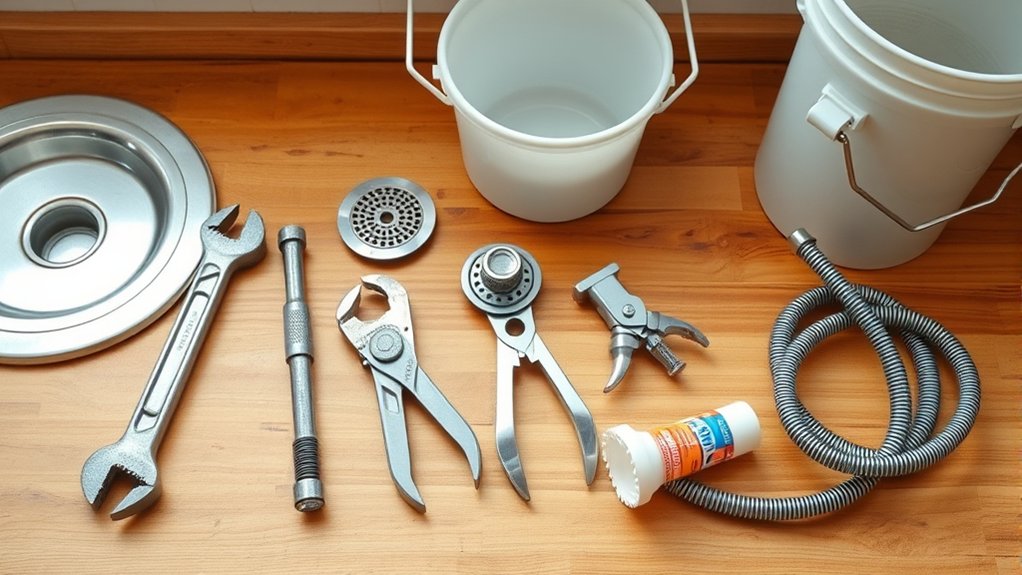
Before you begin removing your kitchen sink, gather all the necessary tools and materials to make the process smoother. Start with a basic toolkit: an adjustable wrench, pliers, a screwdriver set, and a putty knife. You’ll also need a bucket to catch any water left in the pipes and some rags for cleanup. Don’t forget safety gear like gloves and goggles.
If you plan to upgrade, research replacement sink options that fit your kitchen’s style and plumbing setup. Consider the size, material, and number of basins. You might also want to investigate kitchen sink accessories like strainers, cutting boards, or drying racks that integrate with your new sink to improve functionality.
Having these tools and materials ready saves time and prevents frustration. By preparing in advance, you guarantee the removal process goes efficiently and sets you up for an easier installation of your new sink and accessories.
Turn Off the Water and Unhook Plumbing
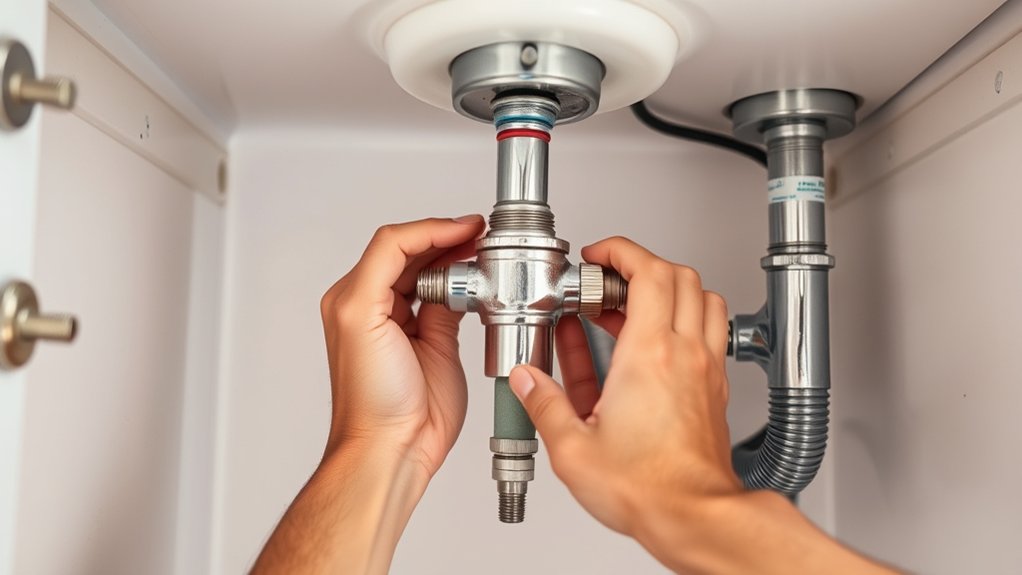
Now that you have your tools and materials ready, it’s time to shut off the water supply to your kitchen sink. Locate the shut-off valves under the sink and turn them clockwise to stop the water flow. If there aren’t individual valves, you’ll need to cut off the main water line to your home.
Once the water is off, open the faucet to relieve any remaining water pressure in the pipes.
Next, unhook the plumbing by disconnecting the pipe fittings carefully. Place a bucket underneath to catch any residual water. Here’s how to proceed:
- Turn off both hot and cold water valves completely.
- Open the faucet to release water pressure.
- Use a wrench to loosen pipe fittings without damaging them.
- Remove the drain trap and any other connections.
Following these steps ensures you avoid leaks and water damage while preparing to remove your kitchen sink safely.
Remove Sink Clips and Sealant
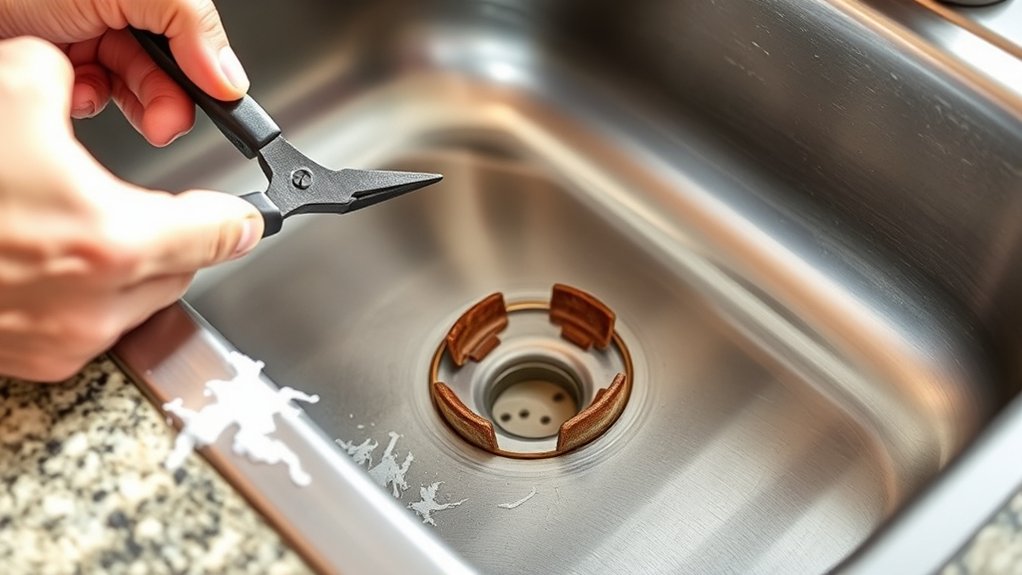
How do you free the sink from its countertop? Start with sink clip removal. Underneath the sink, locate the metal clips holding it firmly in place. Use a screwdriver or wrench to loosen and remove these clips carefully. Keep track of each clip, as you’ll need them for reinstalling or adjustments later.
Once the clips are off, the sink is still sealed to the countertop with a bead of sealant. Use a utility knife or putty knife to cut through this sealant application around the sink’s edge. Take your time to avoid damaging the countertop or sink surface. If the sealant is stubborn, gently apply a sealant remover product to soften it before scraping.
Properly removing both the sink clips and the sealant ensures the sink will come free cleanly, setting you up perfectly for the next step in your kitchen sink removal process.
Carefully Lift Out the Old Kitchen Sink
Before you lift out the old sink, clear the work area to avoid hazards. Make sure all fixtures, including the faucet and drain, are fully detached. Then lift the sink carefully to prevent damage or injury.
Prepare Work Area
Since the sink is often heavy and awkward to handle, make certain you clear the surrounding area and have a sturdy spot to place it once removed. This helps prevent damage to your decorative backsplash or the floor.
Also, empty the under sink storage to avoid obstacles and accidents. Preparing the workspace ensures a smooth removal process and keeps everything organized.
Here’s what you should do before lifting out the sink:
- Remove all items from under sink storage
- Clear countertop space around the sink
- Protect the decorative backsplash with painter’s tape
- Set up a stable surface nearby for the old sink
Taking these steps will make lifting out the old kitchen sink safer and easier, minimizing the risk of damage or injury.
Detach Sink Fixtures
Where do you start when it’s time to detach the sink fixtures? Begin by turning off the water supply valves under the sink to avoid leaks. Next, disconnect the water lines from the sink faucet using an adjustable wrench. Loosen the mounting nuts securing the faucet to the sink, then lift the faucet free.
After that, focus on the drain assembly. Place a bucket underneath to catch any residual water, then unscrew the slip nuts holding the drain pipes together. Carefully detach the drain assembly from the sink’s bottom. Check for any remaining clips or sealant that might still hold the fixtures in place and remove them.
Once the sink faucet and drain assembly are fully detached, you’re ready to proceed with removing the sink itself.
Lift Sink Safely
Once you’ve detached all fixtures, you can carefully lift the sink out of its place. Prioritize lifting safely to avoid injury or damage. Bend your knees and keep your back straight instead of bending at the waist. This helps protect your spine and reduce strain. Before lifting, check for any remaining clips or caulk that might still hold the sink in place.
Keep these tips in mind for a safe lift:
- Clear the area around the sink for unobstructed movement.
- Use a firm grip and lift with your legs, not your back.
- Ask for help if the sink is heavy or awkward.
- Move slowly and steadily to maintain control.
Following these steps helps you remove the sink safely and protect your body.
Inspect and Repair the Countertop Opening
With the sink removed, inspect the countertop opening for water damage or soft spots. Note the countertop material, since it will determine how to repair any cracks or gaps. Addressing these issues now helps ensure your new sink fits securely and stays leak-free.
Check for Water Damage
How can you tell if water damage has compromised your countertop opening? Start by closely inspecting the area for signs of moisture intrusion, which often leads to mold growth and wood deterioration. Look for any soft spots or discoloration around the sink cutout.
Check for these indicators:
- Warped or swollen countertop edges
- Dark stains or black spots signaling mold growth
- Musty odors hinting at hidden moisture intrusion
- Cracks or separation in the countertop material
If you notice any of these signs, address the damage promptly to prevent further issues. Clean affected areas thoroughly and consider replacing damaged sections before reinstalling the sink.
Taking these steps ensures a solid, safe countertop opening for your new kitchen sink.
Assess Countertop Material
After checking for water damage, turn your attention to the type and condition of your countertop material. Understanding countertop durability is essential because some materials, like laminate or wood, can be more vulnerable to damage during sink removal.
Inspect the countertop opening carefully for any signs of wear, softness, or delamination. This helps you determine if the surface can withstand the removal process without further damage.
Also, consider material compatibility if you plan to replace or reinstall the sink. Certain sinks may not suit all countertop types, affecting both installation and longevity.
Taking note of these factors helps protect your countertop and choose the right sink for your setup. This can prevent future issues and maintain your kitchen’s overall integrity.
Repair Cracks and Gaps
Before you proceed with removing the sink, inspect the countertop opening carefully for any cracks or gaps that could worsen during the process. Addressing these issues early prevents further damage and ensures a smooth removal.
Focus on crack sealing and gap filling to maintain the countertop’s integrity. Use appropriate sealants or fillers depending on your countertop material.
Here’s what to do:
- Identify all visible cracks and gaps around the sink area.
- Clean the surfaces thoroughly before applying any sealant.
- Use a high-quality crack sealing compound for fine cracks.
- Fill larger gaps with a suitable gap filling material to prevent water damage.
Taking these steps helps protect your countertop while you remove the sink safely and efficiently.
Clean the Area and Prepare for Installation
Although you’ve just removed the old sink, don’t rush to install the new one. Start with thorough surface cleaning to guarantee the countertop is spotless. Use a damp cloth and a mild cleaner to wipe away any remaining grime.
Before installing your new sink, ensure the countertop is thoroughly cleaned and free of grime.
Pay close attention to corners and edges where dirt tends to accumulate. Next, focus on debris removal—clear out any residual caulk, old putty, or bits of broken sealant that might interfere with the new installation. A putty knife or scraper works well for this task.
Make sure the area is completely dry before proceeding to avoid any moisture-related issues that could affect the seal. Once the surface is clean and debris-free, double-check for any repairs needed, like cracks or gaps, and address those before moving forward.
Taking these steps assures a smooth, secure fit for your new sink and helps prevent leaks or damage down the line.
Dispose of the Old Sink and Clean Up
Once you’ve prepped the area, you’ll need to dispose of the old sink properly to keep your workspace safe and tidy. Start by checking your local disposal guidelines, as some areas have specific rules for handling plumbing fixtures. Many sinks can be recycled, so consider recycling options like scrap metal centers or specialized recycling facilities. If the sink is in good condition, consider donating it to a reuse organization.
Here’s how to proceed efficiently:
- Contact your local waste management for disposal guidelines.
- Separate metal parts for recycling to reduce landfill waste.
- Use a dolly or cart to safely transport heavy sinks.
- Clean the area thoroughly to remove debris and prevent hazards.
Following these steps ensures you handle your old sink responsibly while preparing a clean slate for your new installation.
Frequently Asked Questions
Can I Remove a Kitchen Sink Without Turning off the Main Water Supply?
No, you shouldn’t remove a kitchen sink without turning off the main water supply. For plumbing safety, shutting off the water prevents leaks and water damage.
You’ll also need the right tools, like a wrench and bucket, to handle pipes and catch drips safely. Skipping this step risks flooding and costly repairs, so always prioritize safety and proper preparation before you start any sink removal.
How Do I Prevent Water Damage During Sink Removal?
You don’t want a Niagara Falls disaster in your kitchen! To prevent water damage, start with reliable waterproofing techniques—seal off pipes and lay down absorbent towels or a waterproof mat.
Use leak detection methods like turning water on briefly to spot drips before full removal. Keep a bucket handy and double-check every connection.
Taking these steps guarantees you avoid costly floods and keeps your kitchen safe and dry throughout the process.
What Should I Do if the Sink Is Sealed With Strong Adhesive?
If the sink is sealed with strong adhesive, start by wearing safety goggles and gloves as safety precautions. Use a putty knife or scraper to gently pry around the edges.
Apply an adhesive remover suitable for kitchen surfaces and let it sit for the recommended time to soften the glue. Then, carefully scrape off the softened adhesive.
Repeat as needed, ensuring you don’t damage the countertop or sink during adhesive removal.
Can I Reuse the Old Sink Clips for the New Sink?
You can reuse old sink clips, but their sink clip compatibility depends on the new sink’s design. Old vs new clips vary in size, shape, and material, so don’t assume they’ll fit perfectly. If the new sink has a different mounting setup, your old clips might not secure it properly. It’s best to compare both sets carefully and consider buying new clips to guarantee a safe, leak-free installation.
How Long Does the Entire Sink Removal Process Usually Take?
The entire sink removal process usually takes about 1 to 2 hours, depending on your experience and tools. To speed things up, follow DIY tips like turning off the water and clearing the area first. Make sure your tool checklist includes a wrench, screwdriver, utility knife, and bucket to catch water. Staying organized and patient will help you remove the sink efficiently without unnecessary delays.
Conclusion
Removing your kitchen sink is like tending a garden: with the right tools, patience, and care, you clear away the old to make space for something new and better. By following these simple steps, you’re not just taking out a fixture—you’re creating a fresh foundation.
Remember, every careful lift and clean surface is a small act of renewal, preparing your kitchen for the next chapter of daily life and joyful moments. With a little care, removing a kitchen sink can make room for a fresh start.