How Do You Seal a Kitchen Sink to the Countertop in 5 Easy Steps?
A leaking or loose kitchen sink can quickly turn into a frustrating mess, and you’re not alone if you’re unsure how to seal it properly. The right tools and sealant can make the job easier and help protect your countertop.
Here’s how to seal a kitchen sink to the countertop in five easy steps.
To seal your kitchen sink to the countertop in five easy steps, first gather all necessary tools like silicone sealant, a caulking gun, and cleaning supplies.
Next, clean and dry the sink rim and countertop thoroughly.
Then, apply a smooth bead of sealant evenly around the sink edge.
Secure the sink with mounting clips and wipe away any excess sealant immediately.
Finally, allow the sealant to fully cure before use—keep following for helpful tips on getting it just right.
Key Takeaways
- Clean and dry the sink rim and countertop thoroughly to remove grease, dirt, and old sealant residue.
- Apply a continuous bead of high-quality silicone sealant around the sink edge using a caulking gun at a 45-degree angle.
- Smooth the sealant bead evenly with a putty knife or finger for a neat, waterproof seal.
- Secure the sink with mounting clips or brackets, ensuring it sits flush without overtightening.
- Allow the sealant to cure fully per manufacturer instructions before using the sink to prevent leaks.
Gather Tools and Materials to Seal Your Kitchen Sink

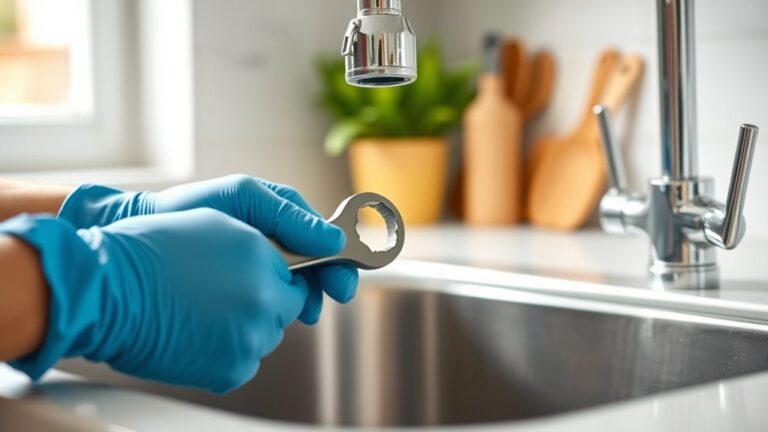
Before you begin sealing your kitchen sink, make sure you gather all the necessary tools and materials. You’ll need a high-quality silicone sealant, a caulking gun, painter’s tape, a utility knife, and clean rags. Don’t forget a putty knife or a plastic scraper to smooth out the sealant. Having these on hand will make your work efficient and neat.
You should also prepare for plumbing connections by collecting adjustable wrenches and plumber’s putty to guarantee tight, leak-free joints. Once you finish sealing, performing water testing is essential. Keep a bucket or towels nearby to catch any drips during testing.
Water testing helps you verify that the seal and plumbing connections are secure and that no leaks occur. By assembling everything beforehand, you’ll avoid unnecessary interruptions and guarantee a smooth, professional-looking sink installation.
Prepare the Sink and Countertop by Cleaning and Drying

Once you’ve gathered your tools and materials, focus on preparing the sink and countertop by thoroughly cleaning and drying them. Start by wiping down the sink’s rim and the surrounding countertop with a mild cleaner to remove grease, dirt, and old sealant residues.
Pay special attention to areas near the kitchen faucet since proper kitchen faucet maintenance prevents leaks that could compromise the seal. After cleaning, dry every surface completely using a lint-free cloth to assure moisture won’t interfere with adhesion.
Focus on the faucet area and ensure all surfaces are fully dry to prevent leaks and ensure strong adhesion.
If your sink has a garbage disposal, take a moment for garbage disposal care. Run it briefly to clear out debris and moisture around the drain opening, then dry the area thoroughly.
Guaranteeing both surfaces are spotless and dry sets a strong foundation for an effective seal. Skipping this step can lead to sealant failure, water damage, or mold growth, so take your time to prepare carefully before moving on.
How to Apply Sealant Around Your Sink

How exactly do you apply sealant around your sink to assure a watertight bond? First, select the appropriate sealant type—silicone or polyurethane works best for kitchen sinks due to their durability and flexibility.
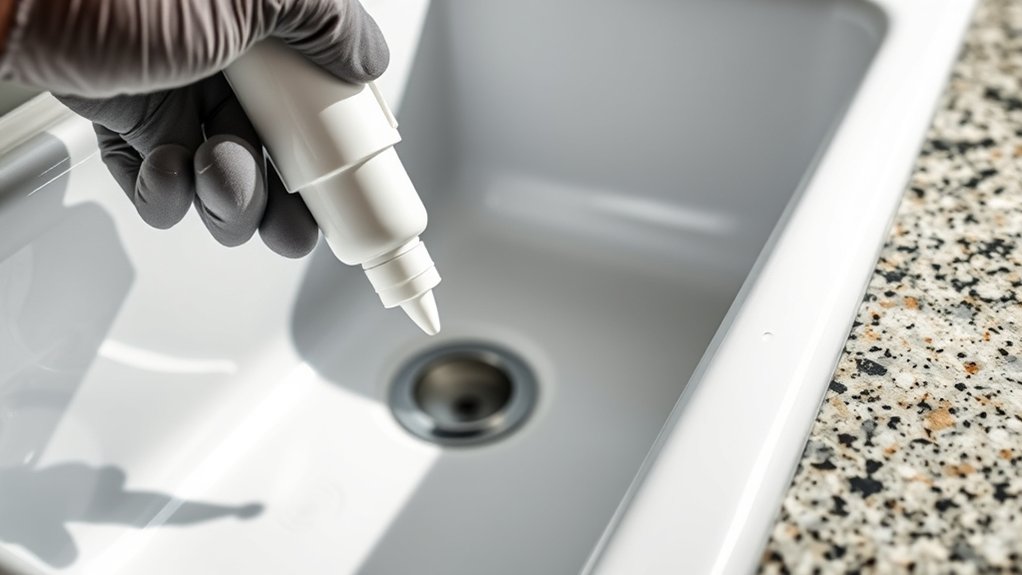
Load your chosen sealant into a caulking gun, then apply a steady, continuous bead along the sink edge where it meets the countertop.
Use smooth application techniques: hold the gun at a 45-degree angle and move it evenly to avoid gaps. Once applied, wet your finger or a smoothing tool and gently smooth the bead to confirm full adhesion and a clean finish.
| Sealant Types | Application Techniques |
|---|---|
| Silicone | Steady bead at 45° angle |
| Polyurethane | Continuous, even movement |
| Latex (less ideal) | Smooth with finger or tool |
| Hybrid Sealants | Apply in thin, consistent line |
| Acrylic | Not recommended for wet areas |
Following these steps guarantees a reliable seal around your sink.
Secure the Sink and Clean Up Excess Sealant
After applying the sealant smoothly around your sink, you’ll want to secure the sink firmly to the countertop to maintain a strong, lasting bond. Start by tightening the mounting clips or brackets underneath the sink, guaranteeing it sits flush against the countertop. This helps prevent gaps where water can seep through, preserving kitchen safety by avoiding mold or water damage. Be careful not to overtighten, as this can damage the sink or countertop.
Next, clean up any excess sealant immediately. Use a damp cloth or a plastic scraper to remove extra sealant before it cures, paying attention to corners and edges for a neat finish. Different sealant types, like silicone or polyurethane, may require specific cleanup methods, so check the manufacturer’s instructions. Keeping the area tidy not only improves aesthetics but also guarantees the sealant forms an effective, waterproof barrier that protects your kitchen for years to come.
Let Sealant Cure for a Leak-Proof Kitchen Sink
Why does letting the sealant cure properly matter? Without adequate curing time, your sink installation won’t be leak-proof, risking water damage and mold. Different sealant types, like silicone or polyurethane, have specific curing times you must respect to guarantee a strong, watertight bond between the sink and countertop.
After securing the sink and cleaning up excess sealant, resist the urge to speed up the process by using the sink or exposing the area to water.
Typically, curing can take anywhere from a few hours to 24 hours or more, depending on the sealant type and environmental conditions like temperature and humidity. Follow the manufacturer’s instructions closely for drying times.
Frequently Asked Questions
What Type of Sealant Lasts Longest in a Kitchen Environment?
You’ll find that silicone sealant offers the best sealant durability in a kitchen environment, handling moisture and temperature changes well. Plus, it stays flexible and resists mold for years.
If you’re eco conscious, look for eco friendly options made with low VOCs and non-toxic ingredients. These green sealants still deliver strong performance without harming indoor air quality, so you can protect your kitchen and the planet simultaneously.
Can I Seal a Sink Without Removing the Old Sealant First?
Can you build a house on shaky ground? No, and the same goes for sealing your sink without sealant removal. Skipping sink preparation risks leaks and mold, as old sealant can trap moisture and dirt.
You need to thoroughly remove the old sealant first, clean the area, and dry it well. This guarantees your new sealant bonds properly, giving your sink a watertight, long-lasting seal. Don’t cut corners here!
How Often Should I Reseal My Kitchen Sink to Prevent Leaks?
You should reseal your kitchen sink every one to two years to guarantee effective leak prevention. Over time, sealant application can wear down due to water exposure and daily use, increasing the risk of leaks.
Keep an eye out for cracks or gaps in the sealant and reapply it as soon as you notice any damage. Regular maintenance helps keep your sink watertight and protects your countertop from water damage.
Are There Eco-Friendly Sealant Options for Kitchen Sinks?
Yes, you can choose eco-friendly sealant options for your kitchen sink. Look for biodegradable adhesives and plant-based sealants that minimize environmental impact while still providing a strong, durable seal.
These alternatives often contain fewer harmful chemicals and break down naturally over time. Using them helps reduce your carbon footprint and keeps your kitchen safer.
Just make sure to check compatibility with your sink and countertop materials before applying.
What Are Common Signs That My Sink Seal Is Failing?
You might notice water pooling unexpectedly, which coincidentally aligns with your recent sink use—this is a classic sign of seal failure. If you spot mold or discoloration around the sink’s edge, that’s another clue.
Poor leak detection often means you’ve missed gaps or cracks from faulty sealant application. When you catch these signs early, you can avoid bigger damage and keep your kitchen dry and safe.
Conclusion
Now that you’ve sealed your kitchen sink, imagine the smooth bead of sealant snugly holding the edge where the sink meets the countertop, like a gentle, protective hug. No more worries about drips sneaking under the surface or water stains spoiling your countertop’s shine.
With your tools cleaned and the sealant set, you’re all done. Enjoy the peace of mind that comes with a leak-proof kitchen, ready for every splash and spill life throws your way. Sealing a kitchen sink to the countertop helps keep it protected for the long haul.