

How to Unclog a Kitchen Sink in 5 Easy Steps
A clogged kitchen sink can quickly disrupt your day, especially when water won’t drain and dishes start piling up. If you’re struggling to clear the blockage, you’re not alone. These simple steps can help you unclog a kitchen sink and get the water flowing again.
To unclog your kitchen sink in five easy steps, start by gathering tools like a plunger, wrench, and bucket while wearing gloves and goggles.
Next, remove any standing water and clear the sink area.
Use the plunger firmly to loosen the clog, sealing overflow drains if needed.
If plunging fails, detach and clean the P-trap.
Finally, flush with hot water or a safe cleaner to clear residue.
Keep going to uncover more helpful tips for a spotless drain.
Key Takeaways
- Gather essential tools like a plunger, bucket, and drain snake, and wear gloves and goggles for safety.
- Remove standing water and clean the sink area to access the clog easily.
- Use a plunger to create pressure and dislodge the clog, sealing overflow drains if necessary.
- If plunging fails, remove and clean the P-trap to clear any trapped debris.
- Flush the drain with hot water, and use chemical or enzyme treatments cautiously to clear residue.
Get Your Tools Ready to Unclog the Kitchen Sink
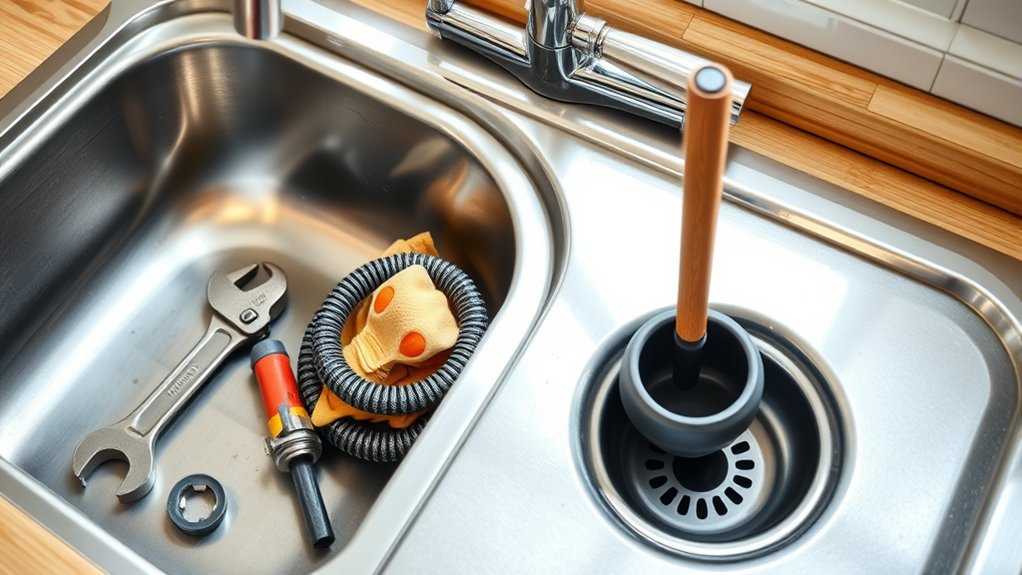
Before you begin unclogging your kitchen sink, gather all the necessary tools to make the job easier and faster. You’ll typically need a plunger, a pipe wrench, a bucket, and a drain snake. Make certain these tools are in good condition—check for cracks, rust, or wear. Proper tool maintenance not only extends their life but also ensures they work effectively when you need them.
Safety precautions are just as important. Wear gloves to protect your hands from sharp edges and dirty water. Safety goggles can shield your eyes from unexpected splashes. Avoid using excessive force with tools to prevent injury or damage to your pipes. Keep your workspace clear to prevent trips or falls. By preparing your tools carefully and keeping safety in mind, you’ll set yourself up for a smooth, efficient unclogging process without unnecessary risks or delays.
Remove Standing Water and Prepare the Sink for Unclogging
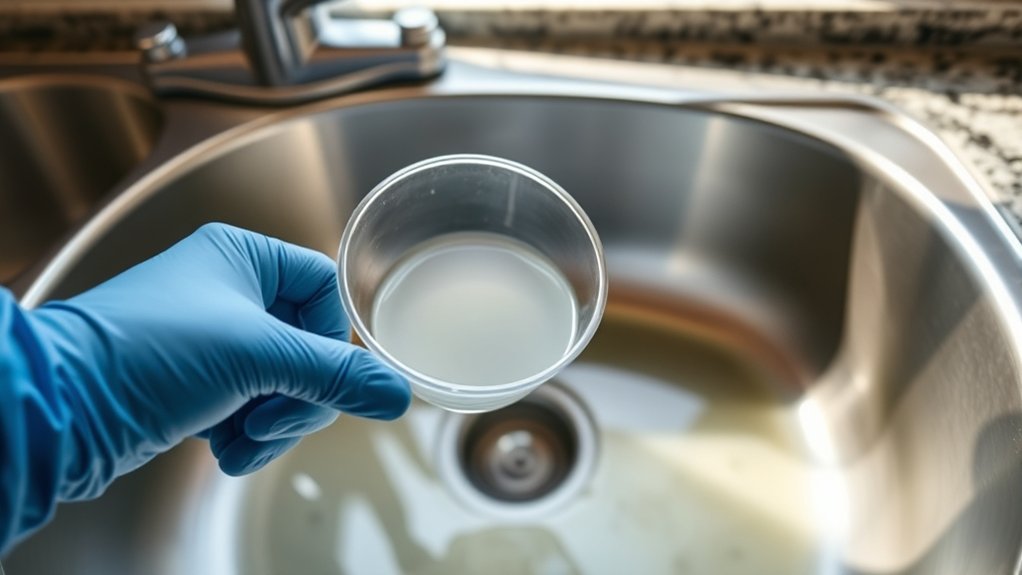
Once your tools are ready and safety gear is on, start by removing any standing water from the sink. Use a small container or cup to scoop out the water into a bucket or another sink. This step makes it easier to access the drain and prevents spills during the unclogging process. If the water is stubborn, try soaking up the rest with old towels or sponges.
Next, clear the sink area of dishes and debris to give yourself enough room to work. Wipe down the sink to remove leftover food particles that can contribute to blockages and odors. This practice supports kitchen drain maintenance and helps with sink odor prevention.
Finally, check the sink stopper or strainer and remove any trapped gunk. Keeping this area clean reduces future clogs and unpleasant smells. Preparing the sink carefully sets you up for a smooth and effective unclogging process.
Use a Plunger to Dislodge the Kitchen Sink Clog
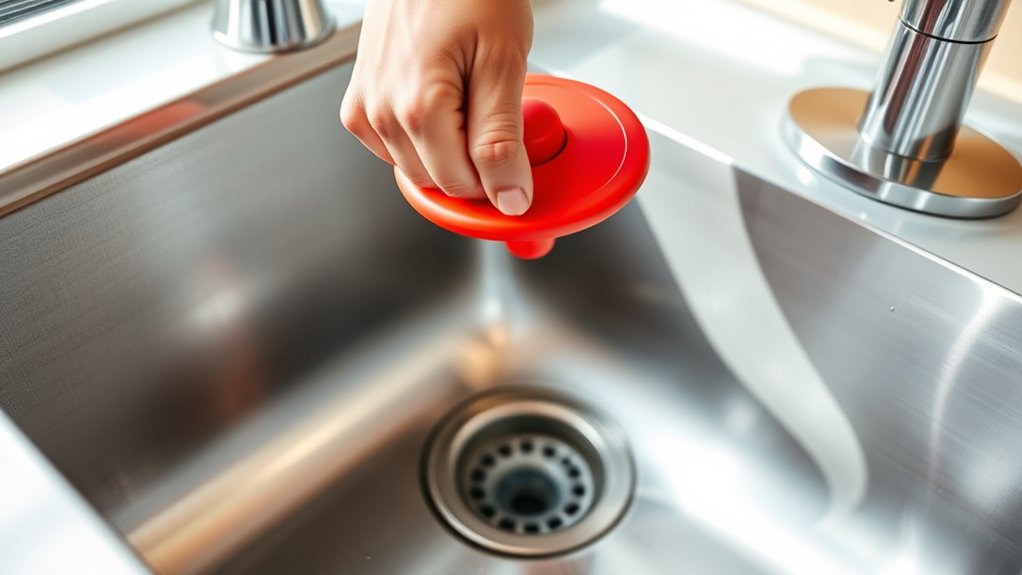
Although it might seem simple, using a plunger is one of the most effective ways to clear a kitchen sink clog quickly. Start by sealing the overflow drain or the second basin if you have a double sink.
Use firm, controlled plunges to build pressure and force the clog loose. Proper plunger techniques guarantee you don’t waste effort or damage your pipes. If you don’t have a plunger, alternative tools like a drain snake or a wet/dry vacuum can also help.
Here’s a quick look at how plunging can make you feel:
| Emotion | Why it Happens |
|---|---|
| Frustration | When water won’t drain fast |
| Hope | As plunging loosens the clog |
| Satisfaction | When water flows freely again |
Using a plunger effectively puts you in control, turning kitchen frustration into relief quickly.
Clean the P-Trap If Plunging Doesn’t Work
If plunging doesn’t clear the clog, the problem might be trapped in the P-trap—the curved pipe beneath your sink. This section of pipe often collects debris, making it a prime spot for blockages.
To fix this, you’ll want to perform thorough pipe inspection and basic drain maintenance.
Here’s how to clean the P-trap safely:
- Place a bucket underneath to catch water and debris before loosening the slip nuts.
- Carefully remove the P-trap and check for buildup or clogs.
- Clear out any gunk using a brush or a flexible wire, then reassemble the pipe securely.
Regular pipe inspection and drain maintenance prevent future clogs and keep water flowing smoothly.
If the P-trap is clear but the clog persists, you may need to explore further down the drain line. Cleaning the P-trap is an essential step that often solves the issue quickly.
Flush the Kitchen Sink Drain to Clear Residue
How do you guarantee your kitchen sink drain is completely clear after removing visible clogs? Flushing the drain is key to clearing any leftover residue that could cause future blockages.
Start by running hot water down the drain for several minutes; this helps dissolve grease and soap buildup. If you want a stronger approach, you can use chemical drain cleaners, but be cautious—they’re harsh and can damage pipes if overused.
For a safer, eco-friendly option, enzyme treatments work well by breaking down organic material without harming your plumbing or the environment. Follow the product instructions carefully for best results.
After flushing with water and applying your chosen treatment, rinse the drain thoroughly to wash away loosened debris. This simple step ensures your kitchen sink remains clog-free longer and keeps water flowing smoothly.
Regularly flushing the drain is an easy habit that helps maintain your plumbing’s health.
Frequently Asked Questions
What Causes Frequent Kitchen Sink Clogs?
Frequent kitchen sink clogs happen because you’re dealing with drain pipe blockages caused by food scraps, grease buildup, and soap residue. If your garbage disposal isn’t working properly, it can worsen the problem by failing to break down waste effectively.
You’ll want to avoid pouring grease or coffee grounds down the drain, and regularly clean your garbage disposal to keep everything flowing smoothly and prevent those annoying blockages from happening again.
How Can I Prevent Kitchen Sink Clogs?
You can prevent kitchen sink clogs by adopting eco-friendly solutions and regular DIY maintenance. Avoid pouring grease, coffee grounds, and food scraps down the drain. Instead, use a sink strainer to catch debris.
Once a week, flush your drain with boiling water or a mixture of baking soda and vinegar to break down buildup naturally. These simple, green habits keep your pipes clear and reduce the need for harsh chemicals or professional help.
Are Chemical Drain Cleaners Safe for Kitchen Sinks?
Chemical drain cleaners can feel like quick lightning strikes against clogs, but they’re often harsh on your kitchen sink’s pipes. You might find chemical alternatives tempting, yet they can damage plumbing over time and harm the environment.
Instead, consider eco-friendly options like baking soda and vinegar or enzymatic cleaners. These gentle solutions work with nature, keeping your sink clear without risking corrosion or toxic buildup. You’ll protect both your pipes and the planet.
When Should I Call a Professional Plumber?
You should call a professional plumber when you face emergency repairs, like severe leaks or flooding, that you can’t fix yourself. Also, if your sink frequently clogs despite your efforts, it’s time for plumbing inspections to identify deeper issues.
Don’t wait too long—early professional help can prevent costly damage. If your tools or DIY methods aren’t working, trust a plumber to handle the problem safely and efficiently.
Can Food Waste Disposals Cause Sink Clogs?
Even in the age of telegrams, food waste disposals can cause sink clogs if you’re not careful. When you toss fibrous or greasy scraps down the disposal, they can build up and block your pipes.
To keep disposal safety in check, always run plenty of water while using it and avoid hard or stringy foods. Taking these steps helps prevent clogs and keeps your kitchen running smoothly without unexpected plumbing headaches.
Conclusion
Now that you’ve cleared the clog, imagine water rushing freely down your drain like a gentle stream after spring rain. Your kitchen feels lighter, more open, and ready for your next cooking adventure.
With just a few simple steps, you’ve turned a frustrating mess into smooth sailing. Keep these tricks in your toolkit, and you’ll always be ready to unclog a kitchen sink with confidence and ease.