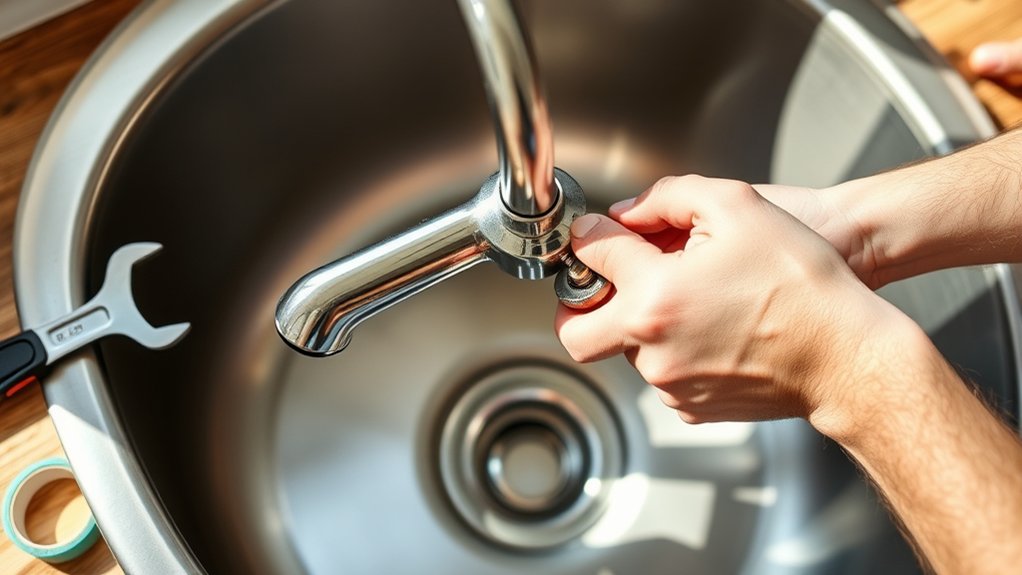
How to Remove a Kitchen Faucet in 3 Easy Steps
Removing a kitchen faucet can feel like a frustrating chore, especially when tight spaces and stubborn fittings get in the way. You’re not alone—many people struggle with this project. The right tools can make it easier, so this roundup will help you find what you need for a smooth kitchen faucet removal.
First, gather an adjustable wrench, basin wrench, plumber’s tape, and a bucket. Then shut off your water supply by turning the valves under the sink clockwise.
Next, use the wrench to disconnect the hot and cold water lines, and remove the mounting hardware securing the faucet.
Finally, lift out the old faucet carefully, clean the sink area to remove grime and residue, and dry it thoroughly.
Keep going to uncover helpful tips for a smooth faucet removal.
Key Takeaways
- Shut off water supply valves under the sink and confirm no water flow by turning on the faucet.
- Use an adjustable wrench to disconnect hot and cold water lines, catching any drips with a bucket.
- Unscrew mounting nuts or brackets securing the faucet using a basin wrench or hands.
- Carefully lift and remove the faucet, holding it firmly to avoid damage.
- Clean and dry the sink area thoroughly before installing a new faucet.
Gather Tools and Shut Off the Kitchen Faucet Water
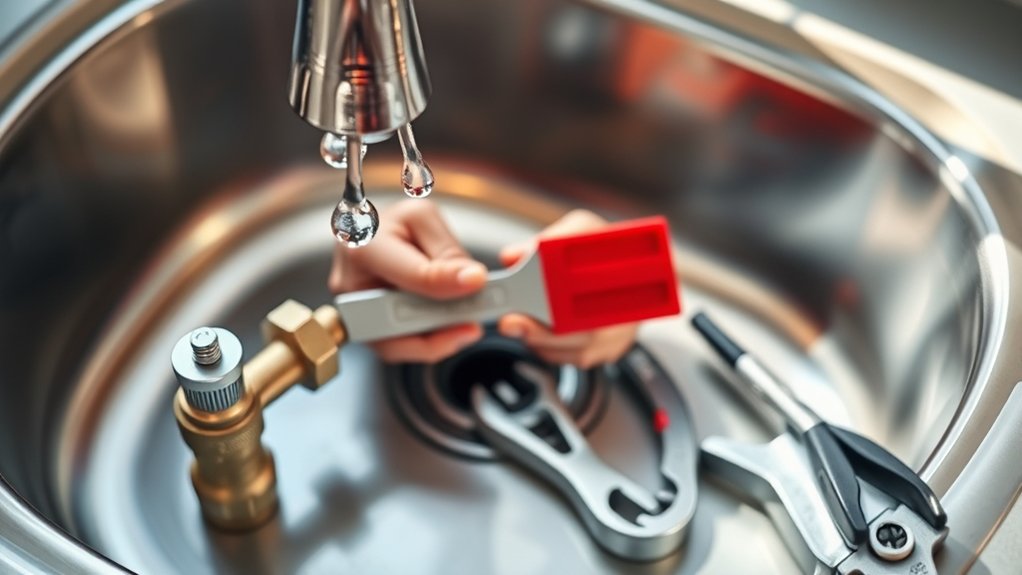
Before you begin removing your kitchen faucet, gather all the necessary tools and make certain to shut off the water supply. You’ll typically need an adjustable wrench, a basin wrench, plumber’s tape, and a bucket to catch any residual water. Having everything ready guarantees a smooth faucet installation or plumbing repairs without unexpected interruptions.
Next, locate the shut-off valves under the sink. Turn them clockwise to close the water flow. If your sink lacks individual shut-offs, you’ll need to turn off the main water supply for your home. Double-check by turning on the faucet to confirm no water flows.
Disconnect Kitchen Faucet Water Lines and Remove Mounting Hardware
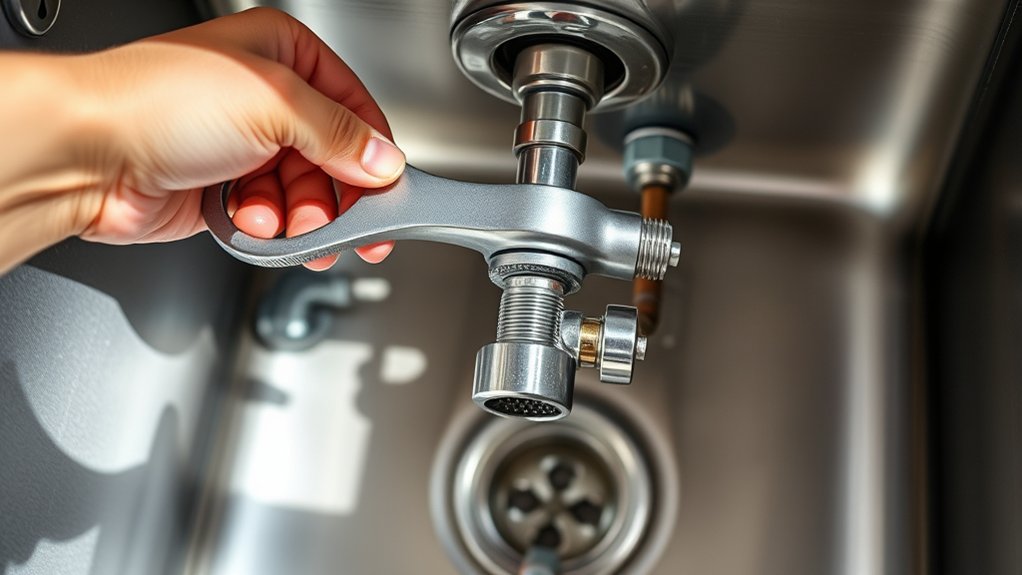
With the water supply securely turned off, you can now focus on disconnecting the water lines from your kitchen faucet. Start by loosening the nuts that connect the hot and cold water lines to the faucet using an adjustable wrench. Be prepared for some residual water to drip out.
Once the plumbing connections are disconnected, move on to the mounting hardware under the sink. Look for the mounting nuts or brackets that secure the faucet to the sink or countertop. Use a basin wrench or your hands if accessible, to unscrew these nuts carefully.
Keep track of all hardware for your next faucet installation or for reusing if needed. Removing these components frees the faucet from its position, but don’t lift it out yet—that comes next. Staying organized during this step guarantees a smooth changeover in your faucet replacement process and helps avoid damage to your plumbing connections or sink surface.
Remove the Old Kitchen Faucet and Clean the Sink Area
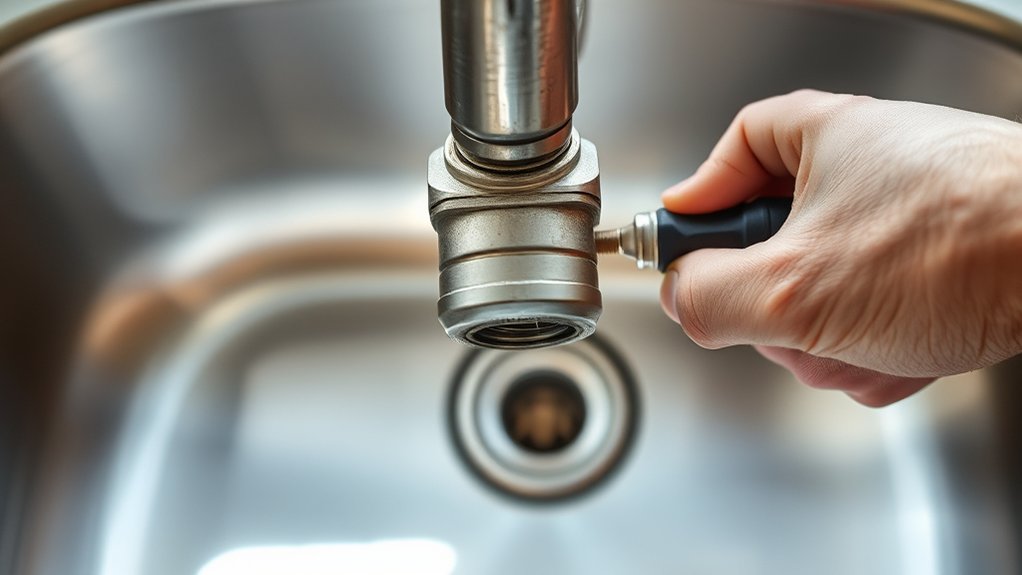
Once you’ve loosened all the mounting hardware, you can carefully lift the old kitchen faucet out of its position. Be sure to hold it firmly as some residual water might still drip.
Set the faucet aside and inspect the sink area for any grime, mineral deposits, or old plumber’s putty. This is a perfect moment for sink cleaning before you install the new fixture.
Use a gentle cleanser and a scrub brush or sponge to remove buildup and guarantee a smooth surface for your faucet replacement. Thorough cleaning prevents leaks and ensures a secure fit.
After cleaning, dry the area completely to avoid trapping moisture under the new faucet. Taking these steps now will make your faucet replacement much easier and help extend the life of your new faucet.
Proper sink cleaning and preparation are key to a seamless, leak-free installation.
Frequently Asked Questions
How Do I Choose a New Kitchen Faucet?
You’ll want to pick a kitchen faucet that matches your sink style and fits your water pressure needs. Check the faucet installation type—deck-mounted or wall-mounted—to guarantee compatibility.
Consider features like spray options and finish to suit your kitchen’s look. Also, make certain the faucet handles your home’s water pressure for smooth operation.
Don’t forget to read reviews and confirm it’s easy to install, so you won’t struggle during the faucet installation process.
Can I Install a Kitchen Faucet Without Professional Help?
Yes, you can install a kitchen faucet without professional help if you’re comfortable with DIY plumbing. With the right tools and clear instructions, you’ll handle faucet maintenance and installation smoothly.
Just turn off the water supply, disconnect old parts carefully, and follow your new faucet’s manual step-by-step. Taking your time prevents mistakes, and if you run into trouble, plenty of online tutorials can help you finish the job confidently.
What Materials Are Best for Kitchen Faucet Durability?
Looking for the best materials for kitchen faucet durability? You want something with excellent material longevity and corrosion resistance, right?
Stainless steel and brass are top choices because they resist rust and wear over time. Chrome finishes can add protection, but solid brass faucets often last longer.
How Do I Fix a Leaking Kitchen Faucet?
To fix a leaking kitchen faucet, first turn off the water supply. Check the faucet aerator for debris that might affect water pressure and cause leaks. Remove and clean it thoroughly.
Next, inspect the washers and O-rings inside the faucet; worn parts often cause drips. Replace any damaged components, then reassemble. If leaks persist, tighten connections carefully.
Fixing these parts usually stops leaks and restores proper water pressure.
Are There Eco-Friendly Kitchen Faucets Available?
Yes, you can find eco-friendly kitchen faucets made with materials like recycled metals and BPA-free plastics. These faucets often have water-saving features, such as aerators and flow restrictors, that reduce water use without sacrificing pressure.
Choosing one can lower your water bill and help conserve natural resources. Look for certifications like WaterSense to find an efficient faucet.
Conclusion
Now that you’ve removed your old kitchen faucet, you’re one step closer to a fresh new look. With the sink area clean and clear, you’ve laid the groundwork like a pro.
Remember, every journey begins with a single step, and you’ve just taken yours in the right direction. Installing your new faucet should be a breeze after this, so get ready to enjoy a kitchen that flows smoothly.