How to Pack Kitchen Items in 10 Easy Steps
Packing up a kitchen can feel overwhelming, especially when fragile dishes, bulky pots, and sharp knives all need different care. You’re not alone—many people struggle to keep everything organized and protected. These 10 easy steps to pack kitchen items can help make the process simpler.
To pack your kitchen items in 10 easy steps, start by gathering sturdy boxes, bubble wrap, and tape. Sort and declutter your kitchen, removing unused or expired items.
Wrap fragile glassware carefully and protect sharp knives with guards. Nest pots and pans with padding and use dividers for delicate pieces.
Label boxes clearly and pack heavier items at the bottom. Load boxes securely to prevent shifting, and unpack essentials first at your new home. Keep going to master each step smoothly.
Key Takeaways
- Gather all packing supplies like sturdy boxes, bubble wrap, tape, and markers before starting to pack kitchen items efficiently.
- Sort and declutter kitchen items by type and usage, discarding duplicates, broken, or expired items to reduce packing time.
- Wrap fragile glassware and ceramics individually with bubble wrap or packing paper, and label boxes clearly as fragile.
- Nest pots and pans with padding, disassemble appliances, and store small parts in labeled bags to protect cookware and appliances.
- Label boxes with contents and handling instructions, pack heavier items at the bottom, and unpack frequently used items first in the new kitchen.
Gather Packing Supplies for Kitchen Items
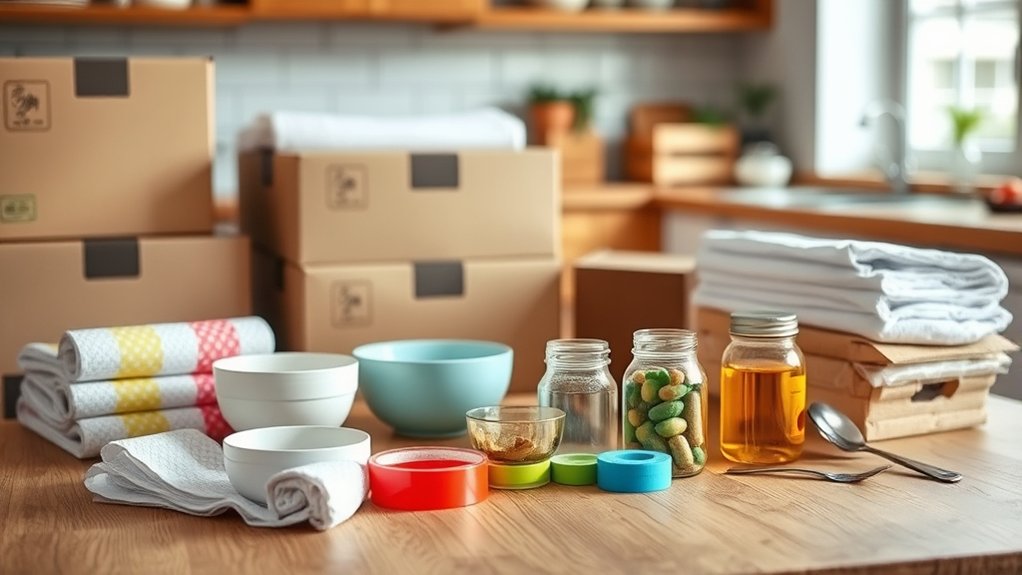
Before you start packing your kitchen items, gather all the necessary supplies to make the process smooth and efficient. You’ll need sturdy boxes in various sizes, packing paper, bubble wrap, packing tape, and permanent markers. These tools help protect your cookware, utensils, and appliances shaped by your kitchen design and adapted to your cooking techniques. Don’t forget dish towels or foam sheets to cushion fragile items like glassware and ceramic dishes.
Since your kitchen design influences the types of items you have, tailor your packing supplies accordingly. For instance, if you use specialized pans or tools for certain cooking techniques, guarantee you have enough padding to prevent damage. Small containers or resealable bags can keep loose items like measuring spoons organized. By preparing these supplies ahead, you’ll avoid last-minute scrambles and keep your kitchen essentials safe throughout the move. This preparation lays the foundation for a well-organized packing process.
Sort and Declutter Your Kitchen Before Packing
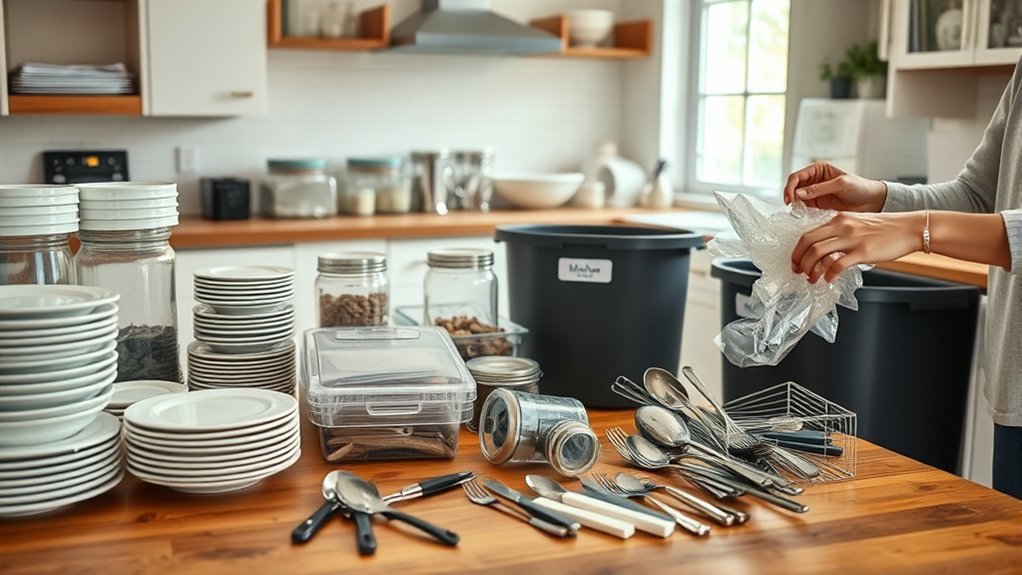
Before you start packing, sort your kitchen items by type and how often you use them. This makes it easier to spot things you rarely use or no longer need. Once you’ve cleared out the extras, packing will be simpler—and your load will be lighter.
Categorize Items Efficiently
How do you tackle the chaos of kitchen items when packing? Start by organizing pantry goods and categorizing utensils. Group similar items together so packing becomes smoother and unpacking easier.
Here’s a simple way to visualize your categories:
| Pantry Items | Utensils & Tools |
|---|---|
| Canned goods | Knives |
| Spices & seasonings | Cooking spoons |
| Baking supplies | Measuring cups |
This approach helps you see what you have and pack efficiently. Sorting pantry items first prevents spills and breakage, while categorizing utensils by function keeps everything accessible.
When you categorize items efficiently, you reduce packing time and create order amidst kitchen chaos.
Identify Unnecessary Kitchenware
Since moving involves packing and unpacking numerous kitchen items, identifying unnecessary kitchenware can save you time and space. Start by sorting through your cabinets and drawers, deciding what you truly need. This step also gives you the perfect chance for kitchenware cleaning and appliance maintenance before the move.
Look out for:
- Duplicate utensils and gadgets you rarely use
- Broken or chipped dishes that won’t be repaired
- Old appliances that haven’t worked in months
- Expired or unused food containers
- Specialty tools gathering dust
Wrap Fragile Glassware and Dishes Securely
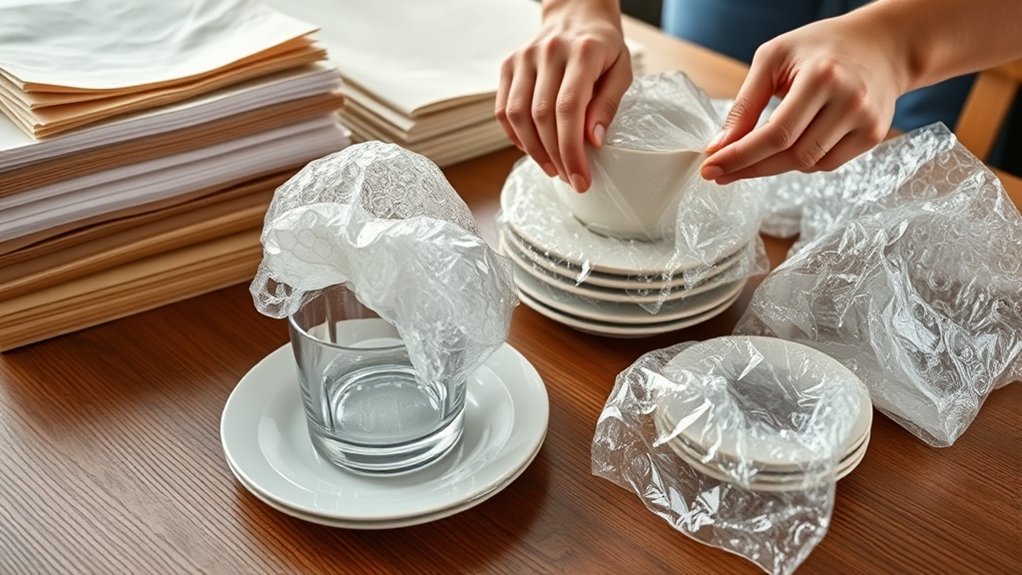
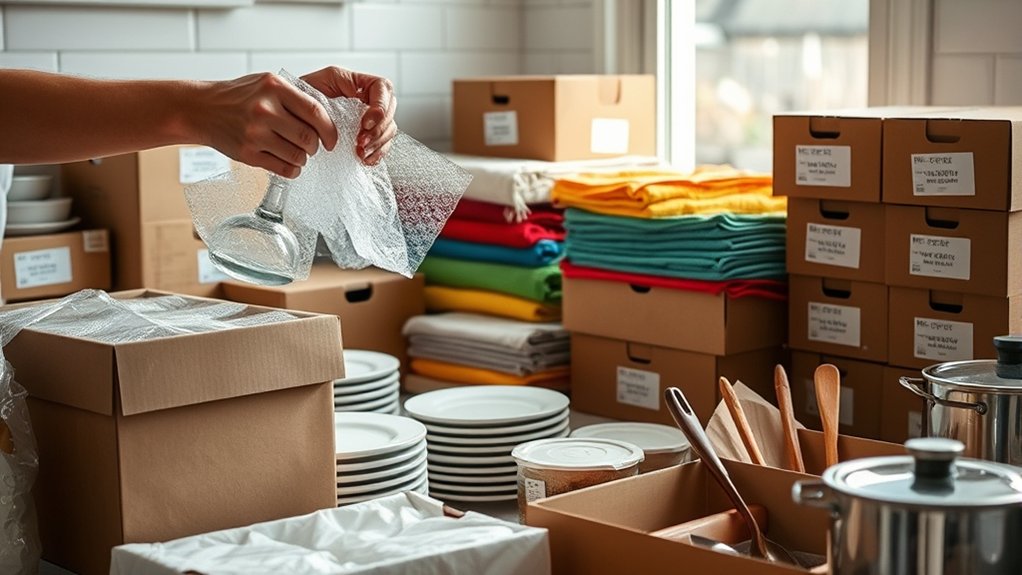
Why risk damage when you can safeguard your fragile glassware and dishes with simple wrapping techniques? Start by gathering plenty of packing paper or bubble wrap. Wrap each piece individually—especially decorative glassware and fragile ceramics—to cushion them from impact.
For added protection, tuck extra padding inside cups and bowls to prevent chips or cracks. Avoid using newspaper, as the ink can stain your items.
Once wrapped, place the items upright in sturdy boxes lined with cushioning material like crumpled paper or foam peanuts. Fill any gaps to stop movement during transit.
Remember to label boxes containing fragile items clearly, so movers handle them with care. Taking these steps ensures your delicate kitchenware arrives safely, so you won’t have to worry about broken treasures when unpacking.
Safely Pack Sharp Knives and Utensils
Wrap each knife blade carefully to prevent accidents and damage. You can use a knife guard or a dedicated box to keep it secure. For other utensils, cover any pointed ends and keep them separate from other items.
Wrapping Techniques for Knives
Although packing knives requires extra caution, you can protect both the blades and yourself by wrapping them properly. This not only safeguards your knife sharpening efforts but also helps maintain your kitchen aesthetics by preventing damage during transit. Follow these simple wrapping techniques:
- Use a blade guard or sheath to cover the sharp edge.
- Wrap knives individually in bubble wrap or thick cloth.
- Secure the wrapping with rubber bands or tape to prevent unraveling.
- Place knives blade-down in the box to avoid accidental cuts.
- Separate knives from other utensils using cardboard dividers or padding.
Safe Knife Storage Options
After wrapping your knives carefully, the next step is choosing a secure storage option to keep them safe during the move. Prioritizing knife safety helps prevent accidents and protects your blades from damage. Here are practical storage solutions to contemplate:
| Storage Solution | Benefits |
|---|---|
| Knife block | Keeps knives organized, safe |
| Magnetic strip | Easy access, space-saving |
| Blade guards | Individual protection |
| Padded knife roll | Portable and secure |
| Cardboard slots | DIY, cost-effective |
Pick a method that suits your moving style. For example, a padded knife roll offers extra cushioning, while cardboard slots are budget-friendly. Avoid loose knives in boxes to prevent injuries and blade dulling. Using proper storage solutions ensures your knives arrive safely and ready to use.
Handling Utensils With Care
Since sharp knives and utensils can easily cause injuries or damage during a move, you’ll want to handle and pack them with extra care. Before packing, make sure all utensils are clean and dry to prevent rust and stains.
Organize your utensils by type and size to avoid clutter and make unpacking easier. Use protective covers or wrap sharp blades in bubble wrap or thick cloth.
When packing, place knives and sharp utensils blade-side down in sturdy boxes, clearly labeling them for safety.
- Clean and dry all utensils thoroughly.
- Group utensils by function for better organization.
- Wrap sharp knives individually.
- Use utensil organizers or small containers.
- Clearly mark boxes containing sharp items.
Following these steps ensures safe utensil handling and smooth unpacking.
Pack Pots, Pans, and Bulky Cookware Efficiently
When packing pots, pans, and bulky cookware, you’ll want to maximize space while protecting your items from damage. Start by nesting smaller pots and pans inside larger ones to save room. Place protective layers like dish towels or bubble wrap between them to prevent scratches or dents.
Use sturdy boxes that can handle the weight and reinforce the bottom with extra tape.
Consider your cooking techniques when packing: if you use cast iron frequently, wrap it carefully to maintain its seasoning. For nonstick pans, avoid stacking too tightly to preserve the coating.
Organize your kitchen items by grouping similar cookware together, which streamlines unpacking and helps maintain kitchen organization in your new space.
Handle lids separately by wrapping them and storing them vertically to avoid cracks. Finally, label your boxes clearly with contents and “fragile” to ensure careful handling.
This method guarantees your bulky cookware stays safe and your kitchen setup remains efficient.
How to Disassemble and Pack Small Kitchen Appliances
Although small kitchen appliances may seem easy to pack, disassembling them properly guarantees they stay intact and ready to use. Taking the time for kitchen appliance maintenance before packing prevents damage and saves you from frustration later.
Start by unplugging and cleaning each appliance thoroughly. Then, carefully remove detachable parts like blades, lids, and cords.
To pack small appliances efficiently:
- Keep screws and tiny components in labeled bags.
- Wrap fragile parts separately to avoid scratches.
- Coil cords loosely to prevent bending or fraying.
- Use appliance storage solutions like original boxes or sturdy containers.
- Store manuals and accessories together to simplify setup.
Keep Items Safe With Padding and Dividers
To keep your kitchen items safe during a move, choose padding materials like bubble wrap or foam sheets. Then, use dividers to separate and stabilize fragile pieces inside boxes. These simple steps can help protect your delicate kitchenware from damage.
Choosing Proper Padding Materials
Since kitchen items can be fragile and oddly shaped, you’ll need proper padding materials to keep them secure during the move. Choosing the right padding options and using effective cushioning techniques prevents breakage and scratches. Think about what works best for each item’s shape and delicacy to ensure maximum protection.
Here are some padding options to consider:
- Bubble wrap for delicate glassware
- Packing paper for lightweight, oddly shaped items
- Foam sheets to cushion sharp edges
- Towels or dishcloths for added softness
- Crumpled newspaper to fill empty spaces
Using these materials strategically cushions your kitchen items, minimizing movement and impact. Stick to these padding options for a safe, stress-free packing experience.
Using Dividers Effectively
Proper padding goes a long way, but combining it with dividers can keep your kitchen items even safer. When you use divider organization, you create separate sections within your boxes, preventing items from shifting and bumping into each other during transit.
Choose sturdy dividers to set up compartmental storage that fits your plates, glasses, and utensils perfectly. This setup minimizes movement and reduces the risk of damage. You can use cardboard inserts or adjustable dividers to customize your compartments based on your kitchenware sizes.
Protecting Fragile Kitchenware
How can you guarantee your delicate kitchenware arrives intact? By using smart kitchen organization and reliable storage solutions, you can protect fragile items from damage during a move. Start by wrapping each piece carefully and using dividers to separate them in the box.
Here’s how to keep your fragile kitchenware safe:
- Wrap plates and glassware individually with bubble wrap or packing paper
- Use dish pack boxes with built-in dividers for extra protection
- Fill empty spaces with packing peanuts or crumpled paper to avoid shifting
- Place heavier items on the bottom and lighter ones on top
- Label boxes clearly as “Fragile” to ensure careful handling
With these tips, you’ll keep your kitchen items secure and ready for your new home.
Label Boxes Clearly With Contents and Handling Instructions
When you label boxes clearly with their contents and handling instructions, you make unpacking and organizing your kitchen much easier. Start by using simple labeling techniques like color-coded stickers or bold marker labels to identify each box’s contents at a glance.
Write down specific handling instructions such as “Fragile,” “This Side Up,” or “Heavy” to guarantee careful treatment during the move. Be consistent with your labels, placing them on multiple sides of each box so you can easily spot them regardless of how the box is stacked.
Including a detailed inventory list inside or taped to the box’s exterior also helps you track what’s inside without opening it. Clear labeling techniques reduce the risk of damage and save time when unpacking, letting you set up your kitchen efficiently.
Don’t forget to update labels if you repack items or shift boxes to maintain accuracy throughout the moving process.
Load Kitchen Boxes for Safe Transport
As you prepare to load your kitchen boxes, focus on balancing weight and securing fragile items to prevent damage during transport. Proper kitchen organization starts with how you pack and load each box. Use smart storage solutions to maximize space and protect your belongings.
Here’s how to load your boxes safely:
- Place heavier items like pots and pans at the bottom to create a stable base.
- Wrap fragile items individually in bubble wrap or packing paper to avoid breakage.
- Fill empty spaces with soft materials like towels or packing peanuts to prevent shifting.
- Don’t overload boxes; keep them manageable for carrying and stacking.
- Stack boxes with heavier ones on the bottom and lighter, fragile ones on top.
Tips for Unpacking Kitchen Items at Your New Home
Carefully packed kitchen boxes set you up for a smoother unpacking experience at your new home. Start by placing boxes in the kitchen area, organized by category—pots, utensils, dishes—so you can unpack efficiently.
Organizing kitchen boxes by category in your new home ensures a smooth and efficient unpacking process.
Consider your new kitchen design to decide where each item fits best, making daily cooking easier. Unpack frequently used items first to resume your usual cooking methods without delay.
Handle fragile items with care, inspecting them as you unpack. Set up your cooking zones—prep, cooking, and cleaning—based on your kitchen layout to optimize workflow.
Arrange gadgets and tools near where you’ll use them most. Labelled boxes can speed the process, helping you find what you need quickly.
Finally, take time to clean surfaces before unpacking, ensuring a fresh start. By unpacking thoughtfully, you’ll adapt faster to your new kitchen and get back to enjoying your favorite meals in no time.
Frequently Asked Questions
How Far in Advance Should I Start Packing My Kitchen Items?
You should start packing your kitchen items about two weeks before your move. This gives you enough time to pack fragile items carefully and avoid damage.
Begin by organizing kitchenware into categories so you know what you’re packing and can label boxes clearly. This also helps you decide what to keep or donate.
Starting early minimizes stress and helps ensure everything is packed securely and systematically for a smooth move.
Can I Pack Food Items Along With Kitchen Utensils?
Yes, you can pack food items along with kitchen utensils, but it’s best to separate them for better food storage and utensil organization. Use airtight containers or sealed bags for food to keep it fresh and prevent spills.
Pack utensils in boxes with dividers or wrap them to avoid damage. Keeping food and utensils organized separately makes unpacking easier and helps maintain cleanliness during your move.
What Should I Do With Appliances That No Longer Work?
If you have appliances that no longer work, don’t just toss them in the trash. You should look into appliance disposal options in your area.
Many cities offer special collection services or drop-off locations for old appliances. Recycling old appliances helps recover valuable materials and reduces environmental impact.
Check with your local waste management or recycling center to find the best way to responsibly dispose of those broken appliances.
How Do I Clean Kitchen Items Before Packing?
Before packing, you want your kitchen items sparkling clean, like a fresh start. Use gentle cleaning methods—warm soapy water for dishes, vinegar for stubborn stains, and baking soda for scrubbing.
Dry everything thoroughly to prevent mold. Grab packing supplies like bubble wrap and sturdy boxes to keep items safe.
Clean items not only pack better but also keep your new kitchen fresh and ready for use, making your move smoother and stress-free.
Are There Specific Boxes Recommended for Kitchen Items?
Yes, you should use sturdy box types like dish pack boxes or small to medium-sized boxes for your kitchen items. These boxes are designed to protect fragile items and fit well in moving trucks.
Don’t forget to grab packing materials like bubble wrap, packing paper, and dividers to cushion your dishes and glasses. Using the right box types and packing materials will keep your kitchenware safe and make unpacking easier.
Conclusion
By following these steps, you’ll make packing your kitchen stress-free and efficient. Imagine Sarah, who packed her fragile glassware with bubble wrap and labeled everything clearly. When she moved, her boxes arrived intact, and unpacking was a breeze.
Taking the time to sort, wrap, and label not only protects your items but also saves you time later. Follow these tips for packing kitchen items, and your kitchen will be ready to use in no time at your new home!