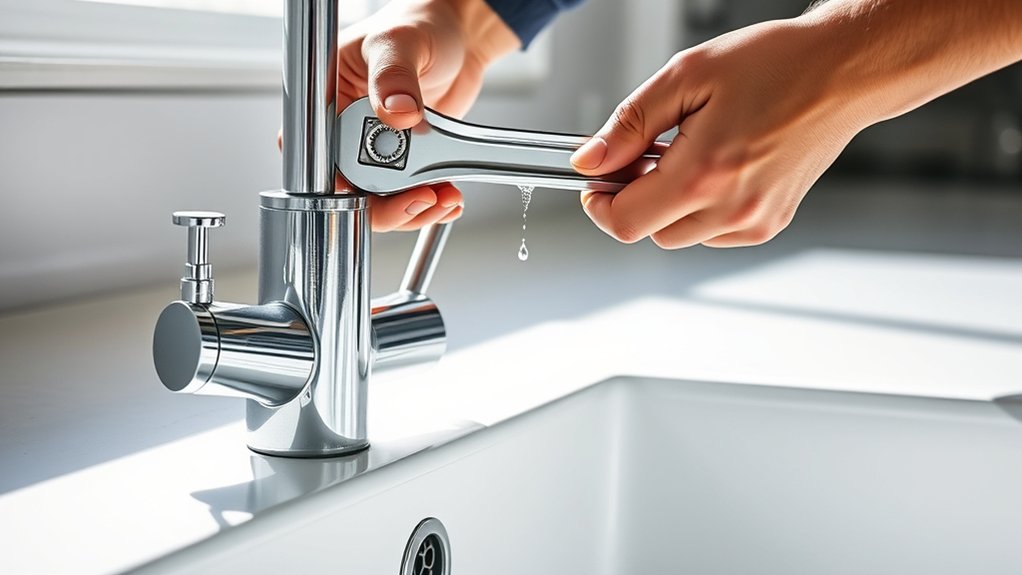
How to Tighten Kitchen Faucet in 5 Easy Steps
A loose kitchen faucet can wobble, drip, and make everyday tasks frustrating. You’re not alone—many people struggle to figure out which part needs tightening.
In this roundup, we’ll help you find the right tools and tips for how to tighten a kitchen faucet.
To tighten your kitchen faucet, first gather an adjustable wrench, screwdrivers, and plumber’s tape. Turn off the water supply under the sink and open the faucet to release pressure.
Identify loose parts like handles or spouts and gently tighten screws or nuts without overtightening.
Turn the water back on and check for leaks, tightening further if needed.
If problems persist, you’ll find helpful tips to troubleshoot and guarantee a secure, leak-free faucet.
Key Takeaways
- Turn off the water supply by closing shut-off valves under the sink and relieve pressure by opening the faucet.
- Identify loose faucet parts such as handles or spouts before selecting the right wrench or screwdriver.
- Gently tighten screws or nuts on faucet components without overtightening to avoid damage.
- Reassemble all faucet parts carefully to ensure a proper fit and prevent leaks.
- Turn on water, check for leaks or wobbling, and re-tighten connections if necessary.
Grab These Tools Before You Start
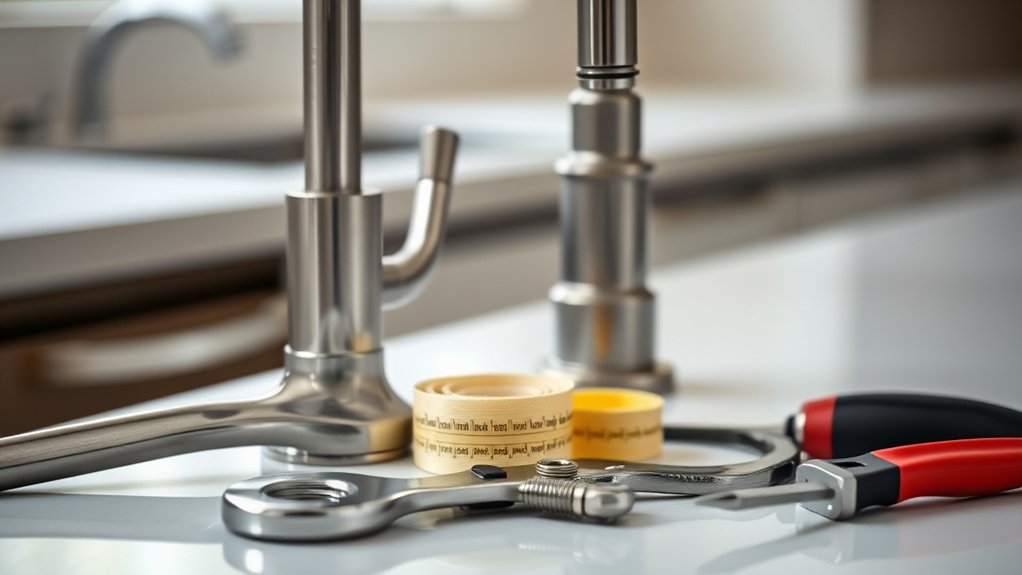
Before you begin tightening your kitchen faucet, make sure you’ve gathered the right tools. You’ll typically need an adjustable wrench, a basin wrench, screwdrivers, and plumber’s tape. Having these on hand will streamline your work and prevent unnecessary trips.
Gather essential tools like an adjustable wrench, basin wrench, screwdrivers, and plumber’s tape before tightening your kitchen faucet.
Proper tool maintenance is essential; verify your tools are clean and in good condition to avoid slips or damage during the process.
Safety precautions matter, even with simple tasks. Wear gloves to protect your hands from sharp edges and debris. Keep your workspace dry to prevent slipping or electrical hazards if you’re near outlets.
Double-check that your tools fit the faucet components snugly. Using the wrong size can strip screws or nuts, complicating your repair.
How to Safely Turn Off Your Water Supply
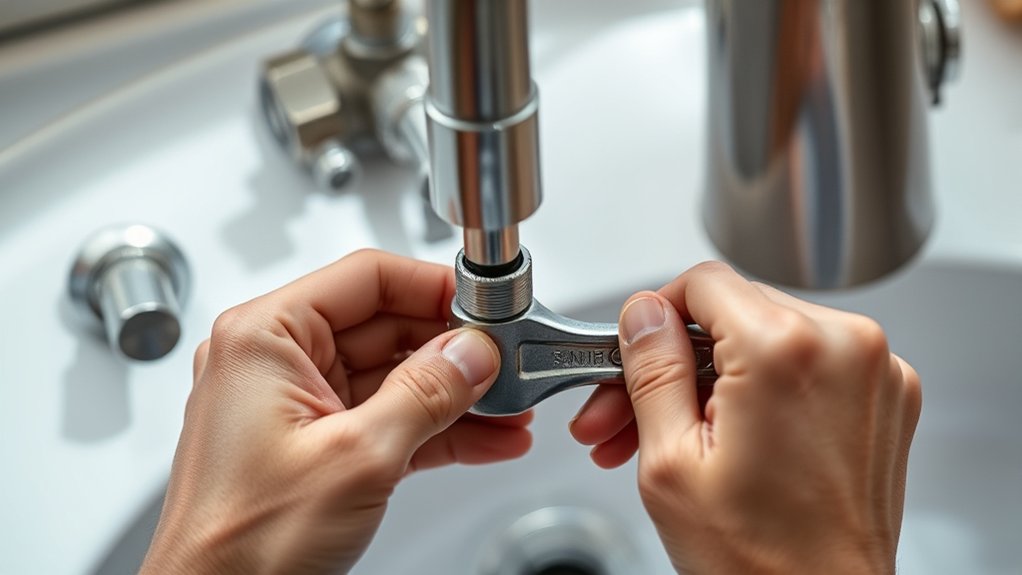
Once you have your tools ready and your workspace set, the next step is to turn off the water supply to your kitchen faucet. Start by locating the shut-off valves under the sink. These valves control the water flow directly to your faucet. Turn them clockwise to close and stop the water flow. If you don’t find individual valves, you’ll need to shut off the main water supply for your home.
Be sure to relieve any remaining water pressure by opening the faucet after shutting off the valves. This step prevents water from spraying when you begin working. While handling the shut-offs, watch for signs of pipe corrosion, such as rust or leaks, which could affect valve operation. If corrosion is severe, consider replacing the valves before proceeding to avoid complications. Safely turning off your water supply minimizes mess and protects your plumbing system as you tighten your kitchen faucet.
Tighten Loose Faucet Parts in 5 Easy Steps
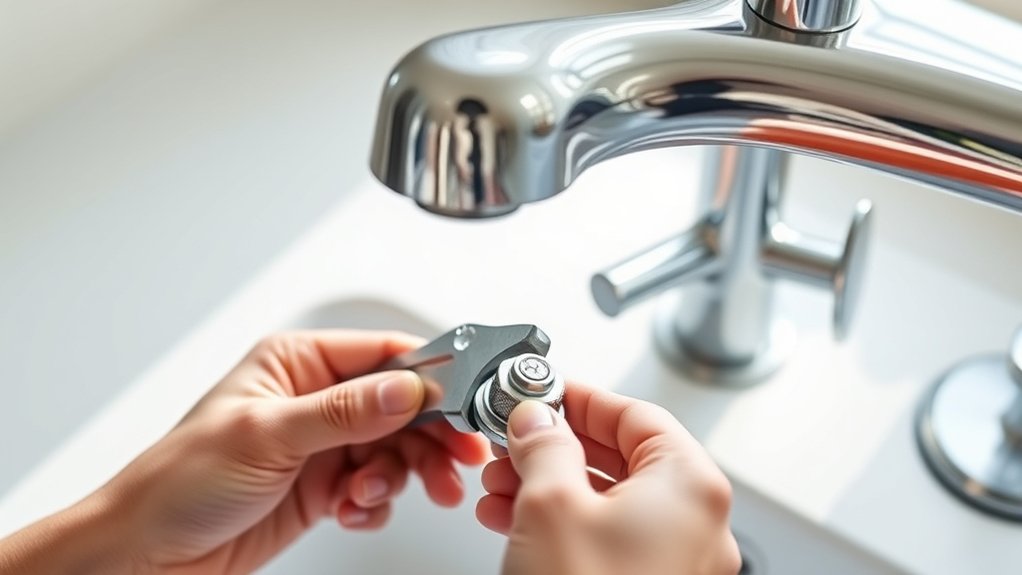
Although tightening a kitchen faucet might seem tricky, you can easily fix loose parts with just a few simple tools. First, locate the loose components like handles or spouts. Second, grab an adjustable wrench or screwdriver, depending on your faucet type.
Third, gently tighten the screws or nuts securing the loose parts—but don’t overtighten, as this can cause damage. Fourth, if any parts are worn or damaged beyond repair, consider a faucet replacement to avoid bigger plumbing issues later. Finally, reassemble the faucet components carefully.
Regular plumbing maintenance like this prevents leaks and prolongs your faucet’s lifespan. Remember, fixing loose parts promptly saves you from costly repairs down the road. By following these five straightforward steps, you’ll keep your kitchen faucet secure and functioning smoothly, making your kitchen a more efficient space.
Check for Leaks and Test Your Faucet’s Tightness
After tightening your faucet’s loose parts, it’s important to check for leaks and make sure everything feels secure. Turn on the water and observe how the faucet behaves under normal water pressure.
Look closely at all joints and connections, especially around the base and handles, where leaks are most common. Pay attention to any dripping or moisture that could indicate a loose seal or damaged faucet materials.
Next, test the faucet’s tightness by gently wiggling the spout and handles. They should feel firm and stable without excessive movement.
If you notice any looseness, re-tighten the connections carefully, ensuring you don’t overtighten and risk damaging the faucet materials.
Troubleshoot Leaks and Wobbles After Tightening Your Faucet
Why does your faucet still leak or wobble even after tightening it? Often, the issue isn’t just loose fittings. A drain clog can cause water to back up, increasing pressure and causing leaks or wobbling.
Check your sink drain for any blockages, clearing out debris or soap buildup that might be restricting flow. Soap buildup around the faucet base or handles can also prevent a proper seal, leading to leaks.
Clear drain blockages and clean soap buildup around faucet bases to ensure a proper seal and prevent leaks.
Clean these areas thoroughly with a mild cleaner and a soft brush. Furthermore, inspect the faucet’s mounting hardware beneath the sink. Even if you tightened the visible parts, the mounting nuts may still be loose or the washers worn out.
Replace any damaged washers and tighten all nuts securely. After these steps, test your faucet again. If leaks or wobbles persist, the problem may be a faulty cartridge or valve that requires replacement.
Stay patient. Troubleshooting is key to a leak-free faucet.
Frequently Asked Questions
Can I Tighten a Kitchen Faucet Without Turning off the Water Supply?
You shouldn’t tighten a kitchen faucet without turning off the water supply, even if you’re confident in your DIY repairs. Doing so risks water spraying everywhere if something loosens or breaks.
Grab the right plumbing tools and shut off the valves under the sink first. That way, you stay safe and avoid a big mess while fixing your faucet.
Taking this precaution makes your repair much smoother and stress-free.
How Often Should I Tighten My Kitchen Faucet?
You should tighten your kitchen faucet during regular maintenance, ideally every 6 to 12 months, or whenever you notice leaks or wobbling. Faucet parts can loosen over time with daily use, so timely tightening can prevent bigger issues.
Keep tightening tools like an adjustable wrench or screwdriver handy to make the process quicker. Staying proactive with faucet maintenance helps you avoid costly repairs and keeps your kitchen running smoothly.
Will Tightening a Faucet Improve Water Pressure?
Tightening your faucet won’t directly improve water pressure since pressure depends on your plumbing system. However, if you have faucet leakage, tightening it can stop drips and reduce water waste. Fixing leaks also helps maintain consistent water flow, so you might notice a slight improvement. If water pressure feels weak, check your aerator or plumbing for clogs instead of just tightening the faucet.
Can Tightening a Faucet Cause Damage?
Can tightening a faucet cause damage? Absolutely—if you’re auditioning for “World’s Strongest Hand.” Over-tightening can crush delicate faucet material, turning your sturdy kitchen fixture into a sad, leaky relic.
Using proper tightening techniques means applying just enough force—no need to channel your inner blacksmith. So, treat your faucet like fine china, not a stubborn bolt on a pirate ship, and you’ll avoid costly repairs and waterworks drama.
What if My Faucet Is Still Leaking After Tightening?
If your faucet is still leaking after tightening, the leak causes might be worn-out washers, damaged seals, or corroded parts. You’ll want to inspect these components closely.
Sometimes, tightening isn’t enough, and you’ll need to contemplate replacement options like swapping out cartridges or washers. If the problem persists, replacing the entire faucet might be the best solution to stop leaks and avoid water damage. Don’t ignore ongoing drips!
Conclusion
Just as you tighten your kitchen faucet, you might notice how a small twist can stop big drips—like how turning a key unfastens a door to peace of mind. By following these simple steps, you’ve not only fixed a loose faucet but also prevented potential water damage.
It’s funny how a few quick moves can save you from future headaches. Now, enjoy a steady flow and a leak-free kitchen after you tighten your kitchen faucet!