How to Plumb a Kitchen Sink in 3 Simple Steps
A leaky sink or confusing tangle of pipes can make a kitchen project feel overwhelming. You’re not alone—many people struggle to figure out where to start. This guide to how to plumb a kitchen sink breaks the job into three simple steps, so you can get your setup connected and check for leaks with confidence.
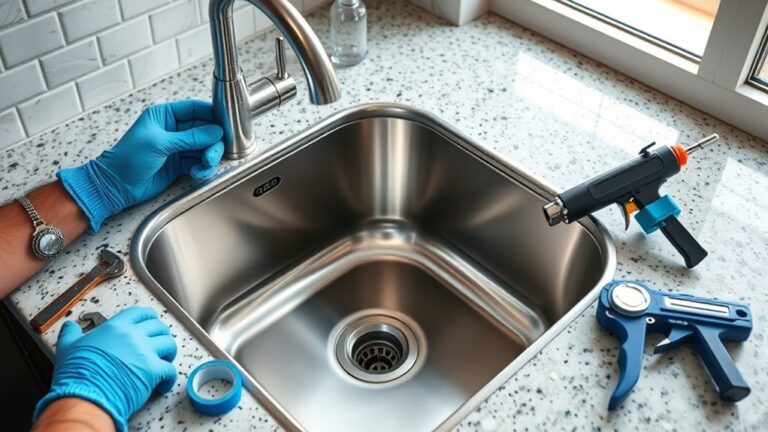
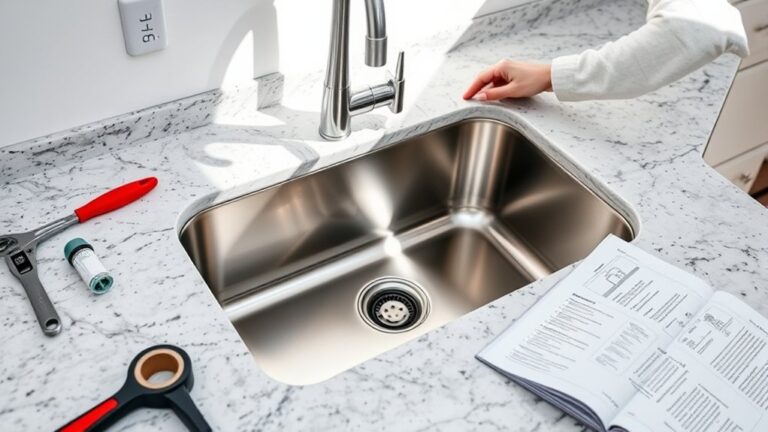
To plumb a kitchen sink in 3 simple steps, first gather all your tools and materials like wrenches, plumber’s putty, and supply lines.
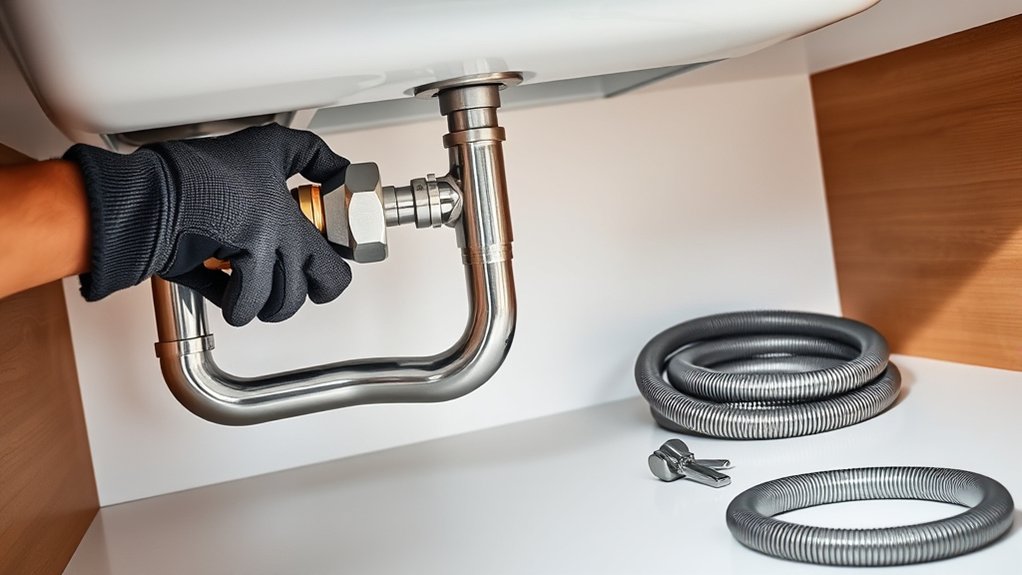
Next, install the drain and P-trap, securely connecting the tailpiece and tightening slip nuts to avoid leaks.
Finally, connect the water supply lines to shutoff valves and faucet inlets, then turn on the water to check for leaks and proper flow.
Keep following along to get the full process and tips for a perfect setup.
Key Takeaways
- Attach the drain flange to the sink using plumber’s putty and connect the drain tailpiece securely.
- Install the P-trap and tighten all slip nuts and washers to prevent leaks.
- Connect flexible supply lines from shutoff valves to faucet inlets and tighten fittings securely.
- Turn on the water slowly to check for leaks and proper flow at all connection points.
- Tighten fittings or replace washers immediately if any leaks or moisture are detected.
Gather Tools and Materials for Kitchen Sink Plumbing
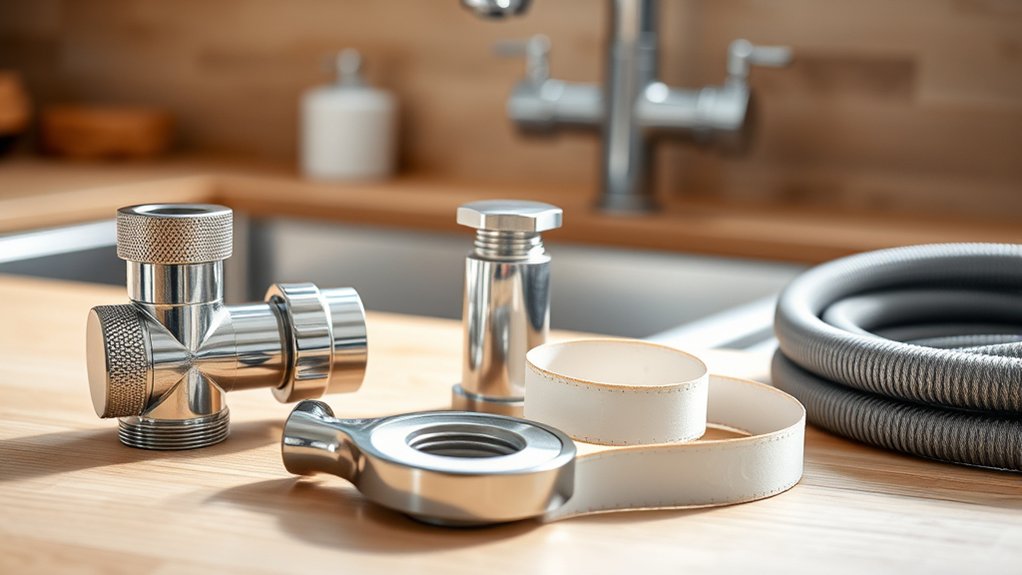
Before you begin plumbing your kitchen sink, make sure you have all the necessary tools and materials on hand. You’ll need a pipe wrench, adjustable pliers, plumber’s putty, Teflon tape, a hacksaw, and a bucket to catch any water. Don’t forget the essential plumbing parts like the drain assembly, supply lines, shutoff valves, and fittings. Following safety precautions is vital—wear gloves and safety glasses to protect yourself from sharp edges and debris.
Also, check your local plumbing codes before you start. These codes guarantee your installation meets legal and safety standards, preventing costly mistakes or future repairs. Ignoring them could mean your work won’t pass inspection or could lead to leaks and damage. By gathering everything upfront and understanding the rules, you’ll make the plumbing process smoother and safer. That way, you’re fully prepared to tackle your kitchen sink project confidently and correctly.
Install Kitchen Sink Drain and P-Trap
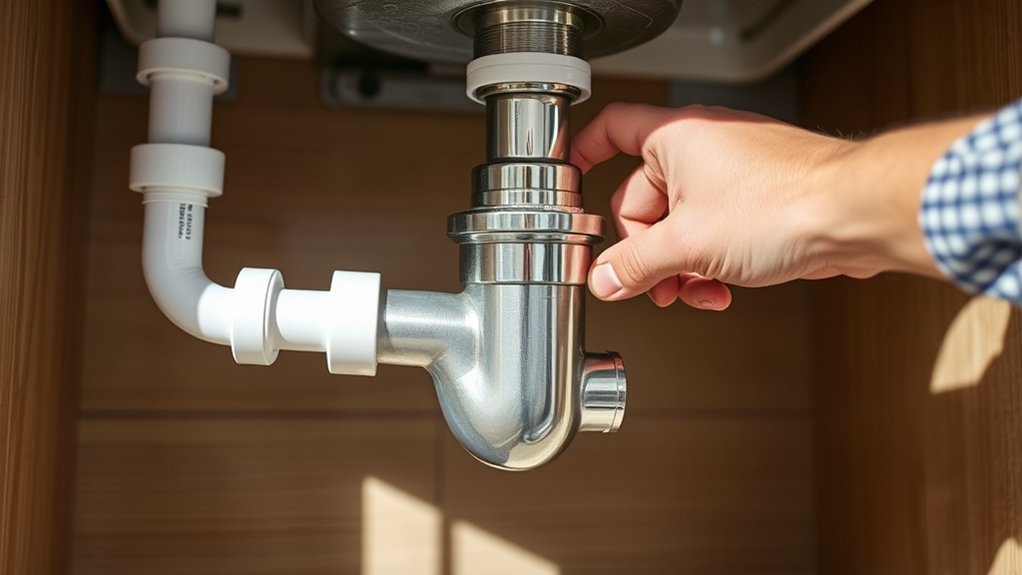
Once you’ve gathered all your tools and materials, you can begin installing the kitchen sink drain and P-trap. Start by attaching the drain flange to the sink’s drain hole with plumber’s putty for a tight seal. Next, connect the drain tailpiece to the flange, ensuring it’s snug but not overtightened.
If you’re doing a garbage disposal installation, attach the disposal unit to the sink’s mounting ring before connecting it to the drain tailpiece. For the dishwasher hookup, connect the dishwasher drain hose to the disposal’s dishwasher inlet or directly to the sink drain, depending on your setup.
Finally, install the P-trap by connecting it to the drain tailpiece and the wall drain pipe, making sure all slip nuts and washers are securely tightened to prevent leaks. Check alignment carefully to avoid strain on any connections.
With the drain and P-trap installed, your sink is ready for the next step: connecting water supply lines.
Connect Water Supply Lines, Test Flow, and Troubleshoot
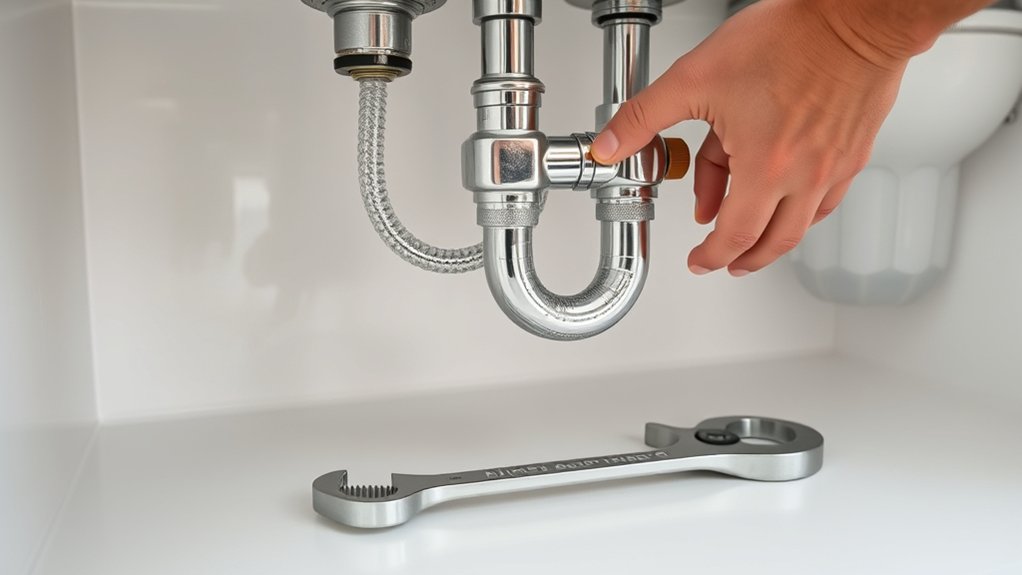
After securing the drain and P-trap, you’ll connect the water supply lines to the sink faucets. Start by attaching the flexible supply lines to the shut-off valves and faucet inlets. Tighten them securely but avoid overtightening, which can damage fittings. Once connected, turn on the water slowly to check the water pressure and ensure a steady flow.
Connect flexible supply lines securely, then slowly turn on water to check pressure and steady flow.
Now, test for leaks carefully:
- Watch every connection point for drips. Leak detection here saves you from future water damage.
- Feel around fittings for moisture or dampness.
- If you spot a leak, tighten fittings slightly or replace faulty washers immediately.
This process guarantees your kitchen sink works efficiently without surprises. Proper water pressure and leak detection make all the difference in a smooth, hassle-free plumbing job, letting you enjoy your new setup with confidence.
Frequently Asked Questions
Can I Use PVC or Metal Pipes for Kitchen Sink Plumbing?
Yes, you can use PVC or metal pipes for kitchen sink plumbing, but you need to check local plumbing regulations first. PVC pipes are lightweight, corrosion-resistant, and easy to install, making them popular for drain lines. Metal pipes, like copper, are durable and handle hot water well but can be pricier. Make certain you pick pipe materials that comply with your area’s codes to avoid issues and guarantee a safe, long-lasting installation.
How Do I Prevent Kitchen Sink Odors From Coming Up?
You know what they say, “An ounce of prevention is worth a pound of cure.” To stop kitchen sink odors from coming up, focus on regular drain cleaning to remove buildup that causes smells. Make sure you install proper odor traps, like P-traps, which block sewer gases from rising.
Also, avoid pouring grease or food scraps down the drain—they only worsen odors. Keeping these steps in check will keep your kitchen smelling fresh.
What Is the Best Way to Insulate Kitchen Sink Pipes?
The best way to insulate kitchen sink pipes is by using foam pipe insulation sleeves or rubber insulation materials—they’re easy to install and effective. You just measure your pipes, cut the insulation to size, and snap it around the pipes.
This helps prevent condensation and keeps pipes from freezing. Make sure the insulation fits snugly without gaps for maximum efficiency. Using proper pipe insulation saves energy and protects your plumbing system.
How Do I Handle Plumbing for a Double Kitchen Sink?
You’ll connect two drain lines, install a Y-branch for smooth flow, and secure venting properly. Attach the dishwasher hookup to the side of one sink, and install the garbage disposal under the other.
Make sure both traps are tight and leak-free. Use flexible pipes for easier adjustments, and test everything by running water through both basins. This approach keeps your double kitchen sink efficient and ready for daily use.
Are There Any Local Codes for Kitchen Sink Plumbing Permits?
Yes, you’ll likely need to check permit requirements and local regulations before plumbing your kitchen sink. Most areas require a permit to guarantee your work meets safety and code standards.
You should contact your city or county building department to find out what’s necessary. They’ll provide details on permits, inspections, and any specific rules you must follow.
Don’t skip this step. It helps avoid fines and ensures your plumbing is up to code.
Conclusion
Now that you’ve tackled how to plumb a kitchen sink in three simple steps, you’ve turned what once seemed like a tangled web into a clear, flowing stream. With your tools in hand and confidence by your side, you’re ready to handle any drip or clog that comes your way.
Remember, every successful fix is a ripple that builds your home’s comfort and your own skill, so keep flowing forward!