How to Refinish Kitchen Cabinets in 10 Easy Steps
Dated cabinets can make your whole kitchen feel tired, but replacing them can be expensive and overwhelming. If you’re hoping to refresh your space without the cost of a full renovation, you’re not alone. Learning how to refinish kitchen cabinets can give them a fresh look for less.
To refinish your kitchen cabinets in 10 easy steps, start by gathering tools and working in a ventilated space. Carefully remove doors and hardware, then clean and degrease all surfaces.
Sand each cabinet smoothly, apply primer, and choose paint or stain that matches your style. Seal with a clear protective coat, let dry completely, and reattach everything carefully.
Each step guarantees a durable, professional finish that transforms your kitchen’s look. Keep following along for detailed tips and tricks.
Key Takeaways
- Remove cabinet doors and hardware carefully, labeling and storing parts to prevent damage and ease reassembly.
- Clean and degrease all surfaces thoroughly to ensure proper adhesion of paint or stain.
- Sand cabinets smoothly using medium then fine-grit sandpaper, filling dents and imperfections before finishing.
- Apply primer evenly, then paint or stain in thin, consistent coats, allowing full drying between layers.
- Seal finished surfaces with clear varnish, then reattach hardware and doors after a final inspection and drying.
Get Your Tools and Materials Ready for Refinishing Kitchen Cabinets
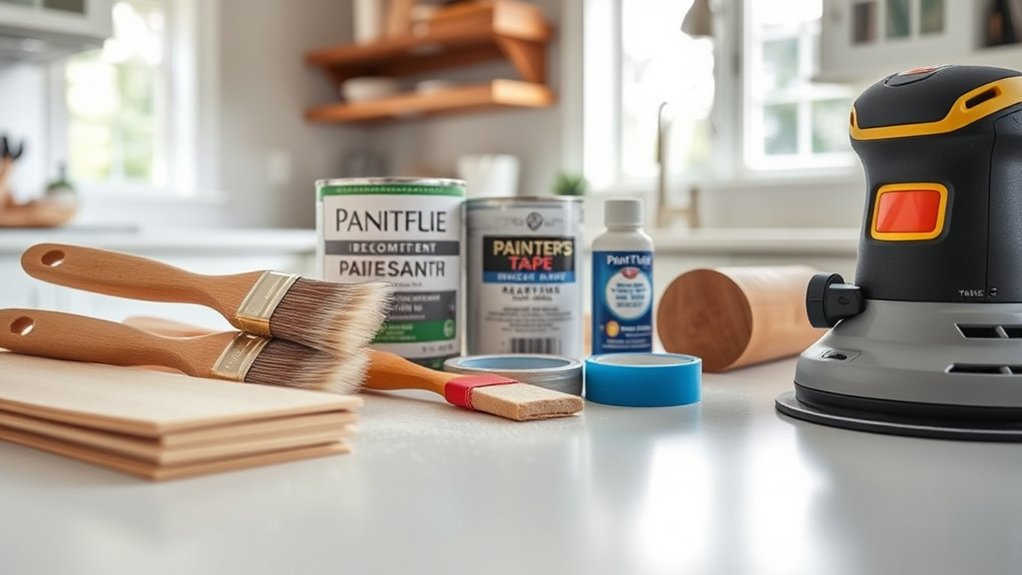
Before you begin refinishing your kitchen cabinets, gather all the necessary tools and materials to guarantee a smooth process. You’ll need sandpaper, a scraper, paintbrushes, primer, paint or stain, and protective gear like gloves and goggles.
Prioritizing cabinet safety means working in a well-ventilated area and wearing masks to avoid inhaling dust or fumes.
Ensure safety by working in a ventilated space and wearing masks to protect against dust and fumes.
Check your tools carefully; tool maintenance is vital for efficiency and safety. Make sure your sandpaper is clean and not worn out, and your brushes are free from hardened paint.
A dull scraper or damaged brush will only slow you down and risk damaging the cabinet surfaces. Organize your workspace so everything is within easy reach, reducing accidents and keeping your workflow steady.
Remove Cabinet Doors and Hardware Carefully
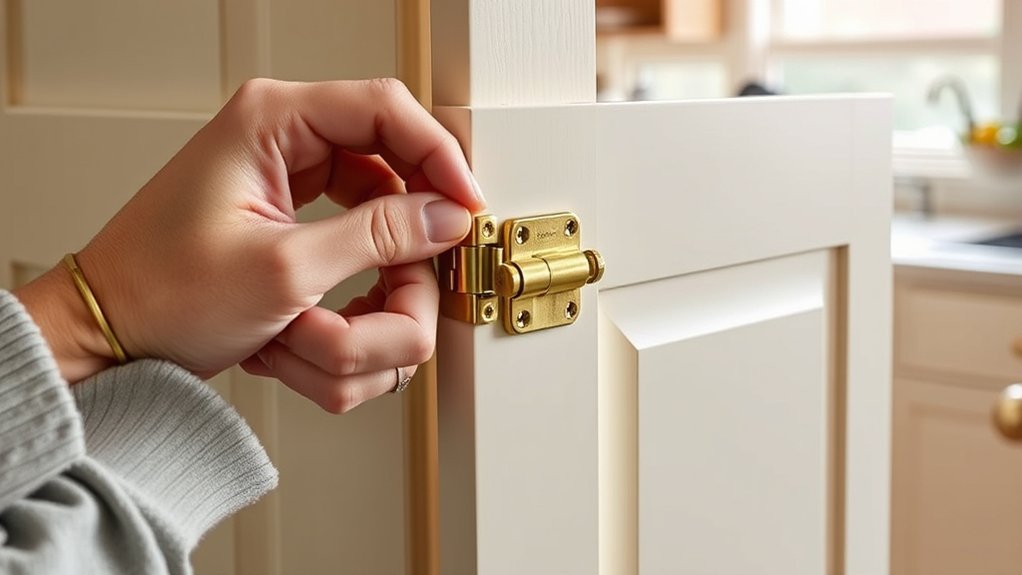
When you start removing cabinet doors and hardware, handle each piece gently to prevent damage and make reinstallation easier. Begin by unscrewing the cabinet hinges carefully, supporting the door as you go to avoid dropping or scratching it.
Once the doors are off, take off all hardware like knobs and pulls, keeping screws and parts organized for reassembly. Place each door and its hardware in labeled containers or on a soft surface to avoid scratches.
This careful approach saves you time and frustration later. After removal, you can focus on hardware cleaning to restore the finish and remove grime, making your cabinets look fresh once reinstalled.
Clean and Degrease All Cabinet Surfaces Thoroughly
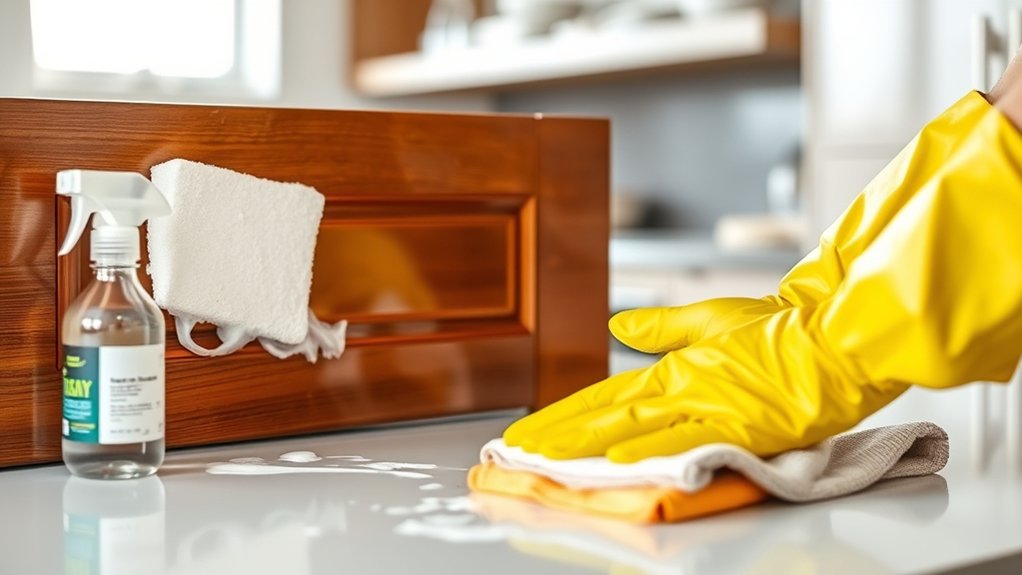
Start by choosing a cleaner that cuts through grease without damaging the wood. Grease can keep paint or stain from adhering properly, so wipe down every surface thoroughly with a degreaser or warm water and mild detergent.
Effective Cleaning Solutions
Although sanding and painting get most of the attention, cleaning your kitchen cabinets thoroughly is an essential first step. Using the right cleaning agents helps you remove dirt, grime, and stains effectively before refinishing. Choose a solution designed for wood or laminate surfaces to avoid damage.
For stubborn stain removal, apply a mixture of mild detergent and warm water, scrubbing gently with a soft cloth or sponge. Avoid harsh chemicals that can strip the finish or leave residues. Rinse well with clean water and dry each surface thoroughly to prevent moisture issues later.
Taking the time to clean your cabinets properly guarantees better adhesion for paint or stain, resulting in a smooth, long-lasting finish you’ll be proud of.
Removing Grease Residue
How do you guarantee your kitchen cabinets are truly clean before refinishing? Start with thorough grease removal.
Kitchens often accumulate stubborn oily buildup that regular cleaning misses. Use a degreaser or a mixture of warm water and dish soap to break down the residue.
Apply the solution generously, scrubbing all surfaces, including corners and edges, where grease hides. After scrubbing, wipe down with a clean, damp cloth to remove loosened grime.
For tougher spots, a vinegar and water solution can improve residue cleaning. Make sure the cabinets are completely dry before moving on.
Proper grease removal prevents finish failure and ensures paint or stain adheres well. Take the time for this essential step, and your refinishing project will have a smooth, lasting result.
Choose Paint or Stain for Your Kitchen Cabinets
Choosing paint or stain for your kitchen cabinets comes down to the look you want and how much wear they’ll face. Paint gives you a smooth, colorful finish and hides imperfections, while stain highlights the wood’s natural grain for a classic look. Think about your kitchen’s style and how each finish will complement it before you decide.
Paint vs. Stain Benefits
Why choose paint over stain, or vice versa, when refinishing your kitchen cabinets? It all comes down to what you want in color matching, finish durability, and overall look.
- Paint offers unlimited color matching, letting you pick any shade to match your kitchen’s vibe.
- Stain highlights natural wood grain, giving a warm, classic finish that paint can’t replicate.
- Paint provides a tougher, more durable finish, resisting chips and stains better in busy kitchens.
- Stain penetrates the wood, which can make scratches less noticeable and help preserve the wood’s texture.
Considering these benefits helps you decide which option fits your kitchen’s needs and your lifestyle best.
Matching Style Preferences
Although both paint and stain can transform your kitchen cabinets, your choice should reflect the style you want to achieve. If you prefer a modern or bright look, paint offers endless color coordination options, allowing you to match your cabinets perfectly with walls, countertops, or accents.
On the other hand, stain highlights the natural wood grain, lending warmth and timelessness to traditional or rustic kitchens. Maintaining style consistency means considering your kitchen’s overall design: paint suits sleek, contemporary spaces, while stain complements classic, cozy atmospheres.
Think about your existing finishes and how your cabinets will blend. Whichever you choose, focus on creating harmony throughout the room. This way, your refinished cabinets will improve your kitchen’s character without clashing with other elements.
Sand Cabinets for a Smooth, Even Finish
Before applying any finish, sanding the cabinets thoroughly guarantees a smooth, even surface that helps paint or stain adhere better. You’ll want to pay close attention to the wood grain to avoid damaging it during sanding. Using the right sanding techniques will make your job easier and improve the final look.
Follow these steps to sand your cabinets effectively:
- Start with medium-grit sandpaper (around 120 grit) to remove the old finish and smooth out rough spots.
- Sand in the direction of the wood grain to prevent scratches and achieve an even surface.
- Switch to fine-grit sandpaper (220 grit) to create a smooth texture that paint or stain will cling to.
- Wipe down the cabinets with a tack cloth or damp rag to remove all dust before finishing.
Repair Dents and Scratches Before Finishing
After sanding your cabinets to a smooth finish, you’ll want to address any dents and scratches that could show through your paint or stain. Proper surface preparation is vital for flawless results.
Use wood filler or putty to fill dents and deep scratches, then smooth it down with fine-grit sandpaper once dry. For minor imperfections, a wax stick or touch-up marker can work well. This step guarantees your furniture repairs are seamless and the final finish looks professional.
Here’s a quick guide to common repairs:
| Damage Type | Repair Material | Application Tip |
|---|---|---|
| Small Scratches | Wax Stick | Rub gently, blend with cloth |
| Dents | Wood Filler | Apply, dry, then sand smooth |
| Surface Scratches | Touch-Up Marker | Match color, apply lightly |
Addressing these flaws now saves time later and sets the stage for a flawless finish.
Apply Primer, Then Paint or Stain Your Cabinets Evenly
Choose a primer that’s suited to your cabinet material so the paint or stain will adhere properly. Apply it in smooth, even strokes to help prevent drips and brush marks. With a good primer coat, you’ll be ready for a professional-looking finish.
Choosing The Right Primer
Since a smooth, lasting finish depends on proper preparation, choosing the right primer is essential when refinishing your kitchen cabinets. The primer creates a perfect base, ensuring paint or stain adheres well and lasts longer.
Here’s how to pick the best one for your project:
- Identify your cabinet material—wood, laminate, or metal—to select a compatible primer.
- Consider color coordination; pick a primer that complements your chosen paint or stain color for better coverage.
- Factor in your hardware selection; some primers work better with certain finishes that highlight your knobs and pulls.
- Choose a stain-blocking primer if your cabinets have knots or previous discoloration to prevent bleed-through.
With the right primer, your cabinets will look professional and durable.
Techniques For Even Coating
Though applying primer and paint may seem straightforward, mastering even coating takes careful technique to avoid drips, streaks, and uneven color. Start by applying thin, consistent coats with a high-quality brush or foam roller, working in the direction of the wood grain.
Allow each layer to dry fully before adding the next to guarantee smooth coverage. When staining, wipe excess immediately to maintain an even tone.
Don’t forget to think about color coordination with your kitchen’s overall palette and hardware selection; the finish should complement knobs and pulls for a cohesive look.
Take your time and avoid rushing—patience assures a professional appearance. Proper technique here sets a solid foundation before you move on to achieving a smooth finish.
Tips For Smooth Finish
Achieving a smooth finish starts with properly applying primer, which creates a uniform surface for paint or stain to adhere to. To guarantee your cabinets look flawless, follow these tips:
- Use a high-quality brush or roller to apply primer evenly, avoiding drips or thick spots.
- Once dry, lightly sand the surface to smooth out any imperfections before painting or staining.
- Apply paint or stain in thin, consistent coats, allowing each layer to dry fully for the best color coordination and durability.
- Incorporate decorative techniques like glazing or distressing only after the base coat is smooth and dry for a professional look.
Seal Your Kitchen Cabinets With a Clear Protective Topcoat
Before you finish your project, you’ll want to seal your kitchen cabinets with a clear protective topcoat to guarantee durability and maintain their fresh appearance. This topcoat acts as a shield against moisture, stains, and everyday wear, keeping your cabinets looking new longer. Choose a clear polyurethane or water-based varnish for a durable, non-yellowing finish. Apply thin, even coats using a high-quality brush or foam applicator, and avoid over-brushing to prevent streaks.
While sealing, ensure proper cabinet ventilation to help the topcoat dry efficiently and reduce lingering fumes. Good airflow speeds curing and keeps your workspace safe. Also, if you’ve done cabinet labeling to keep track of doors and drawers, double-check labels before sealing to avoid confusion later. Taking these steps ensures your refinished cabinets stay protected and organized, setting you up for a successful kitchen update.
Let Cabinets Dry Completely Before Reassembling
Once you apply the final coat, you’ll need to let your cabinets dry completely to guarantee the finish cures properly. Skipping or rushing this drying process can lead to smudges, uneven texture, or damage. To nail the reassembly timing, follow these steps:
- Check the recommended drying time on your product’s label. Different finishes need varying amounts of time to cure.
- Keep the area well-ventilated to speed up drying and prevent dust buildup on the surface.
- Avoid touching or handling the cabinets during this phase to maintain a flawless finish.
- Test dryness by lightly pressing a corner—if it feels tacky, give it more time.
Patience here ensures your hard work lasts longer and looks professional. Only move on to reassembling when the cabinets are fully dry and hardened. This prevents damage and ensures a smooth reassembly process.
Reattach Hardware and Reinstall Cabinet Doors Properly
When your cabinets are completely dry, you can reattach the hardware and reinstall the doors to restore their full functionality and style. Start by carefully handling the hardware reattachment; use the original screws if they’re in good condition to guarantee a secure fit.
Align each cabinet door with its frame before tightening the hinges to avoid misalignment. Proper cabinet alignment is key to smooth operation and a polished look. Use a level or a straight edge if needed to check that doors sit evenly.
Tighten screws gradually, adjusting as necessary to prevent stripping or misalignment. Once all doors and hardware are back in place, open and close them to confirm everything functions smoothly.
If you notice any gaps or uneven spacing, loosen the screws slightly and realign. Taking your time with this step ensures your refinished cabinets look professional and last longer, giving your kitchen a refreshed, cohesive appearance.
Frequently Asked Questions
How Long Does the Entire Refinishing Process Usually Take?
The entire refinishing process usually takes about 3 to 5 days, depending on your cabinet material and the finishing techniques you choose. Solid wood cabinets might need more sanding and drying time, while laminate surfaces require special prep. You’ll spend time cleaning, sanding, applying primer, paint or stain, and sealing. Drying time between coats is vital, so don’t rush—you’ll get the best results by allowing each layer to fully cure.
Can I Refinish Cabinets Without Removing All Hardware?
You can’t make an omelet without breaking eggs, and likewise, skipping hardware removal can complicate refinishing. While you *can* refinish cabinets without removing all hardware, it makes surface preparation trickier and risks uneven paint or stain.
Removing hardware lets you work cleaner and protects knobs and hinges from damage. If you decide to keep hardware on, cover it carefully and be extra cautious during sanding and painting for the best finish.
What Safety Precautions Should I Take During Refinishing?
You should always wear proper safety gear, including gloves, goggles, and a mask, to protect yourself from dust and fumes. Use ventilation techniques like opening windows and running fans to keep fresh air flowing while you work. Avoid inhaling chemical fumes by working in well-ventilated areas, and take breaks outside if needed. These precautions help keep you safe and comfortable throughout the refinishing process.
How Do I Prevent Paint From Chipping Over Time?
To prevent paint from chipping over time, start with thorough cabinet cleaning to remove grease and dirt, ensuring better paint adhesion. Choose high-quality paint designed specifically for cabinets, as it’s more durable and resistant to wear. Apply a primer before painting, and finish with a clear protective topcoat to seal the surface. Avoid rushing the drying time between coats—you’ll get a smooth, long-lasting finish that holds up well.
Are There Eco-Friendly Products for Cabinet Refinishing?
Yes, you can definitely find eco-friendly paints and sustainable finishes that work beautifully on cabinets. You might worry they won’t last or look good, but many brands now offer durable, low-VOC options that protect your cabinets and the environment.
Choosing these products helps reduce harmful chemicals in your home and supports sustainability. So, go ahead and pick eco-friendly options—they’re a smart, responsible choice that doesn’t sacrifice quality or style.
Conclusion
Now that you’ve transformed your cabinets, imagine the fresh scent of paint mingling with the warmth of your kitchen’s glow. Each smooth surface reflects your hard work, turning tired wood into a vibrant centerpiece.
With tools cleaned and doors back in place, your kitchen feels renewed, ready for new memories. You’ve not just refinished cabinets—you’ve refreshed your whole space. With your personal touch and pride, your kitchen cabinets shine like new.