How to Clean Greasy Kitchen Cabinets in 7 Easy Steps
Greasy kitchen cabinets can make an otherwise clean kitchen feel grimy, and finding a cleaner that cuts through buildup without damaging the finish can be a challenge. You’re not alone—many people struggle with stubborn cabinet grease. This roundup will help you find practical ways to clean greasy kitchen cabinets and bring back their fresh look.
Start by gathering gloves, soft cloths, and a natural degreaser made from vinegar, water, castile soap, and lemon juice. Protect nearby surfaces and dust your cabinets to remove loose dirt.
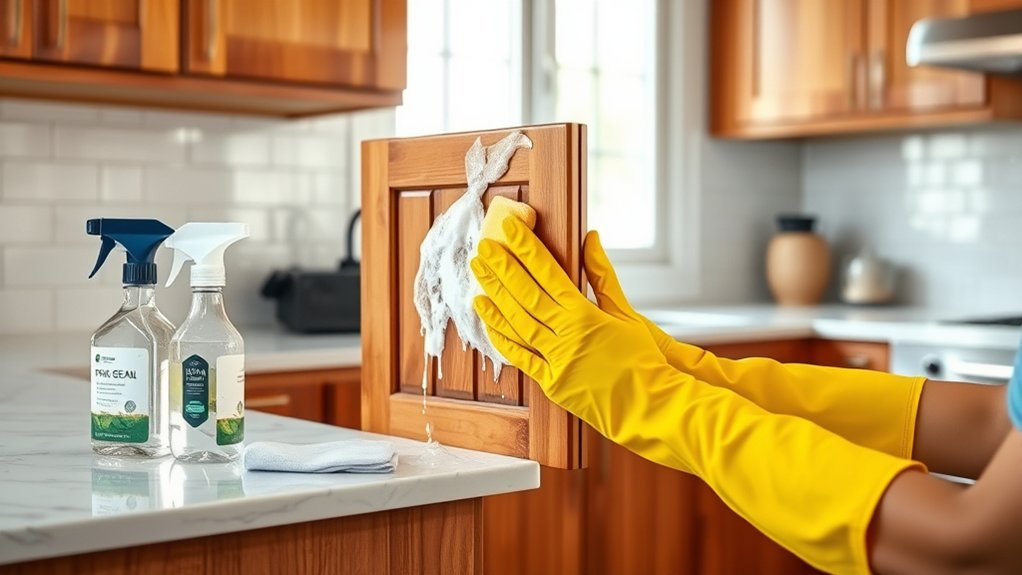
Spray the degreaser on greasy spots and let it sit for 10–15 minutes. Gently scrub with a soft sponge or cloth, then wipe and rinse well.
Finish by drying and polishing with an olive oil and lemon mixture for shine. Keep following these tips to achieve spotless, refreshed cabinets.
Key Takeaways
- Dust cabinets with a microfiber cloth or soft brush to remove loose debris before deep cleaning.
- Mix a natural degreaser with vinegar, water, castile soap, and lemon juice for effective grease removal.
- Spray the degreaser on greasy areas and let it sit 10-15 minutes to break down grime.
- Gently scrub with soft sponges or brushes, rinse frequently, then wipe residue with a damp microfiber cloth.
- Finish by polishing with an olive oil and lemon juice mixture, buffing to a glossy, streak-free shine.
Gather Cleaning Supplies and Protect Surfaces
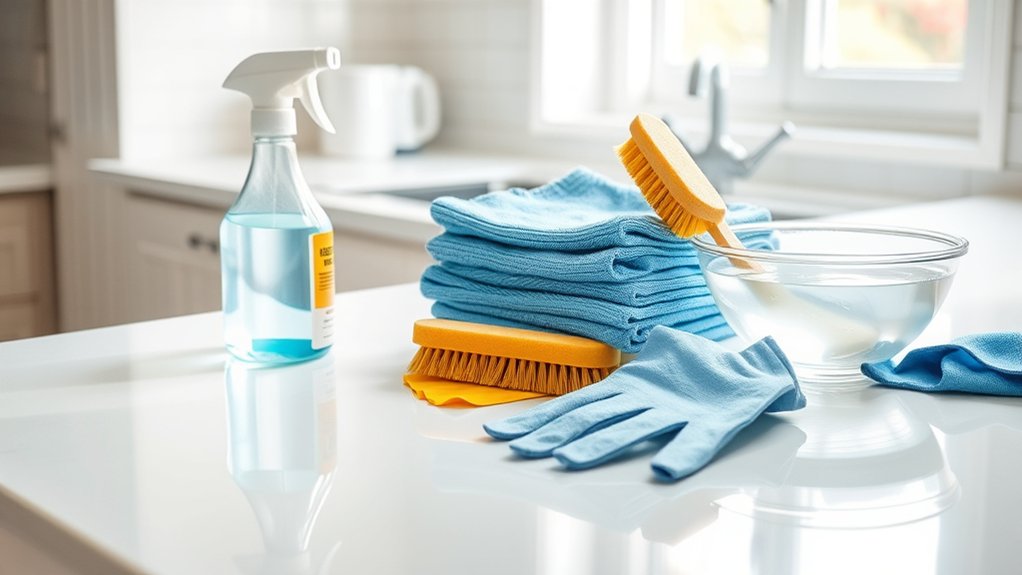
Before you begin cleaning your greasy kitchen cabinets, gather all the necessary supplies to make the process efficient. Start with gloves and protective eyewear to guarantee cleaning safety—these help prevent irritation from strong detergents. Choose a mild dish soap, baking soda, or a gentle all-purpose cleaner suitable for your cabinet material. Grab soft sponges or microfiber cloths to avoid scratching surfaces. Have a bucket of warm water ready for rinsing.
Next, focus on surface protection. Lay down old towels or plastic sheets on countertops and floors beneath your cabinets to catch drips and debris. Remove or cover nearby items to keep them safe from cleaning solutions. This step prevents damage to other kitchen areas and makes cleanup easier.
Remove Dust and Loose Dirt From Cabinets
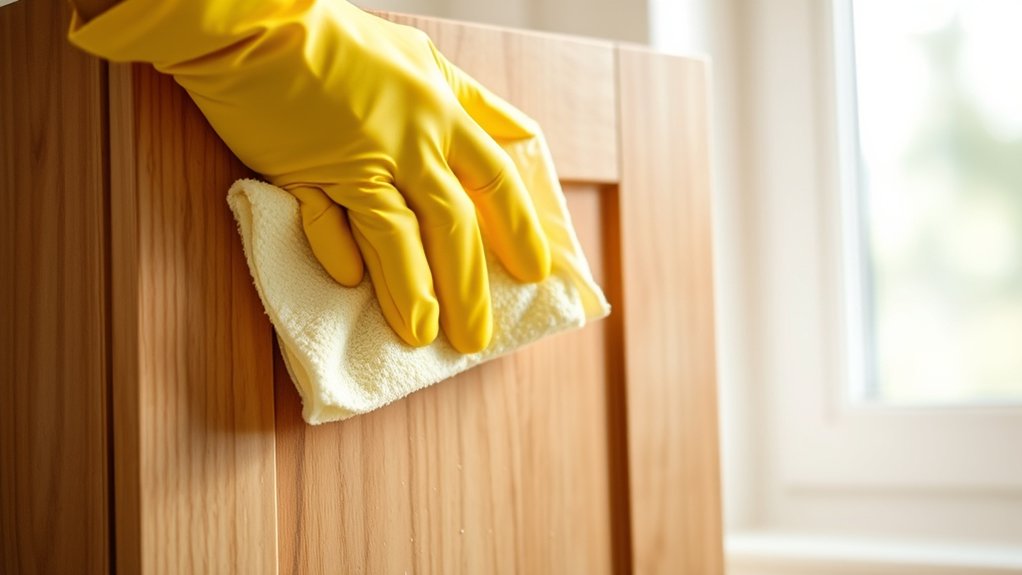
Since grease often traps dust and dirt on your kitchen cabinets, you’ll want to start by removing any loose particles. Begin dust removal with a dry microfiber cloth or a soft-bristle brush to gently sweep away surface dust. This prevents scratching the cabinet finish when you move on to deeper cleaning.
Focus on corners, edges, and grooves where dirt tends to accumulate.
For loose dirt elimination, you can also use a vacuum with a brush attachment to capture debris without spreading it. Avoid harsh scrubbing at this stage to keep grime from embedding further.
Once you’ve cleared away dust and loose dirt, your cabinets will be ready for a more thorough grease cleaning. Taking these initial steps guarantees your cleaning process is more effective and prevents dirt from mixing with cleaning solutions, which could cause streaking or residue.
Make a Natural Degreaser for Greasy Kitchen Cabinets
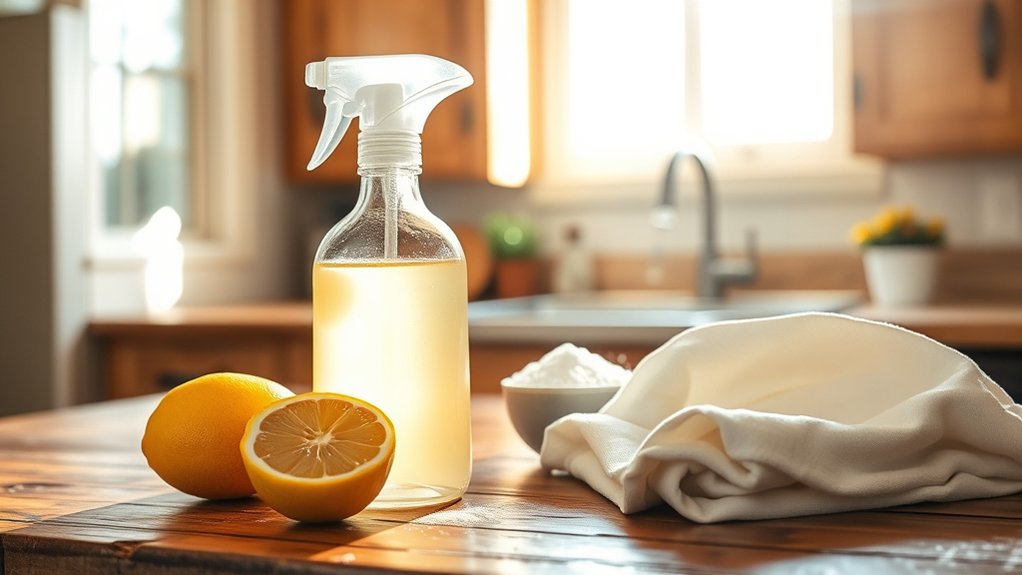
When tackling greasy kitchen cabinets, you’ll want a natural degreaser that’s both effective and safe for your surfaces. Homemade solutions using natural ingredients are a great choice. They’re easy to make, non-toxic, and gentle on your cabinets while cutting through grease effectively. Here’s a simple guide to create your degreaser:
| Ingredient | Quantity | Purpose |
|---|---|---|
| White vinegar | 1 cup | Breaks down grease |
| Warm water | 1 cup | Dilutes vinegar for safety |
| Liquid castile soap | 1 tablespoon | Adds cleaning power |
| Lemon juice | 1 tablespoon | Boosts degreasing effect |
Mix all ingredients in a spray bottle. Shake well before each use. This homemade solution harnesses the power of natural ingredients to lift and dissolve grease without harsh chemicals. You’ll appreciate how simple and effective this natural degreaser is for your kitchen cabinets.
Apply Degreaser and Let It Work on Grease
Once you’ve mixed your natural degreaser, spray it generously onto the greasy areas of your kitchen cabinets. This solution triggers chemical reactions that break down stubborn grease and grime, loosening it for easier removal.
Be sure to cover all affected spots evenly but avoid oversaturating the wood to prevent damage. After spraying, let the degreaser sit for about 10 to 15 minutes—this waiting period maximizes its effectiveness without requiring harsh scrubbing.
While applying and waiting, keep safety precautions in mind. Work in a well-ventilated area to avoid inhaling any fumes, even if your degreaser is natural.
Wear gloves to protect your skin from irritation caused by the chemical reactions taking place. Avoid contact with your eyes, and if any solution splashes, rinse immediately with water.
Choose the Right Tools and Scrub Cabinets Gently
Gather a few gentle cleaning tools, such as soft sponges, microfiber cloths, and a soft-bristled brush. Then, scrub your cabinets with light pressure to lift grease without damaging the finish.
Essential Cleaning Tools
Selecting the right tools makes cleaning greasy kitchen cabinets more effective and less damaging. You’ll want to protect your hands and avoid scratching surfaces while tackling stubborn grime.
Start by wearing cleaning gloves to keep your skin safe from harsh chemicals and grease. Using microfiber cloths helps you lift dirt without leaving scratches or streaks, making them ideal for delicate cabinet finishes.
Here are essential tools you’ll need:
- Cleaning gloves: Protect your hands and improve grip.
- Microfiber cloths: Gently remove grease without damage.
- Soft-bristled brush or sponge: Reach corners and stubborn spots carefully.
With these tools, you’re set to clean your cabinets efficiently while preserving their appearance.
Gentle Scrubbing Techniques
Although cleaning greasy cabinets can be frustrating, using the right tools and gentle scrubbing methods makes the process much easier. Start by selecting a soft-bristle brush or a non-abrasive sponge to avoid damaging the cabinet’s finish.
Use circular motions to lift grease without scratching the surface. Be mindful of your scrubbing pressure: pressing too hard can strip paint or wood finish, while too lightly may not remove the grime effectively.
Work in small sections, rinsing your brush or sponge regularly to prevent spreading grease around. Remember, patience pays off. With careful brush techniques and controlled scrubbing pressure, you’ll restore your cabinets’ shine without causing harm, making your kitchen look fresh and clean.
Wipe and Rinse Cabinets to Remove Residue
Use a soft microfiber cloth to gently wipe away soap or grease residue without scratching the surface. Rinse the cloth regularly with clean water so you don’t spread grime back onto the cabinets. This simple step helps keep your cabinets looking fresh and residue-free.
Choosing The Right Cloth
How do you guarantee your kitchen cabinets get thoroughly cleaned without leaving streaks or residue behind? Choosing the right cloth is key. Microfiber cloths and cotton rags are your best bets because they effectively lift grease and dirt without scratching surfaces.
When selecting a cloth, consider:
- Absorbency: Microfiber cloths hold more moisture and dirt, making them ideal for wiping down greasy cabinets.
- Softness: Cotton rags are gentle, reducing the risk of damaging delicate finishes.
- Lint-free: Microfiber cloths leave no fibers behind, ensuring a spotless finish.
Avoid using rough or abrasive materials, as they can leave scratches or lint. By picking the right cloth, you make your cleaning process smoother and achieve cabinets that look fresh and streak-free every time.
Effective Rinsing Techniques
Once you’ve chosen the right cloth to tackle grease, the next step is rinsing your cabinets properly to remove any leftover cleaning solution or grime.
Dampen a clean cloth with warm water and gently wipe the cabinet surfaces to lift away residue. Avoid soaking the wood to prevent damage. Rinse your cloth frequently to guarantee you’re not spreading dirt around.
This step is essential for maintaining a fresh, clean look and supports your overall kitchen organization by keeping surfaces spotless. Think of it like clearing the board games off a table before a new game: you want a clean slate.
After rinsing, dry the cabinets with a soft towel to prevent water spots. Effective rinsing ensures your cabinets stay grease-free and ready for your next cooking adventure.
Dry and Polish Cabinets to Make Them Shine
Although the cabinets are clean, they can still look dull if you skip drying and polishing. Proper cabinet finishing involves not just cleaning but also drying to prevent water spots and damage. Use a soft, dry microfiber cloth to thoroughly remove moisture from every surface. Once dry, surface polishing will bring back the cabinet’s natural shine and protect the finish.
To make your cabinets gleam, follow these tips:
- Use a quality furniture polish or a mixture of olive oil and lemon juice to improve the finish.
- Apply polish sparingly with a soft cloth, working in circular motions to avoid streaks.
- Buff gently after polishing to achieve a smooth, glossy surface.
Frequently Asked Questions
Can Greasy Cabinets Cause Health Issues?
Yes, greasy cabinets can cause health issues because the buildup traps bacteria and allergens. If you don’t improve your kitchen ventilation, these particles linger and affect indoor air quality.
Your cooking habits, like frying without a range hood, increase grease accumulation, making it harder to keep surfaces clean. Over time, this can worsen respiratory problems or allergies.
How Often Should I Clean Greasy Kitchen Cabinets?
You should do cabinet cleaning at least once a month to keep grease buildup under control and maintain your kitchen’s freshness. If you cook frequently or use a lot of oil, consider cleaning every two weeks.
Regular kitchen maintenance helps prevent stubborn grime that’s harder to remove later. Wiping cabinets with a gentle cleaner during your routine cleaning sessions keeps them looking great and extends their lifespan.
Are Commercial Degreasers Safe for All Cabinet Materials?
Commercial cleaners can cause chemical chaos, so you shouldn’t assume they’re safe for all cabinet materials. Always check chemical safety labels before use, as harsh ingredients might harm wood, laminate, or painted surfaces.
If you want to avoid damage, try eco-friendly options—they’re gentler and greener. You’ll keep your cabinets clean and cared for without risking stains, scratches, or fading. When in doubt, test a small spot first to stay safe!
What Causes Grease Buildup on Kitchen Cabinets?
Grease buildup on kitchen cabinets happens because cooking releases oils and food particles that stick to surfaces over time. If you don’t clean regularly, these residues accumulate, making cabinets look grimy.
To prevent this, focus on grease prevention by wiping cabinets after cooking and using proper ventilation. Consistent cabinet maintenance helps keep grease from settling, protecting your cabinets’ finish and making cleaning easier in the long run.
Can Greasy Cabinets Attract Pests?
Yes, greasy cabinets can attract pests because the oil and food residue provide a tempting food source. If you don’t clean the grease regularly, it increases the risk of pest attraction, leading to insect infestation like ants, cockroaches, and even rodents.
These pests thrive in greasy, dirty environments. So, you’ll want to keep your cabinets clean to prevent any unwanted critters from invading your kitchen and causing bigger problems.
Conclusion
Now that you know how to clean greasy kitchen cabinets, you can restore their shine in no time. Did you know the average kitchen accumulates up to 50 grams of grease daily? That’s like wiping off a small spoonful every single day!
By following these simple steps, you’ll keep your cabinets looking fresh and clean, making your kitchen a welcoming space for cooking and gathering. Keep up the routine, and you’ll see the difference!