How to Degrease Kitchen Cabinets in 7 Easy Steps
Greasy kitchen cabinets can make even a clean kitchen feel grimy, and scrubbing them without damaging the finish can be frustrating. You’re not alone—many people struggle with stubborn buildup. These seven easy steps for how to degrease kitchen cabinets can help you get started.
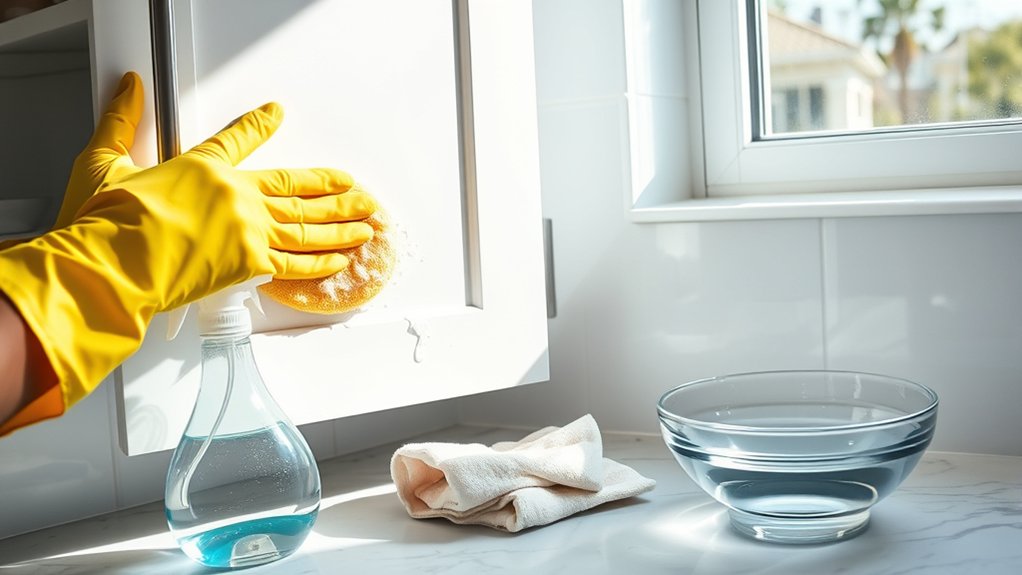
Start by gathering microfiber cloths, gloves, a soft brush, and a homemade degreasing spray made with vinegar, baking soda, dish soap, and warm water. Remove dust and debris with a cloth and brush before applying the degreaser.
Let it sit 5-10 minutes, then scrub stubborn grease gently. Rinse with water and dry thoroughly to prevent damage.
Keep your cabinets grease-free by cleaning regularly. There’s more useful advice to help you maintain your kitchen’s shine.
Key Takeaways
- Remove dust and debris from cabinets using a microfiber cloth and soft-bristled brush before degreasing.
- Prepare and apply a homemade degreasing solution with vinegar, baking soda, dish soap, and warm water.
- Spray degreaser evenly on greasy areas and let it sit for 5-10 minutes for effective grease breakdown.
- Scrub cabinets gently with a soft brush or sponge, focusing on corners, crevices, and hardware.
- Rinse thoroughly with water and dry immediately to prevent water spots and damage.
Gather Supplies to Degrease Cabinets
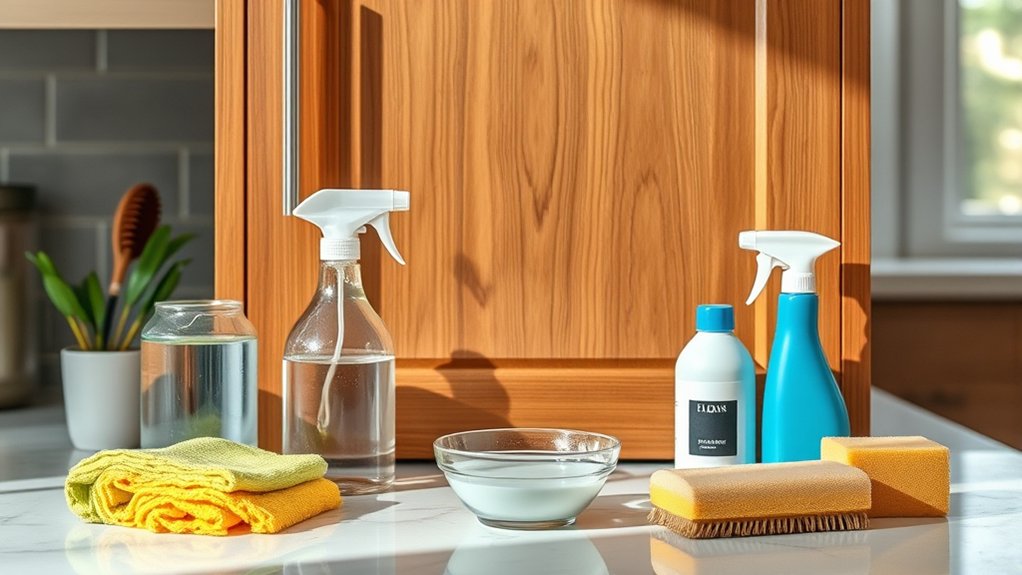
Before you begin scrubbing, make sure you have all the necessary supplies ready. You’ll need a few essentials to tackle the grease effectively without damaging your cabinet hardware or paint finishes.
Start with microfiber cloths or soft sponges to avoid scratching surfaces. Next, gather rubber gloves to protect your hands from strong cleaners. A soft-bristled brush can help you reach crevices around cabinet hardware, like knobs and hinges, without causing damage.
Choose a gentle cleaning agent suitable for your cabinet’s paint finishes. This prevents stripping or discoloration. Avoid harsh abrasives that can ruin both the finish and hardware.
Also, have a bucket or spray bottle handy to apply cleaning solutions evenly. Finally, keep a dry cloth nearby to wipe off excess moisture and prevent water damage.
Mix a Homemade Degreasing Solution
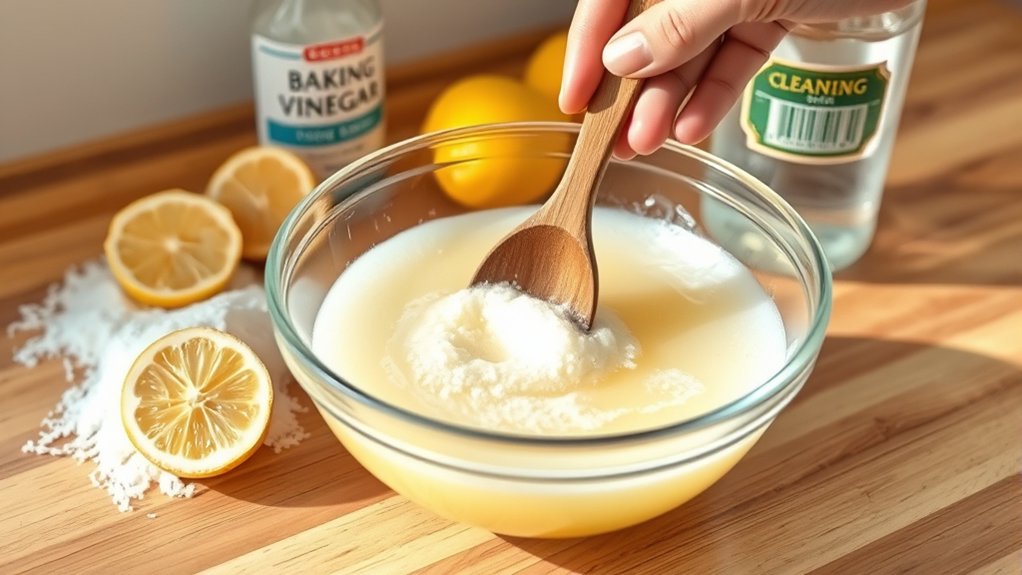
Mix vinegar, baking soda, and warm water in the right proportions to make a simple homemade degreaser. Use it carefully to avoid damaging your cabinets, and store any leftover solution in a sealed container for quick cleanups.
Ingredients Needed
To create an effective homemade degreasing solution, gather just a few simple ingredients that you likely already have in your kitchen. You’ll need white vinegar, baking soda, liquid dish soap, and warm water.
White vinegar acts as a natural grease cutter and deodorizer, while baking soda provides gentle scrubbing power without scratching your cabinets. The liquid dish soap helps break down stubborn grease, making your DIY kitchen cleaning more efficient.
Warm water ties everything together, diluting the mixture for safe use on various cabinet finishes. These eco friendly solutions not only clean effectively but also avoid harsh chemicals, keeping your home and the environment safer.
With these ingredients in hand, you’re ready to whip up a powerful yet gentle degreaser to tackle your kitchen cabinets.
Mixing Instructions
Gathering your ingredients sets the stage for mixing a homemade degreasing solution that’s both effective and safe. You want a blend that tackles grease without harsh chemicals, respecting environmental considerations. Start by combining these cleaning alternatives for the best results:
- 1 cup warm water
- 1 tablespoon white vinegar
- 1 teaspoon baking soda
- A few drops of mild dish soap
First, dissolve the baking soda in warm water, then add vinegar slowly to avoid fizzing over. Stir in the dish soap last.
This simple mix harnesses natural ingredients that cut through grease while being eco-friendly. Use it promptly for maximum effectiveness, ensuring your kitchen cabinets get a thorough yet gentle clean.
This approach helps you maintain a fresh kitchen without compromising the planet.
Storage Tips
Although the homemade degreasing solution works best when fresh, storing it properly lets you extend its usability for a few days. To keep it effective, pour the mixture into a clean, airtight spray bottle and label it with the date.
Store the bottle in a cool, dark place, like your pantry, to avoid degradation from heat or sunlight. When organizing pantry items, place your degreasing solution where you can easily access it, maximizing storage efficiency without clutter.
Avoid storing it near strong-smelling foods, as the solution can absorb odors. Before each use, give the bottle a good shake to recombine ingredients.
Remove Dust and Debris Before Cleaning
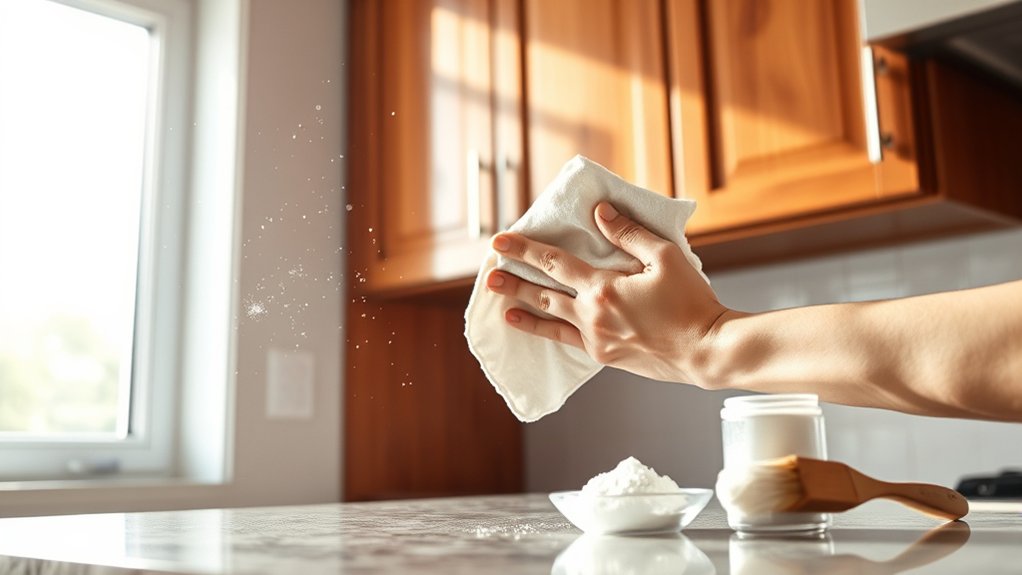
Before you start scrubbing your kitchen cabinets, make sure you remove all dust and debris. Dust removal and debris elimination are crucial first steps that ensure your cleaning efforts aren’t wasted. If you skip this, you might end up rubbing grime deeper into the surface.
Removing dust and debris first prevents grime from embedding deeper during cleaning.
Start by gathering these essentials for effective dust removal:
- A microfiber cloth to trap dust without spreading it around
- A soft-bristled brush for corners and crevices
- A handheld vacuum with a brush attachment to suck up loose debris
- A damp cloth to wipe away any stubborn particles
Work from top to bottom, starting with cabinet tops and moving down to avoid re-contaminating cleaned areas. Pay special attention to hinges and edges where dust and grease like to hide. Taking this extra moment to eliminate loose dirt will make your degreasing process much smoother and more effective.
Apply Degreaser and Let It Sit
Choose a degreaser that’s safe for your cabinet material to avoid damage. Apply it evenly, then let it sit for the recommended time so it can break down the grease. Don’t rush—giving it time to work makes cleaning much easier.
Choosing The Right Degreaser
When tackling greasy kitchen cabinets, selecting a powerful degreaser makes all the difference in cutting through stubborn buildup. You want a product that works efficiently without damaging your cabinet’s finish. Don’t fall for degreasing myths that claim harsher chemicals always perform better; sometimes gentle solutions win. Consider these tips when choosing your degreaser:
- Opt for biodegradable and non-toxic formulas for safer cleaning techniques.
- Look for degreasers designed specifically for kitchen surfaces.
- Avoid abrasive cleaners that can scratch or dull cabinet finishes.
- Test the degreaser on a small, hidden area before full application.
Picking the right degreaser helps you remove grease easily while protecting your cabinets. This choice sets the stage for effective cleaning and a fresh kitchen look.
Optimal Sitting Time
Once you’ve selected the right degreaser, applying it correctly makes all the difference. After spraying or wiping the product onto your kitchen cabinets, let it sit for the recommended time—usually between 5 to 10 minutes.
This sitting period allows the degreaser to break down stubborn grease effectively without excessive scrubbing. Rushing this step can reduce cleaning efficiency and force you to use more product, increasing the environmental impact.
Patience during this phase is a key cleaning technique that boosts results while minimizing waste. Always follow the manufacturer’s instructions for ideal sitting time.
This approach not only ensures a thorough clean but also supports eco-friendly practices by limiting overuse of chemicals, helping you maintain spotless cabinets responsibly.
Scrub Cabinets to Remove Stubborn Grease
Although wiping cabinets removes surface grime, scrubbing is essential to tackle stubborn grease that clings to corners and crevices. You’ll need to focus on areas where oil stains tend to accumulate, especially near cabinet hardware. Use a soft-bristle brush or sponge to avoid damaging the finish while getting into tight spots.
Here’s how to scrub effectively:
- Apply a degreasing solution directly onto greasy spots and let it sit briefly.
- Gently scrub around cabinet hardware, where grime often builds up.
- Use a toothbrush to reach narrow edges and intricate designs.
- Pay special attention to oil stains that don’t lift with simple wiping.
This targeted scrubbing loosens tough grease, making it easier to clean without harsh chemicals or excessive elbow grease. By carefully working around hardware and stubborn spots, you’ll restore your cabinets’ shine and keep them looking fresh.
Rinse and Dry Cabinets Thoroughly
After scrubbing away stubborn grease, you’ll need to rinse your cabinets to remove any leftover residue from the cleaning solution. Use a clean, damp cloth or sponge with plain water to wipe down all cabinet surfaces thoroughly.
Rinse cabinets thoroughly with a damp cloth and plain water to remove all cleaning residue after scrubbing.
This step is essential to prevent any cleaning agents from damaging your cabinet paint or leaving streaks behind. Pay close attention to corners and edges where residue can hide.
Once rinsed, dry the cabinets immediately using a soft, dry towel. This prevents water spots and helps maintain the integrity of your cabinet paint.
Also, don’t forget to dry around the hardware carefully. Moisture can cause metal hardware to rust or loosen over time, so proper drying supports hardware maintenance.
Taking these steps guarantees your cabinets look fresh and prolongs their lifespan while keeping your kitchen clean and inviting.
Keep Cabinets Grease-Free With Regular Cleaning
To keep your cabinets looking their best, you should clean them regularly to prevent grease buildup from becoming a tough problem. Grease can dull cabinet finishes and make your kitchen feel grimy. By staying on top of cleaning, you protect your cabinets and maintain their shine.
Here’s how to keep grease buildup at bay with simple, regular care:
- Wipe cabinets weekly with a soft cloth and mild soap to remove surface grease.
- Use a vinegar-water solution occasionally to break down stubborn grease without harming finishes.
- Avoid harsh chemicals that can damage cabinet finishes over time.
- Immediately clean spills and splatters to prevent grease from settling in.
Frequently Asked Questions
Can I Use Commercial Degreasers Instead of Homemade Solutions?
Yes, you can use commercial degreasers, but they often contain harsh chemicals. If you want eco friendly options, try natural cleaning agents like vinegar, baking soda, or lemon juice. These work well without harming the environment or your health.
Plus, homemade solutions are usually cheaper and safer, especially around kids and pets. So, while commercial degreasers are effective, choosing natural alternatives helps you clean responsibly and keep your kitchen safe.
How Often Should I Deep Clean Kitchen Cabinets?
You should give your kitchen cabinets a “refreshing spa day” every three to six months, depending on the cabinet material. Wood cabinets might need gentler care and less frequent deep cleaning, while laminate or painted surfaces can handle more regular attention.
Adjust your cleaning frequency if you cook often or notice buildup sooner. Staying consistent helps maintain their charm and keeps grease and grime from settling in for a long visit.
Are There Any Safe Degreasers for Painted Cabinets?
Yes, you can safely degrease painted kitchen cabinet paints using gentle grease remover types like vinegar and water solutions or mild dish soap. Avoid harsh chemicals or abrasive cleaners, as they can damage the paint finish.
You might also try baking soda mixed with water for stubborn grease spots. Always test your chosen grease remover on a small, hidden area first to make sure it won’t harm the paint or leave marks on your cabinets.
Can Degreasing Damage Cabinet Finishes?
Yes, degreasing can damage cabinet finishes if you’re not careful. The type of cabinet material matters a lot—wood and painted surfaces are more delicate than laminate or metal. If you clean too often or use harsh chemicals, the finish may wear off or discolor.
To protect your cabinets, adjust your cleaning frequency based on how greasy they get, and always use gentle, appropriate cleaners suited for your cabinet material.
What Causes Grease Buildup on Kitchen Cabinets?
Grease accumulation on your kitchen cabinets happens because of cooking oils and food particles mixing with kitchen fumes. When you fry or sauté, tiny oil droplets and smoke rise into the air, settling on cabinet surfaces.
Over time, this sticky layer builds up, especially near your stove. If you don’t clean regularly, the grease sticks and attracts dust, making your cabinets look grimy and harder to clean later on.
Conclusion
Now that you’ve tackled the grease with these simple steps, your kitchen cabinets look refreshed and spotless. But if you don’t keep up with regular cleaning, stubborn grease could sneak back sooner than you expect.
Stay ahead of the grime and enjoy a kitchen that stays fresh every day. Keep your cabinets clean with regular care, and you’ve got this!