How to Install a Kitchen Sink in 10 Easy Steps
Replacing a kitchen sink can feel like a daunting project, especially when you’re unsure where to start. You’re not alone—many homeowners struggle with choosing the right sink and getting the installation just right.
This guide to how to install a kitchen sink in 10 easy steps breaks the process into manageable steps.
To install a kitchen sink in 10 easy steps, first choose the right sink and gather your tools and materials. Turn off the water supply and prep your workspace. Remove the old sink and disconnect plumbing, then clean and inspect the cabinet.
Next, seal and set your new sink, secure it with mounting clips, and reconnect the plumbing while checking for leaks.
Finally, test your new sink to verify everything works smoothly. Following this process will guide you through each essential step.
Key Takeaways
- Turn off the main water supply and clear the under-sink workspace before starting the installation.
- Remove the old sink and disconnect plumbing, then clean and inspect the cabinet for damage.
- Install the faucet and accessories on the new sink, ensuring proper alignment and secure connections.
- Seal the sink edges with appropriate sealant, lower it into the countertop, and secure with mounting clips.
- Reconnect plumbing, turn on water supply gradually, and check all connections for leaks and proper function.
Choose the Right Kitchen Sink
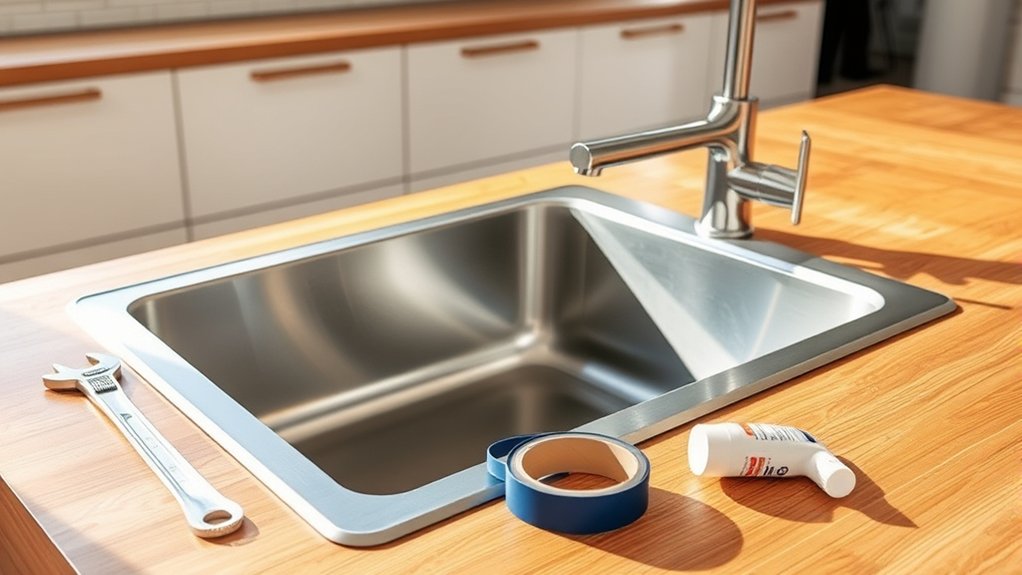
How do you pick the perfect kitchen sink for your space? Start by considering sink material and style options carefully. The material affects durability and maintenance—stainless steel is popular for its resistance to stains and heat, while cast iron offers a classic look and great durability. Composite granite sinks provide a modern, scratch-resistant choice.
Next, think about style options: do you want a single basin for large pots or a double basin for multitasking? Undermount sinks create a seamless look with your countertop, while drop-in sinks are easier to install. Also, factor in your kitchen’s size and your daily cooking habits.
A deep basin might suit you if you wash large dishes often, while a shallow sink may work better in compact spaces. By weighing sink material and style options against your needs, you’ll choose a sink that’s both functional and stylish, making installation the next straightforward step.
Gather Tools and Materials for Installation
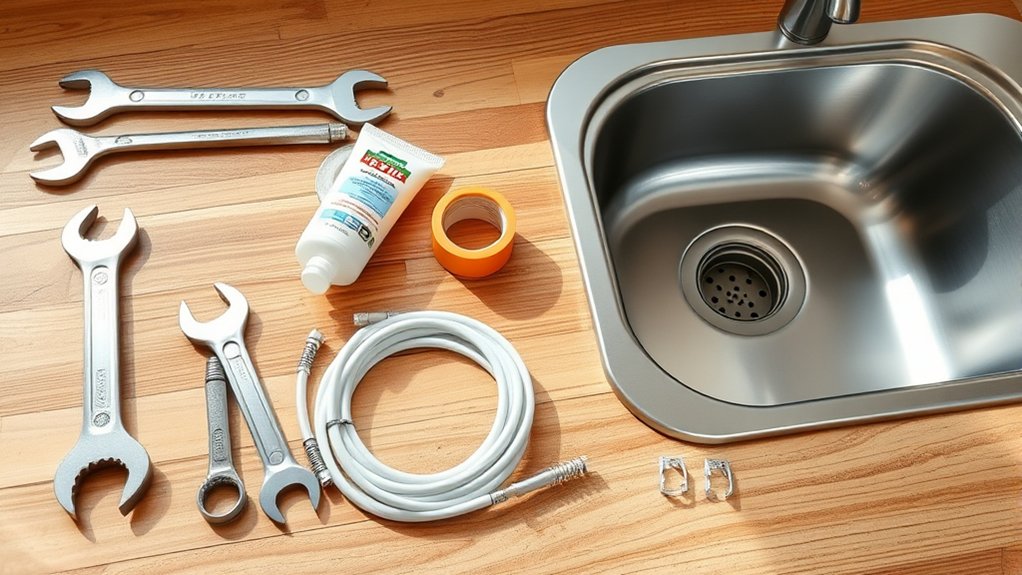
Before you start installing your kitchen sink, gather the tools you’ll need, such as a wrench, plumber’s putty, and a screwdriver. You’ll also need the sink, mounting clips, and the necessary plumbing supplies. Having everything ready beforehand can save time and help you avoid interruptions.
Essential Tools Checklist
Although installing a kitchen sink might seem straightforward, gathering the right tools and materials upfront will save you time and frustration. Having the proper tools guarantees smooth installation and helps you follow cleaning tips and maintenance routines effectively after setup. Here’s a quick checklist to get you started:
| Tool | Purpose | Tip |
|---|---|---|
| Adjustable wrench | Tightening plumbing fittings | Prevents leaks |
| Plumber’s putty | Sealing sink edges | Ensures watertight seals |
| Basin wrench | Reaching tight nuts | Makes under-sink work easier |
Make sure to have these tools ready before you begin. Proper preparation will help you install your sink efficiently and maintain it with ease.
Required Materials Overview
What materials do you need to complete your kitchen sink installation? Start by choosing a sink that matches your design inspiration and fits your countertop cutout. Consider material durability: stainless steel is popular for its resilience and easy maintenance, while cast iron offers a classic look but requires more care.
You’ll also need plumber’s putty or silicone sealant to guarantee watertight seals, along with mounting clips to secure the sink. Don’t forget the drain assembly, including the strainer and tailpiece, plus supply lines to connect your water valves. If your installation involves a garbage disposal, gather the necessary fittings.
Having these materials ready helps streamline the process and ensures a sturdy, long-lasting kitchen sink setup.
Turn Off Water Supply and Prep Workspace
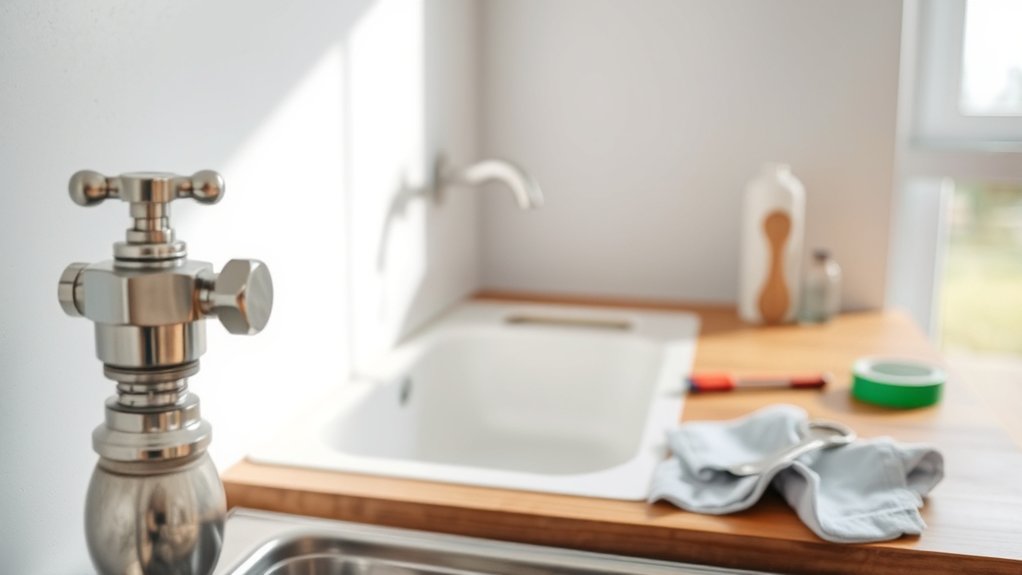
Before you start, find the main water valve and turn off the supply to prevent leaks. Then clear out the area under the sink so you have enough room to work. Keep all the tools you’ll need within reach to make the process go smoothly.
Locate Main Water Valve
Where do you find the main water valve to shut off your kitchen’s water supply? Typically, it’s located near the water meter, often in the basement, crawlspace, or outside along the foundation. Once found, turn the valve clockwise to stop water flow. This step is essential to prevent water pressure from causing leaks or flooding during installation.
While you’re at it, check the pipe insulation around the valve and nearby pipes. Proper insulation helps maintain consistent water pressure and protects pipes from freezing or damage. If the insulation looks worn or missing, consider replacing it before proceeding.
Clear Under-Sink Area
Once you’ve shut off the main water valve and checked the pipe insulation, it’s time to clear the area under your kitchen sink. Proper under sink organization is essential before you begin. Start by:
- Removing all items from the cabinet to create an empty workspace.
- Wiping down the cabinet interior to remove dust, dirt, and moisture.
- Inspecting for leaks or damage that might complicate installation.
- Arranging necessary cleaning supplies or tools nearby for convenience.
This cabinet cleaning step not only makes your workspace safer but also helps prevent contaminants from interfering with the installation.
Taking these measures guarantees you have a tidy, accessible under-sink area, allowing you to work efficiently and avoid damage to stored items during the sink installation process.
Gather Necessary Tools
How do you guarantee a smooth kitchen sink installation? Start by gathering the necessary tools and prepping your workspace. First, turn off the water supply to avoid leaks during the process.
Next, clear the area under the sink completely to give yourself ample room to work. Having the right tools—like a wrench, plumber’s putty, screwdriver, and bucket—ready prevents delays.
Consider your kitchen design and appliance placement when prepping. This helps assure your sink fits seamlessly without interfering with other fixtures.
Organize your tools nearby and protect surfaces from damage. By following these steps, you’ll streamline the installation and maintain your kitchen’s functionality and appearance throughout the project.
Remove the Old Kitchen Sink and Disconnect Plumbing
Before you install your new kitchen sink, you’ll need to carefully remove the old one and disconnect all plumbing connections. This step ensures your new sink’s material and faucet compatibility won’t be compromised by leftover debris or misaligned fixtures.
Here’s how to do it:
- Turn off the water supply valves under the sink to prevent leaks.
- Disconnect the water supply lines from the faucet, noting any corrosion that might affect compatibility with your new faucet.
- Detach the drain pipes, including the P-trap, carefully loosening all slip nuts.
- Cut through any old sealant or caulk around the sink edges, then lift the sink out, mindful of its material. Some older sinks can be heavy or fragile.
Following these steps will help you safely remove your old kitchen sink and prepare the area for a smooth installation of your new one.
Clean and Inspect the Sink Cabinet
Although you’ve removed the old sink, you’ll need to thoroughly clean and inspect the sink cabinet to make certain it’s in good condition for the new installation. Start by removing any debris, dust, or water stains inside the sink cabinet. Use appropriate cleaning tools like a sponge, scrub brush, and a mild cleaner to wipe down all surfaces.
Before installing your new sink, thoroughly clean and inspect the cabinet to ensure it’s in good condition.
Pay close attention to corners and crevices where mold or mildew might hide.
Once it’s clean, examine the sink cabinet for signs of damage such as water leaks, soft spots, or rotting wood. Check the cabinet’s structure, including shelves and supports, to ensure they’re sturdy.
If you find any issues, repair or replace the damaged sections before proceeding. Taking the time to clean and inspect the sink cabinet guarantees a solid foundation for your new kitchen sink, preventing future problems and making installation smoother.
Install the Faucet and Accessories on Your Kitchen Sink
With a clean and sturdy cabinet ready, you can move on to installing the faucet and any accessories on your kitchen sink. Proper faucet installation guarantees functionality and longevity, while thoughtful accessories selection adds convenience and style.
Follow these steps to install your faucet and accessories:
- Prepare the sink holes – Confirm the number and size of holes match your faucet and chosen accessories.
- Insert the faucet – Place the faucet through the designated hole, securing it underneath with mounting nuts.
- Attach water supply lines – Connect hot and cold water lines securely to avoid leaks.
- Install accessories – Add soap dispensers, sprayers, or filtered water taps, following manufacturer instructions for each.
Seal and Set Your New Kitchen Sink
Once you’ve secured the faucet and accessories, it’s time to seal and set your new kitchen sink to prevent leaks and guarantee stability. Start by applying a continuous bead of silicone caulk or plumber’s putty around the sink’s edge where it meets the countertop. This step is vital for creating a watertight seal.
The sealing techniques you choose may vary depending on your sink material options—stainless steel sinks typically work well with silicone, while porcelain or composite sinks may require plumber’s putty for a better bond.
After applying the sealant, carefully lower the sink into the countertop cutout, pressing firmly to ensure even contact. Wipe away any excess sealant immediately with a damp cloth to keep the area neat.
Let the sealant cure according to the manufacturer’s instructions before proceeding. Proper sealing not only keeps water out but also helps the sink stay securely in place, setting the stage for a successful installation.
Secure the Kitchen Sink With Mounting Clips
Choose mounting clips designed for your sink type to ensure a secure fit. Then tighten them evenly so the sink stays stable and level. This helps prevent leaks and keeps the installation solid.
Choosing Proper Mounting Clips
How do you guarantee your kitchen sink stays firmly in place? Choosing the right mounting clips is key. Different mounting clip types suit various sink materials and countertop styles, so pick ones that match your setup. Here’s how to select and prepare:
- Identify your sink’s edge thickness and material.
- Match clips designed for that thickness and countertop type.
- Consider corrosion-resistant clips if moisture is a concern.
- Review clip installation tips to understand positioning and securing methods.
Tightening Clips Evenly
Although selecting the right mounting clips is essential, tightening them evenly is what truly secures your kitchen sink in place. Start by checking clip alignment to guarantee each clip sits flush against the sink flange and countertop. Then follow a proper tightening sequence, usually tightening opposite clips in steps, to evenly distribute pressure and avoid warping.
| Step | Action | Tip |
|---|---|---|
| 1 | Position clips evenly | Check clip alignment |
| 2 | Hand tighten all clips | Keep clips snug, not tight |
| 3 | Tighten opposite clips | Follow tightening sequence |
| 4 | Repeat tightening steps | Maintain even pressure |
| 5 | Final check | Confirm clips secure |
Reconnect Plumbing and Check for Leaks
Once the sink is securely in place, reconnect the plumbing by attaching the drain pipes and water supply lines. Proper plumbing maintenance here is essential to avoid future leaks and guarantee everything functions smoothly. Follow these steps to reconnect and check for leaks:
Securely reconnect plumbing to prevent leaks and ensure smooth sink operation with proper maintenance.
- Align and tighten the drain pipes securely using a wrench, ensuring no gaps.
- Connect the hot and cold water supply lines to their respective valves, tightening with pliers.
- Use plumber’s tape on threaded connections for leak prevention.
- Turn on the water supply gradually and inspect all joints for drips or moisture.
If you notice any leaks, tighten connections carefully or reapply plumber’s tape as needed. Taking your time in this phase saves you from water damage and costly repairs later. Remember, consistent plumbing maintenance not only prevents leaks but extends the lifespan of your kitchen sink installation.
Test Your New Kitchen Sink
After reconnecting your plumbing and ensuring there are no leaks, you’ll want to put your new kitchen sink through its paces. Start by running water at full pressure; check for any drips around the drain and faucet. Test hot and cold water to make sure both lines function correctly. Drain the sink fully to observe water flow—no pooling should occur. Remember, your sink material and color options can affect maintenance routines, so note any specific care instructions.
Here’s a quick checklist to guide your testing:
| Test Step | What to Look For | Notes |
|---|---|---|
| Water Pressure | Steady flow, no sputtering | Check both hot and cold lines |
| Drain Efficiency | Water drains quickly | No standing water |
| Leak Inspection | No leaks under sink | Check all pipe connections |
| Surface Check | No scratches or damage | Inspect sink material |
| Faucet Operation | Smooth handle movement | Test all spray modes |
Following these steps guarantees your sink’s performance matches your expectations.
Frequently Asked Questions
What Type of Sink Is Best for Small Kitchens?
For small kitchens, you’ll want a compact sink that maximizes space without sacrificing function. Consider material options like stainless steel or composite granite for durability and easy cleaning.
Style choices such as single-bowl or corner sinks work great since they save counter space. You can also pick under-mount sinks to create a seamless look and free up more room.
Choose a sleek, minimalist design to keep your kitchen feeling open and organized.
How Do I Prevent Mold Under My Kitchen Sink?
Like a silent enemy lurking in the shadows, mold thrives where moisture hides. You can stop it by practicing regular sink cleaning and ensuring good ventilation under your kitchen sink. Fix any leaks immediately and use a dehumidifier or moisture absorber if needed. Wipe down surfaces often and keep the area dry. These mold prevention steps keep your space fresh and safe, turning a potential problem into a distant memory.
Can I Install a Kitchen Sink Myself Without Plumbing Experience?
Yes, you can tackle DIY plumbing and sink installation yourself, even without plumbing experience. Just take your time, follow clear instructions, and use basic tools.
Start by turning off the water supply, removing the old sink carefully, and assembling the new one step-by-step. Watching tutorial videos and double-checking connections helps prevent leaks.
If you get stuck, don’t hesitate to ask for advice or call a pro to guarantee everything’s safe and functional.
What Maintenance Extends the Life of a Kitchen Sink?
Think of your kitchen sink like a vintage car: regular care keeps it running smoothly. To extend its life, stick to cleaning routines that prevent buildup and stains, especially if you have a stainless steel or porcelain sink. Wipe it down daily and avoid harsh chemicals that damage material durability.
Just like regular oil changes protect your car, consistent gentle cleaning preserves your sink’s finish and prevents costly repairs.
Are There Eco-Friendly Kitchen Sink Options Available?
Yes, you can choose kitchen sinks made from eco-friendly materials like recycled stainless steel, bamboo, or natural stone. These options reduce environmental impact and often last longer.
Pair your sink with water-saving fixtures to cut down on water use, saving both resources and money. You’ll find many designs combining sustainability with style, so you don’t have to compromise on looks or function while being eco-conscious in your kitchen.
Conclusion
Now that you’ve reconnected the plumbing and tested for leaks, something exciting awaits. As you turn the faucet on, watch closely. Will the water flow flawlessly, or will a surprise challenge emerge?
You’ve done the hard work, but this moment is the final test. If everything runs smoothly, you’ve mastered how to install a kitchen sink and transformed your kitchen for good.