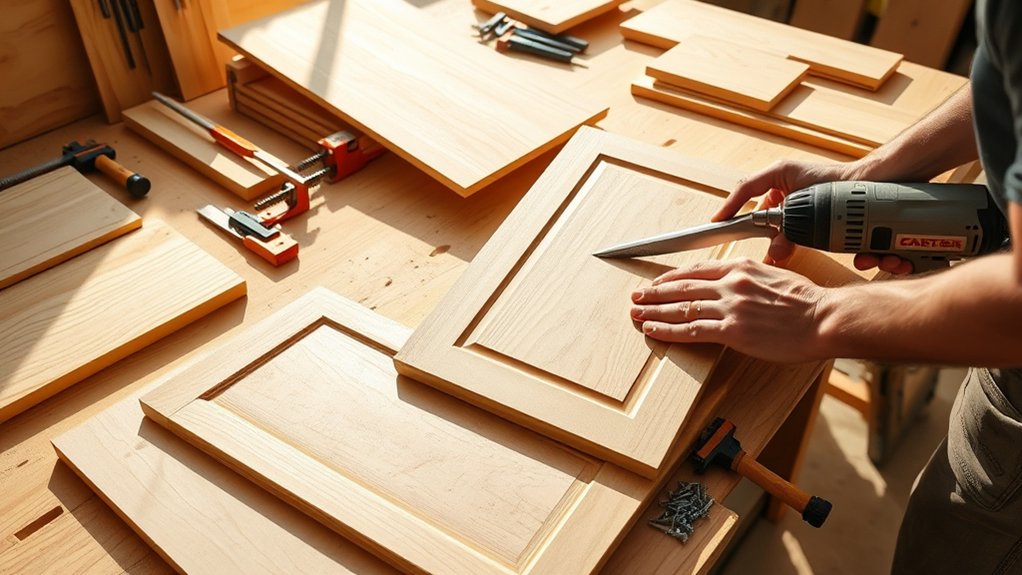
How to Make Kitchen Cabinets in 5 Simple Steps
Building kitchen cabinets that fit your space and style can feel overwhelming, especially when you’re unsure where to start. You’re not alone—many people struggle to balance durability, appearance, and a smooth installation.
This guide to how to make kitchen cabinets in 5 simple steps will help you get started.
Measure your space carefully, accounting for doors and appliances. Next, choose durable materials like oak or plywood and gather your tools.
Build the cabinet boxes with strong joints, then assemble the doors and drawers.
Install hinges and slides so everything operates smoothly.
Finally, apply a finish and securely install your cabinets on the wall.
Keep exploring these key techniques to create custom cabinets that suit your kitchen.
Key Takeaways
- Measure and plan cabinet placement accurately, considering doors, windows, and appliances to optimize space and workflow.
- Choose durable materials like oak, plywood, or MDF and gather essential woodworking tools.
- Build cabinet boxes by cutting panels, assembling with strong joints, and ensuring stability and squareness.
- Assemble doors and drawers, install hinges and slides, and adjust hardware for smooth operation.
- Finish cabinets with stain or paint, then install securely on walls with proper alignment and stud anchoring.
Measure and Plan Your Kitchen Cabinets
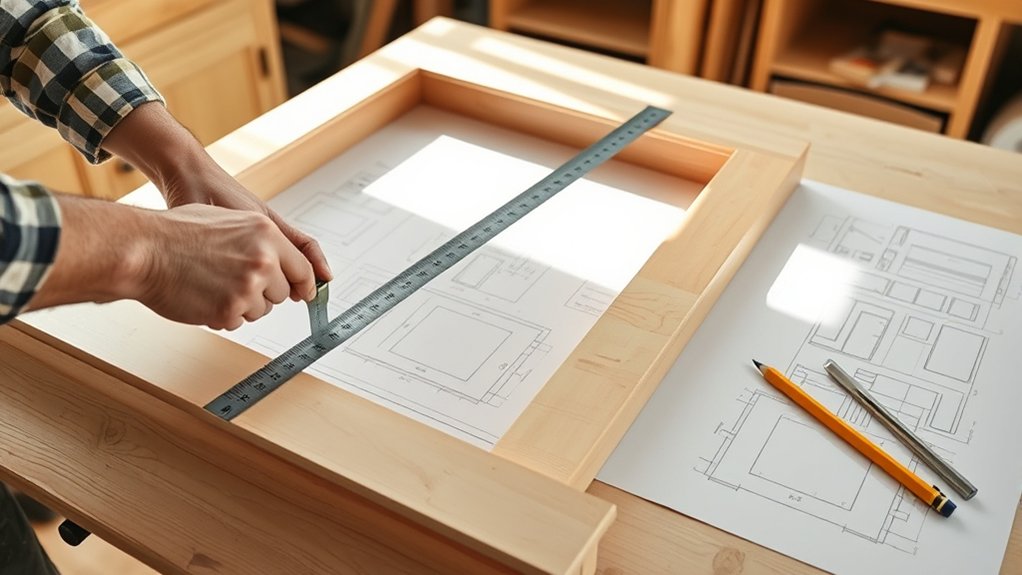
Before you begin building, you need to measure your kitchen space carefully and plan your cabinets to fit perfectly. Grab a tape measure and note the length, width, and height of walls where your cabinets will go. Don’t forget to account for doors, windows, and appliances that affect cabinet placement. With accurate measurements, you’ll create a cabinet design that maximizes every inch.
Focus on space optimization by considering your storage needs and workflow. Think about how you use your kitchen. Do you need more drawers, shelves, or specialized compartments? Sketch your layout, balancing upper and lower cabinets while leaving enough room for movement.
This planning stage lets you avoid costly mistakes and guarantee your cabinets complement your kitchen’s shape and style. By measuring precisely and planning thoughtfully, you set yourself up for a smooth building process and a final result that looks professional and functions efficiently.
Choose Materials and Gather Tools
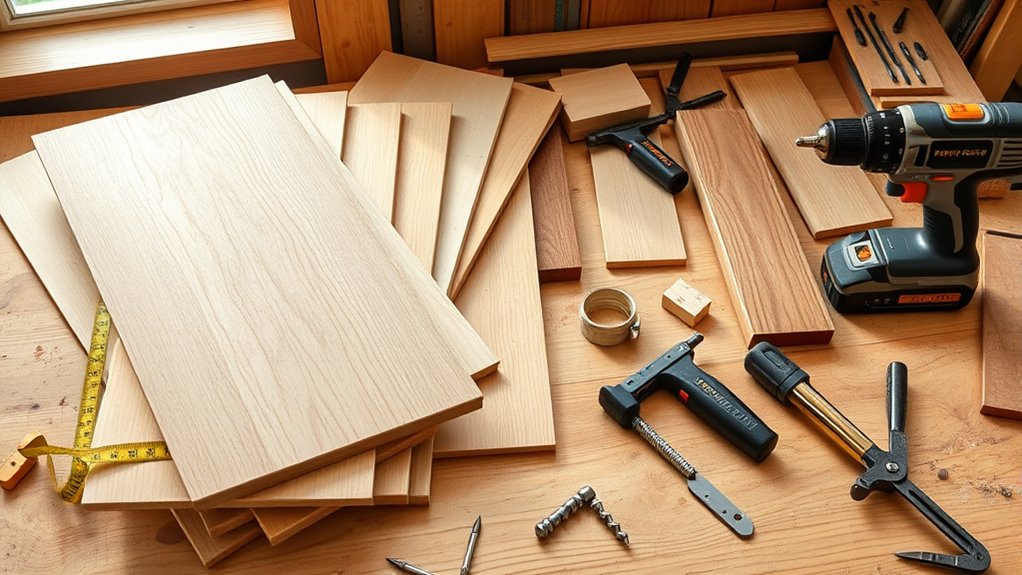
While selecting materials, keep in mind that the quality and type of wood or plywood you choose will directly affect the durability and appearance of your kitchen cabinets. You want materials that balance material durability with your design aesthetics, ensuring your cabinets not only last but also look great. Solid hardwoods like oak or maple offer strength, while plywood provides stability and is budget-friendly.
Next, gather essential tools to make the process smoother. Here’s a quick overview to help you prepare:
| Material | Durability | Design Aesthetics |
|---|---|---|
| Oak | High | Classic and warm |
| Plywood | Moderate to High | Versatile and smooth |
| MDF | Low to Moderate | Smooth for painting |
For tools, make sure you have a saw, drill, measuring tape, clamps, and sandpaper. Having the right materials and tools upfront sets you up for success in your cabinet project.
Build the Kitchen Cabinet Boxes
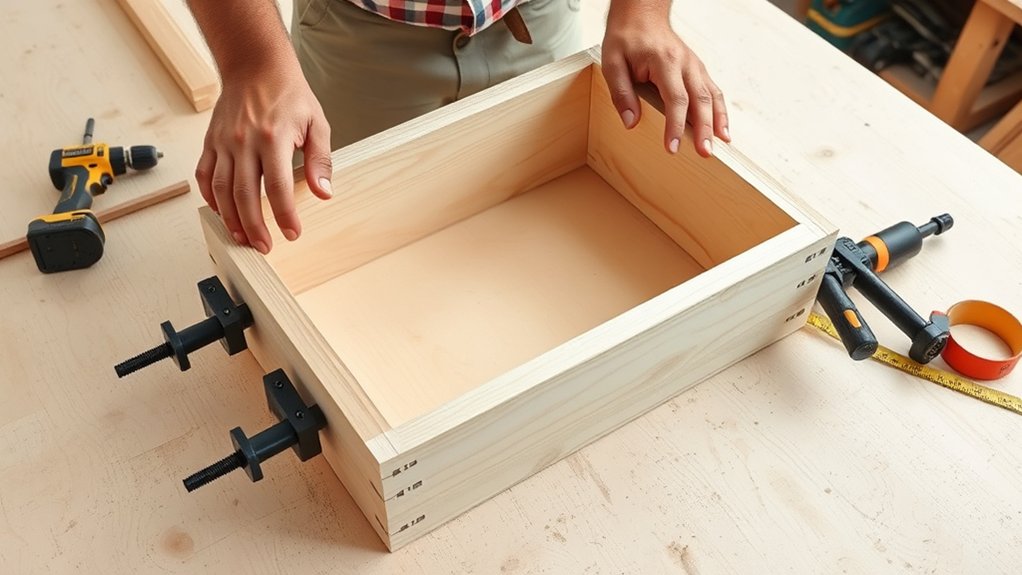
How do you turn your materials into a sturdy cabinet frame? Start by cutting your plywood or MDF panels to size for the cabinet’s sides, bottom, top, and shelves. Then, assemble the box using strong joints like dado or rabbet cuts to guarantee durability. Remember, precision here means your cabinet boxes will fit perfectly in your kitchen space.
Focus on these key steps:
- Secure the panels with wood glue and screws for a solid bond
- Square the box carefully before the glue dries to avoid misalignment
- Leave space inside for cabinet hardware and plan wiring channels if you want cabinet lighting
Assemble Doors, Drawers, and Install Hardware
Once you’ve built the cabinet boxes, you can start assembling the doors and drawers, then install the hardware that brings everything to life. Begin by attaching the cabinet hinges to the doors, guaranteeing they align perfectly with the cabinet frames for smooth opening and closing.
Next, assemble the drawers by fitting the sides, front, back, and bottom securely. Afterward, install the drawer slides inside the cabinet boxes, making sure they’re level and aligned for easy drawer movement.
Slide the drawers in place and test their operation, adjusting the slides if needed. Finally, secure the cabinet hinges to the cabinet boxes and check that the doors open without obstruction.
Installing the hardware correctly ensures your cabinets function flawlessly and look professional. Take your time with measurements and alignment—it makes a huge difference in the final result.
With the doors, drawers, and hardware in place, your kitchen cabinets are almost ready for the finishing touches.
Finish and Install Your Kitchen Cabinets
Before you install your kitchen cabinets, make certain you apply a smooth, even finish that protects the wood and improves its appearance. Proper cabinet finishing seals the wood, preventing moisture damage and enhancing durability.
You can choose from stains, paints, or clear coats depending on your desired look. Once the finish dries completely, it’s time for hardware installation. Attaching handles, knobs, and hinges accurately ensures your cabinets function well and look polished.
Here’s what to focus on during this step:
- Sand surfaces lightly between coats for a flawless finish
- Use a level and measuring tape to position hardware precisely
- Tighten screws securely without overdriving to avoid damage
After finishing and hardware installation, carefully mount your cabinets on the wall, ensuring they’re aligned and anchored to studs for stability. This final step brings your project together, creating beautiful, functional kitchen storage you’ll enjoy for years.
Frequently Asked Questions
How Do I Maintain and Clean Kitchen Cabinets?
You should clean your kitchen cabinets regularly using a mild soap and water solution to avoid damage. Don’t forget to wipe down cabinet hardware separately to keep it shiny and functional. Use a soft cloth to prevent scratches.
Also, check your cabinet lighting often. Dust and clean it to maintain brightness, which helps you spot dirt and spills quicker. Regular maintenance keeps your cabinets looking fresh and lasting longer.
What Are the Best Cabinet Styles for Small Kitchens?
For small kitchens, the best cabinet styles focus on custom cabinet designs that maximize every inch. You’ll want sleek, minimalist cabinets with flat fronts and light colors to keep the space feeling open.
Incorporate space saving solutions like pull-out shelves, corner carousels, and vertical storage. These designs help you stay organized without overcrowding.
How Long Does It Typically Take to Make Cabinets?
Picture yourself sanding smooth wood, fitting cabinet hardware, and applying cabinet finishing with care. Typically, it takes about one to two weeks to make cabinets, depending on complexity and tools.
You’ll spend time cutting, assembling, and then adding those final touches like handles and finishes. If you’re meticulous, don’t rush—the quality of your cabinet hardware and finishing really brings your cabinets to life, making the extra time worth it.
Can I Use Recycled Materials for Cabinet Making?
Yes, you can definitely use recycled materials for cabinet making. Choosing sustainable materials not only saves resources but also supports an eco friendly design approach.
When you repurpose wood or other reclaimed materials, you reduce waste and add unique character to your cabinets. Just make sure the materials are sturdy and treated properly.
This way, your project stays green and stylish, proving that sustainability and quality can go hand in hand.
How Do I Fix Common Cabinet Door Alignment Issues?
To fix common cabinet door alignment issues, start by checking the hinges adjustment. Loosen the screws slightly, then move the door until it lines up properly before tightening them back. For drawer alignment, guarantee the drawer slides are clean and securely attached. Adjust the drawer front by loosening its screws and shifting it until it sits evenly. Regularly tweaking hinges and drawer alignment keeps your cabinets looking neat and functioning smoothly.
Conclusion
Now that you’ve built your kitchen cabinets step by step, your space will shine like a well-tuned orchestra. With careful measuring, choosing the right materials, assembling each piece, and adding the finishing touches, you’ve created more than storage. You’ve crafted the heart of your kitchen.
Remember, every cabinet tells a story, and yours speaks of your skill and care. Enjoy the pride that comes with making kitchen cabinets and transforming your kitchen, one simple step at a time.