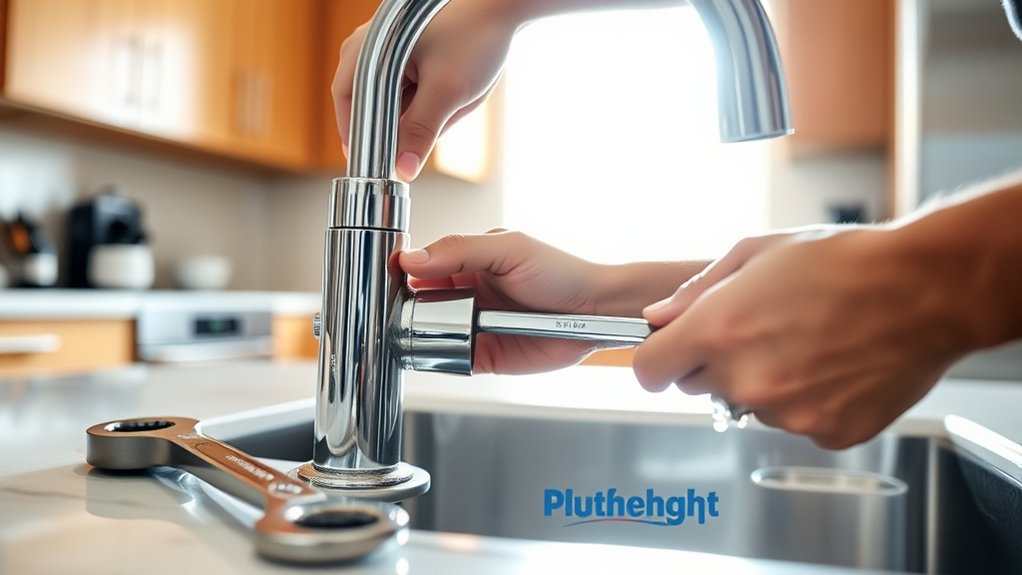
Fix a Leaky Kitchen Faucet in 5 Easy Steps
A leaky kitchen faucet can waste water, drive up your utility bill, and make an annoying mess. If you’re struggling to stop the drip, you’re not alone—many people run into this problem. This roundup will help you fix a leaky kitchen faucet in five easy steps.
First, gather tools like wrenches, screwdrivers, and matching replacement parts. Then, turn off the water supply and clear the sink area for easy access.
Next, take apart the faucet to find the leak, inspecting washers and O-rings for damage. Replace the worn parts carefully, then reassemble and test the faucet for leaks.
Keep going, and you’ll soon have a drip-free sink saving water and money.
Key Takeaways
- Gather necessary tools and matching replacement parts like washers, O-rings, and a mild cleaner for effective repair.
- Turn off the water supply valves under the sink and clear the sink area for easy access and a safe workspace.
- Disassemble the faucet handles and components to inspect for worn or damaged parts causing the leak.
- Replace faulty washers, O-rings, or cartridges with exact-fit parts to stop the drip and restore function.
- Reassemble the faucet carefully, turn on the water, and test for leaks and proper water flow.
Gather Tools and Replacement Parts

Before you begin fixing your leaky kitchen faucet, gather all the necessary tools and replacement parts. Having everything on hand will save you time and frustration. You’ll typically need an adjustable wrench, screwdrivers, pliers, and replacement washers or O-rings specific to your faucet model. Don’t forget a small cloth or rag for cleaning purposes.
Proper cleaning techniques are essential during faucet maintenance. Dirt and mineral buildup can cause leaks, so bring along a mild cleaner or vinegar solution to remove grime from parts before reassembling. Inspect the faucet components carefully to identify worn or damaged parts that need replacement.
Turn Off Water and Clear the Sink Area

Since water flow can cause a mess and complicate repairs, you’ll want to turn off the water supply before starting any work on your faucet. Locate the shut-off valves under the sink and turn them clockwise to stop the water. If your valves are stuck or missing, turn off the main water supply to your home. This step is vital because water pressure varies and can cause unexpected sprays or leaks when you dismantle the faucet.
Next, clear the sink area completely. Remove dishes, sponges, and any items nearby to give yourself ample workspace and prevent damage. Different faucet types—like single-handle or double-handle models—may require you to access specific parts under the sink, so make sure nothing blocks your access. Clearing the area also keeps your tools organized and prevents small parts from falling into the drain. Taking these precautions sets you up for a smoother, safer repair process.
Take Apart the Kitchen Faucet to Spot the Leak
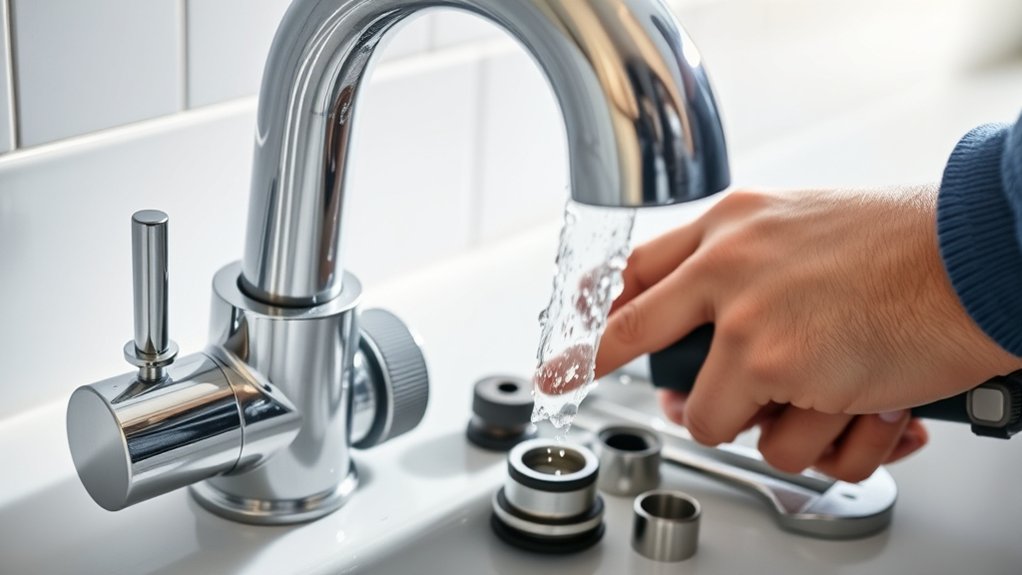
Once you’ve shut off the water and cleared the area, you can start dismantling the faucet to find the source of the leak. Begin by removing the handle and any decorative parts to expose the inner components.
Pay close attention to how water pressure is affecting seals and valves, as this is often where leaks occur. Use a flashlight to carefully inspect each part for signs of wear or damage during your leak detection process.
Here’s a quick reference to guide your inspection:
| Component | What to Look For |
|---|---|
| Cartridge/Valve | Cracks, mineral buildup |
| O-rings | Cracks, stiffness |
| Seals and Washers | Flattening, brittleness |
Replace Worn Kitchen Faucet Parts to Stop the Drip
After identifying worn or damaged parts during your inspection, you’ll need to replace them to stop the faucet from leaking. Start by purchasing exact replacement parts like O-rings, washers, or cartridges specific to your faucet model.
Make sure to turn off the water supply before removing the faulty components. Carefully swap out the old parts with new ones, ensuring they fit snugly to prevent future leaks.
Turn off water supply before replacing parts, and ensure new components fit securely to avoid leaks.
Proper replacement is essential not just for leak prevention but also for water conservation. Fixing drips saves gallons of water daily. Don’t overlook seals and gaskets, as they often cause persistent leaks when worn.
Using quality parts and installing them correctly will restore your faucet’s function and efficiency. By addressing these worn components promptly, you avoid water waste and reduce your utility bills.
This simple maintenance step helps protect your home from water damage and supports responsible water use.
Reassemble and Test Your Fixed Kitchen Faucet
Although replacing the worn parts is essential, you’ll need to carefully reassemble your kitchen faucet to guarantee everything works correctly. Start by following the reverse order of disassembly, making sure each component fits snugly.
Tighten screws and nuts without overdoing it to avoid damaging the faucet. Once reassembled, turn on the water supply slowly to check for leaks.
Next, test your fixed faucet by running both hot and cold water to assess water pressure. Ensure it flows smoothly without sputtering or dripping.
If pressure feels weak or inconsistent, double-check connections and washers for proper placement. Besides function, evaluate faucet aesthetics—make sure all parts align perfectly and the handle moves smoothly.
A well-reassembled faucet not only stops leaks but also looks seamless in your kitchen.
Frequently Asked Questions
How Can I Prevent My Kitchen Faucet From Leaking in the Future?
You can prevent your kitchen faucet from leaking by practicing regular faucet maintenance. Check for worn-out washers, O-rings, and seals, and replace them promptly. Tighten any loose parts and clean aerators to avoid buildup.
Following leak prevention tips like avoiding excessive force on handles and turning off the faucet gently will also help. Don’t ignore small drips—they often signal bigger problems.
Staying proactive keeps your faucet in good shape and leak-free.
What Causes a Faucet to Start Leaking After a Few Years?
A faucet starts leaking after a few years mainly because of faucet corrosion and worn out washers. Over time, the metal parts can corrode due to constant water exposure, causing damage and leaks. The washers inside the faucet wear down with regular use, losing their seal and allowing water to drip. You’ll want to check these parts regularly to keep your faucet leak-free and replace them when needed to avoid bigger problems.
Can Hard Water Damage My Kitchen Faucet?
Yes, hard water can damage your kitchen faucet. The mineral buildup can clog internal parts, making the faucet harder to operate and causing leaks.
Over time, this buildup can also corrode the faucet, weakening metal components and shortening its lifespan. Clean the faucet regularly or install a water softener to help prevent these issues and keep it working smoothly.
How Do I Know if I Need a Professional Plumber?
If your faucet’s drip feels like a tiny drumbeat you can’t stop, it might be time to call a professional plumber. You should consider expert help if DIY repairs haven’t fixed the leak or if you notice water pooling, strange noises, or low pressure. A thorough plumbing inspection can uncover hidden issues you might miss. When in doubt, don’t hesitate. Professional care saves you from bigger headaches down the line.
Are There Eco-Friendly Faucet Options That Reduce Water Waste?
Yes, you can find eco friendly fixtures designed to reduce water waste. Look for faucets with aerators or flow restrictors that cut water use without sacrificing pressure. Some models have motion sensors or touchless controls, which help save even more water.
To maximize efficiency, combine these fixtures with water saving tips like fixing leaks promptly and turning off the tap while soaping. These changes help you conserve water and lower your bills.
Conclusion
Fixing a leaky kitchen faucet might seem intimidating, but with just a few simple steps, you’ll go from frustration to relief quickly. Instead of letting that drip drain your patience and water bill, you’ve taken control and restored your faucet’s flow. What once was a constant annoyance is now a smooth-running fixture, proving that a little effort can turn a pesky problem into a satisfying fix. Fixing a leaky kitchen faucet is a simple way to save water and enjoy a more reliable kitchen.