How to Build a Mud Kitchen in 7 Easy Steps
Building a fun outdoor play space for your kids can feel like a big project, especially if you’re not sure where to start. You’re not alone—many parents want a practical, affordable way to encourage creative play.
Learning how to build a mud kitchen in 7 easy steps can help you create a playful spot your kids will love.
To build a mud kitchen in seven easy steps, start by gathering sturdy pallets, kid-safe tools, and natural materials. Pick a safe, shaded spot near water with good drainage.
Construct a balanced wooden frame, add shelves, a shallow sink, and a smooth workspace.
Organize mud and water play zones using waterproof containers and mats.
Decorate with colorful, natural accents, and keep it clean and protected from weather.
Follow these steps to create a fun, functional mud kitchen your kids will love.
Key Takeaways
- Select a safe, level outdoor spot with good drainage and nearby water access for your mud kitchen setup.
- Gather sturdy wooden pallets, kid-safe utensils, natural materials, and safety gear like gloves and sandpaper.
- Build a stable frame with durable wood, install shelves, and secure a shallow basin as the mud kitchen sink.
- Organize designated zones for mixing mud, storing tools, and water access using waterproof containers and mats.
- Decorate with bright colors, maintain cleanliness, protect from weather, and use labeled storage for daily upkeep.
Gather Materials and Tools for Your Mud Kitchen
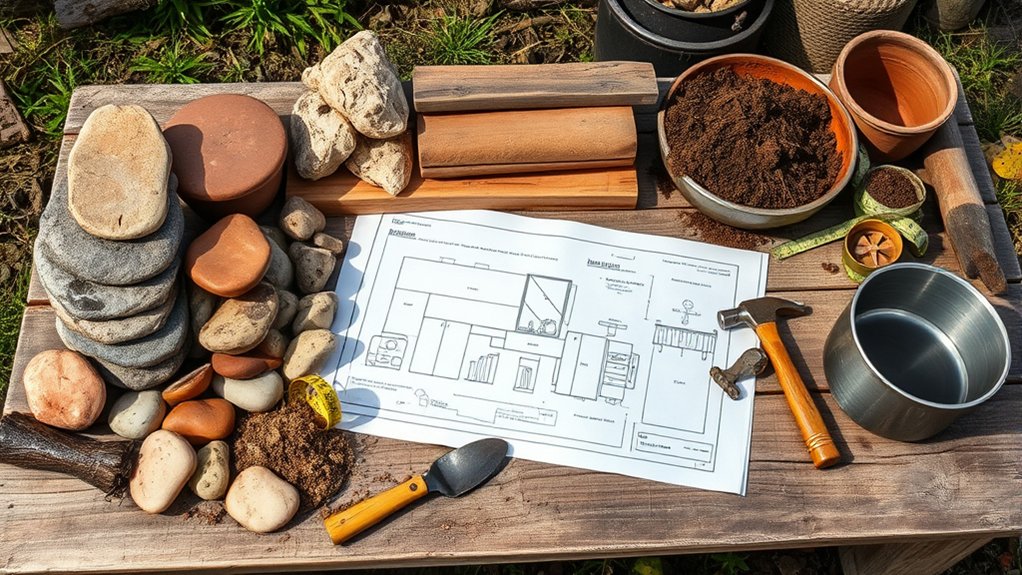
Before you start building, gather all the materials and tools you’ll need for your mud kitchen. Collect sturdy wooden pallets, a large tray or basin for mixing, old pots and pans, and basic tools like a hammer, nails, and a screwdriver.
Don’t forget natural items like soil, water, leaves, and sticks. These will be the core ingredients for your cooking recipes.
Safety tips are essential, so include gloves and sandpaper to smooth rough edges and prevent splinters. Also, pick kid-friendly utensils with no sharp edges.
Having everything ready keeps the project smooth and fun.
Choose the Perfect Mud Kitchen Location
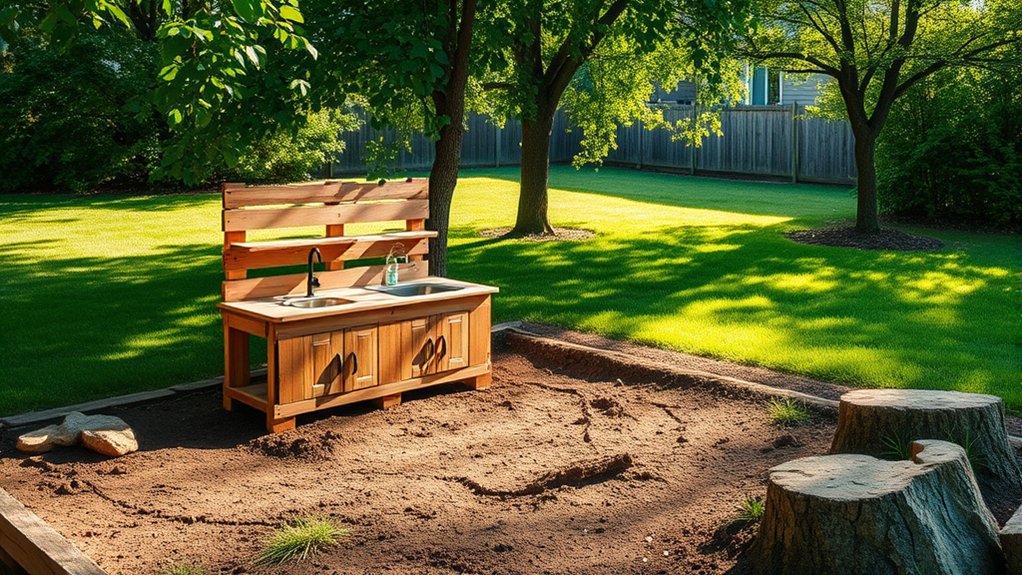
Choose a spot with a mix of sun and shade so kids stay comfortable while they play. Make sure the ground is stable and safe for little feet, too. And if you can, set up near a water source—it’ll make mixing mud and cleaning up much easier.
Assess Sunlight and Shade
Where should your mud kitchen go to make playtime enjoyable and safe? You need to assess sunlight patterns and plan for shade management carefully. Too much direct sun can make the area uncomfortable, while too much shade might leave it damp and muddy longer than desired. Here’s how to decide:
- Observe sunlight patterns throughout the day to find spots with balanced sun exposure.
- Choose a location that gets morning sun but benefits from afternoon shade to keep kids cool.
- Consider natural shade from trees or install a simple shade sail to protect the play area during peak hours.
Consider Ground Surface Type
How do you pick the best ground surface for your mud kitchen? First, focus on ground stability. You want a firm, level area that supports your kitchen setup without sinking or shifting. Avoid overly soft or muddy spots because they can make your structure unstable and messy.
Next, think about surface drainage. Choose a location where water won’t pool after rain, as standing water can create slippery conditions and damage your kitchen over time. A slight slope or naturally draining area works best to keep things dry and safe.
Ensure Easy Water Access
Once you’ve found a stable spot with good drainage, think about water access next. Having easy water flow is essential for a mud kitchen, making playtime more fun and cleanup simpler. Consider your plumbing options carefully to guarantee convenience without complicated installations.
- Position your mud kitchen near an outdoor faucet or hose connection to provide a steady water supply without excessive extension cords or pipes.
- If plumbing isn’t nearby, investigate portable solutions like refillable water containers with taps to maintain easy access.
- Guarantee the water drains away properly to avoid puddles, which can cause slips or soggy ground.
Build the Mud Kitchen Frame
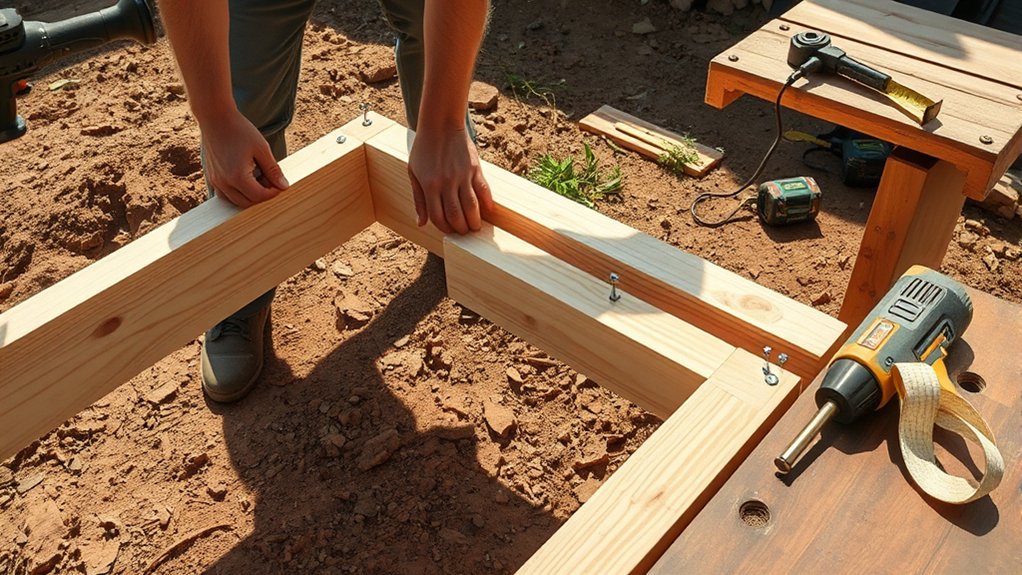
Before you start assembling the mud kitchen frame, gather all necessary materials and tools to guarantee a smooth build. Choose sturdy wood, screws, a saw, and a drill to create a strong foundation.
Focus on a creative design that suits your space and your child’s height, ensuring it’s both functional and fun. Sketching your frame beforehand helps avoid mistakes and streamlines construction.
Keep safety considerations top of mind. Sand all edges and corners to prevent splinters and sharp points. Make sure the frame is stable and balanced to avoid tipping during play.
Use non-toxic finishes or untreated wood to keep it safe for kids. Building the frame solidly means your mud kitchen will last through many muddy adventures.
Once your frame stands firm, you’ll be ready to add the fun elements that make a mud kitchen a hands-on, imaginative play space.
Add Functional Features: Shelves, Sink, and Workspace
With the sturdy frame in place, you can start adding features that bring your mud kitchen to life. Focus on practical elements that improve play and organization while keeping safety in mind. Here are three key functional features to add:
- Shelves for Storage Options: Install low, sturdy shelves to hold bowls, pots, and natural materials. This keeps everything organized and within easy reach for kids, reducing clutter and accidents.
- A Sink Area: Create a simple sink using a shallow basin or large bowl. Secure it well to avoid tipping, and ensure drainage is safe and mess-friendly. This adds realism and helps kids wash their hands.
- Workspace Surface: Attach a flat, durable countertop where children can mix mud and create. Smooth edges and rounded corners are essential safety considerations to prevent injuries during play.
These features turn your mud kitchen into a functional, engaging, and safe environment for creative outdoor fun.
Set Up Mud and Water Play Stations
Set up a dedicated mud play area where kids can get messy without worry. Then add easy-to-use water access points so the fun can keep flowing. Together, these stations will make your mud kitchen practical and exciting.
Organize Mud Play Area
How should you arrange your mud kitchen to keep the fun flowing smoothly? Organizing the mud play area thoughtfully helps kids stay engaged and safe. Start by creating clear zones for different activities to avoid clutter and confusion. Use creative storage solutions like hanging buckets or shelves to keep tools and supplies within reach but tidy. Don’t forget essential safety precautions: keep sharp objects out of reach and ensure the area is free from tripping hazards.
- Designate separate spots for mixing mud, storing tools, and drying items to maintain order.
- Use waterproof containers or bins for storing mud and water safely.
- Place easy-to-clean mats or trays under play stations to manage mess and keep surfaces safe.
This setup keeps playtime organized and enjoyable.
Design Water Access Points
Before setting up your mud kitchen, consider how to design water access points that keep the fun flowing without creating a mess. Start by planning the water flow to guarantee easy access and control. You want a steady but manageable stream, so kids can fill containers or mix mud without flooding the area.
Faucet installation plays a vital role here. Choose a child-friendly faucet that’s easy to turn on and off, preferably with a hose attachment for flexible water delivery. Position the faucet near a basin or sink to catch excess water and minimize spills.
Secure all plumbing to prevent leaks and slippery spots. By thoughtfully designing water access points, you’ll create a safer, more enjoyable mud and water play station that encourages creativity without chaos.
Decorate and Personalize Your Mud Kitchen
Although the structure is complete, adding personal touches will make your mud kitchen truly unique and inviting. Start by choosing color schemes that reflect your style and brighten the space. Vibrant colors encourage creativity and make the kitchen stand out in your backyard.
Next, focus on DIY decorations to give it a charming, handmade feel. These can be simple and budget-friendly, like painted pots or homemade signs.
Here are three ideas to decorate and personalize your mud kitchen:
- Use natural elements like pinecones, leaves, or small stones to create rustic accents.
- Add colorful utensils and containers that match your chosen color schemes.
- Incorporate fun, handmade signs or chalkboards for menus or recipes, enhancing interaction.
Maintain and Refresh Your Mud Kitchen
Since your mud kitchen will be exposed to the elements and constant play, you’ll need to maintain and refresh it regularly to keep it safe and enjoyable. Start by following simple cleaning tips: rinse surfaces with water after each use, scrub away stubborn dirt with a mild soap solution, and wipe down wooden parts to prevent mold. Check for any loose screws or splinters and fix them promptly to avoid injuries.
To keep your mud kitchen organized, implement smart storage solutions. Use waterproof bins or shelves to store tools and accessories, protecting them from weather damage. Consider hooks or pegboards for hanging utensils, making cleanup and access easier. At the end of each day, store items inside or cover your kitchen with a tarp to shield it from rain.
Frequently Asked Questions
What Are the Benefits of a Mud Kitchen for Child Development?
You’ll see that a mud kitchen boosts your child’s development by encouraging sensory play, which helps them discover textures, smells, and sounds. It also sparks their creative expression as they pretend to cook and invent recipes, building imagination and problem-solving skills.
Plus, it improves fine motor skills and social interaction when they play with others. Overall, it’s a fun, hands-on way to support learning and creativity.
Can a Mud Kitchen Be Built Indoors or Only Outdoors?
Think of a mud kitchen like a garden—it thrives best where it can breathe. You can set up an indoor placement if you prepare for mess and use washable materials, but it truly shines in an outdoor setup where nature joins the play.
How Do You Ensure Safety While Children Use a Mud Kitchen?
To guarantee safety while children use a mud kitchen, you need to follow key safety precautions. Always check for sharp edges and secure all parts firmly. Keep the area clean to avoid slips and remove any hazardous objects nearby.
Supervision tips include staying close, guiding kids on safe play, and encouraging handwashing after use. By staying attentive and setting clear rules, you’ll keep the play fun and safe for everyone.
What Are Some Fun Recipes Kids Can Make in a Mud Kitchen?
Imagine your child making mud pies with petals, grass, and water from the garden. You can encourage them to create fun recipes like “flower soup” using natural ingredients like leaves, sticks, and soil.
Kids love mixing these elements to pretend cook, boosting their creativity and sensory play. By guiding them to use safe, natural ingredients, you help them discover nature while having tons of messy, imaginative fun in their mud kitchen.
How Long Does a Typical Mud Kitchen Last With Regular Use?
A typical mud kitchen lasts about 3 to 5 years with regular use, depending on its durability lifespan. You can extend its life by following simple maintenance tips like sealing wooden surfaces, checking for loose parts, and storing it under cover during bad weather. If you stay on top of cleaning and repairs, your mud kitchen will stay sturdy and fun for your kids much longer than expected.
Conclusion
Now that you’ve built your mud kitchen, you’ll see how it sparks creativity and outdoor play like no other. Studies show that hands-on activities like mud play boost kids’ sensory development and problem-solving skills.
Enjoy watching little chefs mix, mold, and imagine in their very own outdoor space. Keep your mud kitchen fresh and fun by maintaining and personalizing it regularly. You’ve created a magical spot where learning meets messy, joyful play!