How to Install Kitchen Backsplash in 5 Easy Steps
Installing a kitchen backsplash can feel daunting, especially when you want a polished look without costly mistakes. You’re not alone—many people struggle to plan cuts, apply tiles evenly, and get clean grout lines.
These five easy steps will help you install a kitchen backsplash with confidence.
To install your kitchen backsplash in five easy steps, start by gathering all necessary tools and materials, including tiles, adhesive, grout, and safety gear.
Next, prepare the wall by cleaning and smoothing the surface, then plan your tile layout carefully.
Cut tiles to fit around outlets and edges precisely.
Apply adhesive in small sections and place tiles using spacers for even gaps.
Finally, grout and seal the tiles to protect them.
Keep going to uncover helpful tips for a flawless finish.
Key Takeaways
- Gather all necessary tools, tiles, grout, adhesive, and safety gear before starting the backsplash installation.
- Prepare and clean the wall surface, repair imperfections, and mark layout guidelines for accurate tile placement.
- Measure and cut tiles precisely for outlets and edges, smoothing rough edges for a professional finish.
- Apply adhesive evenly with a notched trowel, position tiles using spacers, and check alignment with a level.
- Grout tile gaps, wipe off excess, then apply sealant to protect grout and ensure durability.
Gather Tools and Materials for Your Kitchen Backsplash
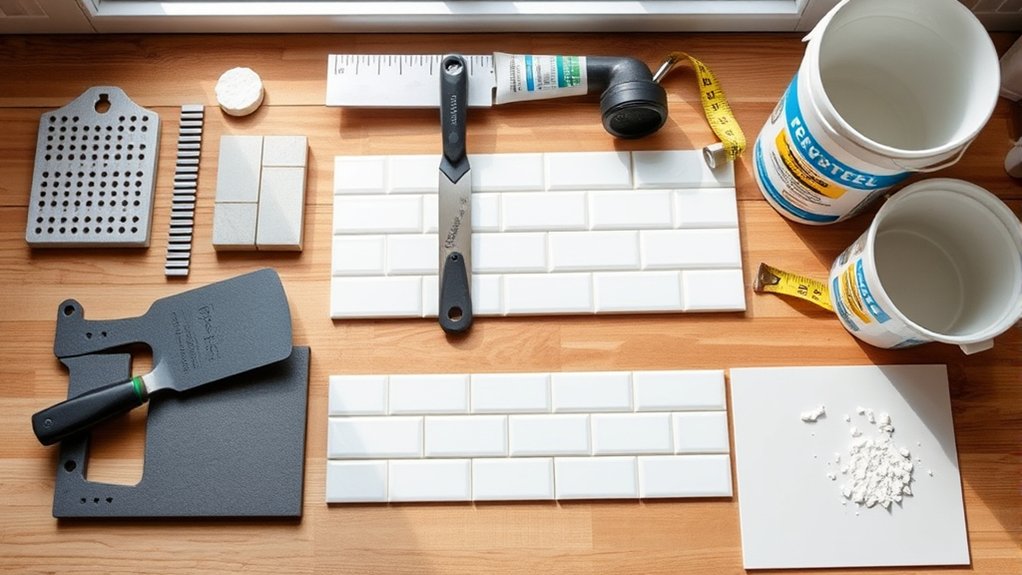
Before you begin installing your kitchen backsplash, make sure you’ve gathered all the necessary tools and materials. Start by selecting the right tiles, paying close attention to tile patterns that complement your kitchen’s style. Whether you prefer a classic subway layout or a bold geometric design, having your tile patterns decided will guide your purchasing decisions.
Gather all tools and choose tile patterns that perfectly complement your kitchen style before starting your backsplash installation.
Alongside tiles, focus on color coordination to guarantee your backsplash harmonizes with your countertops, cabinets, and walls. Choose grout, adhesive, and sealant that suit your tile type and color scheme.
Essential tools include a tile cutter, notched trowel, spacers, level, and a sponge for cleanup. Don’t forget safety gear like gloves and goggles. Organizing everything beforehand prevents delays and helps you maintain a smooth workflow.
Once you’ve gathered these materials and tools, you’ll be ready to tackle your backsplash project with confidence and precision.
Prepare the Wall for Your Kitchen Backsplash Tiles
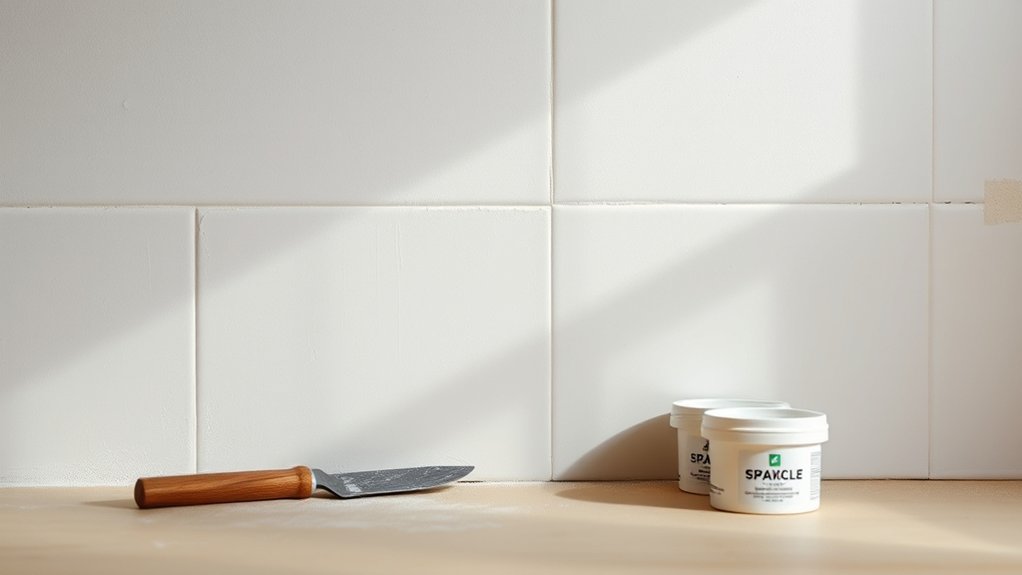
With your tools and materials ready, the next step is to prepare the wall where your backsplash will go. Start by cleaning the surface thoroughly—remove grease, dust, and any loose paint or wallpaper. A smooth, dry wall guarantees the adhesive sticks properly.
Next, repair any holes or cracks with spackle, sanding it down once dry for an even surface. If your wall has old tiles or uneven textures, consider using a backer board to create a flat, stable base.
Take a moment to plan your layout, especially if you’re using decorative tile patterns inspired by historical backsplash styles. Mark guidelines with a level and pencil to keep your tiles straight and aligned. This step helps you visualize the final look and prevents mistakes during installation.
Cut Tiles to Fit Around Outlets and Edges
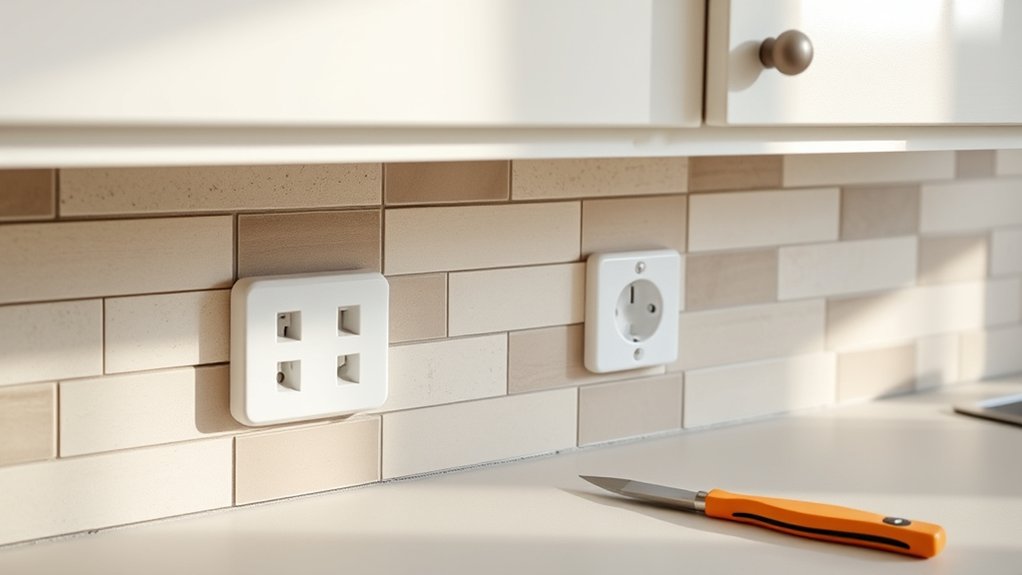
As you move forward with your backsplash installation, you’ll need to cut tiles precisely to fit around outlets and edges. Start by measuring the space where the tile will go, including the exact dimensions around outlets. Mark these measurements on your tile using a pencil.
For outlet fitting, measure carefully to confirm the cutout allows the tile to snugly fit without blocking the outlet’s functionality. Use a tile cutter or a wet saw for straight cuts, and a tile nipper for irregular shapes around outlets.
Take your time with each cut to avoid chipping. Smooth any rough edges with a tile file or sandpaper. Accurate tile cutting not only ensures a professional look but also helps maintain safety by keeping outlets accessible.
Apply Adhesive and Position Your Backsplash Tiles
Once you’ve prepared your tiles, spread a thin layer of adhesive on the wall using a notched trowel. Choose the right adhesive type for your tile material—mastic works well for ceramic tiles, while thin-set mortar is better for heavier or natural stone tiles.
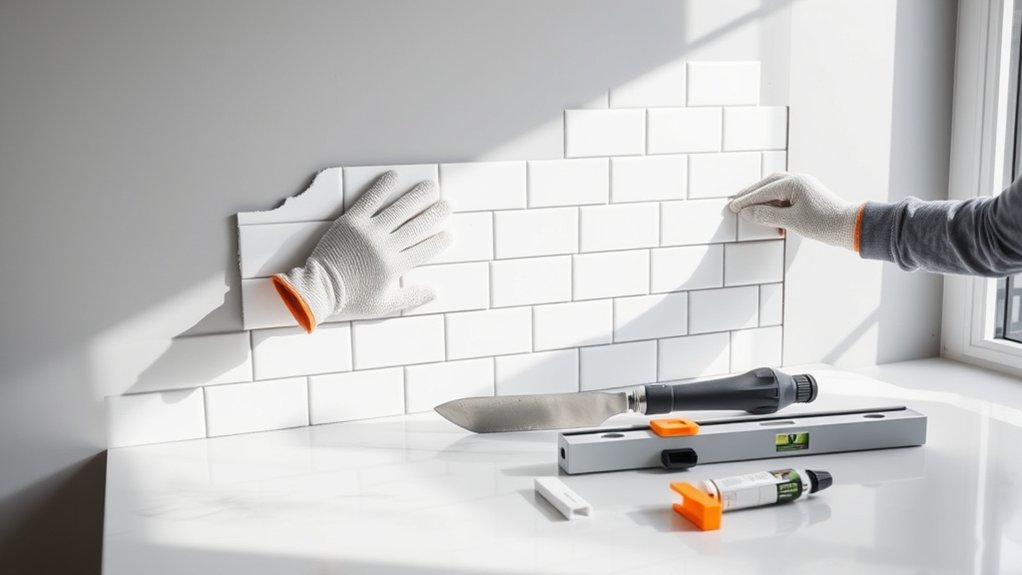
Apply adhesive evenly, working in small sections to prevent it from drying out before you set the tiles. Start positioning your tiles from the bottom center of your backsplash area, following your planned tile pattern to ensure alignment.
Use tile spacers to maintain consistent gaps for grout later. Press each tile firmly into the adhesive, giving it a slight twist to ensure good contact. Check periodically with a level to keep your tiles straight and adjust as needed.
Grout and Seal Your Kitchen Backsplash
Before your backsplash looks truly finished, you’ll need to grout the gaps between your tiles to secure them and create a smooth, polished surface. Start by mixing the grout according to the package instructions, then use a rubber float to press it firmly into the spaces. Work diagonally across the tiles to avoid pulling grout out of the joints. Once applied, wipe off excess grout with a damp sponge, rinsing it regularly to keep the surface clean.
After the grout has dried completely, focus on cleaning grout thoroughly to remove any haze from the tiles. This step ensures a professional, crisp look. Next, choose sealant designed specifically for kitchen backsplashes to protect your grout from stains and moisture. Apply the sealant evenly with a small brush or applicator, and let it dry as directed. Sealing your backsplash not only prolongs its life but also keeps it looking fresh and easy to maintain.
Frequently Asked Questions
How Do I Choose the Best Tile Style for My Kitchen?
You choose the best tile style for your kitchen by considering tile patterns that match your room’s vibe and layout. Don’t forget color coordination; pick hues that complement your cabinets, countertops, and walls.
Think about the overall style you want—modern, rustic, or classic—and how bold or subtle you want your backsplash to be. Sampling tiles in your kitchen’s lighting helps you visualize the final look before committing.
What Is the Average Cost of Installing a Kitchen Backsplash?
The average cost of installing a kitchen backsplash typically ranges from $300 to $1,500, depending on materials and labor. When you’re planning your budget, factor in cost considerations like tile type, backsplash size, and whether you’ll hire a professional or DIY.
Proper budget planning helps you avoid surprises and makes certain you get a look you love without overspending. Keep in mind, higher-end tiles or intricate designs will increase the price.
Can I Install a Backsplash Over Existing Wallpaper or Paint?
You can’t build a castle on quicksand—installing a backsplash over wallpaper isn’t a good idea. You’ll need to do wallpaper removal first, ensuring the surface is smooth and sturdy. If you’re working with paint, proper paint prep is key—clean the wall, sand any rough spots, and prime it. This way, your backsplash will stick well and last longer without peeling or bubbling.
How Long Does a Kitchen Backsplash Installation Typically Take?
A kitchen backsplash installation typically takes a day or two, depending on the project size and prep work. If you need tile removal first, expect extra time for that.
After setting the tiles, you’ll wait for the adhesive to dry before applying grout. Don’t forget grout sealing—it usually takes a few hours to cure and protects your backsplash from stains.
Planning for drying times guarantees a smooth, lasting finish.
What Maintenance Tips Keep My Backsplash Looking New?
Your backsplash is like a shield protecting your kitchen’s heart. To keep it looking new, you’ll want to stick to regular cleaning routines—wiping down spills quickly prevents stains from settling in. Use gentle cleaners to avoid damage, and seal grout yearly for extra protection.
Conclusion
Who knew installing a kitchen backsplash could be as simple as following five easy steps? Now, instead of admiring your blank wall, you’ve got a stylish focal point that even the pros would envy.
Sure, it might seem like a formidable task at first, but once you get started, it’s almost too easy to mess up, except you won’t. So go ahead, enjoy your new kitchen backsplash and the compliments that come with it!