Replace Your Kitchen Sink Faucet in 3 Easy Steps
Replacing a kitchen sink faucet can feel like a small job with a big potential for leaks or frustration. You’re not alone—many people struggle to choose the right faucet and install it with confidence.
This guide will help you get started with the replacement process.
To replace your kitchen sink faucet, first gather tools like an adjustable wrench and bucket, then turn off the water supply and open the faucet to drain.
Next, disconnect the old faucet’s supply lines and remove it carefully while cleaning the sink area.
Finally, position and secure the new faucet, connect the water lines, and turn the water back on to check for leaks.
Follow these steps, and you’ll have a smooth, leak-free installation in no time.
There’s more helpful info ahead to guide you.
Key Takeaways
- Turn off water supply and open faucet to drain remaining water before starting the replacement.
- Disconnect old faucet supply lines and remove mounting hardware to lift out the old faucet.
- Clean the sink surface thoroughly to remove old putty, grime, and mineral deposits.
- Position and secure the new faucet, connect supply lines, and tighten all connections carefully.
- Turn on water supply, check for leaks, test faucet functions, and ensure proper operation.
Gather Tools and Turn Off Water for Kitchen Faucet Replacement
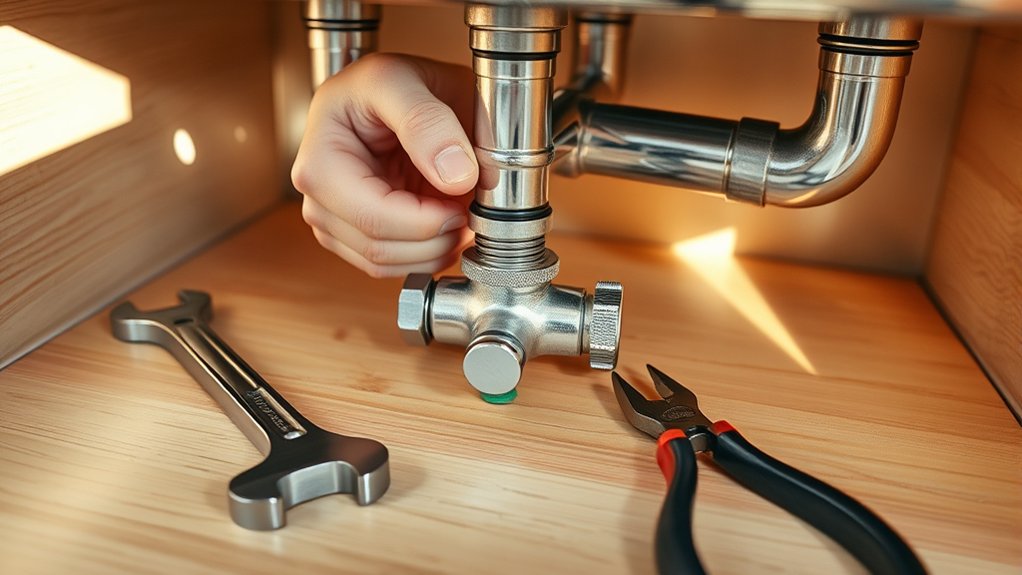
Before you begin replacing your kitchen faucet, make sure you’ve gathered all the necessary tools and turned off the water supply. This step is essential for plumbing safety to avoid leaks or water damage. You’ll typically need an adjustable wrench, basin wrench, plumber’s tape, and a bucket to catch any residual water.
Double-check that your tools are in good condition; proper tool maintenance guarantees you won’t struggle with rusted or faulty equipment during the job. Inspect your wrenches for smooth operation and clean threads on fasteners.
Next, locate the shutoff valves under the sink and turn them clockwise to stop the water flow. If there aren’t individual valves, turn off the main water supply for the house. Open the faucet to drain any remaining water. Taking these preparatory steps carefully guarantees a safe and efficient faucet replacement process without surprises or hazards.
Remove the Old Faucet and Clean the Sink Area
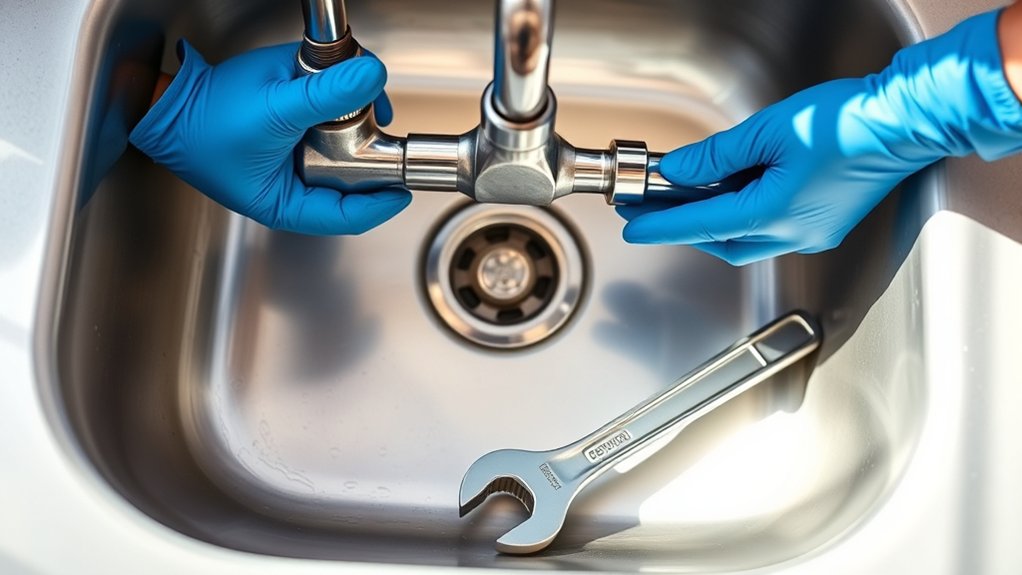
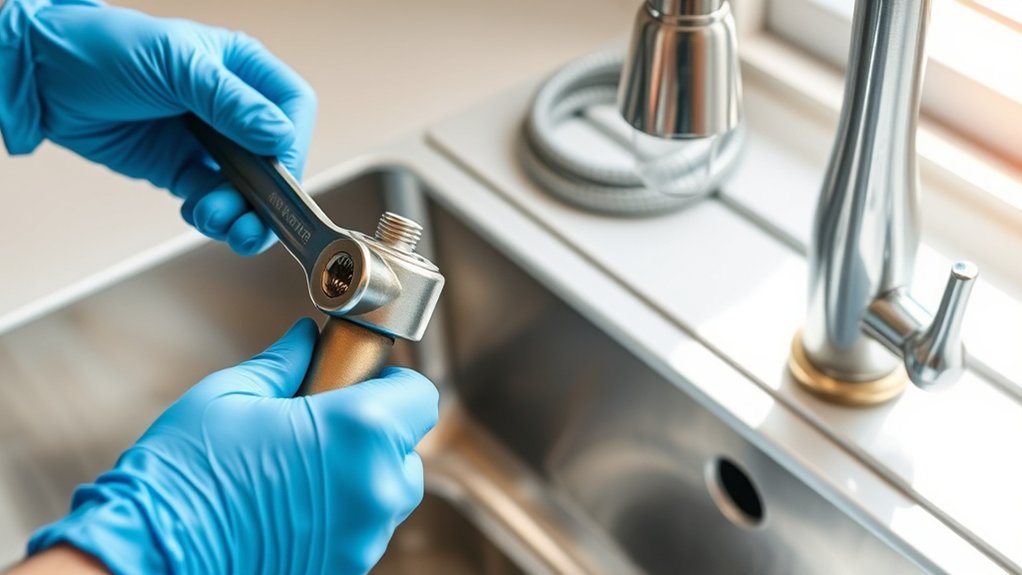
Once you’ve turned off the water and gathered your tools, start by disconnecting the water supply lines from the old faucet using an adjustable wrench. Depending on your faucet type—whether single-handle, double-handle, or pull-out—loosening the mounting nuts beneath the sink is next.
Begin by shutting off water, then use a wrench to disconnect supply lines and loosen mounting nuts beneath the sink.
Be sure to support the faucet as you remove these nuts to prevent it from falling. Different sink materials, like stainless steel, porcelain, or composite, might require gentle handling to avoid damage during removal. After the old faucet is free, lift it out carefully.
Next, thoroughly clean the sink area where the faucet sat. Remove old putty, grime, and mineral deposits using a non-abrasive cleaner suited for your sink material. This guarantees a smooth, clean surface for the new faucet installation.
Taking your time here prevents leaks and improves the faucet’s fit. Your sink’s condition and faucet type can affect how easily you complete this step, so work patiently and methodically.
Install the New Kitchen Faucet
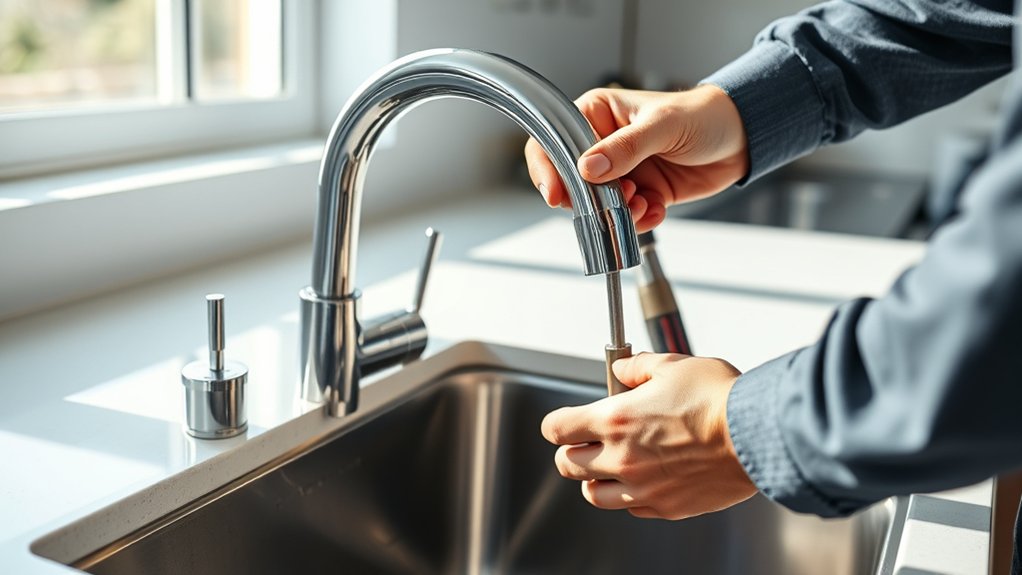
Although installing a new kitchen faucet can seem intimidating, you’ll find the process straightforward with the right approach. Begin by positioning your chosen faucet brand into the sink’s mounting holes. Secure it tightly from underneath using the provided mounting hardware to prevent any movement.
Next, connect the water supply lines, ensuring you attach the hot and cold lines correctly. Tighten the connections with a wrench, but avoid over-tightening to prevent damage.
Once connected, turn on your home’s water supply and check for leaks. Pay close attention to the water pressure; it should be steady and strong. If it’s weak or uneven, double-check your connections and the faucet’s aerator for blockages.
Finally, test all functions of the faucet, including sprayers or additional features, to confirm proper installation. Following these steps will help you enjoy your new kitchen faucet with confidence and ease.
Frequently Asked Questions
How Do I Choose the Right Faucet Style for My Kitchen?
You should choose a faucet style that complements your kitchen’s overall design trends, whether modern, farmhouse, or traditional. Consider the finish and shape that match your cabinets and countertops.
Look for installation tips to guarantee the faucet fits your sink type and plumbing setup. Also, think about functionality—pull-down sprayers or single handles can be more convenient.
Matching style with practical features makes your kitchen both beautiful and user-friendly.
Can I Replace a Faucet Without Professional Plumbing Experience?
Yes, you can replace a faucet without professional plumbing experience if you’re comfortable with DIY plumbing. Faucet maintenance skills like turning off water supply, disconnecting old fixtures, and installing new ones are essential.
Just make sure you have the right tools and follow clear instructions carefully. Taking your time prevents mistakes. If you hit unexpected issues, though, don’t hesitate to call a pro to avoid damage or leaks.
What Materials Are Best for Durable Kitchen Faucets?
You might think stainless steel is the best for durability, and you’re right—it resists rust and stains well. Brass is another top choice because it handles wear and tear superbly.
To keep your faucet lasting longer, follow maintenance tips like regular faucet cleaning with mild soap and a soft cloth. Avoid harsh chemicals that can damage finishes, and check for leaks often to guarantee your faucet stays reliable and looking great.
How Do I Prevent Leaks After Installing a New Faucet?
To prevent leaks after installing your faucet, focus on proper sealing. Make sure you apply plumber’s tape around threaded connections to create a tight seal. Tighten all fittings securely, but don’t overtighten, as this can damage components. Double-check that the rubber gaskets or O-rings are in place and undamaged before assembly. Finally, turn on the water slowly and inspect for any drips—catching leaks early helps you fix them quickly.
Are There Water-Saving Features I Should Look for in Faucets?
Yes, you should look for eco friendly fixtures when choosing a faucet. These often include water efficient aerators that reduce water flow without sacrificing pressure, helping you save water and lower utility bills.
You’ll also want faucets labeled with WaterSense certification, which guarantees they meet EPA standards for efficiency. By selecting these features, you’ll contribute to conservation efforts and enjoy long-term savings on your water use.
Conclusion
Now that you’ve replaced your kitchen faucet, enjoy its fresh look and improved function. Like a well-rehearsed dance, each step flowed smoothly, making the process feel effortless.
With your new faucet installed, you’ve upgraded your kitchen’s style and gained confidence in tackling home projects. Take it one step at a time, and replacing your kitchen sink faucet can be a manageable and rewarding project.